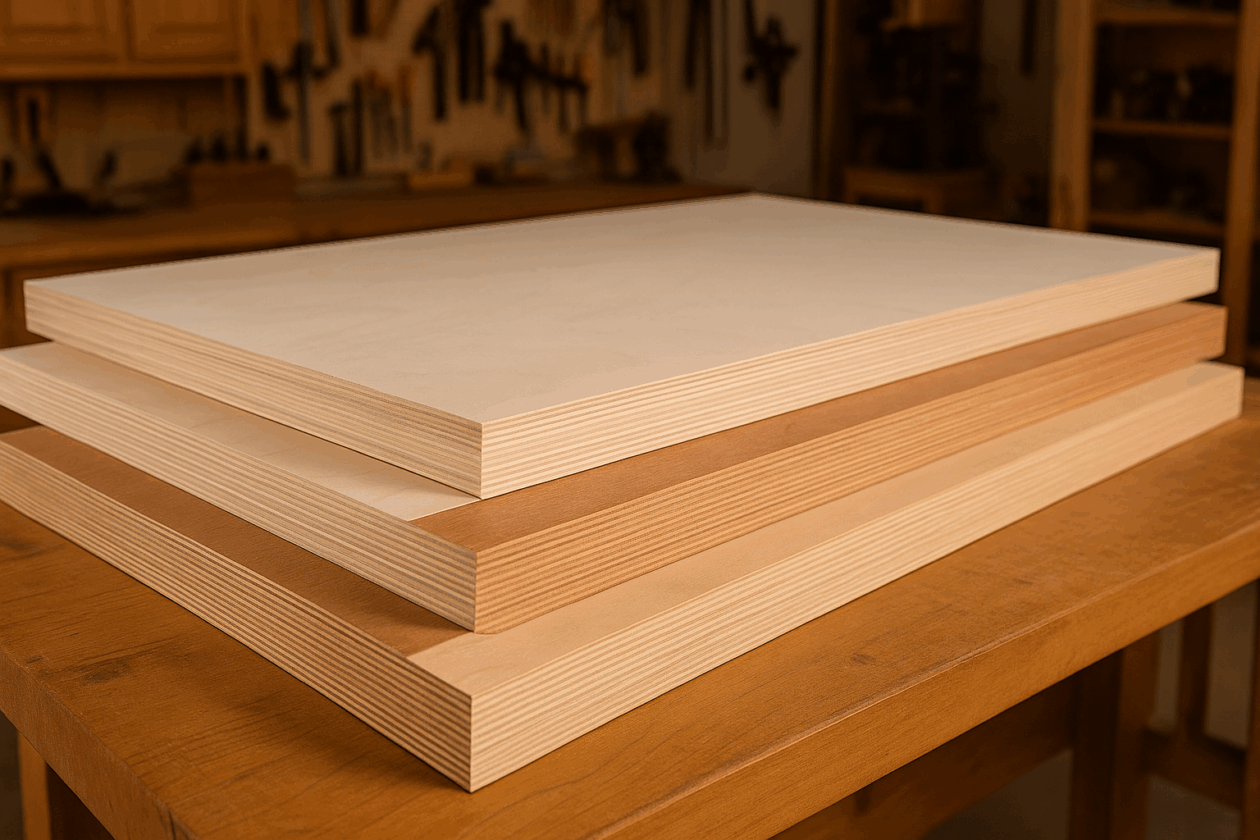
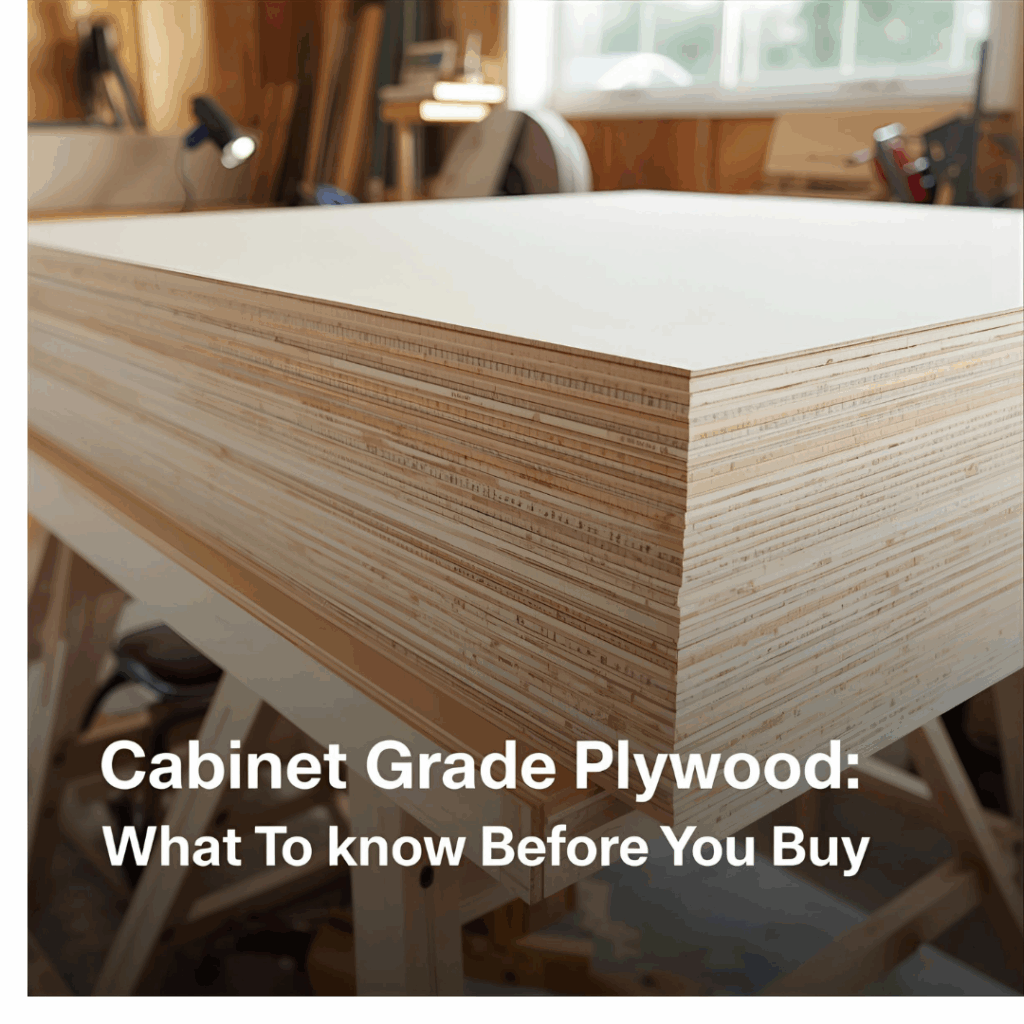
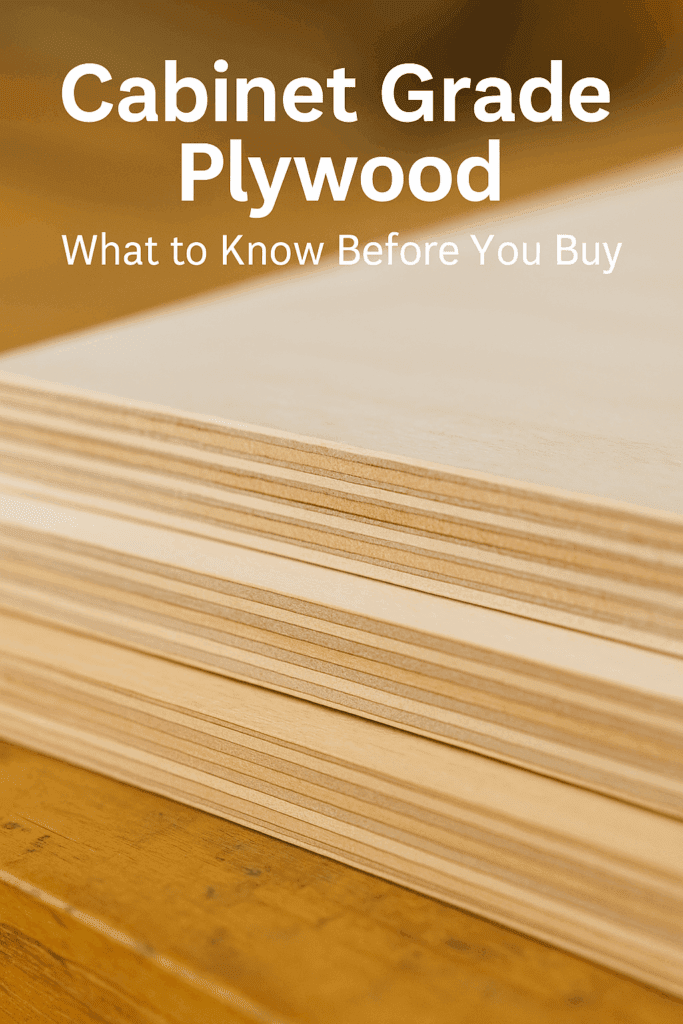
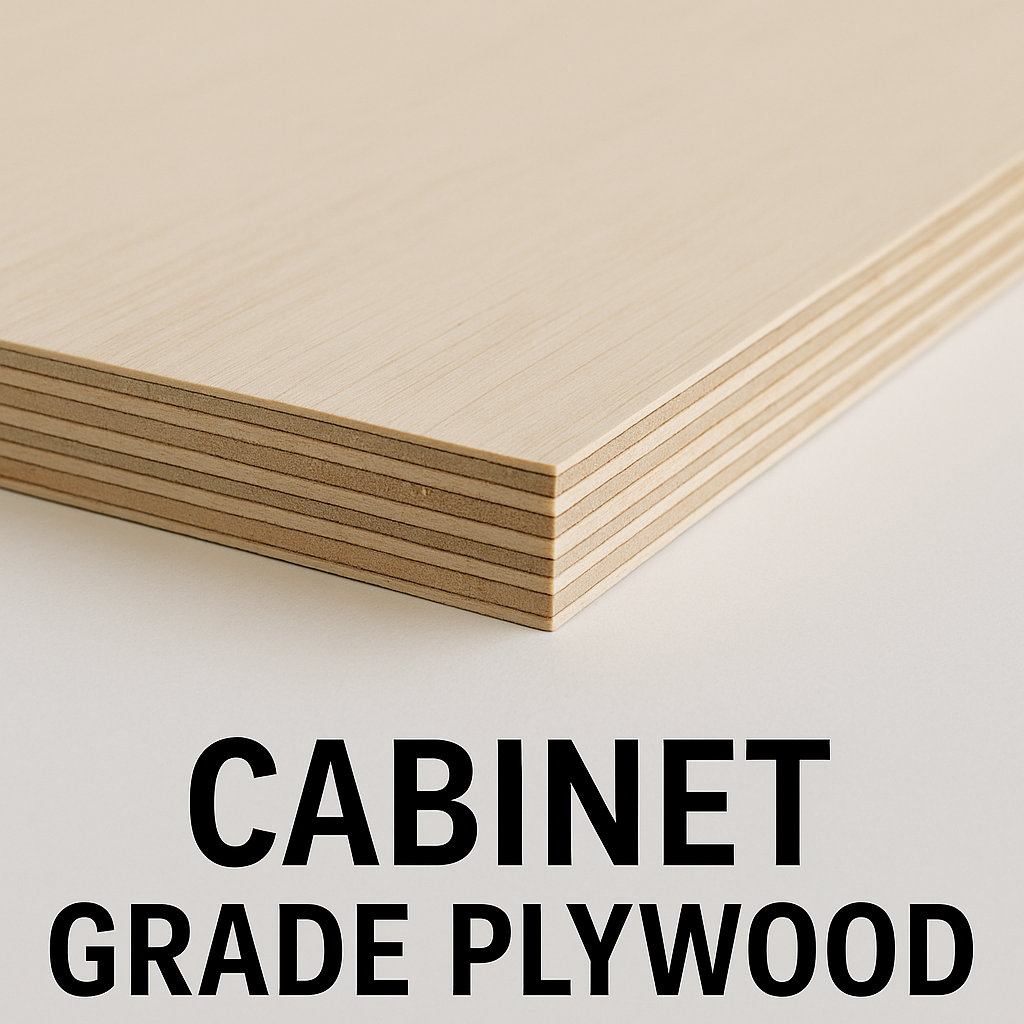
If you’ve ever opened a cabinet door and admired how solid, smooth, and seamless it feels, chances are you were looking at cabinet-grade plywood. It’s not just regular plywood; it’s the kind built for furniture that lasts.
Over the years, I’ve used cabinet-grade plywood for everything from built-in kitchen boxes to closet shelves and even a few bathroom vanities. It’s stable, smooth, and easy to finish — but not all plywood sold under that label truly earns the name.
In this guide, I’ll share what “cabinet grade” really means, which types to buy, how to identify quality panels, and a few tricks that have saved me hours (and headaches) in the shop.
What Exactly Is Cabinet Grade Plywood?
Cabinet-grade plywood is a high-quality hardwood plywood made for visible furniture and cabinetry. It’s different from construction or subfloor plywood because it has:
Smooth hardwood veneers (like birch, maple, or oak)
Tight, void-free cores that won’t delaminate
Consistent thickness and glue bonds
Uniform grain and sanded faces ready for finishing
Basically, it’s plywood you can confidently cut, edge-band, stain, and show off without needing to cover it up.
Why I Choose Cabinet Grade Plywood Over MDF or Cheap Panels
The main reasons I now stick with proper cabinet-grade plywood:
Strength and stability: Unlike MDF or particleboard, it holds screws and hinges firmly. I’ve hung heavy doors and drawer slides on it without worrying about stripped holes or sagging over time.
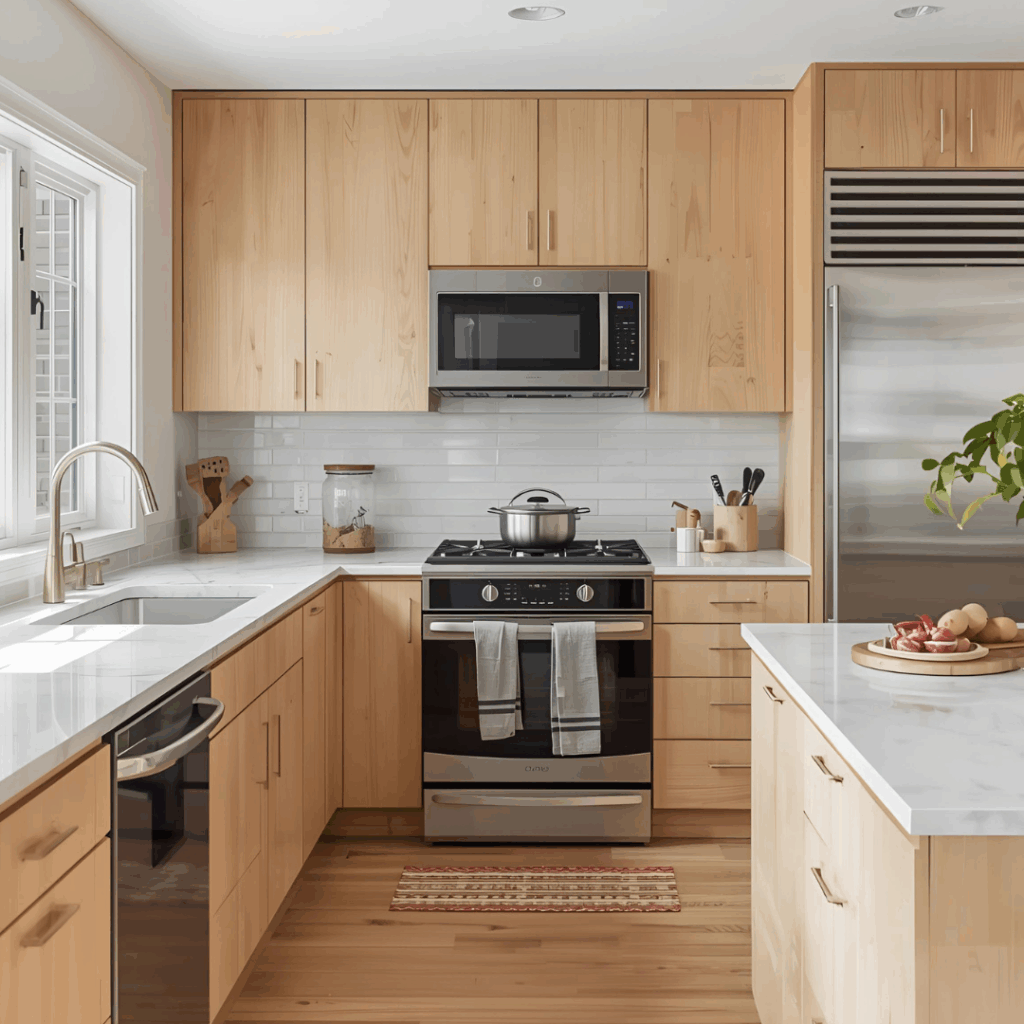
Beautiful grain: Veneers like maple and birch finish cleanly without blotches. Even a light coat of stain brings out a professional, furniture-quality look that never feels “DIY.”
Lighter weight: Easier to move and hang on the wall than MDF cabinets. When you’re lifting a fully assembled cabinet into place, that weight difference really matters.
Durability: Withstands humidity swings — vital if you live in an area with wet winters and dry summers. I’ve seen cheaper plywood swell and separate, but cabinet-grade panels stay solid year after year.
Less warping: Fewer voids inside mean your panels stay flatter over time. That stability keeps doors aligned and prevents that frustrating “one corner won’t close” problem down the line.
If you’re curious about comparing materials, I also wrote a deep dive on Plywood vs MDF.
Understanding Plywood Grades for Cabinets
Most cabinet-grade plywood follows a letter grading system that rates the front and back veneer quality:
Grade
Description
Common Use
A
Smooth, flawless, ideal for visible faces
Painted or stained cabinets
B
Few minor repairs, still very clean
Cabinet interiors or backs
C/D
Knots, patches, rough grain
Structural or utility use only
For cabinets, look for A/A–, A/B-, or B/B-rated sheets. The back doesn’t have to be perfect, but the front should be.
If you want an example of how these grades affect price and quality, my post on Best Plywood for Cabinets compares birch, maple, and oak side by side.
The Best Species for Cabinet Grade Plywood
After working with dozens of plywood types, here are my go-to species:
Birch: My top choice for general cabinet construction — strong, affordable, and easy to finish. It machines cleanly, resists chipping even on edge cuts, and takes both stain and clear coats beautifully.
Maple: Smooth-grained and perfect for painted finishes. I’ve used it on several kitchen projects where I wanted that crisp, modern look without worrying about grain showing through the paint.
Oak: Classic hardwood with a bold, open grain. Great for rustic or traditional designs. It stains evenly and adds that timeless, handcrafted feel that pairs well with warm, natural finishes.
Walnut or Cherry: Expensive but stunning — often used for furniture-grade work. The rich tones and natural depth of color make every cabinet feel custom-made, even in simple designs.
Alder or Poplar: Softer, easier to work with, and takes paint well. They’re great budget-friendly choices when you want smooth painted cabinets without paying hardwood prices.
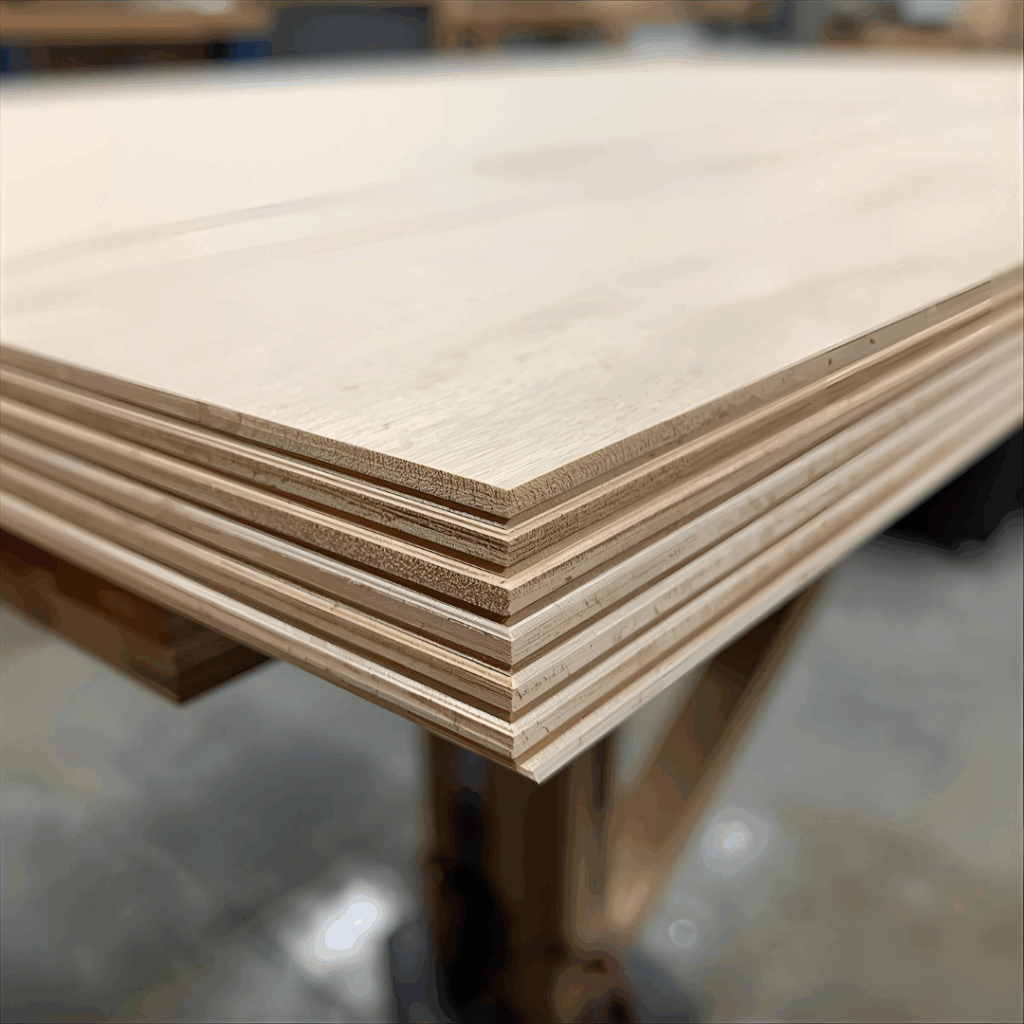
Core layers: Flip the sheet edge — you should see clean, even layers without holes or glue gaps. I always check this before buying, because uneven cores usually mean weak spots that can split when you drive screws.
Veneer thickness: A good face veneer will be thicker (not paper-thin). Thicker veneers allow for light sanding or refinishing later without burning through the top layer.
Surface flatness: Lay it across sawhorses — it should stay flat, not bow. If a sheet rocks or twists, it’ll fight you during assembly and throw off the alignment of every cabinet door.
Sound: Tap it; cheap plywood sounds hollow. Dense, cabinet-grade panels sound solid. You can literally hear the difference in quality once you’ve handled a few dozen sheets.
Moisture resistance: Look for labels like “MR” (moisture-resistant) or “BWR” (boiling water-resistant) for kitchens and bathrooms. These types hold up far better in humid spaces and prevent delamination around sinks or dishwashers.
¾-inch plywood is the gold standard for cabinet boxes and sides. It’s sturdy enough to support countertops, heavy dishes, and hardware without sagging or flexing over time.
½-inch is fine for backs or drawer boxes. I often use it when I want to save weight or cost on non-structural parts that don’t carry much load.
¼-inch works for lightweight panels and drawer bottoms. It’s surprisingly strong when supported by grooves or frames, making it perfect for backing panels that keep cabinets square.
Here are a few things I’ve learned the hard way (and wish I knew sooner):
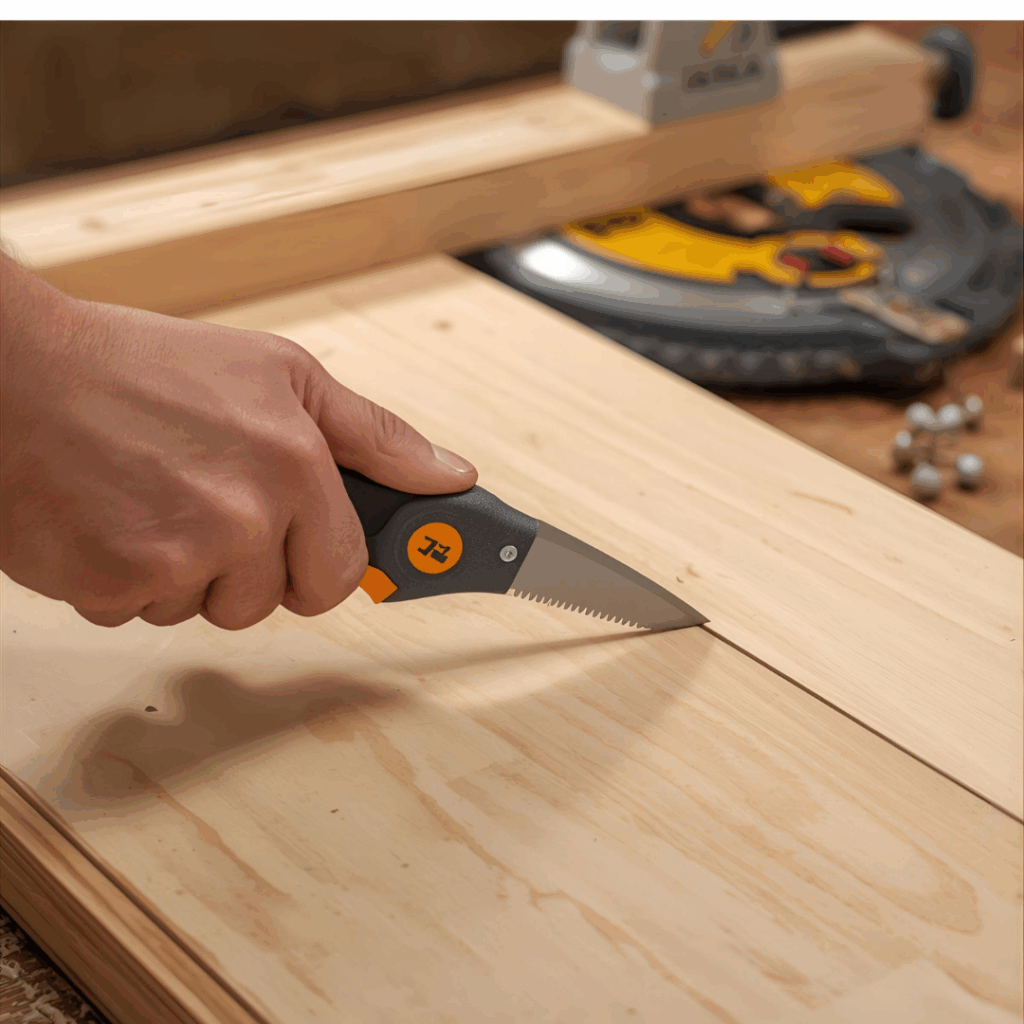
Score before cutting: Lightly cut the top veneer with a knife to prevent tear-out. It only takes a few seconds, but it saves you from ugly splinters along those visible edges.
Use fine-tooth blades: I use an 80-tooth plywood blade for my table saw. The clean cut leaves almost zero sanding needed and keeps the veneer edges sharp and crisp.
Edge band every exposed side to make your cabinet look professional. A simple strip of iron-on banding hides the layers and instantly upgrades the finished look.
Glue properly: I useTitebond III Wood Glue – Amazon for long open time and strong bonding. The extra working time lets me make minor adjustments without stressing about the glue setting too soon.
Clamp evenly: Don’t rush. A good bond is worth an extra 10 minutes of clamping. Uneven pressure can cause panels to shift or bow slightly — something you’ll definitely notice once the cabinet doors go on.
Moisture and Edge Protection
Cabinet plywood isn’t waterproof, but it can handle humidity if you seal it properly. Here’s what I do:
Apply two coats of polyurethane or water-based finish to all edges and end grain. I’ve learned that sealing those exposed fibers early prevents swelling or peeling later, especially in kitchens.
Use edge banding tape to protect raw edges from moisture. It not only blocks humidity but also gives your cabinets a polished, professional look that rivals store-bought builds.
In bathrooms or kitchens, pick a moisture-resistant core plywood. The extra protection is worth the cost — it keeps your cabinets stable even with daily steam or splashes.
How Cabinet Grade Plywood Compares in Price
Cabinet-grade sheets cost more — but they save you time and give professional results. Here’s what to expect (prices vary by region):
Finishing is what separates an average cabinet from a showpiece. Here’s my go-to workflow:
Sand with 150 → 220 grit before applying anything. A smooth surface helps the finish absorb evenly and prevents blotchy spots that can ruin an otherwise perfect project.
Vacuum and tack cloth to remove every bit of dust. Even a tiny bit of sawdust left behind can create rough patches or bumps under your finish.
Seal with shellac or a water-based sealer. This first coat locks in the grain and gives your stain or topcoat a consistent surface to adhere to.
Stain (if desired) — apply evenly with a rag or sponge. I always work with the grain and wipe off the excess quickly for a more natural, hand-rubbed look.
Topcoat with clear polyurethane or lacquer. Two thin coats give a durable finish that’s easy to clean and beautifully brings out the wood’s depth.
If you prefer the natural wood tone, skip the stain and use a matte clear coat for that Scandinavian-style look.
Environmental and Health Considerations
When I build cabinets for kitchens or kids’ rooms, I stick to formaldehyde-free plywood, like PureBond. Cheaper imports often use urea-formaldehyde glue, which can off-gas. Look for NAUF (No Added Urea Formaldehyde) on the label.
That choice isn’t just healthier — it can help your project qualify for LEED or GreenGuard certifications if you’re doing eco-conscious builds. (For more, visit Columbia Forest Products’ PureBond resource page.)
Cabinet Grade Plywood Checklist
Before you load that sheet onto your cart, check these boxes:
Face veneer grade A or B: These grades ensure a smooth, clean finish that’s worth showing off instead of hiding behind paint or trim.
Solid core — no visible voids: Small gaps inside the core can cause panels to flex or crack later, so I always check the edge before buying.
Flat and square edges: A warped or uneven sheet will throw off every measurement and make assembly frustrating.
Moisture-resistant glue: Essential for kitchens, bathrooms, or basements where humidity can creep in over time.
Veneer thickness ≥ 1/42 inch: Thicker veneers are more forgiving during sanding and refinishing, saving your project if you ever need touch-ups.
Proper species for your finish: Pick a wood that matches your desired look — birch or maple for paint, oak or walnut for rich, natural tones.
Sanded, ready-to-finish faces: A presanded surface saves hours of prep and ensures your first coat goes on smoothly and evenly.
Final Thoughts
Cabinet-grade plywood is the foundation of a professional-quality build. If you choose wisely, even a small workshop setup can produce cabinets that rival high-end custom shops.
I’ve built kitchens, vanities, and garage cabinets all from good birch and maple plywood — and years later, the doors still hang straight, and the panels haven’t warped a millimeter.
So when in doubt, spend a little more on better panels. It pays off in every hinge alignment, every drawer slide, and every smooth finish.
Related Posts:
Oven Base Cabinet: A Real DIY & Buying Guide by Admin September 23, 2025 Installing Why I Care About Oven Base Cabinets When I first decided to redo my kitchen, I figured cabinets were just boxes with doors. Easy, right?…