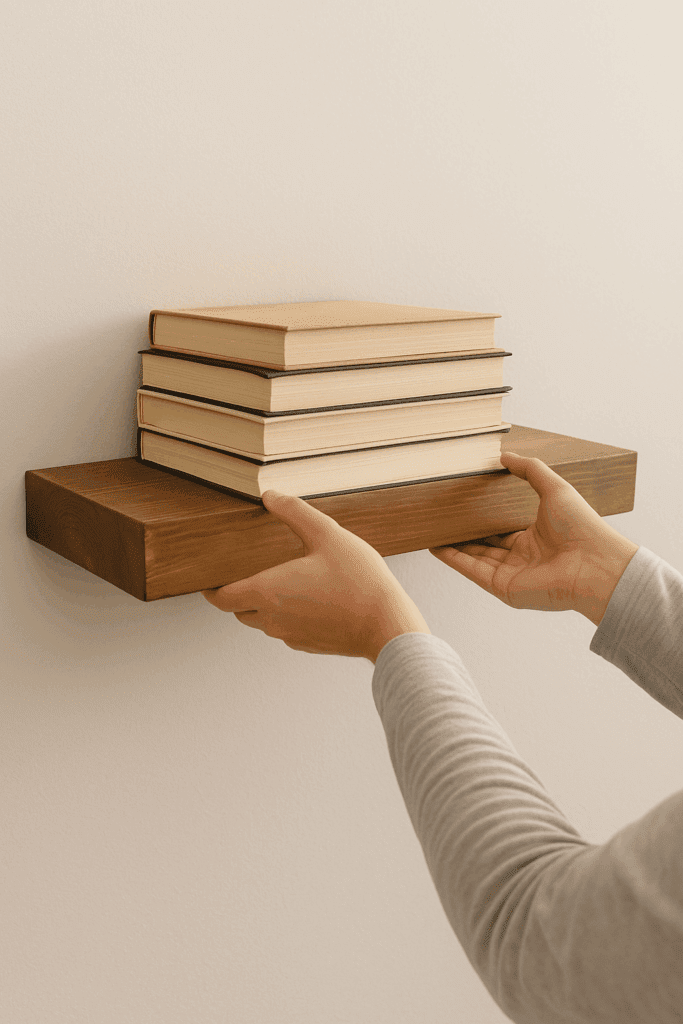
I still remember the first time I put up floating shelves. It wasn’t some big renovation—just a Saturday project in my living room. Instead of dragging in another heavy bookcase, I screwed two shelves into the wall and slid them over the hidden brackets. Suddenly, the space felt open, like I had more breathing room. That’s what makes floating shelves so practical. They hide the hardware, they don’t hog floor space, and they give you a place to show off the little things that matter—plants, photos, or even the stack of books you’ve been meaning to read.
What Are Floating Shelves?
Floating shelves are wall-mounted shelves that use hidden brackets or rods to create the illusion that they’re floating. This makes them stronger and sleeker than many traditional shelves. They can be built from plywood, solid wood, MDF, or even metal, and they come in countless finishes.
Modern homes often feature white, black, or glossy shelves.
Rustic spaces lean toward reclaimed barn wood or distressed plywood.
Apartments and condos love floating shelves because they add storage without crowding the floor.
Why I Keep Adding Floating Shelves
The first shelf I ever put up was crooked. I didn’t realize it until I set a candle on it, and it slowly slid toward the edge. I fixed it later with a level, but honestly, even lopsided, it made the bathroom look better than it did before. One board, a couple of brackets, and suddenly I had a place for towels that weren’t piled on the floor.
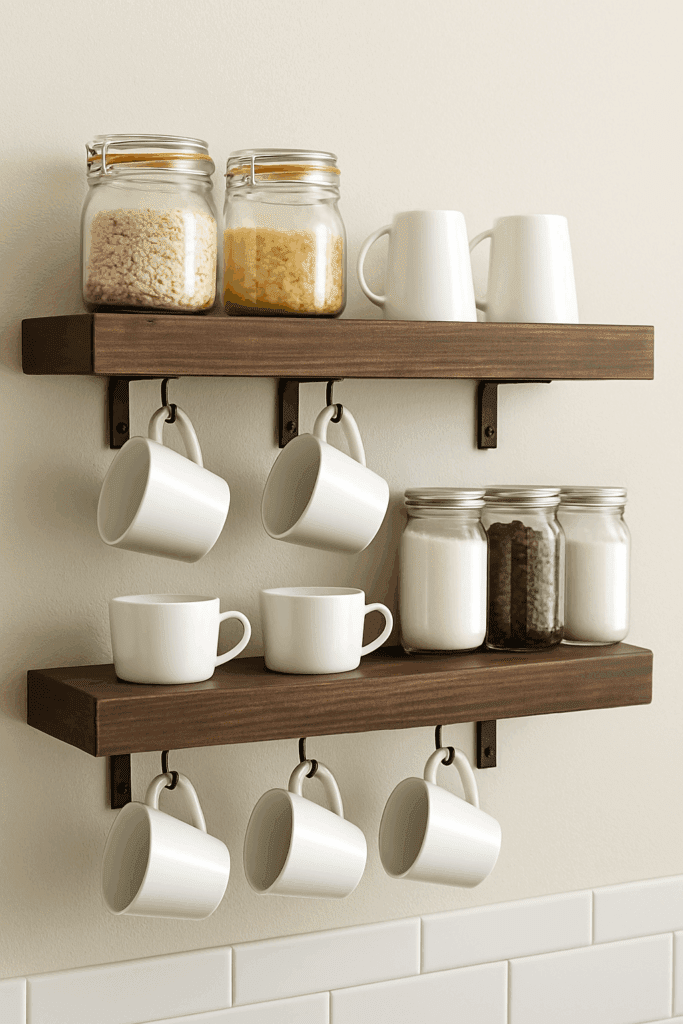
My kitchen shelves are even more useful. I keep my coffee mugs up there now, along with a jar of beans and a little plant that somehow survives the steam from the kettle. Before, I had to shuffle dishes around in an overcrowded cabinet. Now it’s just—grab a mug, pour, done. My friend went bigger: she yanked out one whole cabinet in her tiny apartment kitchen and swapped it for two chunky shelves. You’d think that would mean less storage, but somehow it feels lighter and holds more of the stuff she actually uses.
And the style? It tricks people. No brackets in sight, so guests assume they’re pricey custom work. I made one set out of leftover plywood I stained dark walnut, and a neighbor swore it was solid hardwood. I didn’t correct him.
What I like most is that they don’t have a set job. One person I know uses them for books and plants, another for folded jeans in a closet. I even saw someone line their garage wall with them just to get paint cans off the floor. Once you put up a couple, you start looking around the house thinking, “Yep, I could use one there too.”
Best Places to Use Floating Shelves
One of the reasons floating shelves are so popular is that they fit just about anywhere. You don’t need a huge wall or a renovation budget to make them useful. I’ve put them up in several different rooms, and every time they solve a problem I didn’t even realize I had.
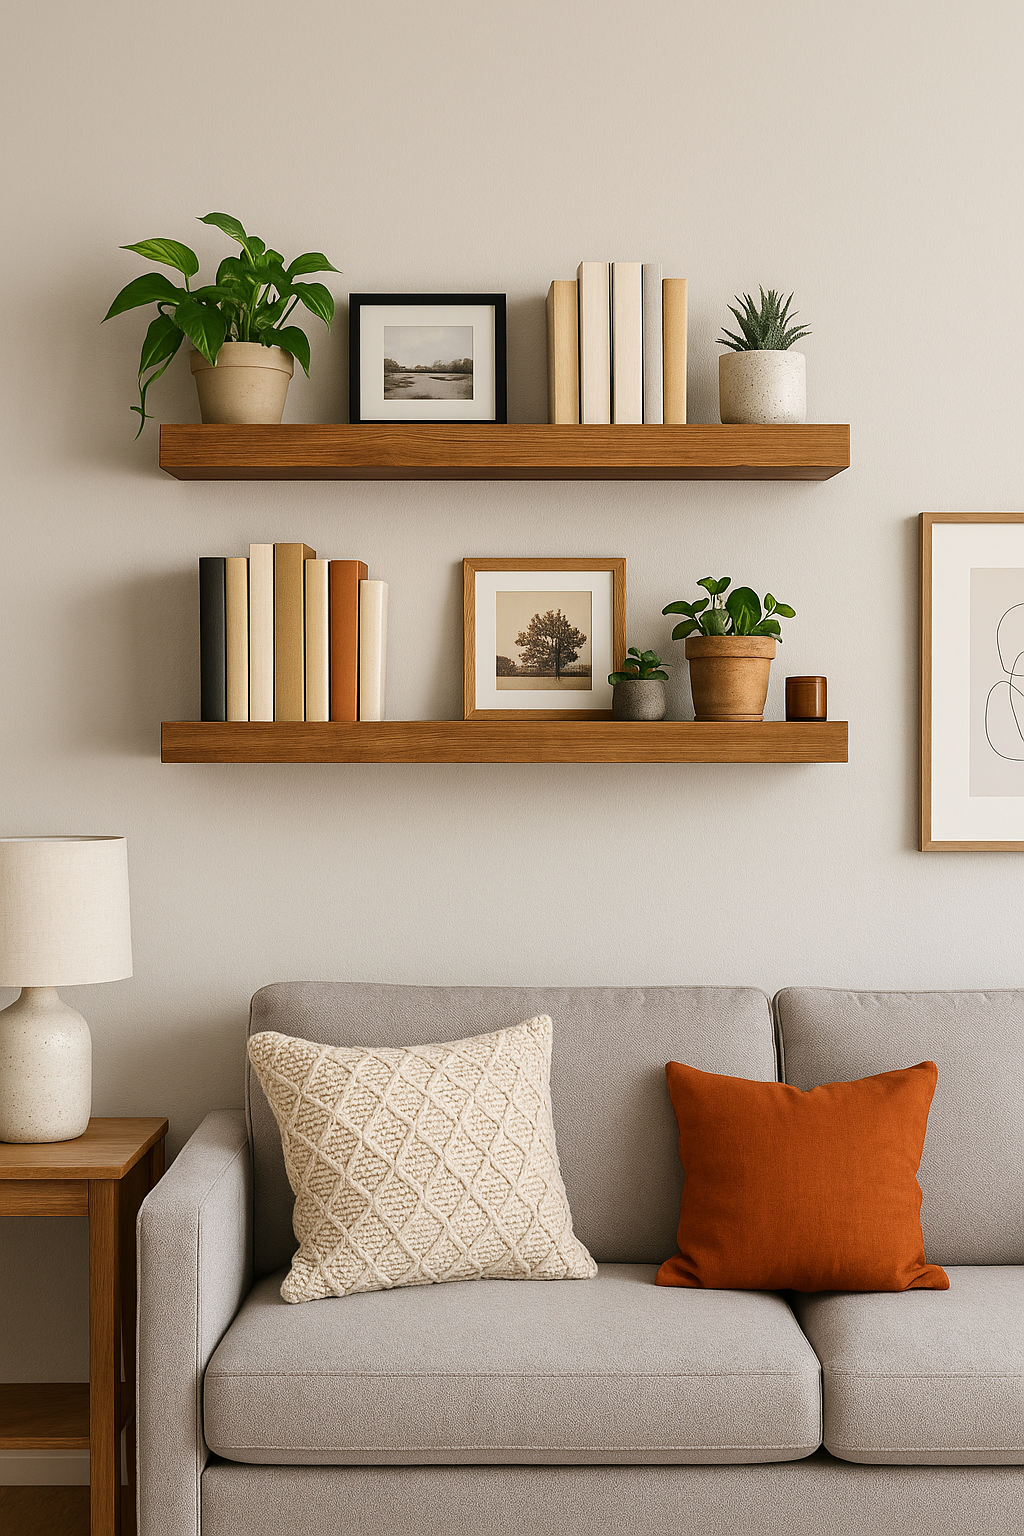
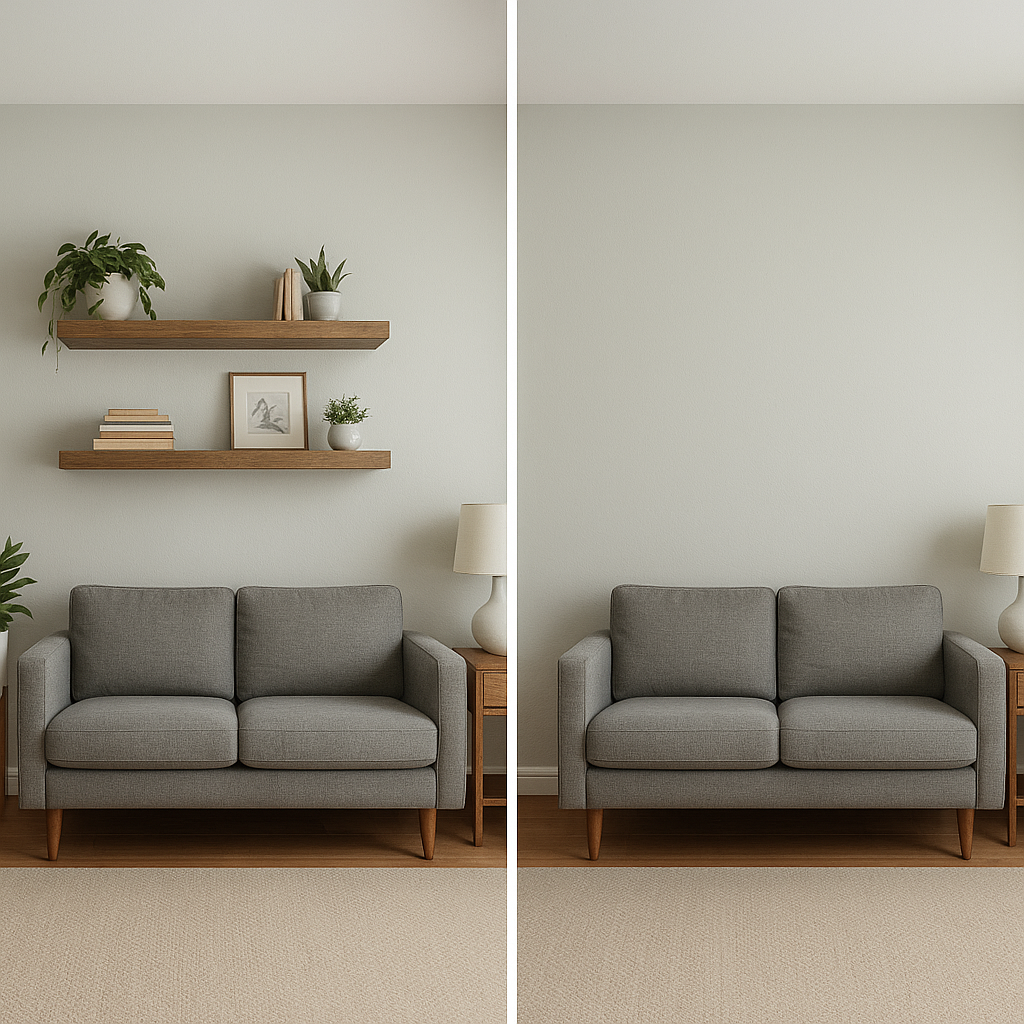
Living Room A bare wall in the living room can look flat and unfinished. Floating shelves are a quick fix. I use mine to hold a few plants, some framed photos, and a stack of books that I actually read. A friend of mine lined three in a row above her sofa, and now it looks like a custom display wall without the custom price tag.
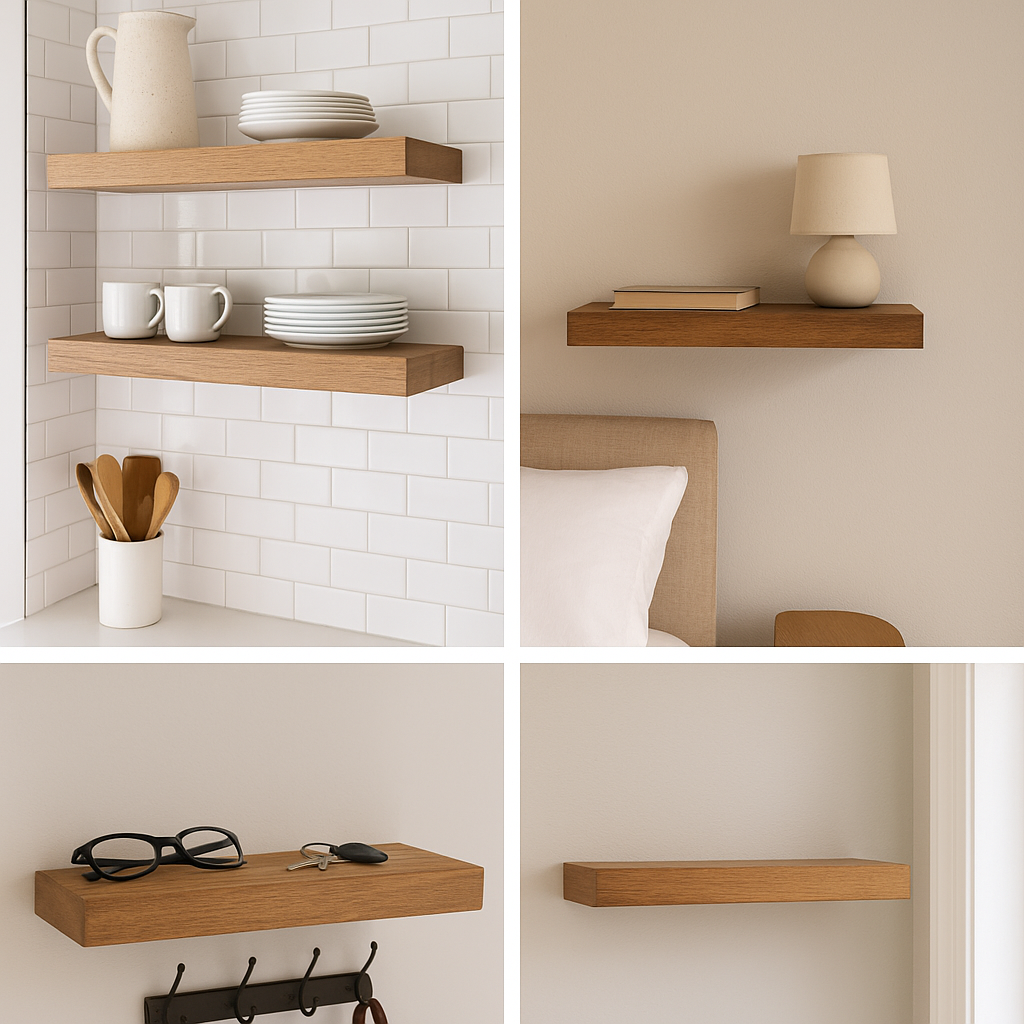
Kitchen In tight kitchens, cabinets sometimes seem to consume the entire room. Replacing one cabinet with floating shelves opens things up. I keep my coffee mugs and jars on mine, and I can grab them without rummaging through a door that bangs into me. It feels more open, and it’s oddly satisfying to see the dishes lined up.
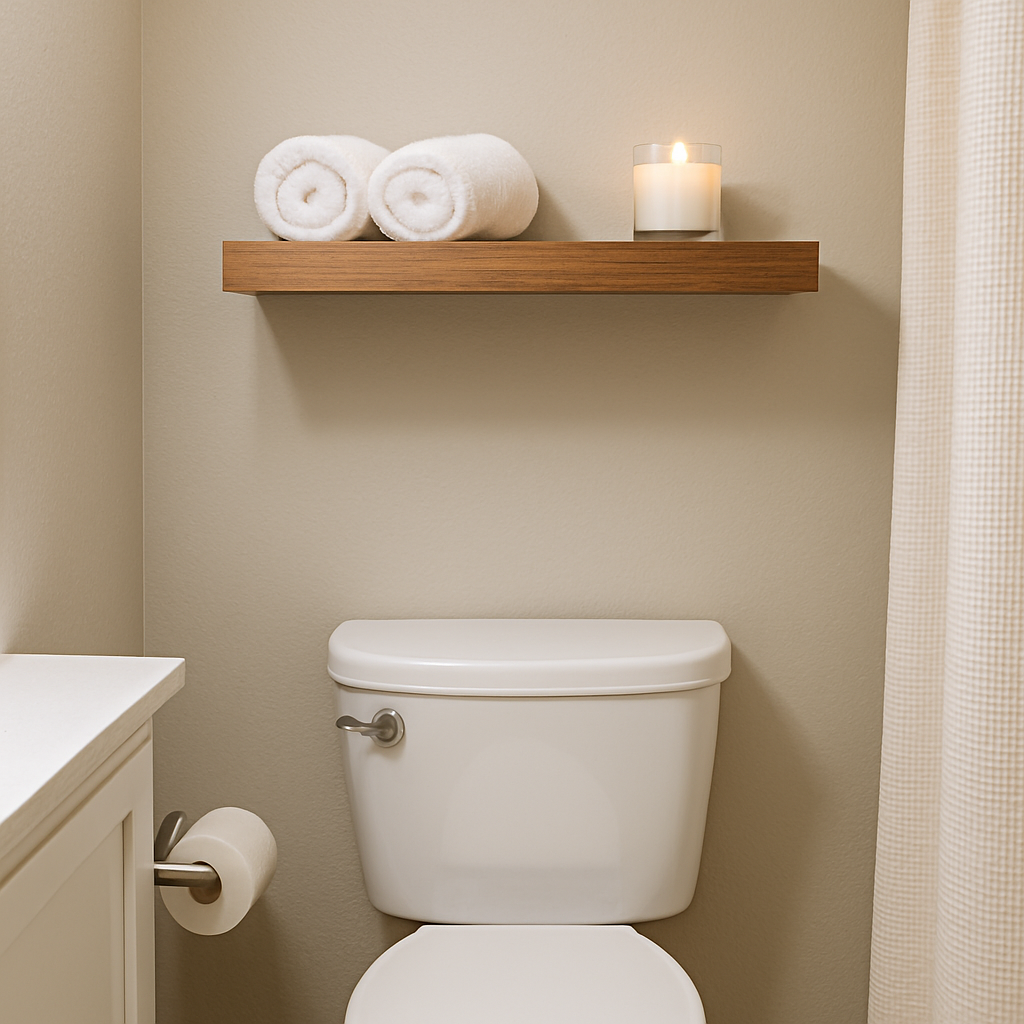
Bathroom Bathrooms are where floating shelves really shine. I put one above the toilet for extra towels, and it makes the room look like a spa instead of a storage closet. Some people add a candle or a small plant, which softens the look and makes even a small bath feel put together.
Home Office My office shelf holds a mix of work supplies and a couple of items that bring me joy—a small plant and a photo frame. Keeping the desk clear helps me focus, and having that little shelf above makes the space feel more intentional.
Bedroom Floating shelves are great nightstand replacements. I saw this in a studio apartment where there was no room for full furniture. Two shelves mounted beside the bed held books, a lamp, and a phone charger. It looked neat and saved a ton of floor space.
Entryway This might be my favorite spot for them. I always used to toss my keys on the kitchen counter, which meant I spent too much time looking for them. Now I’ve got a small floating shelf by the door. Keys, wallet, and mail go there, and I don’t have to think about it.
Floating shelves aren’t limited to these rooms, of course. Once you start adding them, you’ll probably catch yourself eyeing every empty wall in your house and thinking, “That’s a good spot for one more.”
Your choice of material impacts both appearance and strength:
Plywood – Strong, affordable, and easy to stain or paint.
MDF – Smooth finish for painting, but not great for heavy loads.
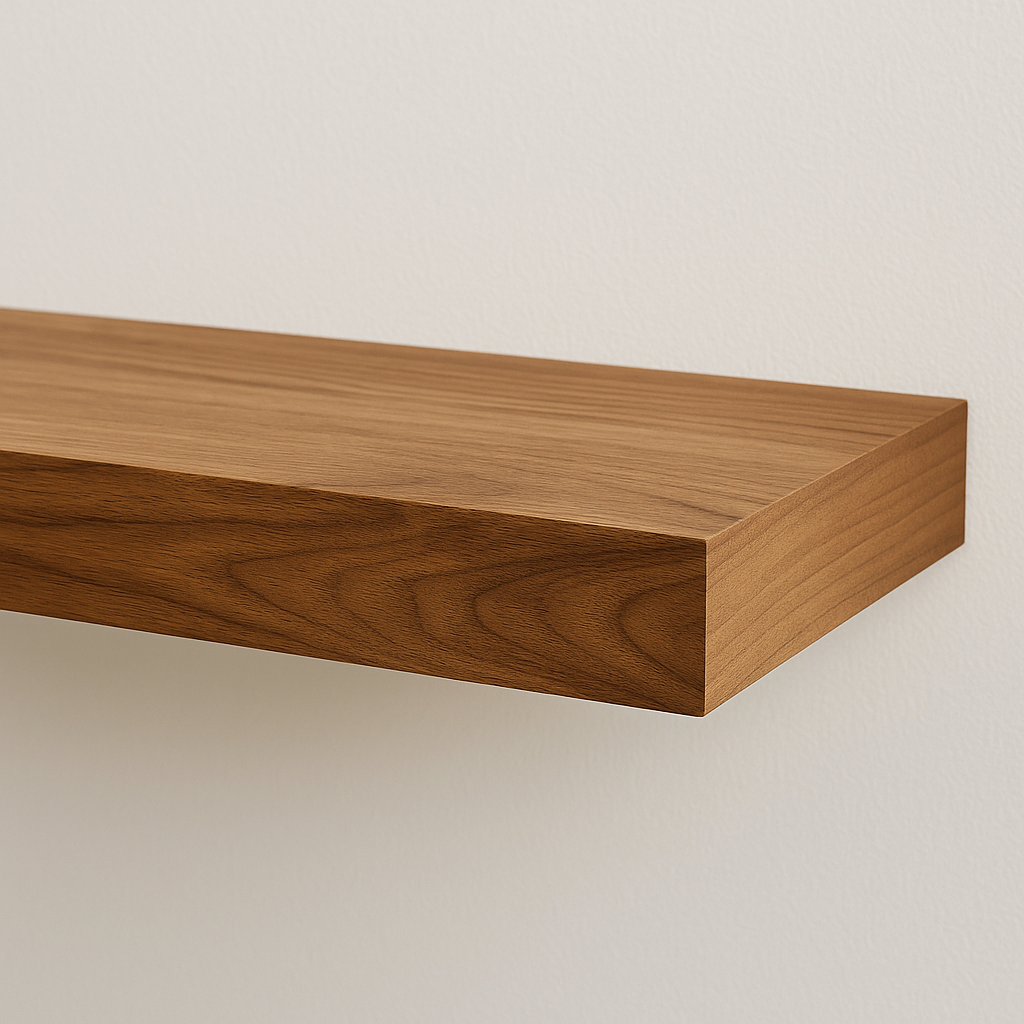
Solid Hardwood – Strong and durable, ideal for long shelves.
Metal – Perfect for an industrial or modern design.
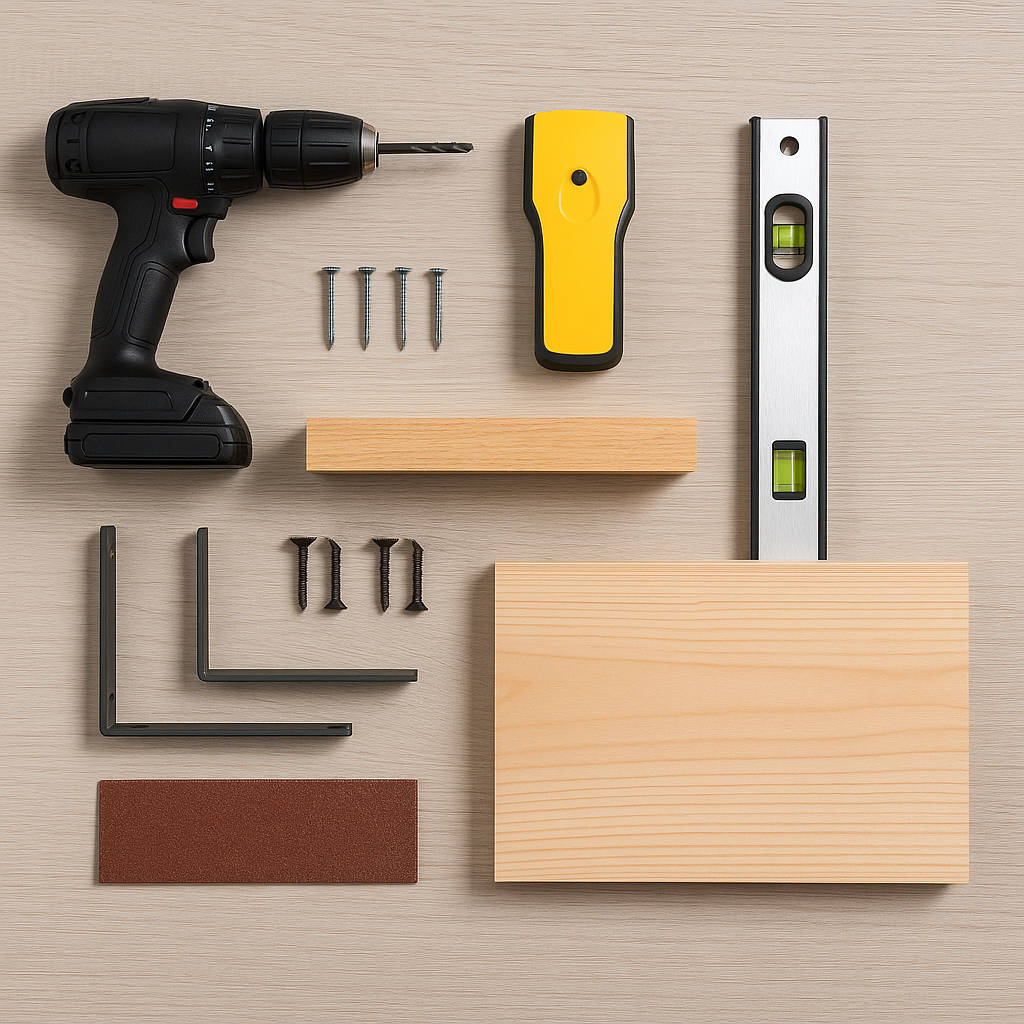
How to Build Floating Shelves (DIY Tutorial)
Steps:
Measure and Mark – Decide where your shelves will go, then use a stud finder to mark studs.
Install Brackets – Drill brackets directly into studs for maximum strength.
Prepare the Shelf – Cut your board to size, sand it smooth, and apply stain or paint.
Mount Shelf – Slide the shelf onto the brackets until flush with the wall.
I thought this would be a quick one-hour project. Spoiler: it wasn’t. The first shelf I tried to hang leaned forward like it was trying to escape the wall, and I had to redo the whole thing. Here’s what I actually did once I stopped rushing.
I started with a stud finder. The first time I skipped it, I drilled into nothing and ended up with a big, useless hole. Once I finally found the studs, I marked them with a pencil and ran a strip of blue painter’s tape across the wall to visualize where the shelf would sit. That trick saved me from putting it way too high.
Brackets came next. I cannot stress this enough: use more than two. I tried being clever with just a pair, and the shelf tilted the second I put books on it. With three, it held firm. I checked the level about five times because nothing is more annoying than staring at a crooked shelf you built yourself.
The shelf itself was just a leftover board I cut down. Sanded the edges, stained it walnut, and waited overnight. Sliding it onto the rods the next day was oddly satisfying. I plopped a plant on it, and for a second, I just stood there, proud that it wasn’t falling apart.
The way you style your shelves matters just as much as building them.
How to Style Floating Shelves Without Making Them Look Staged
When I first put mine up, I filled them with books. Nothing else, just stacks of books. It looked flat and honestly kind of boring. Over time, I figured out a few tricks that make shelves look intentional instead of like storage.
Balance matters, but don’t overthink it. If you’ve got a tall vase, pair it with something smaller next to it—a candle, a short plant, or even a little framed photo. The mix of heights makes your eye move around instead of landing on one heavy object.
Layering adds depth. I used to line things up in a row, military style, and it looked stiff. Now I overlap a picture frame with a couple of leaning books, or set a plant just in front of another object. That little bit of overlap makes the shelf look lived-in.
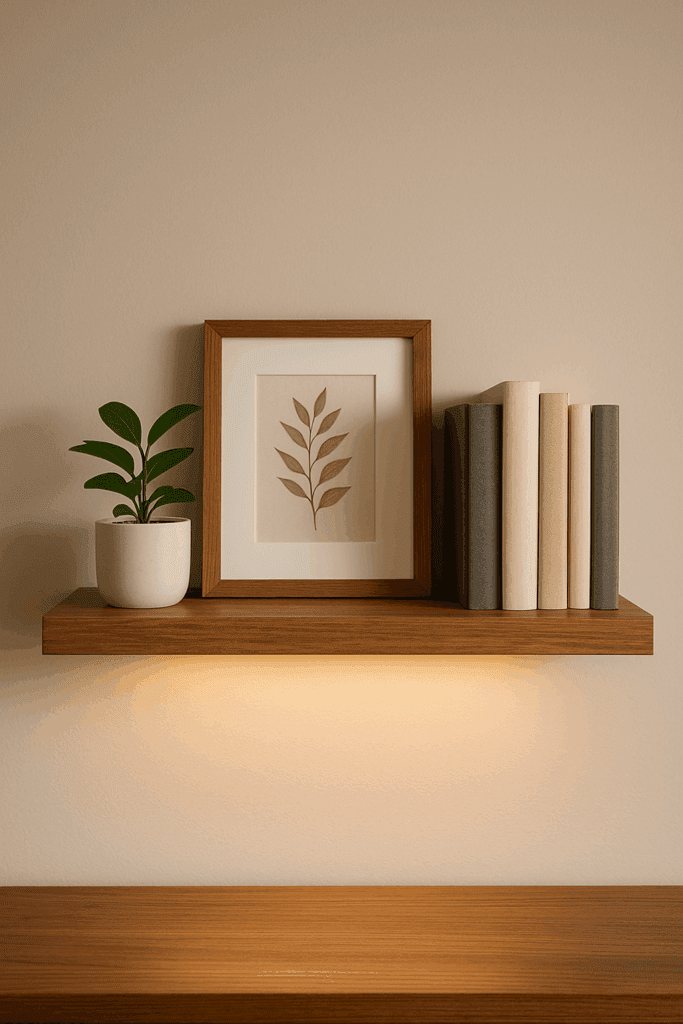
Plants make a huge difference. Even one pothos spilling over the edge instantly softens the whole display.
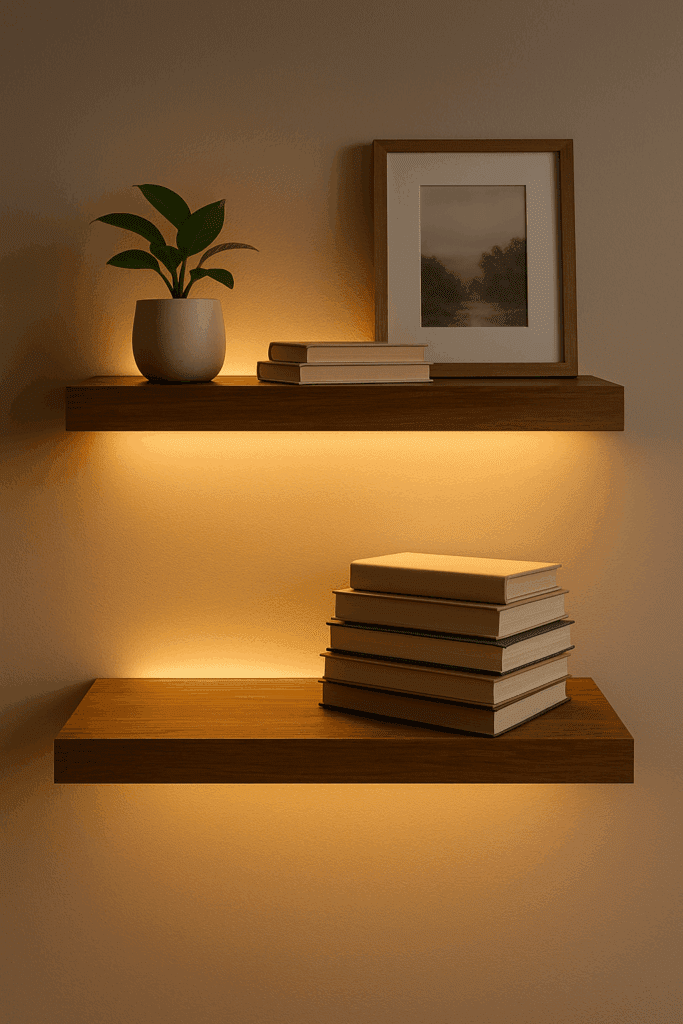
Lighting is a cheat code. I stuck an LED strip under one shelf in the living room, and suddenly it looked like something out of a magazine.
And here’s the best trick—rotate stuff out. I swap in a candle or small pumpkin in the fall, then greenery in the spring. It keeps the shelves from going stale, and it’s fun to change things up.
Common Mistakes to Avoid
Skipping Studs – Drywall alone won’t hold heavy shelves.
Overloading – Even solid brackets have weight limits.
Weak Materials – Thin MDF can warp or sag.
Poor Finish – Cheap paint or stain can chip quickly.
Pros and Cons of Floating Shelves
Pros:
Sleek, modern design
Inexpensive DIY option
Flexible for any room
Space-saving alternative to cabinets
Cons:
Limited weight capacity compared to cabinets
Requires precise installation
Dust easily
Not always renter-friendly
Best Floating Shelf Kits (Amazon Picks)
If you don’t want to DIY, ready-made kits are affordable and stylish:
It depends on the brackets and studs. On average, 30–75 lbs per shelf is safe when installed correctly.
2. Can floating shelves be installed on drywall only? Not recommended. For best results, always mount into studs. If studs aren’t available, use heavy-duty wall anchors.
3. What thickness should floating shelves be? Most shelves are 1.5–2 inches thick for strength and aesthetics.
4. Are floating shelves easy to install? Yes, with a stud finder, drill, and level, most DIYers can complete installation in under two hours.
5. Can floating shelves be removed easily? Yes, though they may leave holes where brackets were installed.
Final Thoughts
Every time I’ve added floating shelves to a room, I’ve wondered why I didn’t do it sooner. They’re one of those projects that look harder than they are. A couple of brackets, a board, and an afternoon, and suddenly you’ve got storage and style in the same spot.
The nice part is how flexible they are. If you like the farmhouse vibe, grab a chunk of rough wood and keep it simple. For a modern space, paint them white or black and keep the lines clean. I even made one from leftover plywood once, sanded it smooth, stained it dark, and my neighbor thought it was custom hardwood.
If building isn’t your thing, that’s fine too. The kits online are cheap and surprisingly sturdy—I’ve tested a few myself. However you get them up, they’re the kind of upgrade that makes walls feel finished instead of bare. And once you put in your first set, don’t be surprised if you start looking around the house thinking, “Hmm… maybe another shelf would look good there.”
DIY Floating Desk by Admin July 26, 2023 DIY Building a floating, wall-mounted desk for modern office furniture requires a different style and special techniques. You can’t make a “floating” desk like any other…