Knowing how to cover plywood properly can make all the difference in how your finished project looks and lasts. If you’ve ever stepped back from a build and thought, “That edge looks rough,” you’re not alone. Plywood is incredibly versatile—great for everything from DIY furniture to full-on home projects—but its raw edges and plain surfaces can sometimes look unfinished. The good news? There are simple, affordable ways to dress it up and make it shine.
This guide is full of practical techniques for covering plywood edges and surfaces beautifully, whether you’re aiming for clean and modern or soft and cozy.
🪵 Covering the Edges of Plywood
When you’re using cabinet-grade plywood, the face veneer is usually nice enough to show off—but those exposed edges? Not so much. Here’s how to give them a clean, finished look:
1. 🔥 Wood Veneer Edging
Wood veneer edging is a thin strip of real wood, often backed with heat-activated glue, designed to give your plywood edge a clean, continuous appearance. It’s often used in cabinetry and custom furniture to make plywood look like solid hardwood.
Best for: A seamless, solid-wood appearance
Why it works: When applied properly, it makes the plywood look like a solid plank.
How to do it:
Use pre-glued veneer tape. Just line it up, heat with an iron, and trim with a utility knife.
For a cleaner result, let the top veneer overhang slightly to hide the edge seam.
If you’re using your own veneer, apply wood glue to both surfaces, let it dry, and then iron it into place.
2. 🪚 Wood Banding
Wood banding involves applying a thicker piece of hardwood along the edge of the plywood. It adds a sense of craftsmanship and strength, and allows for sanding, staining, or shaping just like solid wood—ideal for bookshelves, tabletops, and visible furniture edges.
Best for: Projects that need durability with a handmade look
Why it works: Gives your edges strength and a craftsman-style finish.
How to do it:
Cut strips of hardwood (1/8″ to 1/4″ thick), either to match or contrast the plywood face.
Glue and clamp them in place, or use brad nails and fill the holes.
For extra strength, cut a 45-degree notch and insert the trim at an angle.
3. 🧱 Plastic Trim
Plastic trim is often used in commercial or utility settings where durability and ease of cleaning are more important than aesthetics. It’s functional, kid-friendly, and a great choice for workshops, playrooms, and garage furniture.
Best for: Utility furniture, kids’ spaces, or workbenches
Why it works: It’s durable, easy to clean, and quick to apply.
How to do it:
Cut a shallow groove into the edge of the plywood.
Press the plastic trim into place—no need for glue unless it’s a high-traffic area.
🎨 Covering Plywood Surfaces
If painting or staining isn’t enough, or you want to add color, texture, or even weather protection—these are great options:
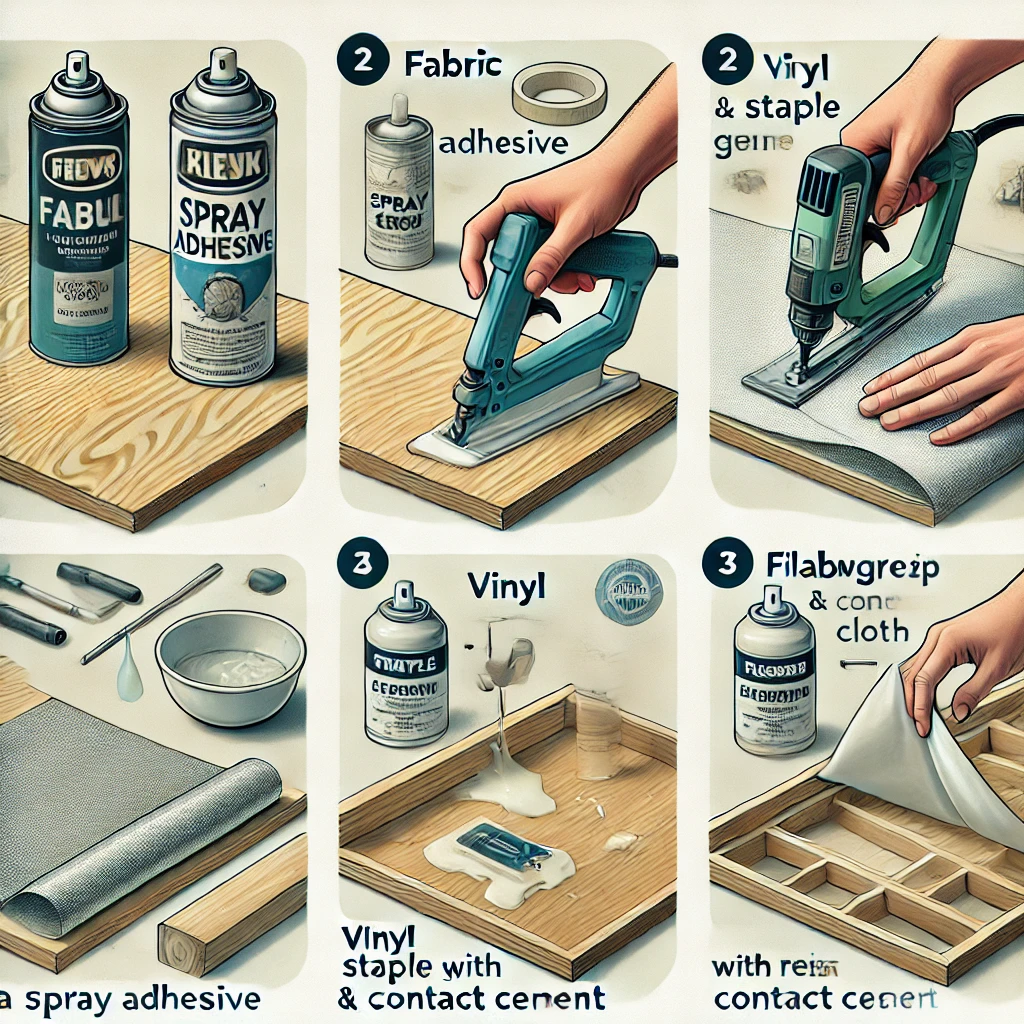
Fabric can turn a rough plywood surface into a soft, inviting finish. It’s ideal for home décor projects like padded headboards, wall panels, and kids’ room accents. Choose durable upholstery fabrics for long-lasting results.
Best for: Soft panels, decorative backdrops, or custom furniture
Why it works: Adds texture, color, and softness
How to do it:
Sand sharp edges and roughen the surface for better glue grip.
Spray adhesive on the back of the fabric (not the wood), then smooth into place.
Wrap the edges around the back like a gift and glue them neatly.
2. 🟦 Vinyl
Vinyl is a water-resistant, easy-to-clean material that works well for projects exposed to spills or wear. It’s great for furniture, play tables, utility benches, and anything that needs to be both durable and low-maintenance.
Best for: Waterproof surfaces, upholstery, or playroom furniture
Why it works: Tough and easy to wipe clean
How to do it:
Use contact cement for strong adhesion or staples for speed.
Try textured or patterned vinyl sheets for a modern design touch.
You can even use peel-and-stick vinyl floor planks—yes, really!
3. 🧪 Fiberglass
Fiberglass is a heavy-duty covering that provides strength and weather protection. Commonly used on boats and outdoor structures, it covers plywood that will live outdoors or in wet areas, like planters, RV interiors, or patio furniture.
Best for: Outdoor furniture, boats, or high-moisture environments
Why it works: Waterproof, super durable, and paintable
How to do it:
Round all corners to prevent fiberglass cloth from tearing.
Sand with 120–150 grit for grip, then apply epoxy or resin.
Alternate cloth and resin layers, wrapping the edges.
Once cured, sand and apply a gel coat or durable paint.
Final Thoughts on How to Cover Plywood
Covering plywood isn’t just about hiding flaws—it’s about elevating your project. Whether you’re building a clean-lined bookcase or a rugged outdoor bench, taking the time to finish plywood properly makes everything look more intentional.
Choose your method based on the amount of wear and tear the piece will experience, the look you’re going for, and your tools or skills. From iron-on veneer to layered fiberglass, every approach can work beautifully when done right.
Plywood vs Hardboard: Which One Is Right for Your Project? by Amy Reed September 8, 2025 More About Whether you're building a cabinet, designing wall panels, or installing subflooring, choosing the right type of wood product is essential. Two popular options, plywood and…