When I saw the price of a kids’ picnic table at the store, I couldn’t believe it. Spending over a hundred dollars for something so simple didn’t make sense, so I built my own. This guide shows you exactly how to build a kids’ picnic table that’s affordable, durable, and perfect for years of outdoor use.
It turned out to be one of the best weekend projects I’ve ever taken on. The table was simple, inexpensive, and sturdy enough to handle years of juice spills, coloring sessions, and the occasional climbing adventure. Even now, it’s still standing strong in the backyard.
In this guide, I’ll walk you through the whole process step by step. From choosing the right wood and gathering your tools to measuring, cutting, and screwing everything together, I’ll share exactly what worked for me—and a few small lessons I learned along the way. If you can handle a tape measure, a saw, and a drill, you can absolutely build this picnic table.
Planning Your Kids’ Picnic Table
Before picking up a saw, it’s helpful to consider a few basics.
Who will use it? For toddlers, a lower seat height (about 10–11 inches) is best. For kids up to 8 years old, a seat around 12–13 inches off the ground works well.
How much space do you have? A typical kids’ picnic table footprint is around 4 feet by 3 feet. Ensure your yard or patio can accommodate that without blocking walkways.
What wood will you use?
Cedar or redwood: Naturally rot-resistant, lightweight, and smells great while cutting.
Pressure-treated pine: Budget-friendly but heavier. Must be sealed or painted.
Exterior plywood: Excellent for tabletops and seats if sealed properly.
Avoid untreated indoor wood outdoors—it will warp within a season.
I used cedar because it weathers beautifully, but pine will save you money if you seal it.
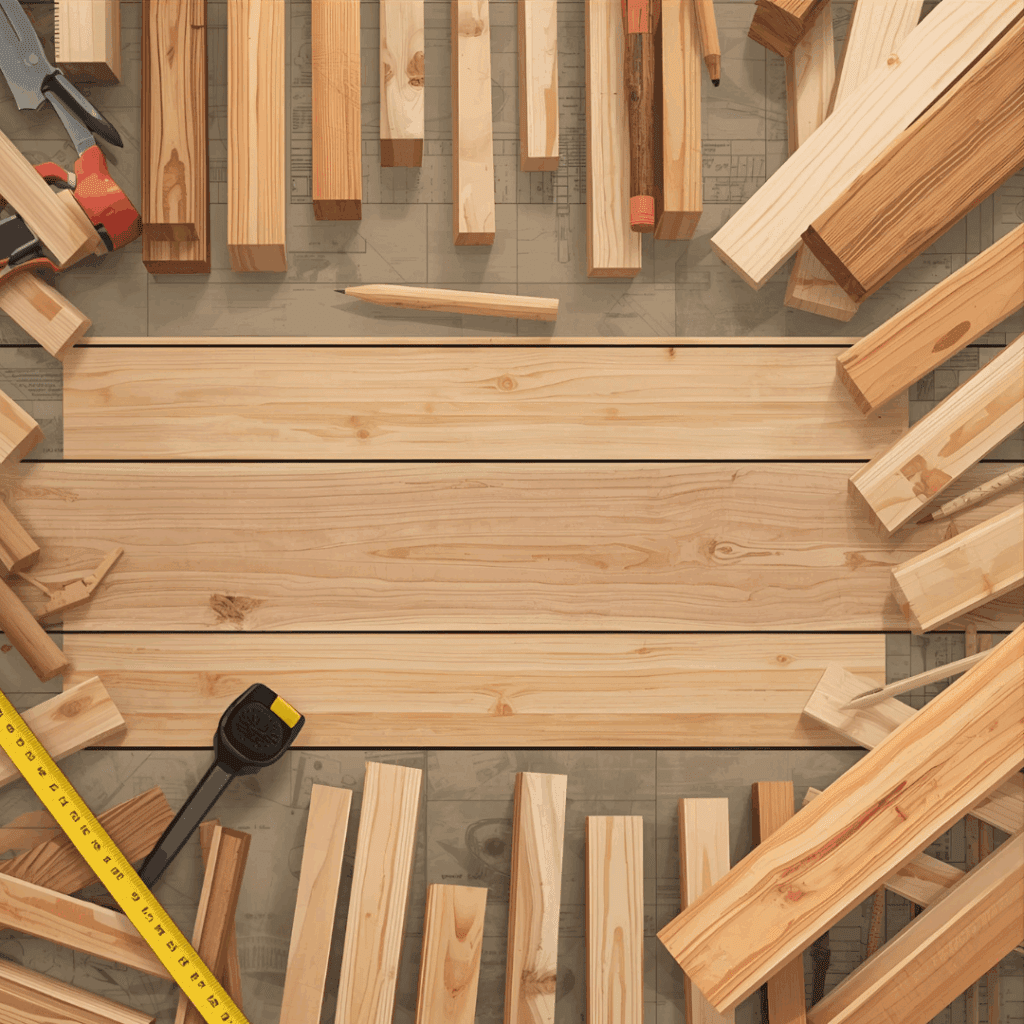
Tools You’ll Need
Don’t worry—you don’t need a fancy workshop. Here’s the basic kit:
Optional but handy: a pocket hole jig for stronger joints.
Materials List
This plan builds a small table for four children.
(4) 2x4s, 8 feet long (legs and braces)
(1) sheet of ¾-inch exterior plywood (tabletop and seats)
3-inch galvanized deck screws
2-inch galvanized screws
Wood glue (outdoor grade)
Child-safe outdoor sealer or paint
Cost: around $50–$70, depending on lumber prices.
Step-by-Step Building Instructions
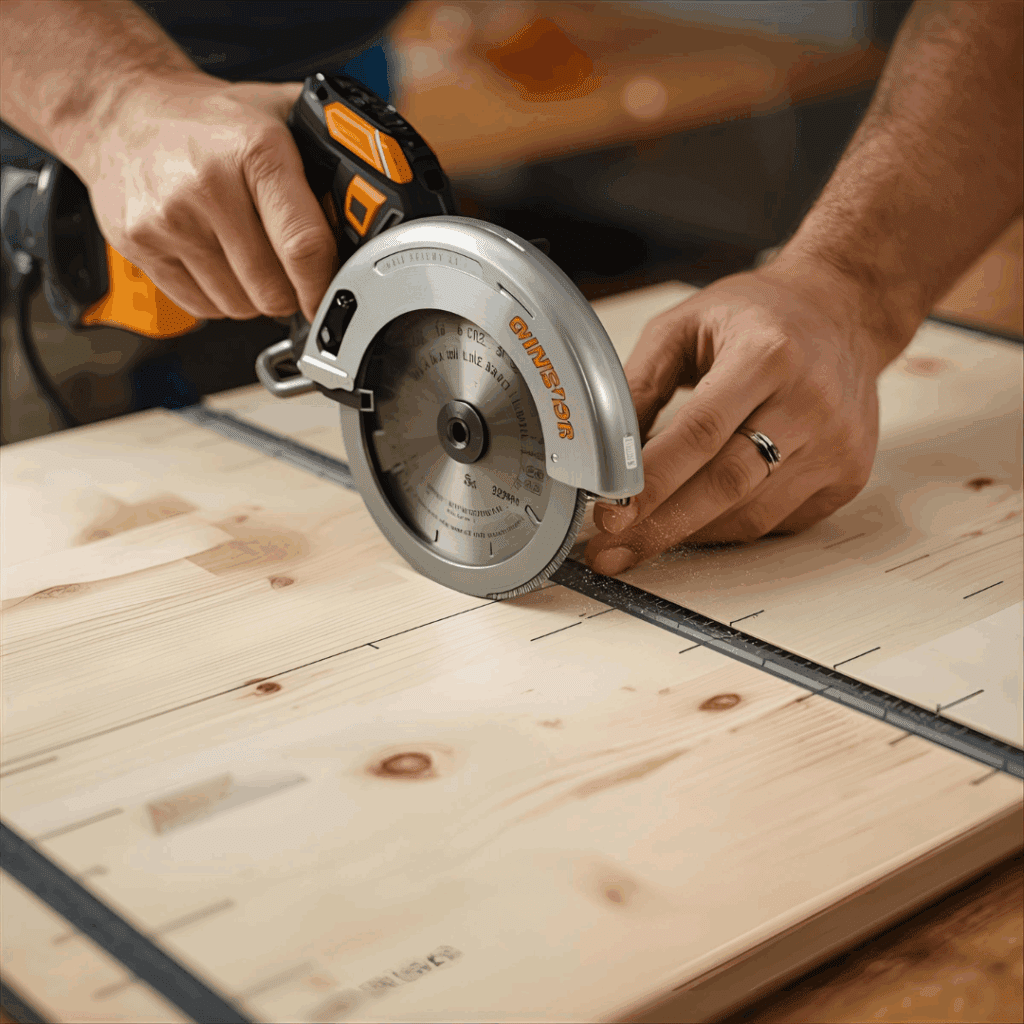
Step 1: Cut the Wood for Your Kids’ Picnic Table
Start with accurate cuts. I always remind myself—measure twice, cut once.
Tabletop: 36″ x 24″ cut from a sheet of ¾-inch plywood
Seats: Two pieces at 36″ x 8″ each
Legs: Four pieces, each 24″ long, both ends cut at a 15° angle
Top braces: Two 2x4s at 24″
Seat supports: Two 2x4s at 36″
Bottom stretcher: One 2×4 at about 30″
💡 Tip: Cut the legs in pairs so the angles match. If they’re even slightly off, your table will wobble. Extra sentence: Label each cut piece with a pencil as you go—this saves time during assembly.
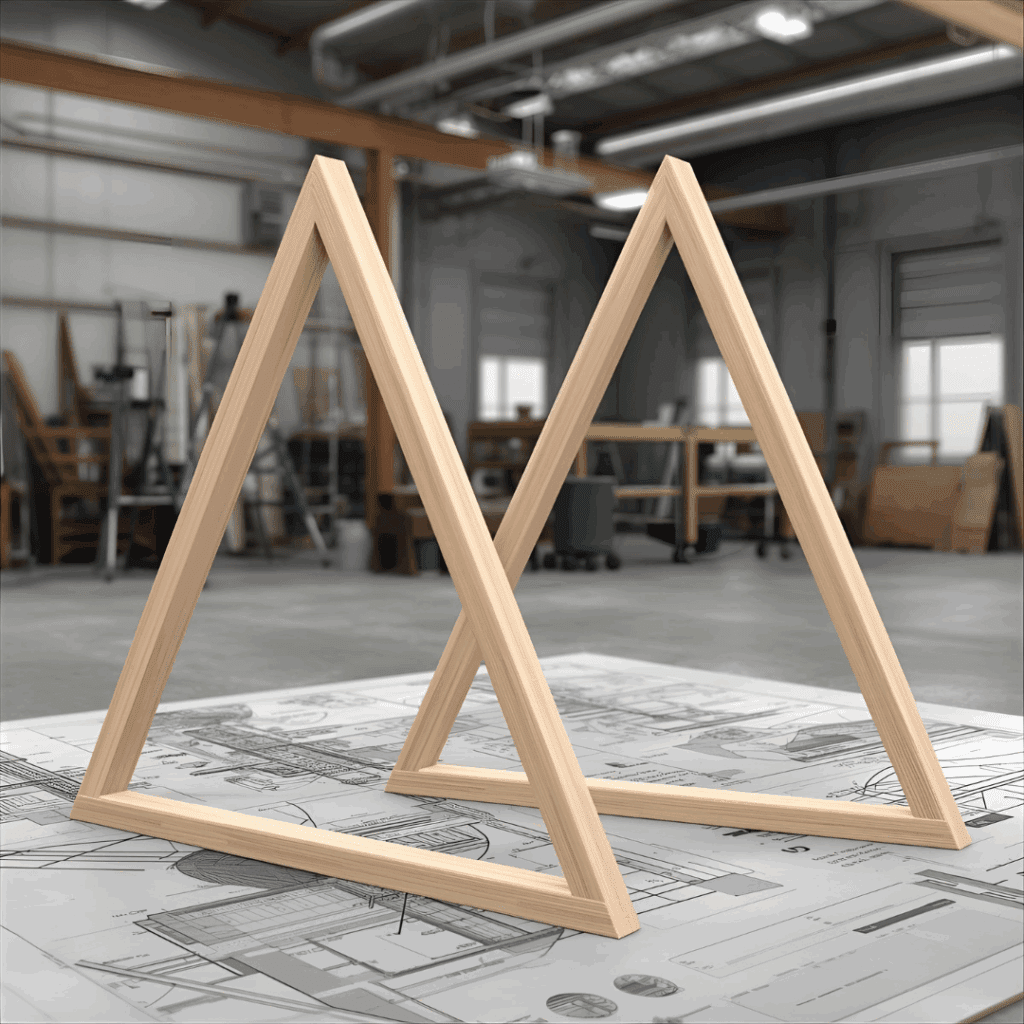
Step 2: Build the Leg Frames
Lay out two legs in a wide “A” shape with the tops about 20 inches apart. Place a 24-inch brace across the top and attach it with wood glue and 3-inch screws. Repeat with the other two legs. You’ll now have two sturdy “A” frames—these are the backbone of the table. Extra sentence: Make sure the frames are identical in angle and height so the table sits evenly later.
Step 3: Add the Stretcher
Set the “A” frames upright and connect them with the 30-inch stretcher close to the ground. This ties the frames together and keeps the legs from spreading when kids inevitably climb on. Extra sentence: Drive the screws in slowly and squarely to avoid splitting the wood.
Step 4: Install the Seat Supports
Screw the two 36-inch 2x4s horizontally between the legs, about 12 inches off the ground. These will hold the bench seats nice and firm. Extra sentence: Check both supports with a level before securing, so the seats won’t slope.
Step 5: Attach the Tabletop Supports
Now add the 24-inch braces across the top of each “A” frame. Double-check with a level before driving in screws—if these aren’t level, your tabletop won’t sit right. Extra sentence: Using clamps here helps hold everything in place while you fasten the screws.
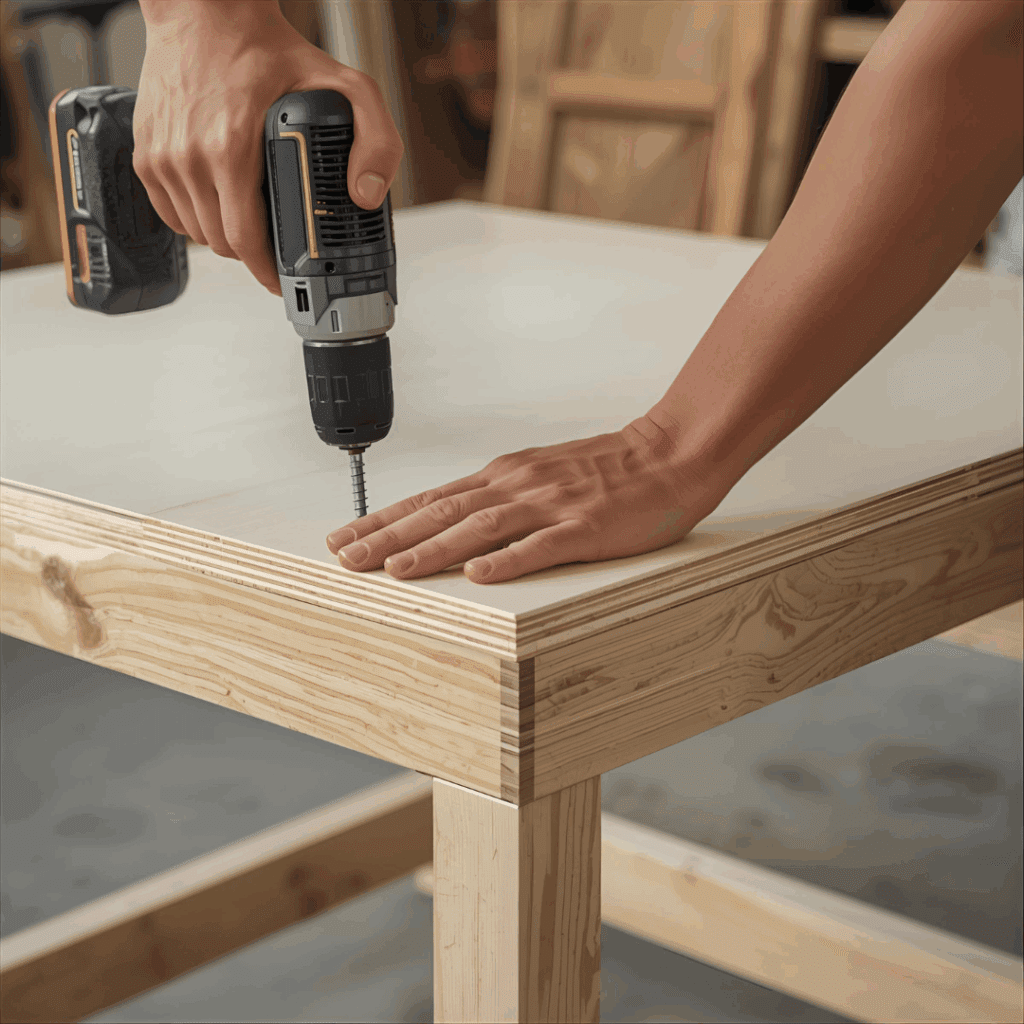
Step 6: Attach the Seats and Tabletop
Place the plywood seat boards on the 36-inch supports. Fasten them with 2-inch screws, about every 6 inches. Center the tabletop on the top braces, leaving roughly 3 inches of overhang on all sides. Secure it with 3-inch screws. Extra sentence: Start fastening from the center outwards to avoid shifting the boards as you work.
Step 7: Sand and Smooth the Picnic Table for Safety
This step is worth every minute. Kids will run their hands over every surface, so sand down every edge and corner until it feels silky smooth. Round over the seat edges and soften the corners of the tabletop. A splinter is the fastest way to ruin your hard work. Extra sentence: Begin with coarse sandpaper (80–100 grit) and finish with finer grit (150–220) for the best results.
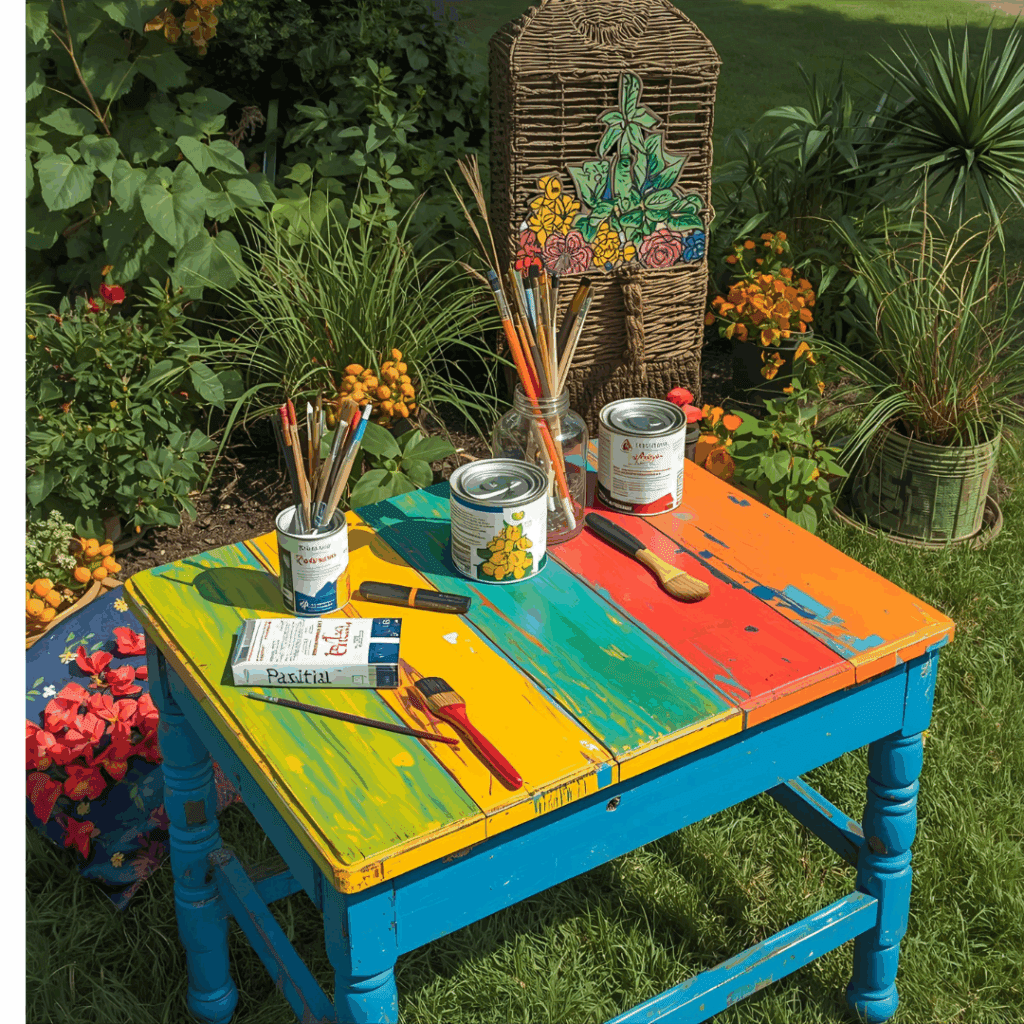
Step 8: Finish the Kids Picnic Table with Paint or Sealer
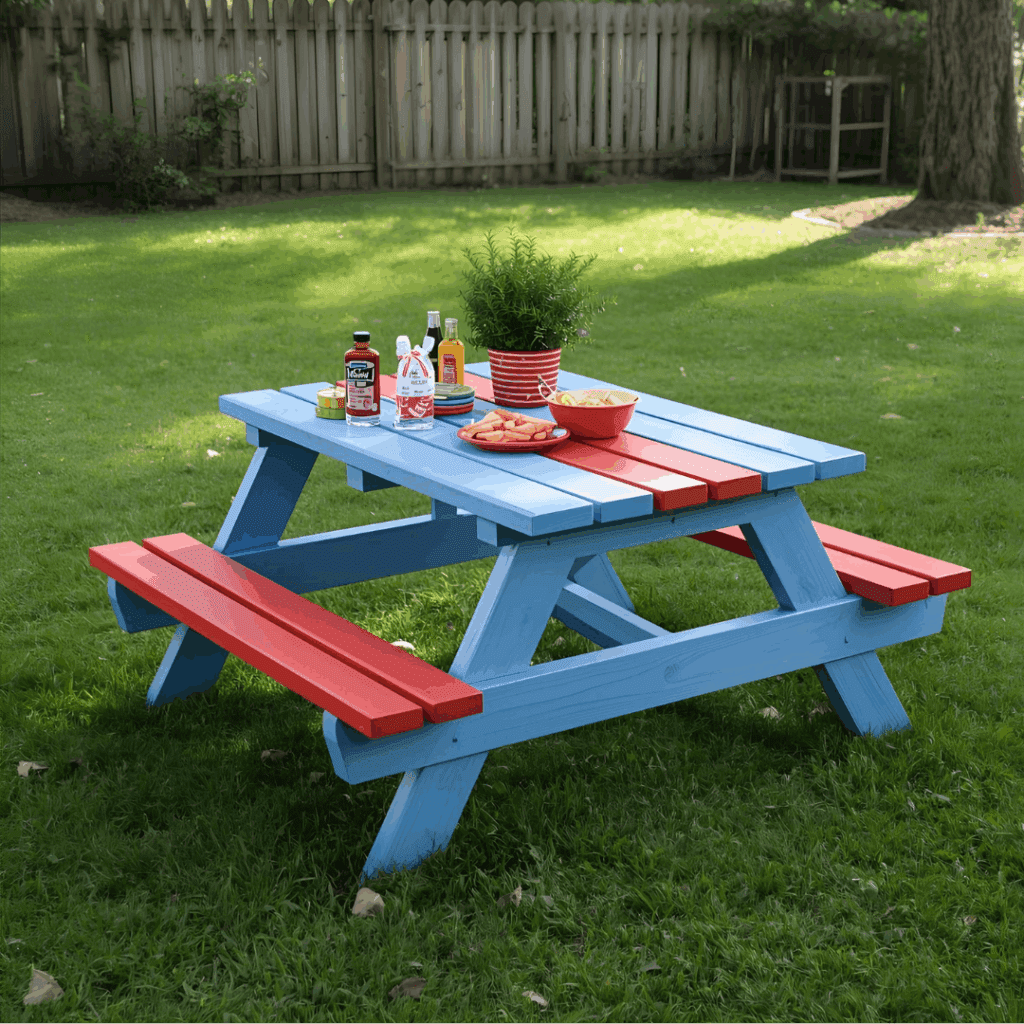
Protect your project with a child-safe outdoor wood sealer. It’ll hold up against juice spills, rain, and washable marker “artwork.” If you want to add color, go with exterior paint in fun, kid-friendly shades. My kids chose red for the seats and blue for the top—and honestly, it came out looking way better than I expected. Extra sentence: Always apply finish in thin, even coats, allowing proper drying time between applications.
Customization Ideas
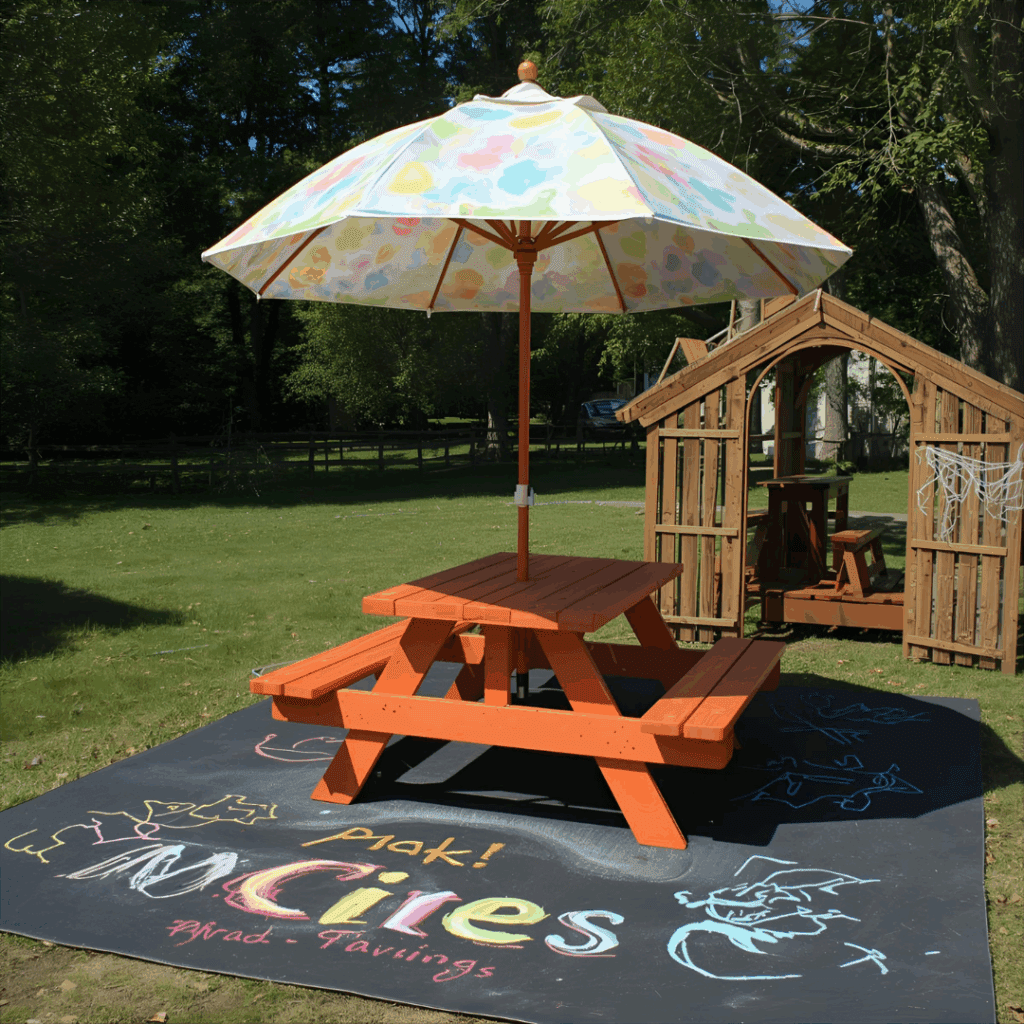
Drill a hole in the center for a small umbrella. This gives shade on sunny days and makes the table feel just like the “grown-up” version.
Stencil or woodburn the kids’ names into the seats. It’s a simple way to make the table feel personal and prevent arguments over who sits where.
Add cup holders on each corner for juice boxes. They’ll keep spills to a minimum and give the kids a place to stash their drinks while playing.
Use chalkboard paint on the tabletop for doodling. Kids can draw, erase, and start again, turning the table into an art station as well as a snack spot.
Common Mistakes to Avoid
Skipping sanding – splinters ruin the fun. Taking just a few extra minutes with sandpaper makes the table safer and much more comfortable for little hands.
Using indoor wood outside – it will warp in months. Always choose exterior-grade lumber or seal it properly to withstand rain and humidity.
Making the table too tall – kids need to climb in and out safely. If the seats are too high, they’ll tip or struggle, which can quickly turn playtime into frustration.
Ignoring weatherproofing – even cedar lasts longer with a sealer. A clear outdoor finish helps lock out moisture, UV rays, and stains from everyday use.
Not checking for wobble – always test stability before kids use it. A quick shake test before they climb on ensures the table is safe and ready for play.
Care and Maintenance Tips for a Kids’ Picnic Table
Place it on level ground. Set the table on flat ground or a patio. If it sits on uneven grass, it can rock or tip when kids pile onto one side. A few patio pavers under the legs can instantly fix an uneven spot.
Reseal or repaint regularly. A fresh coat of child-safe outdoor sealer or paint every 12 to 18 months will keep the wood looking good and protect it from spills and weather. Doing this consistently also saves you from having to sand down peeling paint later.
Tighten hardware seasonally. I make a habit of checking and tightening screws every spring and fall. Kids climb, jump, and wiggle around more than you’d think, and those little movements slowly work screws loose. A quick 10-minute check keeps the table sturdy and safe year after year.
Protect it in harsh weather. If you live somewhere with rough winters, cover the table with a tarp or store it in a shed. It’ll last years longer if it’s not buried under snow and ice. Even in mild climates, keeping it dry extends its lifespan.
Set ground rules for kids. Remind them not to stand on the tabletop. (For the record, mine still try every chance they get.) The table is strong, but it’s designed for sitting, not for climbing. Teaching good habits early prevents accidents later.
Round all edges. Splinters are the enemy. Before finishing, take extra time to soften every corner and edge with sandpaper. A smooth finish also makes it easier to wipe clean after messy meals.
Use screws instead of nails. Nails have a way of working loose over time. Screws hold tight and make future maintenance much easier. Plus, screws can be removed and replaced without damaging the wood.
Inspect bolts and screws yearly. A quick once-over once or twice a year keeps the table safe. If you spot a loose fastener, fix it before it becomes a problem. Making it part of your spring yard cleanup keeps it from slipping through the cracks.
Frequently Asked Questions about Kids’ Picnic Table
What size should a kids’ picnic table be? About 36 inches long, 24 inches wide, 20–24 inches tall.
Can I build one entirely from plywood? Yes, but reinforce with 2x4s for strength.
What’s the cheapest wood option? Pine. Just remember to seal it.
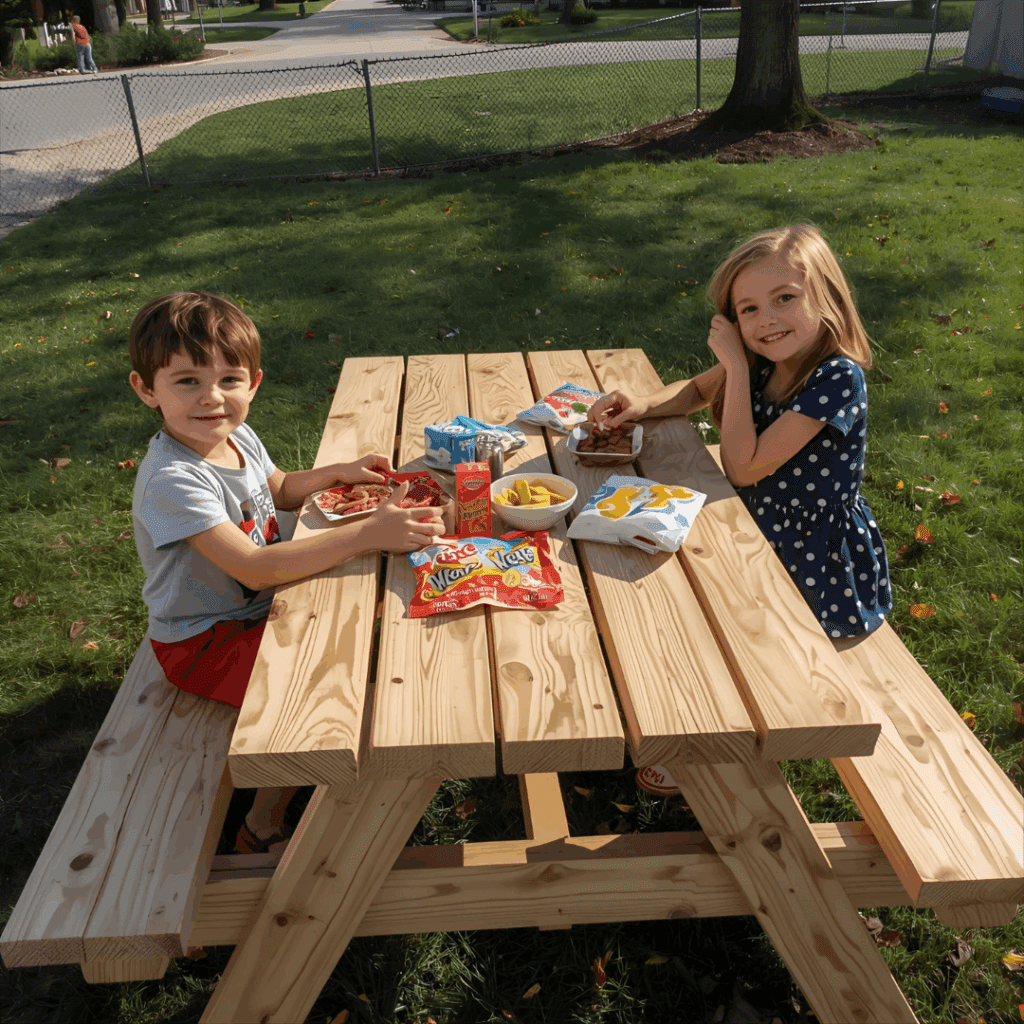
How many kids can sit at one? Four comfortably, six if they squeeze.
Is paint or stain better? Paint is more colorful and protective. The stain shows the wood grain. Both need sealing.
How long does it take to build? One weekend, if you’re casual, one day if you’re focused.
Can adults sit on it? Yes, if it’s built sturdy. I’ve sat on mine plenty.
Final Thoughts About Kids’ Picnic Table
Sure, it saved money compared to the store-bought ones, but that’s not really the point anymore. The real payoff is in knowing I built it myself. It feels solid, it looks like it belongs, and there’s a kind of pride you get from putting it together with your own two hands that no receipt can buy.
Now that I look at it, I don’t notice the plywood or the screws. I see peanut-butter sandwiches laid out in the sun, messy brushes dripping paint, and the sound of kids laughing until it gets dark. Those are the things that stuck to it—the memories, right alongside the scratches and marker stains.


")


")