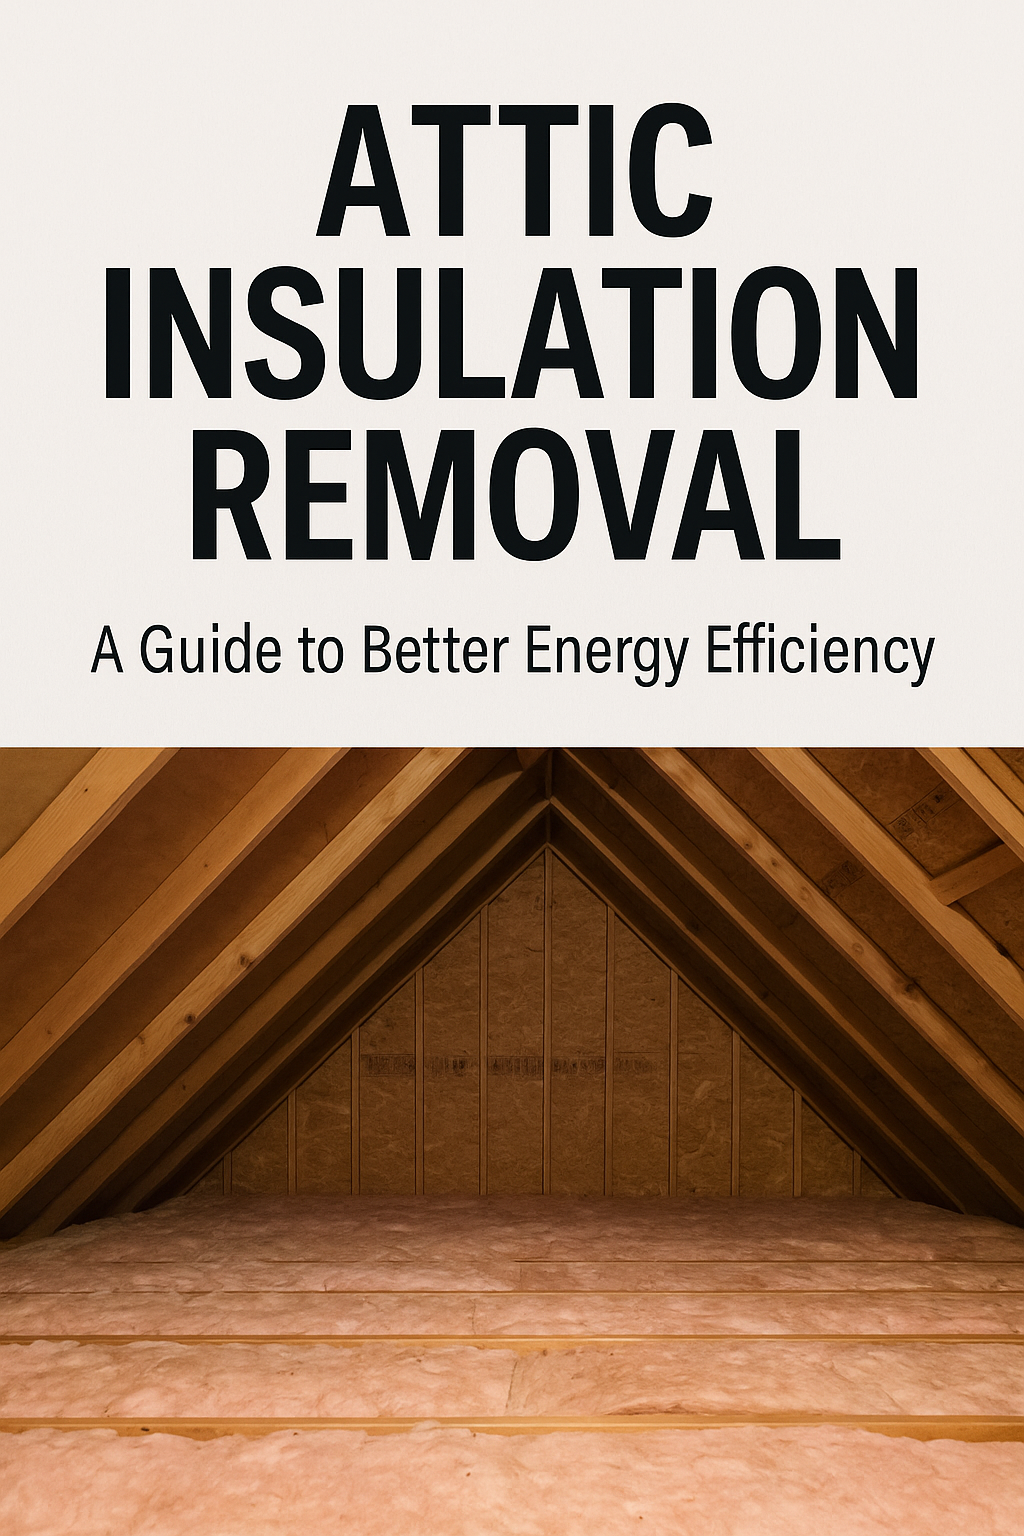
Rising energy bills and drafty rooms often mean the attic isn’t doing its job. Attic insulation removal can help. Warm air naturally travels upward, and if insulation is old or damaged, that heat slips out through the roof. Over time, insulation can become compressed, damp, or contaminated. This guide walks you through safely taking out old insulation, adding new materials, and making your home more energy efficient.
Attic Insulation Removal—The One Thing I Didn’t Plan For
I wasn’t trying to fix anything big. Just wanted the upstairs to stop freezing every night. Figured I’d check the attic. Never really looked up there before.
Opened the hatch, climbed up, and immediately sneezed. The stuff in the joists barely looked like insulation—flat, dusty, kind of… sad? One side was torn up, like something had been living there. I didn’t like that idea at all.
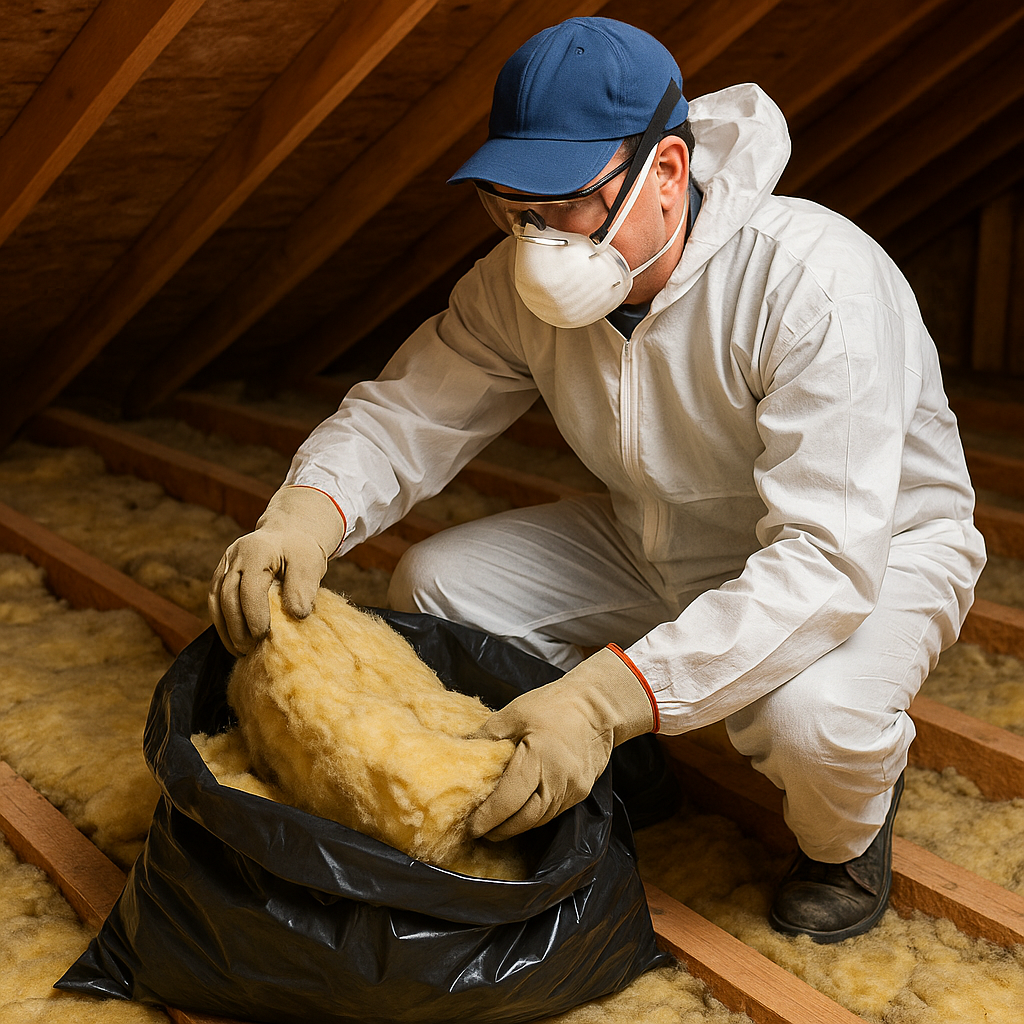
I didn’t think, I just grabbed some gloves and a box of trash bags. Started pulling. It was worse than I expected. Bags filled fast. One broke open. Pink everywhere. Got in my shirt. Itched for hours.
Halfway through, I was sweating like crazy and thinking, “Why didn’t I just call someone?” But I kept going. Had music playing from downstairs, and the rhythm helped. Vacuumed out the corners. Sealed a few gaps while I was at it.
The next morning, I put in new insulation. That part felt good. Clean. Fresh. The attic didn’t smell musty anymore. It was quiet. Still.
That night, the heat didn’t run as much. Upstairs felt normal. Warm, finally. Not perfect, but better.
So yeah. Attic insulation removal wasn’t on my to-do list, but I’m glad I did it. If your place feels off, maybe start by looking up.
Why Attic Insulation Matters
A properly insulated attic stabilizes indoor temperatures and lowers energy bills. In winter, insulation traps heat inside. In summer, it blocks hot air from radiating into living spaces. When insulation deteriorates or is insufficient, your HVAC system works harder, which increases costs and wear.
The U.S. Department of Energy’s Energy Star program recommends attic insulation between R-30 and R-60:
R-38: 10–14 inches of fiberglass batts or blown-in insulation
R-60: Around 17 inches
Old insulation often flattens, collects moisture, or is disturbed by pests. If your home is more than a decade old, consider a professional energy audit to determine if attic insulation removal and upgrades are needed.
Proper insulation also reduces drafts, balances room temperatures, lowers noise from outside, and prevents moisture-related problems like mold or wood rot. Uneven temperatures, ice dams, or rising energy costs are all signs that your attic needs attention.
Adding new layers works in some cases, but complete removal is required when:
Water Damage – Roof leaks compress insulation and encourage mold. Wet insulation loses its effectiveness and can stain ceilings if not removed.
Fire or Heat Damage – Fiberglass can melt, and cellulose is flammable. Even smoke contamination can make insulation unsafe, requiring replacement.
Rodent or Pest Infestation – Mice, squirrels, or raccoons can destroy insulation and leave harmful droppings. Large infestations call for total removal and sanitization.
Insulation Breakdown – Very old insulation compresses or turns to dust, reducing efficiency and affecting indoor air quality.
Asbestos Insulation – Common in homes built before 1980. Do not remove it yourself—hire certified professionals who follow the EPA’s Asbestos Guide.
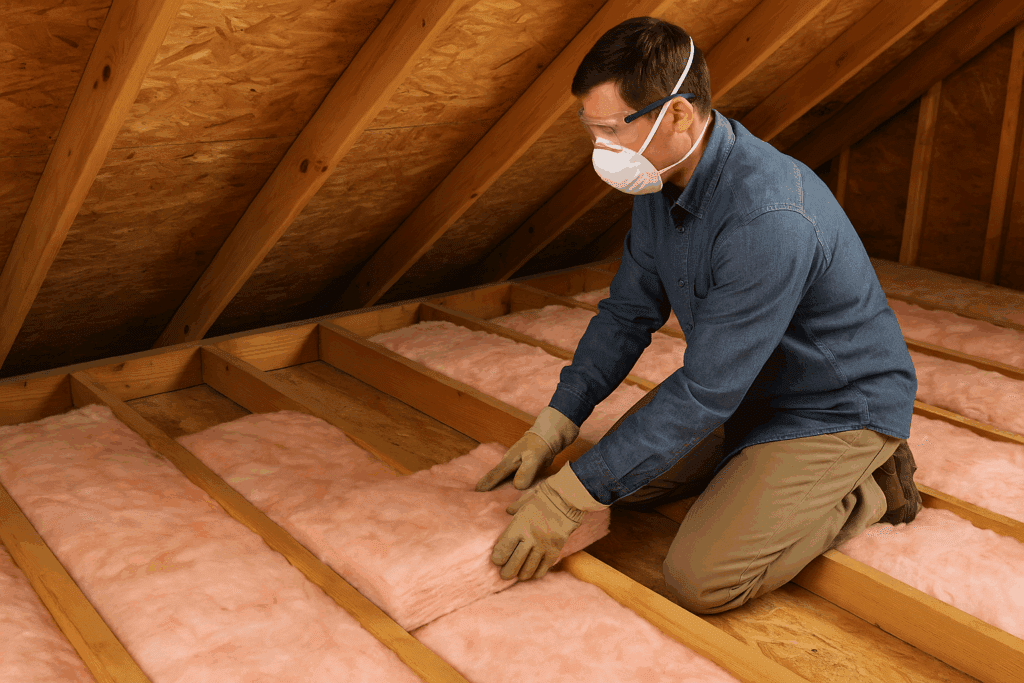
Safety Tips: PPE for Attic Insulation Removal
Working in an attic filled with old insulation is messy and potentially hazardous. Dust, fibers, and pests can all make the job uncomfortable if you’re not prepared. Putting on the right personal protective equipment (PPE) before you start prevents irritation and keeps the project safe.
Essential PPE
Long sleeves and sturdy gloves – Keep insulation fibers off your skin and prevent irritation.
N95 mask or respirator – Blocks fine dust and fibers from entering your lungs.
Goggles or a full face shield – Protects your eyes from airborne particles.
Sealed cuffs with tape – Stops fibers from sliding under your clothing.
Old jeans and a long-sleeved shirt work, but disposable coveralls are even better. Wearing a hood or cap keeps fiberglass out of your hair and makes cleanup easier.
Added Comfort and Safety
Knee pads and a headlamp – Crawling on rafters is easier and safer when you can see and protect your knees.
Slip-resistant shoes or boots – Help you balance on joists without slipping.
Ear protection – Useful when running shop vacuums or insulation removal equipment for extended periods.
Why Gear Matters
Fiberglass can leave your skin itching for hours, and dust can trigger coughing and sinus issues. Dressing properly allows you to move confidently and work longer without discomfort. Taking five minutes to gear up can save hours of irritation later.
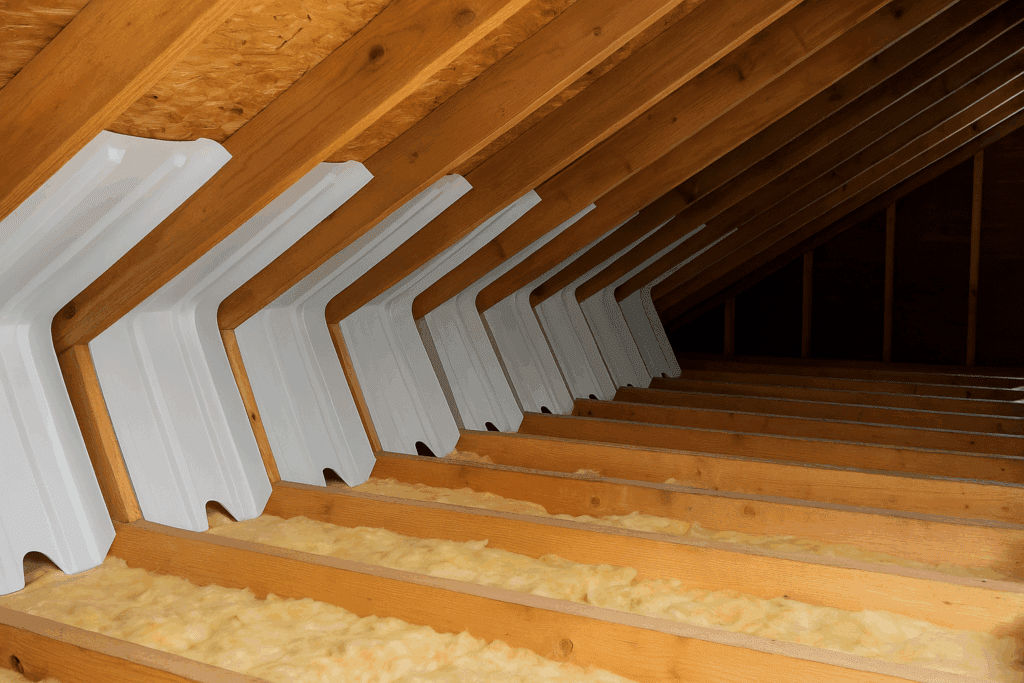
Inspect the Attic Look for leaks, weak boards, exposed wiring, mold, or pest nests. Mark danger zones and clear a safe path.
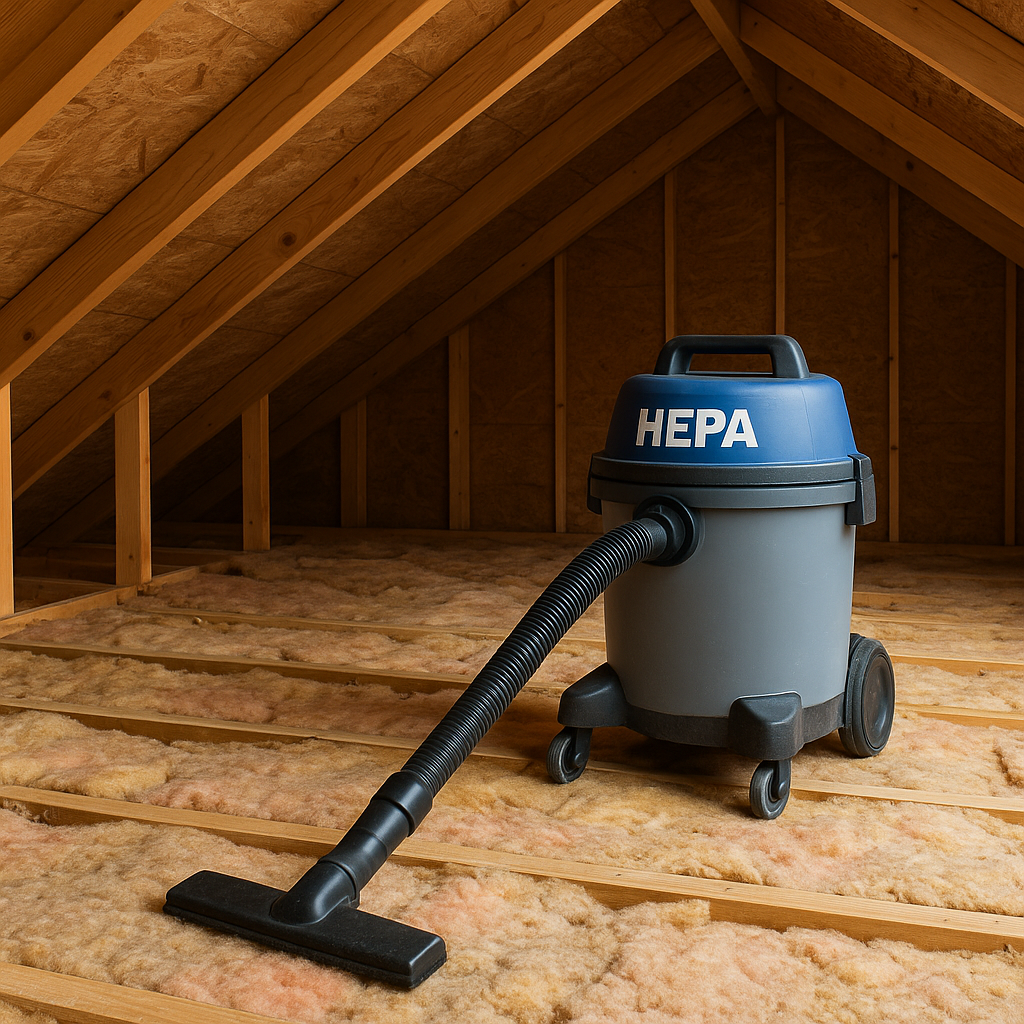
Prepare the Workspace Lay tarps under the attic hatch to catch debris. Gather contractor bags, aHEPA shop vacuum from Amazon, and bright lighting. A fan or open vent will help reduce airborne dust.
Remove Insulation
Fiberglass batts or rolls: Gently lift and place into heavy-duty contractor bags.
Handle Contaminated Insulation Carefully Moldy or rodent-contaminated insulation should be double-bagged. Follow local guidelines for hazardous disposal.
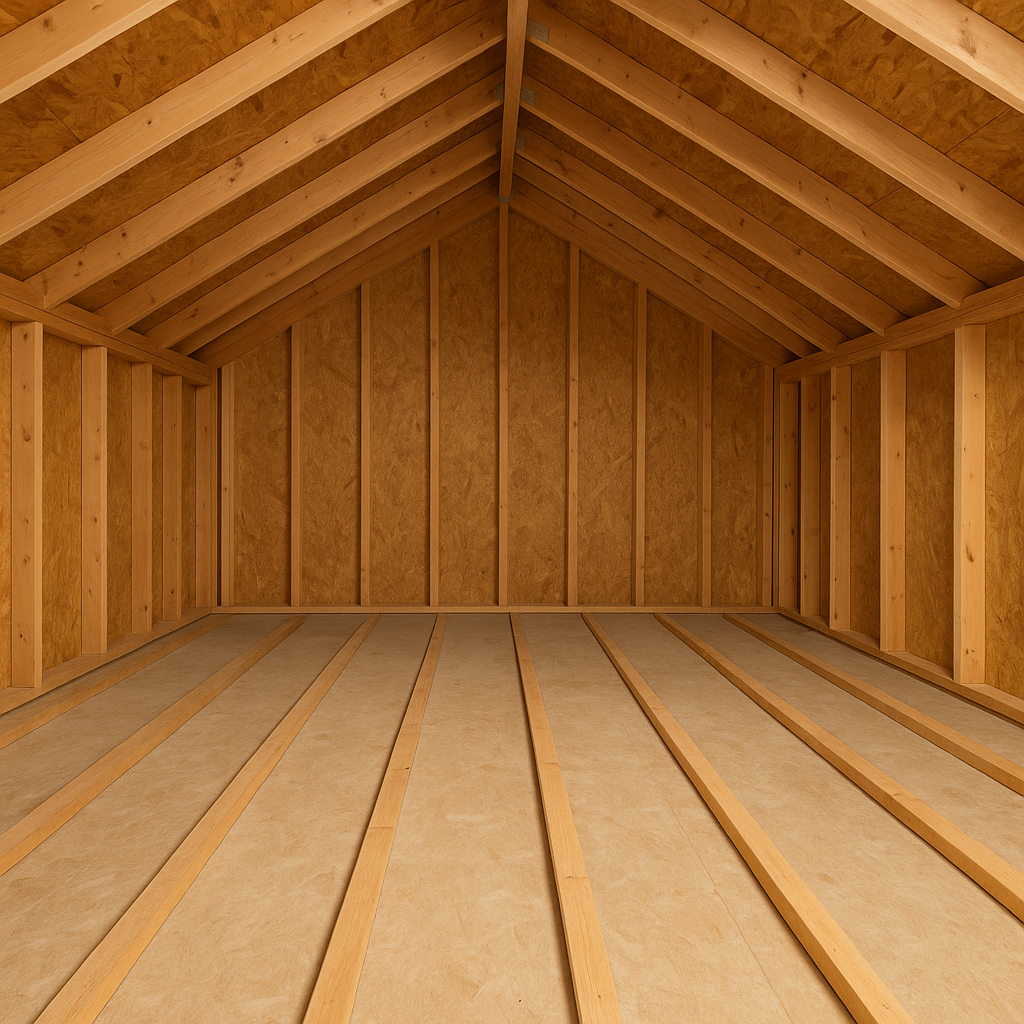
Clean and Inspect the Attic Use a HEPA vacuum to clean joists and rafters. Check for leaks, moisture stains, or damage before adding new insulation.
Prep for New Insulation Seal gaps with spray foam or caulk. When you install new insulation, target an R-30 to R-60 rating, depending on your climate.
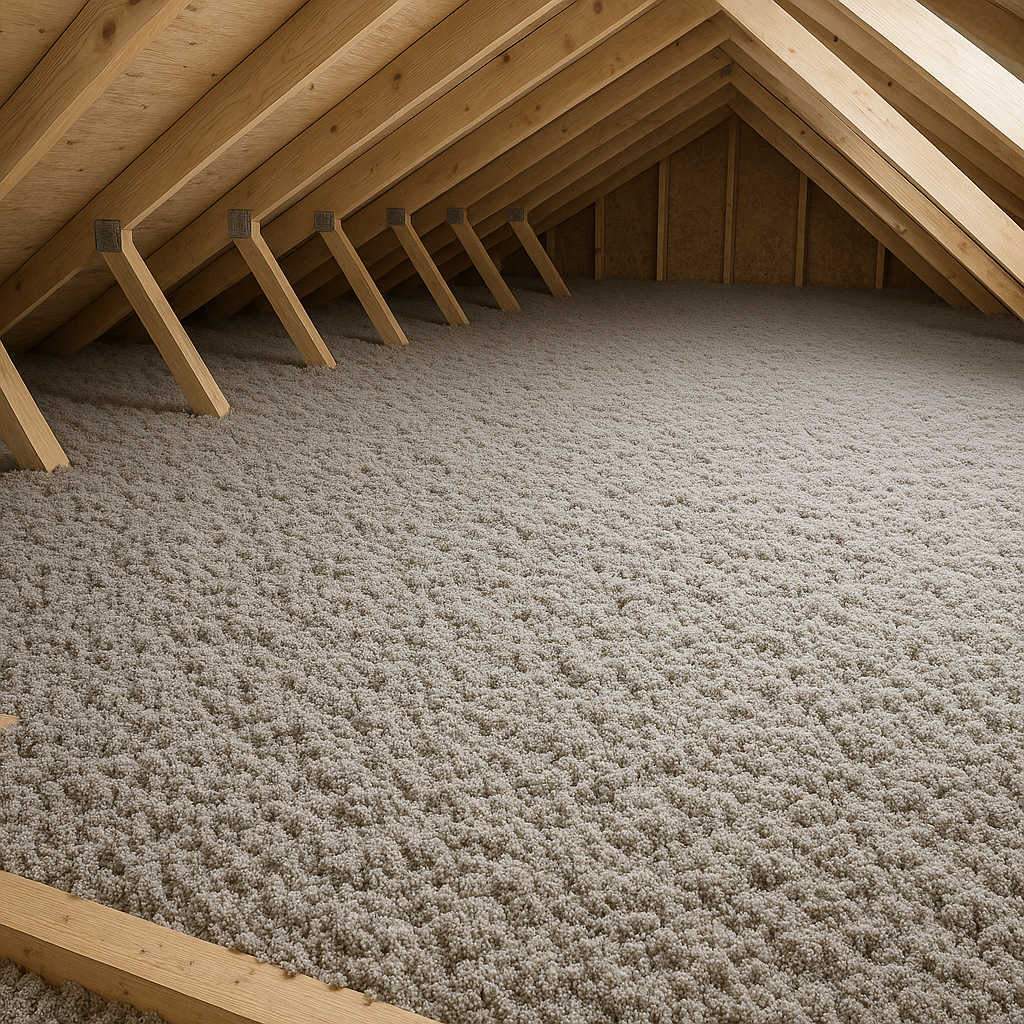
After clearing old insulation and cleaning the attic, adding new insulation is the step that locks in comfort and energy savings. A properly insulated attic stabilizes indoor temperatures, lowers heating and cooling costs, and eases the workload on your HVAC system.
1. Choose the Right Insulation
Your choice depends on attic type, climate, and budget:
If your current attic insulation is still dry, clean, and free of mold or pests, there’s no need to tear it out—you can layer new insulation right on top. This approach saves time and money while improving your home’s energy efficiency.
For attics with odd corners or irregular shapes, blown-in insulation works especially well because it can settle into tight spaces that traditional batts might miss. Just make sure the existing layer is level before adding more so the new insulation spreads evenly.
Pro Tip: Avoid compressing the old insulation. Flattening it reduces its R-value and makes the upgrade less effective.
I didn’t plan on spending a weekend buried in attic dust, but one cold night changed my mind. Upstairs felt like a meat locker. I finally grabbed a flashlight, pulled down the ladder, and climbed up to see what was going on.
The attic was a mess. Old insulation lay there like tired blankets—thin, dusty, and slumped between the joists. One corner had a faded soda can and a couple of mouse droppings. I just sat there for a minute thinking, “Yep… this is where my heat is going.”
Pulling the old stuff out was… well, gross. Every bag I filled left me sweatier and itchier. My goggles fogged up twice. I took a break halfway through and just lay on the hallway floor, wondering if I’d made a mistake. But by the end of the day, the attic was empty, and I felt this weird sense of relief.
The next morning, I started putting in new insulation. I fluffed it up, worked slowly, and checked each corner with my hand to make sure it wasn’t packed too tight. Somewhere around lunchtime, I realized the attic didn’t feel like a heat trap anymore. It was quiet. Still.
That first night, the difference was clear. No cold air sliding down the stairs. No heater kicks on every ten minutes. A week later, the gas bill arrived—lower than the month before—and that’s when it hit me: this boring, itchy job was 100% worth it.
If you’re thinking about doing it yourself, go for it. Just be ready for dust in your hair and a sore back. Wear gloves, a mask, and old clothes you don’t mind throwing away. And if your attic’s cramped or scary, hire a pro. Either way, once it’s done, your house will feel completely different—quieter, cozier, and cheaper to heat.
Best Attic Stair Insulation by Admin July 9, 2023 Installing Attic stairs are a great convenience, making it easy to go up into the attic at any time and utilize the space up there for…


")


")