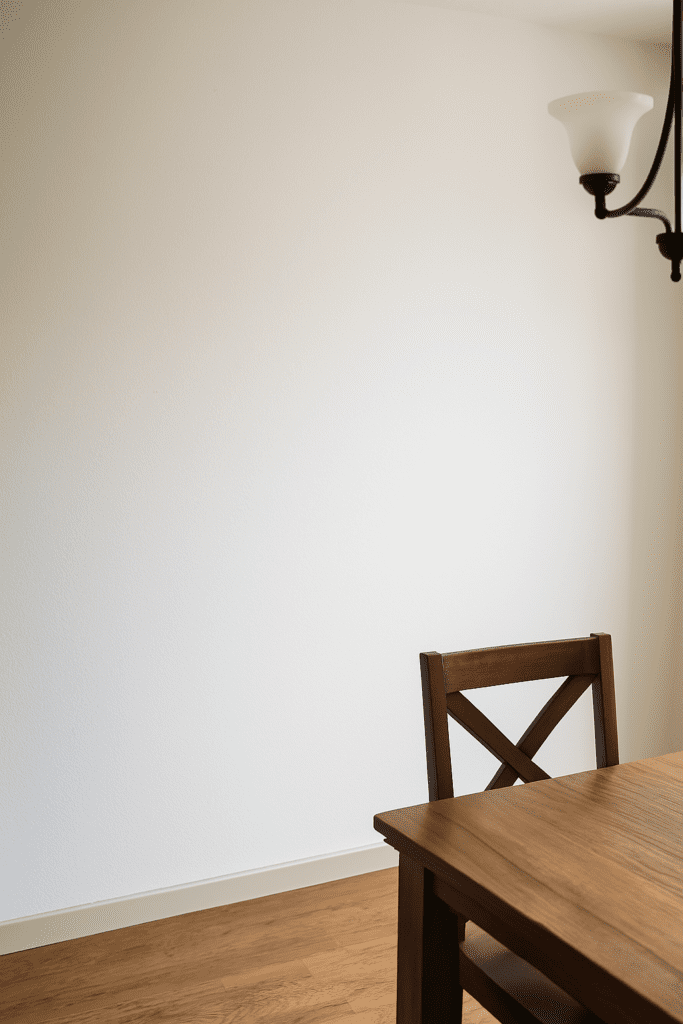
There was a giant blank wall in our dining room that mocked me every time I walked past it—just a whole lotta nothing. I didn’t want to do a gallery wall (it was too cluttered), and wallpaper felt too fussy.
It’s simple, clean, and actually pretty easy to DIY — even for someone like me with no formal carpentry skills. Here’s how I did it, what I learned, and why I already want to do it again.
What Is Board and Batten?

Board and batten is basically vertical boards spaced evenly across a wall, usually with a baseboard at the bottom and sometimes a top trim piece. It adds depth and a little architectural flair — without needing to bust out drywall or hire a contractor.
🛠️ What I Used
- Pre-primed 1×3 MDF boards – used for the battens
- 1×4 pine board – for the top trim
- Brad nailer + 2” nails
- Measuring tape, level, and painter’s tape
- Wood filler and paintable caulk
- Sandpaper
- Interior paint (Sherwin-Williams Alabaster or similar)
Step-by-Step: How I Did It
1. Planning the Spacing
I measured the wall, eyeballed the spacing using painter’s tape until it looked right, and settled on 14″ between each batten.
2. Baseboard Swap
I removed the skinny baseboard and replaced it with a 1×4 for a more solid look.
3. Install the Battens
Measured, cut, and nailed up each board with a brad nailer. Checked each one with a level. If you don’t have a nailer, construction adhesive works too (but be patient).
4. Top Trim
Added a horizontal 1×4 across the top. Tied everything together and made it feel intentional.
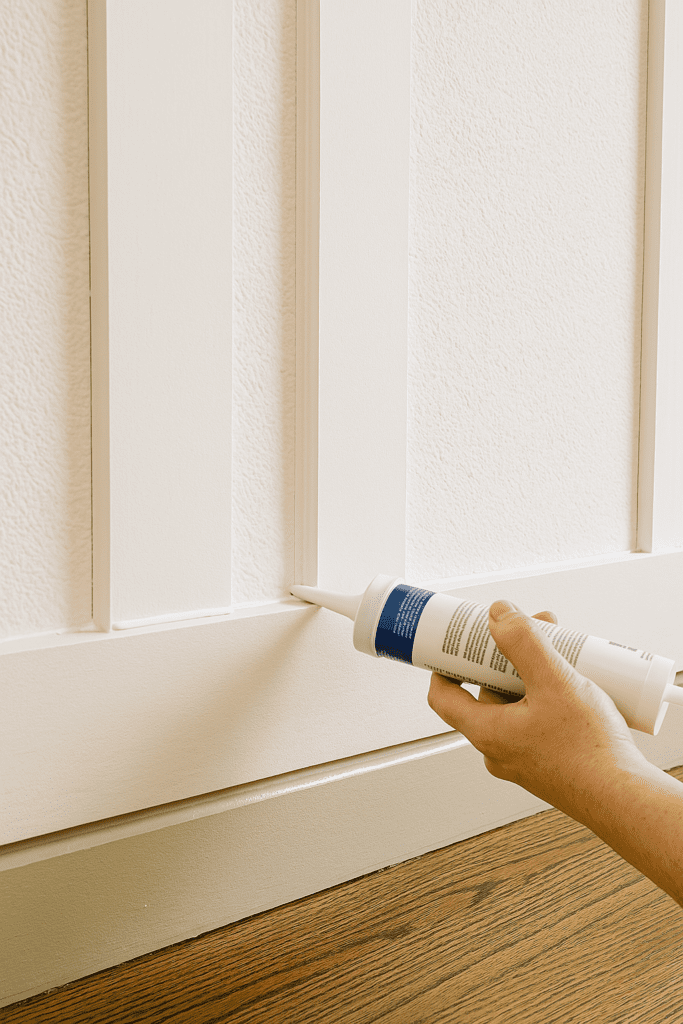
5. Fill, Caulk, Sand
This part is tedious — but don’t skip it. Fill every nail hole, caulk all seams, sand it smooth. Makes a huge difference.
6. Paint
Two coats of soft white paint (I used leftover Sherwin-Williams Alabaster). Rolled most of it, brushed the edges. Done.

🔧 Tips I Learned the Hard Way
- Your walls are not straight. Measure every section individually.
- Always mock it up with painter’s tape first.
- Don’t rush caulking. Bad caulk = amateur hour.
- MDF is smoother and more forgiving than real wood.
- Pre-primed boards = time saved = sanity preserved.
Final Result
This cost me around $100 and a weekend. It changed the feel of the entire room — like, instant upgrade. Even better? It makes me feel like I know what I’m doing.


