Walk into almost any kitchen or workshop, and there’s a good chance you’ll find Formica somewhere. It might be on a countertop, cabinet face, or even a custom-built workbench. Formica is one of those materials that quietly does its job well and lasts for decades. But if you’ve ever tried to cut or glue it without the right tools or methods, you know it can be frustrating. Chips, cracks, peeling edges—it’s enough to ruin a weekend project.
This guide shares everything I’ve learned over the years of working with Formica, from its background to step-by-step instructions for cutting and gluing it properly. Whether you’re resurfacing cabinets or building new countertops, this article will help you get professional results at home.
What Is Formica?
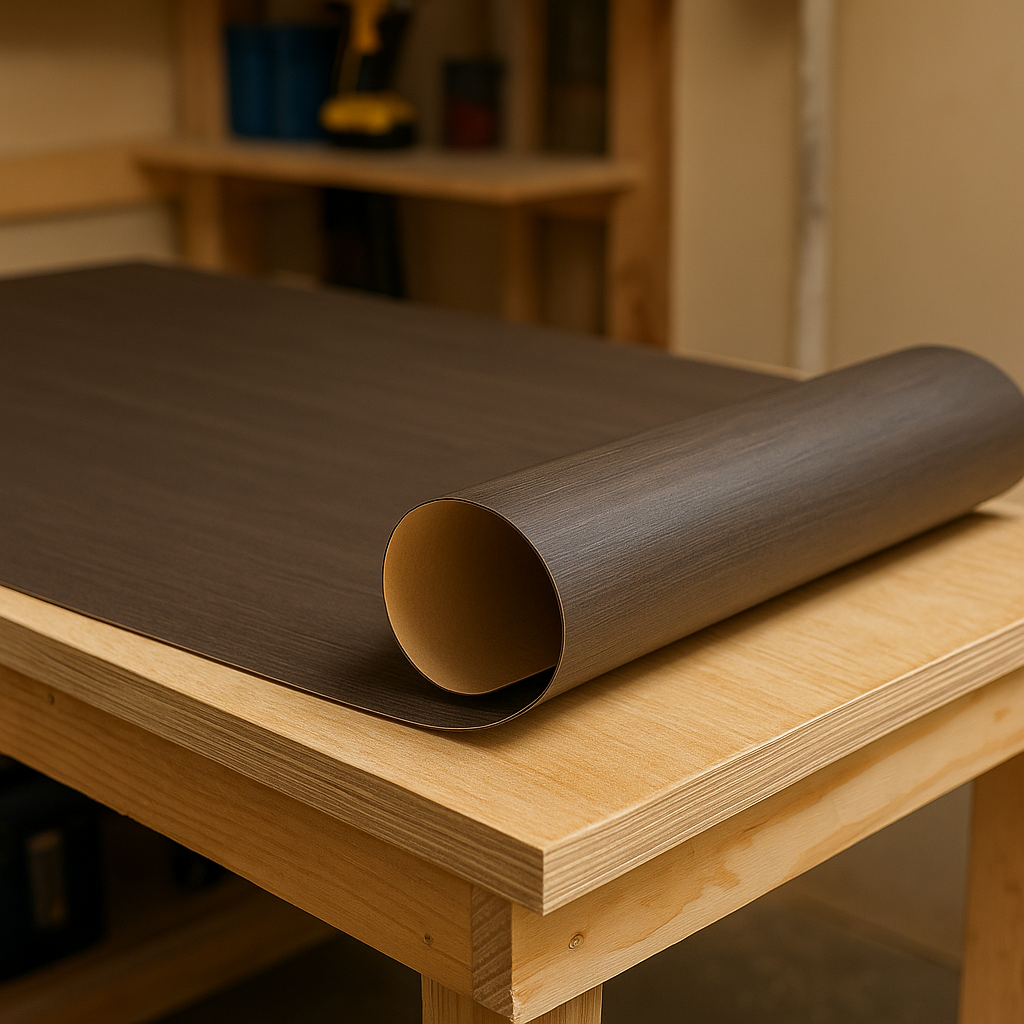
Formica is a brand name that’s become shorthand for decorative laminate sheets. Originally invented in 1912 as an electrical insulator, the name came from its original use: an alternative for mica.” These days, Formica is known for its durability, heat resistance, and design versatility.
It’s made by layering kraft paper, decorative paper, and melamine resin, which are then fused under intense heat and pressure. The result? A hard, durable surface about 1/16 inch thick that’s resistant to moisture, scratching, and staining.
Key benefits:
- Heat and moisture resistance
- Stain and scratch resistance
- Available in hundreds of textures and colors
🏠 Where You’ll Find Formica
Formica is incredibly versatile. Over the years, I’ve cut and glued Formica onto:
- Kitchen countertops
- Cabinet faces and doors
- DIY computer desks
- Workshop benchtops
- Coffee tables and TV stands
- Van and RV interior surfaces
Thanks to its durability and stylish finishes, it’s often used in both home improvement and commercial renovations. Matte Formica is great for workspaces, while glossy options shine in kitchens and bathrooms.

Where You’ll Find Formica
Formica isn’t just for kitchen countertops. Over the years, I’ve used it on:
- DIY desktops and home office surfaces
- Workshop benchtops
- Cabinet doors
- Tabletop repairs
- Custom van interiors
Thanks to a huge selection of colors and textures, you can match almost any décor style. Glossy finishes work great in kitchens, while matte surfaces are ideal for workspaces that need to resist glare.
Tools You’ll Need to Work with Formica
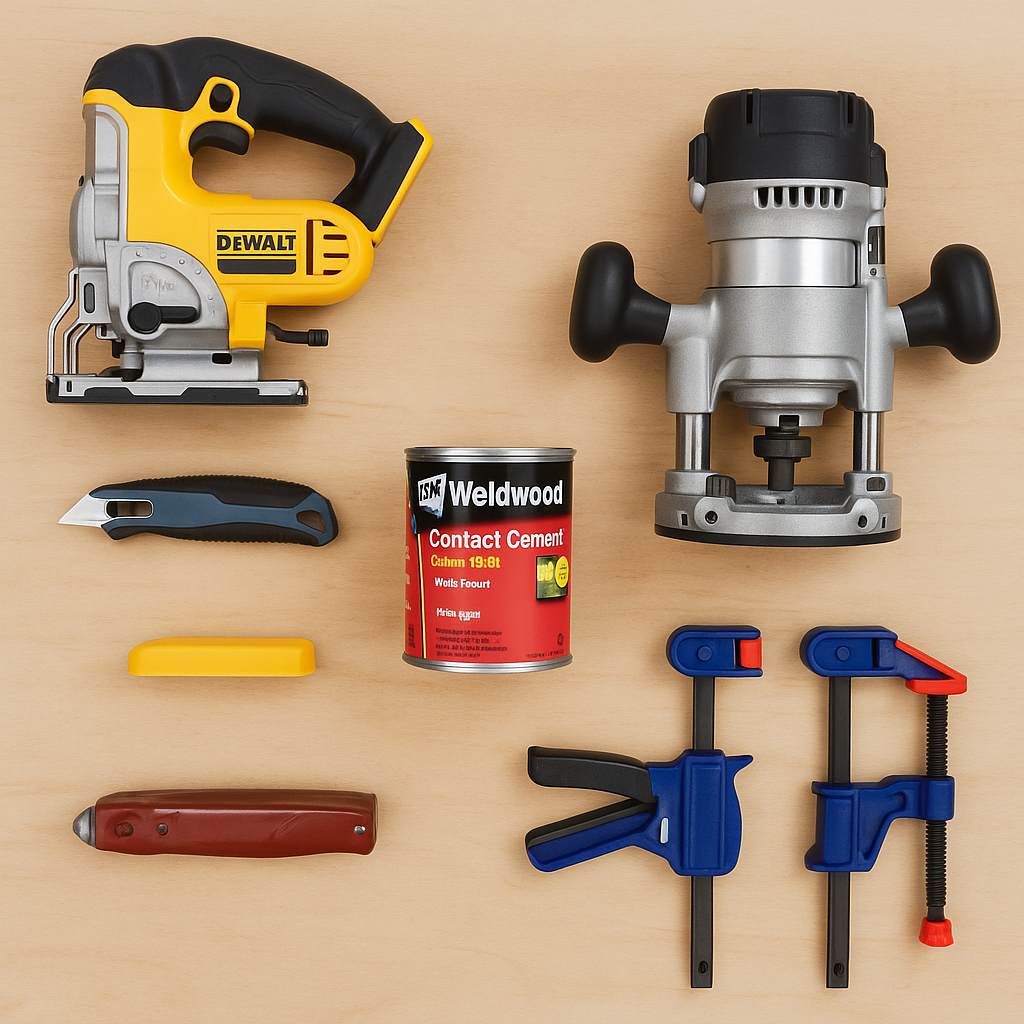
Cutting and gluing laminate successfully comes down to having the right tools on hand. Here’s what I recommend keeping close:
Cutting Tools:
- Fine-tooth jigsaw or circular saw
- Utility knife or scoring blade
- Straight edge or rip guide
For Gluing:
- Contact cement (brush-on or spray)
- J-roller
- Wood strips (for positioning)
Finishing:
- Router with flush trim bit
- Sandpaper (220-grit or finer)
- Masking or painter’s tape

Step-by-Step: How to Cut Formica Without Chipping
Here’s the method I use to get smooth, clean cuts every time:
1. Mark your cut line
Use a pencil and straightedge to measure and mark where you need to cut.
2. Apply painter’s tape over the cut
This helps prevent the laminate surface from chipping as you cut.
3. Score with a utility knife (optional)
For shortcuts, scoring deeply along the line can help snap the sheet cleanly.
4. Use a fine-tooth blade
Whether using a jigsaw or circular saw, make sure the blade is rated for laminate. I prefer reverse-tooth blades for the cleanest finish.
5. Cut slowly
Let the saw do the work. Rushing the cut leads to chips and splinters.
6. Finish with sandpaper
Smooth out any sharp or rough edges by lightly sanding them.
How to Glue Formica for a Professional Bond
Gluing Formica is all about surface prep, timing, and pressure. Here’s my go-to process:
1. Cut the laminate oversized
Always cut your sheet larger than your project base—you’ll trim it down later.
2. Apply contact cement
Use a brush or roller to apply an even coat of adhesive to both the substrate (plywood or MDF) and the back of the Formica.
3. Let it dry until tacky
Wait about 20–30 minutes until both surfaces feel dry but sticky to the touch.
4. Use wood strips as spacers
Lay thin strips across the substrate and place the laminate on top. This prevents accidental sticking.
5. Position carefully
Once it’s aligned, remove the strips one at a time and press the Formica down.
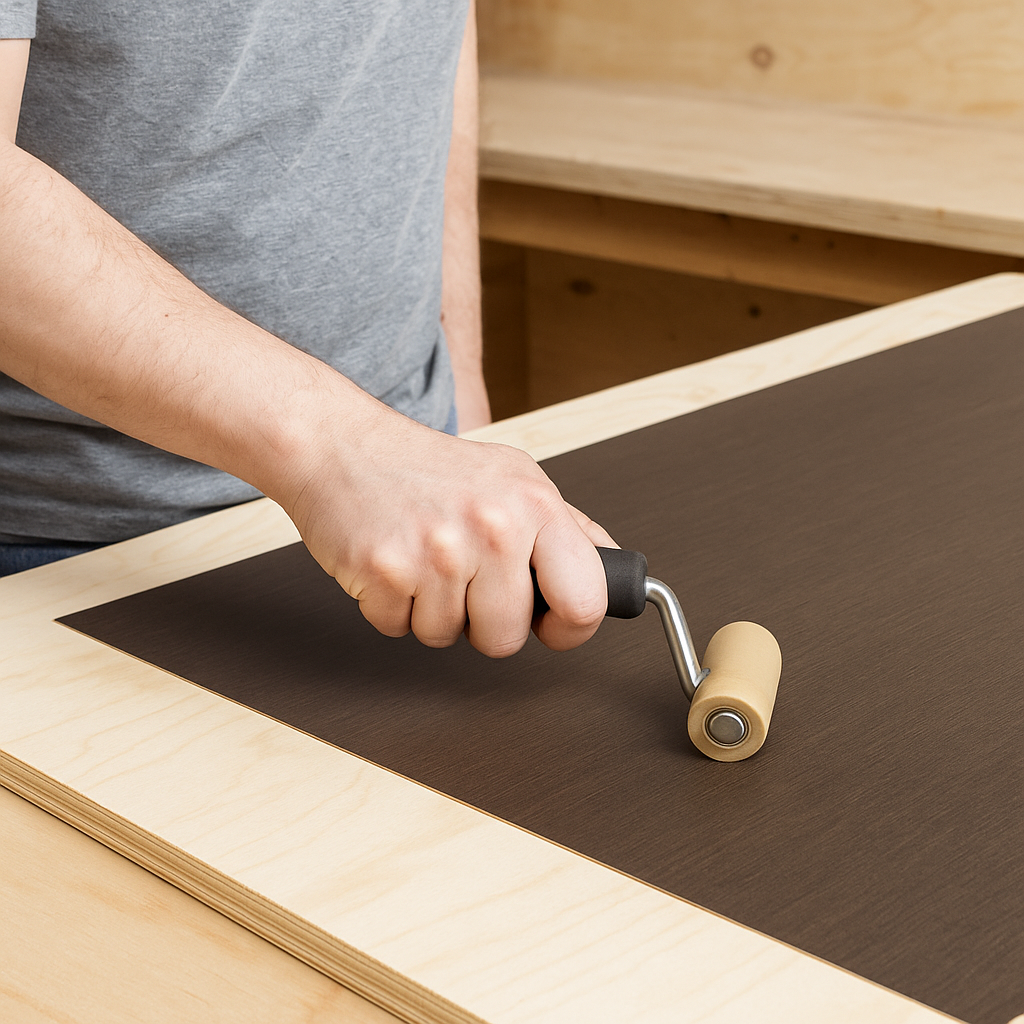
6. Roll with a J-roller
Apply firm, even pressure across the surface to bond everything together.
7. Trim the edges
Use a flush-trim router bit to remove the excess.

Can You Install Formica Over Existing Laminate?
Yes, but it depends on the condition of the old surface. I’ve done it a few times successfully, but there are some important caveats:
✅ It works if:
- The existing laminate is smooth and well-bonded
- You scuff-sand the surface first for grip
- You use a strong contact cement
❌ It won’t work if:
- The old laminate is peeling or cracked
- The surface is greasy or contaminated
- It has a rounded bullnose or drip edge
If in doubt, remove the old sheet. It’s more work, but it ensures a longer-lasting bond.
Should You Paint Formica Instead?
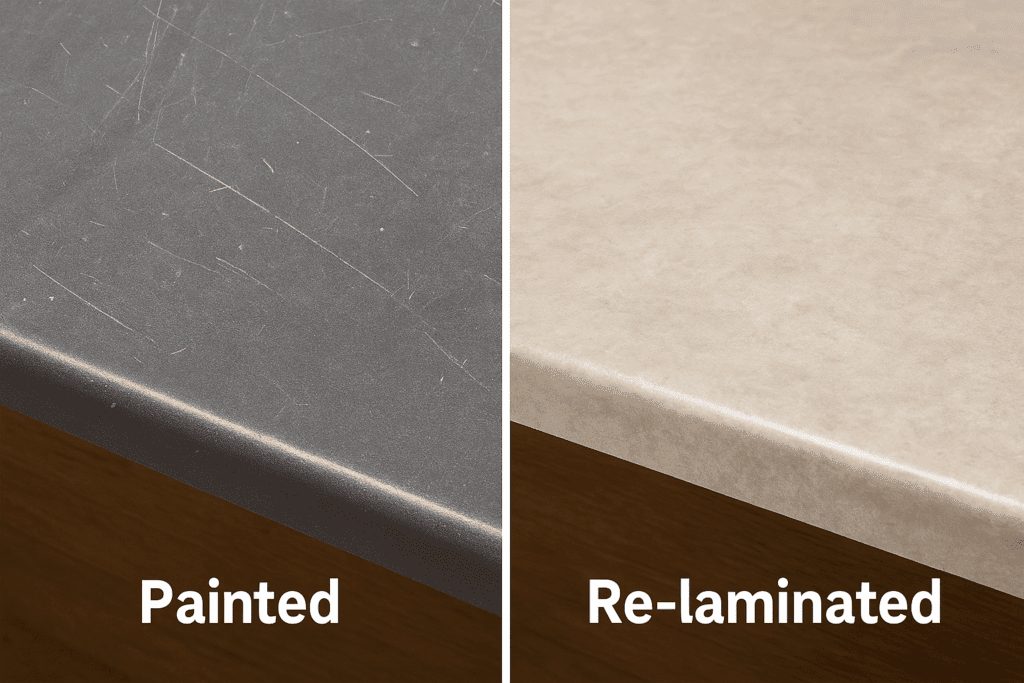
I get this question a lot—and here’s my honest answer: You can paint Formica, but I rarely recommend it.
Why? Even with primer and sealing, painted laminate is prone to:
- Peeling and bubbling from heat or moisture
- Scratching during daily use
- Losing its clean finish over time
If your goal is a long-lasting upgrade, re-laminating with Formica is a much better route.

My Go-To Products for Cutting and Gluing Formica
These are tools I’ve used regularly and can vouch for personally:
Cutting:
- DEWALT 20V MAX Jigsaw – Great for detailed laminate cuts
- Bosch T101BR Reverse-Tooth Blades – Prevents surface chipping
- IRWIN Utility Knife – For scoring clean snap lines
- Kreg Rip-Cut Guide – Ensures dead-straight circular saw cuts
Gluing & Finishing:
- DAP Weldwood Contact Cement – Industry standard for laminate
- 3M ScotchBlue Painter’s Tape – Prevents chips while cutting
- Laminate J-Roller – For firm, even pressure
- DEWALT Router with Flush Trim Bit – For perfect edge finishing
Final Thoughts: Is Formica Worth It?
In a word, yes. Formica is budget-friendly, highly durable, and now comes in designs that mimic wood, marble, and even concrete. If you take the time to prep your surfaces, cut carefully, and glue with patience, the results are better than anything you’d get from a cheap replacement counter.
Working with Formica isn’t just for contractors. With the right gear and a little guidance, it’s a perfect DIY weekend project.
📌 Bonus: [ free printable Formica installation checklist]
— includes tools, steps, and tips you can bring to the shop or jobsite.


