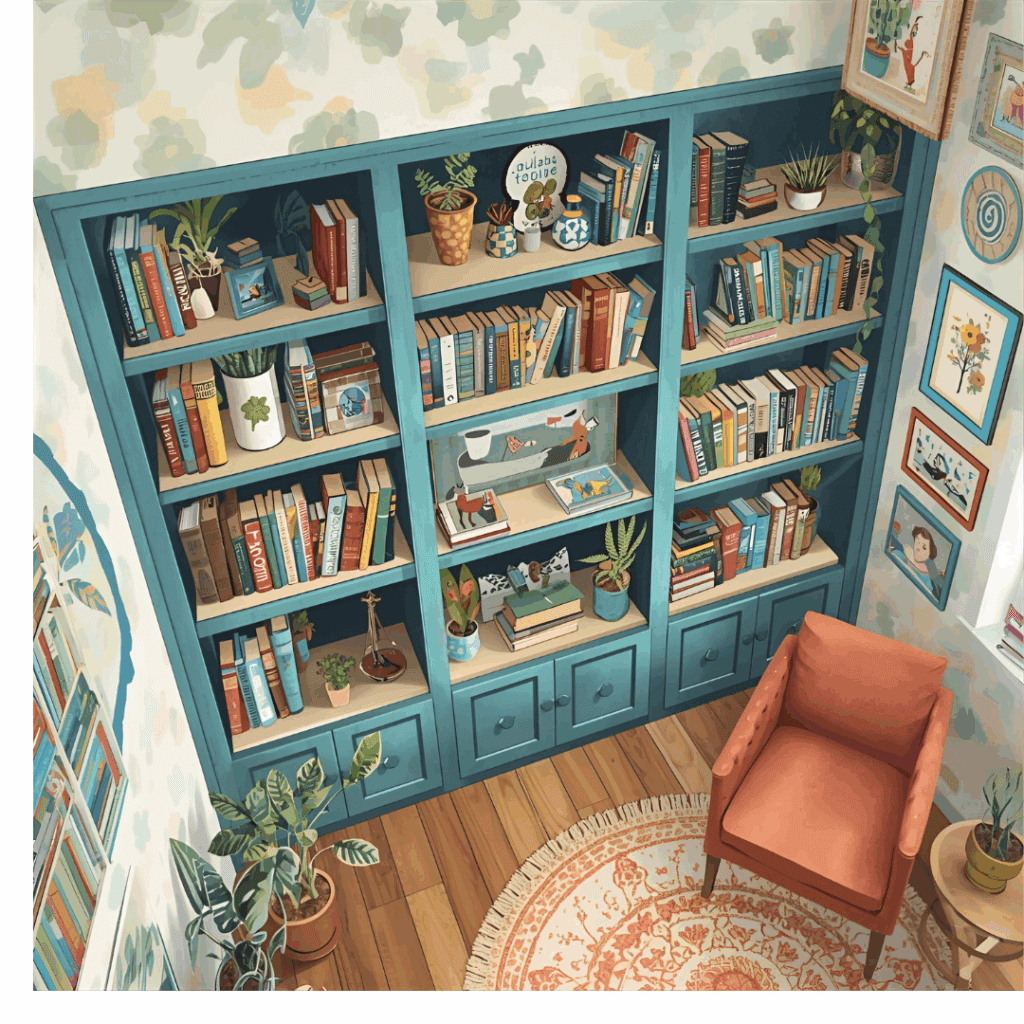
I’ve always had this picture in my head of a real library wall—the kind you see in old movies with a rolling ladder, dark wood, and shelves stacked so high you’d never finish reading it all. My place, though? Totally different. Plain drywall, not a mansion, not even close. But I still wanted that same vibe. A spot that felt like it had always been there, stuffed with books, a couple of plants, maybe a photo or two, instead of leaving them buried in boxes.
That’s what pushed me to try making my own DIY built in bookshelves. Honestly, it wasn’t some perfect Pinterest project. A few cuts went wrong, I second-guessed myself more than once, and there were moments I wanted to just quit and drag in a store-bought shelf. But I kept going. Piece by piece, it started to look like something real.
What I’m sharing here isn’t a polished instruction manual. It’s closer to a mix of my notes, shortcuts, and the mistakes that taught me the most. If you’re thinking of doing the same, this should give you a clearer idea of what actually works—and what to watch out for—so your shelves end up looking like they belong in your home.
Why Built-In Bookshelves Change a Room
I didn’t realize until I finished mine just how much impact a set of shelves can make. It wasn’t just storage—it felt like I had upgraded the entire room.
Here’s why built-ins are worth the effort:
Custom Fit – You’re not stuck with a piece of furniture that’s “almost” the right size. You fill the wall, the nook, or even that awkward corner.
Value-Adding – Realtors will tell you: built-in shelving makes buyers perk up.
Style & Personality – You get to decide if it’s modern, rustic, farmhouse, or classic. Trim, paint, and even lighting change the entire vibe.
Durability – I built mine out of plywood and hardwood trim; it’s not going anywhere for decades.
Planning: The Part Most DIYers Skip (But Shouldn’t)
I’ll be honest—I nearly rushed into this without a plan. I measured the wall once, thought “that’s about right,” and was about to start cutting. I’m glad I stopped myself. A few hours of careful planning saved me days of frustration later.
Here’s how I recommend starting:
Measure three times. Walls and ceilings are never perfectly square. Measure at multiple points (top, middle, bottom).
Sketch it out. I drew mine on graph paper. You can also use free apps like SketchUp.
Decide on height. Floor-to-ceiling looks amazing, but it’s more work (and painting up on a ladder is no fun). If this is your first project, consider going just shy of ceiling height.
Think about outlets. I had to cut around one electrical outlet, which was a headache. Better to plan for it early.
Budget realistically. Plywood alone will likely run $60–$80 a sheet in 2025 prices. Multiply that by how many sheets you’ll need.
👉 Pro tip: If you want to keep costs down, check your local lumberyard for “shop-grade” plywood. It’s cheaper but perfectly fine for painted projects.
Tools I Used
I had a garage full of tools, but here’s what I truly used day-to-day on this build:
Circular saw with guide track – Cleaner cuts than freehand.
Cordless drill/driver – For everything from screws to pocket holes.
Stud finder – Don’t skip this. Shelves need to be anchored to studs.
Level – The bigger the better; uneven shelves scream “DIY.”
Brad nailer – Saved me hours attaching trim.
Random orbital sander – For smoothing edges before painting.
👉 Recommended pick: DEWALT 20V Max Drill/Driver Kit (aff link placeholder). Mine has lasted years and handled this project with ease.
Step 1: Building the Base for Built In Bookshelves
Every built-in starts with a base. Not exciting. Just 2x4s cut and screwed into a frame. I figured it’d be quick. Nope.
The first try looked fine until I put the level on it. Way off. Like a downhill ski slope. My floor dips more than I ever realized. I shoved shims under one corner, checked again. Still off. Pulled them out, shoved new ones in. Did that four, maybe five times.
Dropped a screw halfway through. Rolled under the couch. Still there somewhere.
Anyway, the base finally leveled. Close enough at least. Not perfect, but no one’s crawling down there with a flashlight. Lesson learned: the base looks boring, but it decides whether the whole project leans or not.
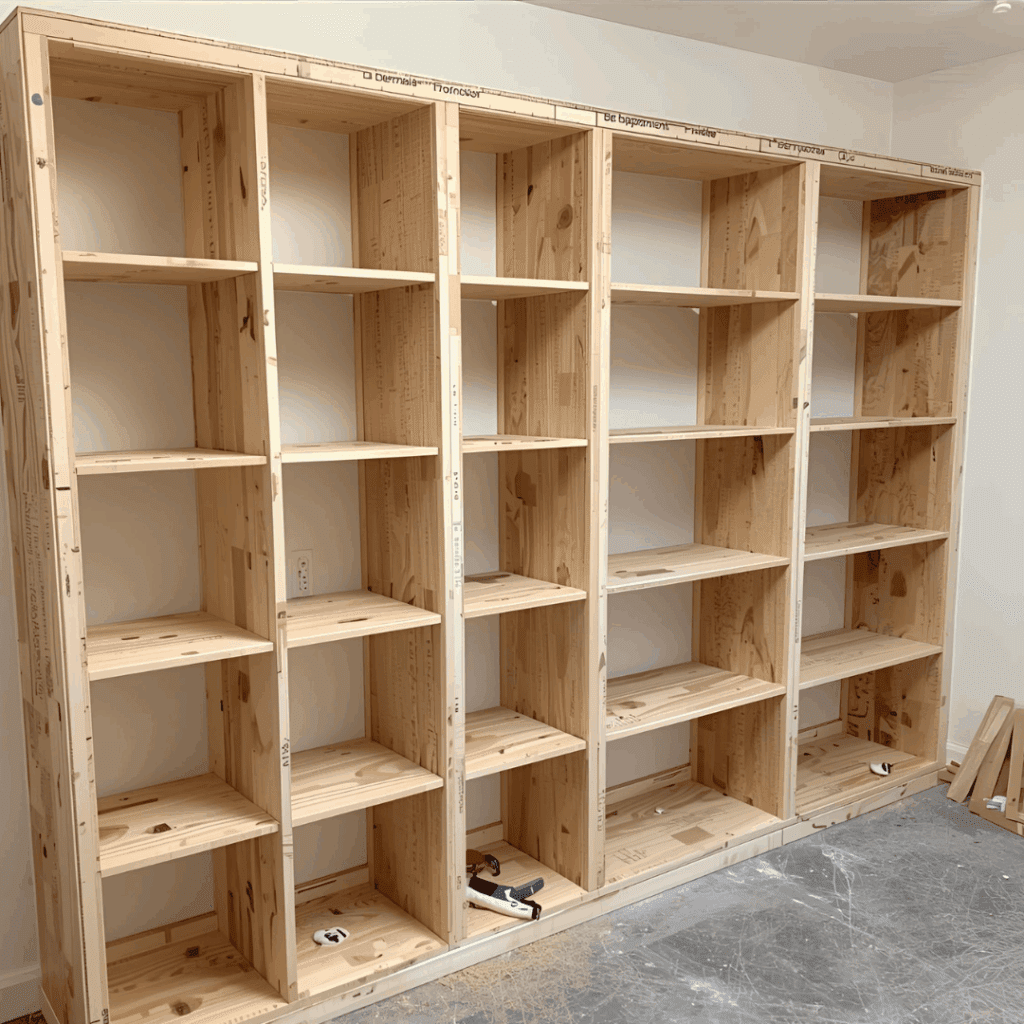
Step 2: Assembling the Box Frames for Your Built In Bookshelves
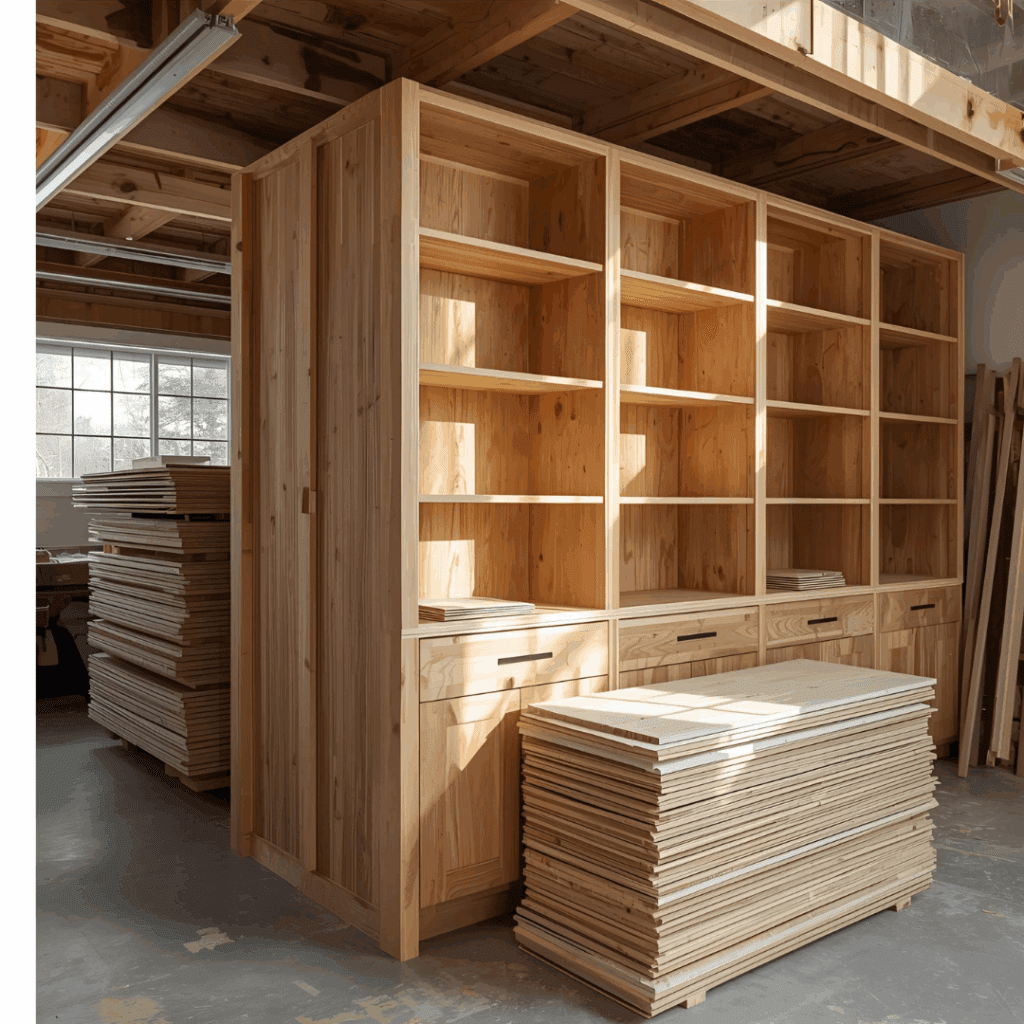
Plywood time. I cut sides, tops, and bottoms for the boxes. Thought it was going to be easy. It wasn’t.
Dragging full sheets of ¾-inch plywood across my driveway? Heavy. Wind blew sawdust in my eyes, line wandered. The first cut was crooked. Second wasn’t much better. The third one was fine—I called it fine anyway.
Screwed the first box together. Crooked. Unscrewed it. Tried again. Still leaning. The third time, I muttered, “Good enough,” and left it. Trim hides a lot.
Carried them inside. Lined them on the base. Gaps against the wall everywhere. For about 30 seconds, I panicked. Then I remembered: walls aren’t square. Nobody’s walls are square. Trim later. Move on.
This part finally made it feel solid. Until now, the boxes just sat there like wobbly Jenga pieces.
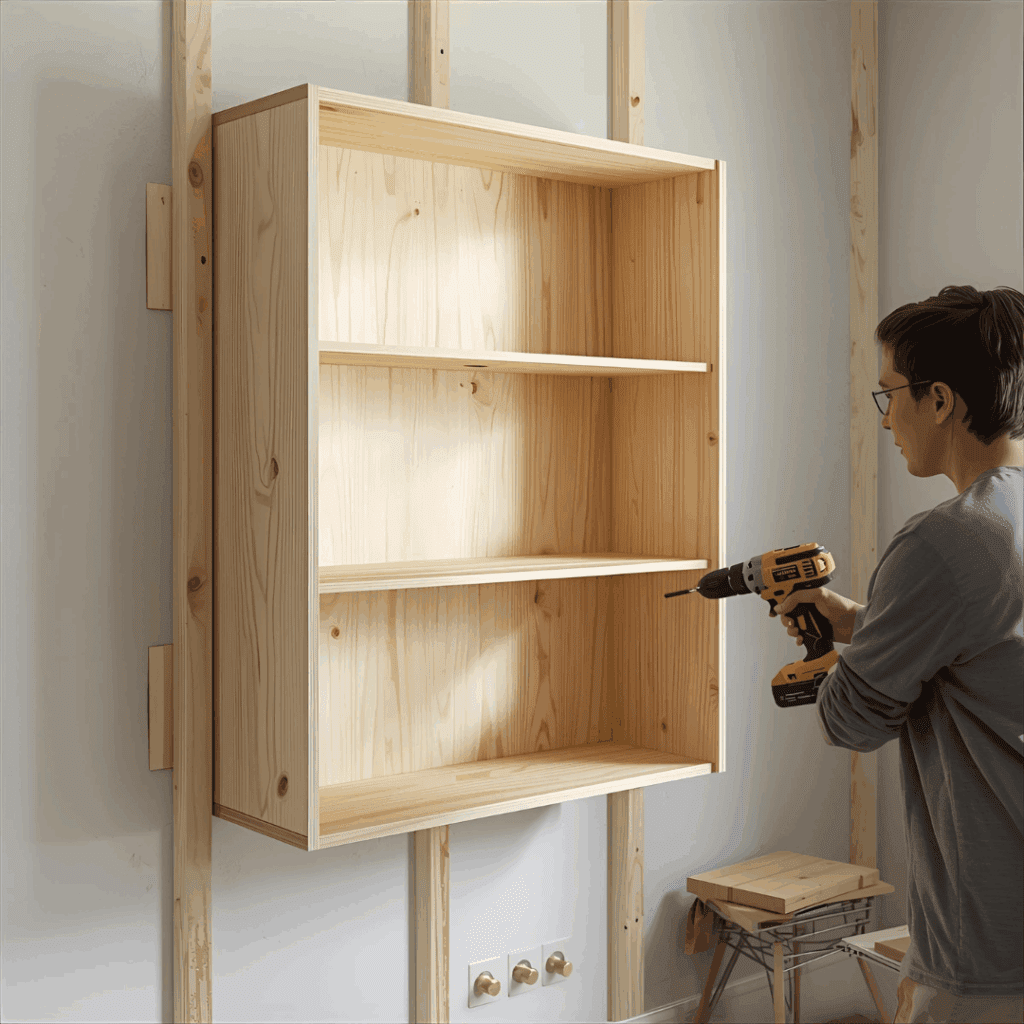
Grabbed the stud finder. Prayed it wasn’t lying. Drove in the first long screw. The box snapped tight against the wall. Out loud, I said, “Thank God.”
Connected each box to the studs, then screwed them to each other through the sides. Felt like a single unit after that. Strong.
But I cracked one panel by skipping a pre-drill. Loud pop. My stomach dropped. I filled it later, but I still see it when I walk past. Annoying.
By the end, my drill batteries were dead, my socks were trashed, and there were wood shavings in my hair. But the shelves? Rock solid. Finally, part of the wall.
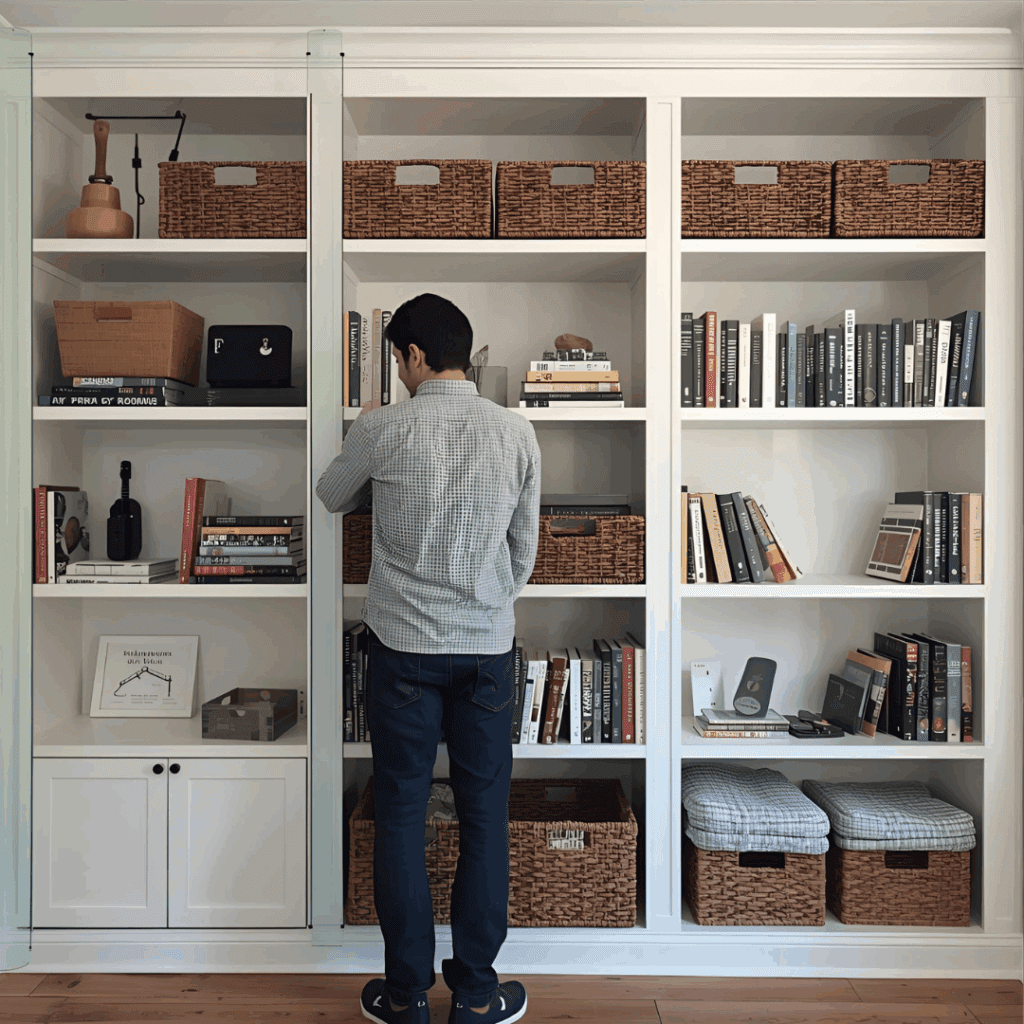
Step 4: Shelves and Spacing
This step’s where you get creative. I dumped a stack of books and a basket on the floor. Eyeballed the spacing. Twelve inches worked for books. Sixteen for baskets. A plant was taller, so I left one shelf bigger. No science—just vibes.
Cut the boards, tried screwing the first one in. Holding it with one hand, drill in the other. Stupid idea. Almost dropped it. Swore. Walked off.
Grabbed a scrap board and clamped it under the shelf as a helper. Way better. Should’ve done that from the start.
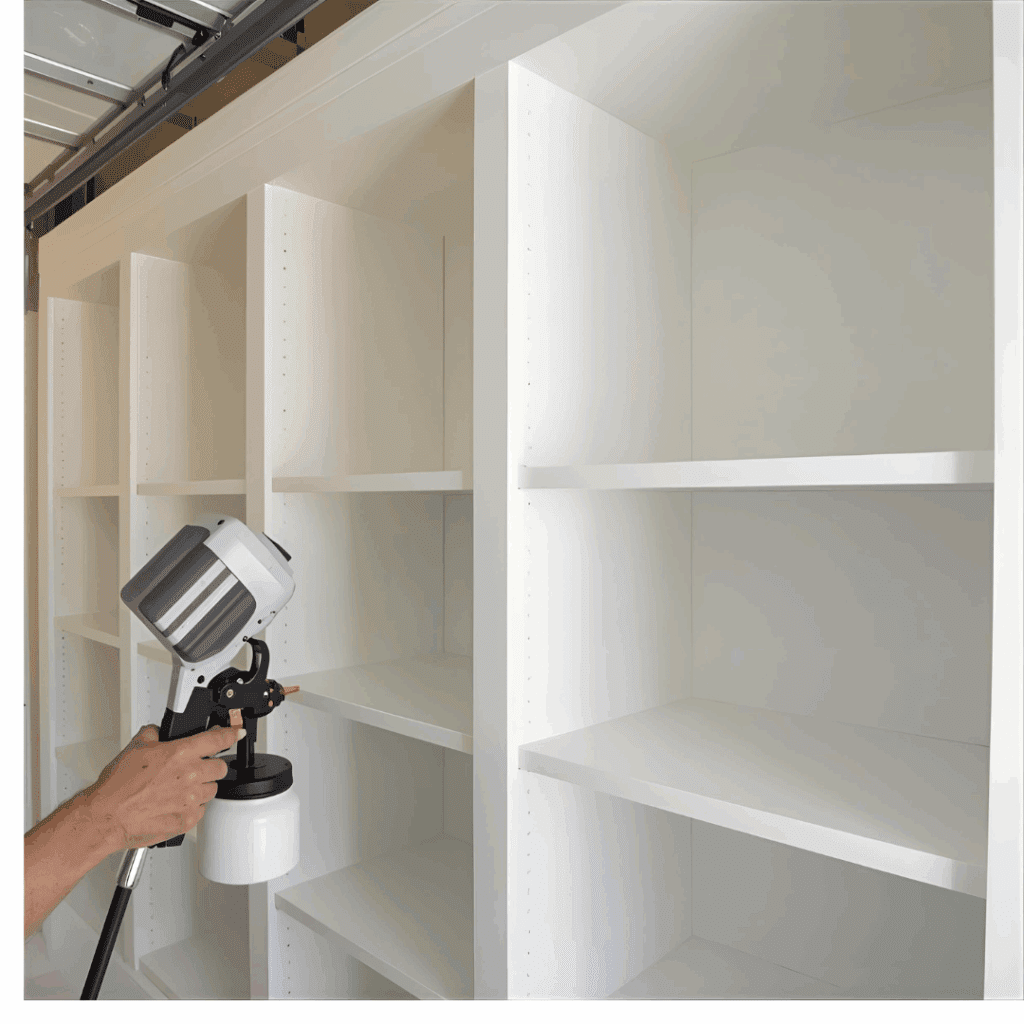
My dumbest move? Waiting to paint. Once the shelves were fixed, painting inside felt like brushing the inside of a shoebox. My neck has hurt for days. Paint first, always.
Still, by the last shelf, it looked real. My kids walked in, eyes wide, and asked if they could climb it. “No. Absolutely not.”
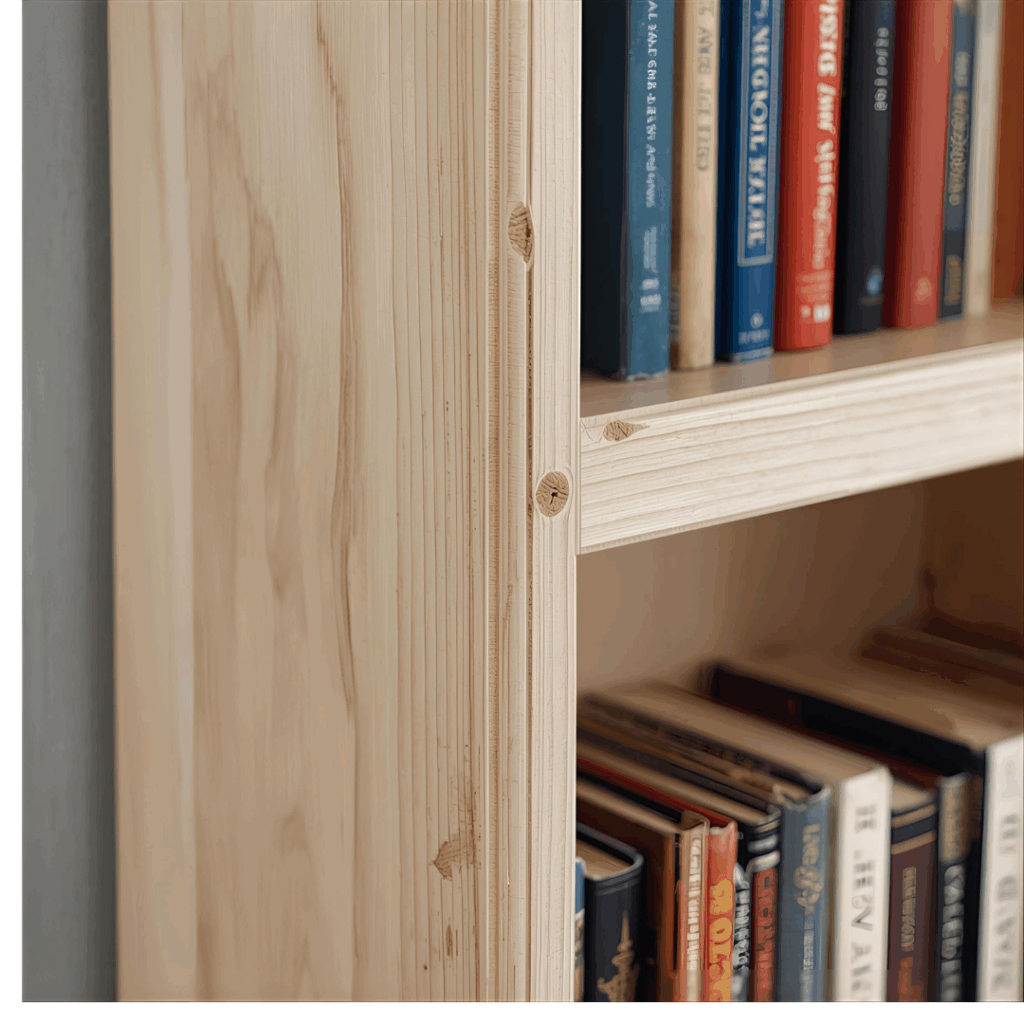
Here’s where it finally looks like something worth bragging about. I cut strips of 1×2 poplar, nailed them on with glue and a brad nailer. Instantly—cleaner, thicker, more “custom.”
Of course, I tried to cut everything at once. Thought I was clever. Nope. Walls aren’t straight, plywood isn’t straight, nothing’s straight. Ended up with gaps. Cursed. Recut everything one by one. Slower but right.
Attaching them was weirdly fun. Pop-pop-pop from the nailer. A little glue squished out of the seams. I wiped it off with my shirt sleeve because the rag was across the room.
Filled nail holes, sanded quickly. Ran my hand down the frame and thought, “Finally looks legit.”
Trim is the magic trick. Covers all the ugly. Makes you look like you know what you’re doing.
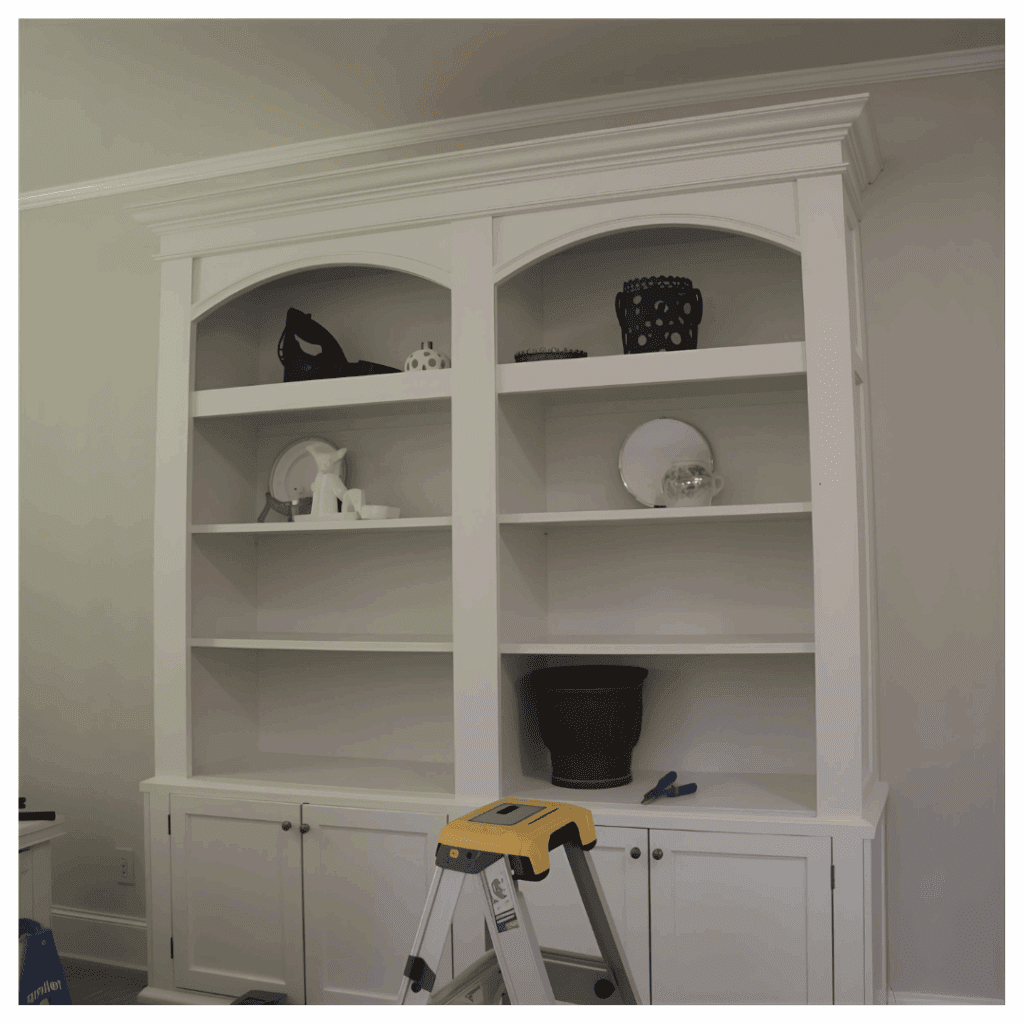
Baseboard first—tied into the room. Then the crown molding. And crown molding? Evil. My first two cuts weren’t just off—they were laughably off. My kids heard me swearing from the kitchen. Third try finally clicked into place, and I actually laughed out loud.
Then caulk. Caulk fixes everything. Gaps, cracks, mistakes—gone. Wiped it smooth with my finger. Filler in the nail holes. Quick sand.
By then, I was covered in dust, tired, and debating whether to shower or just paint. Painting won. The smell of primer filled the room. Each coat smoothed it out.
When I stepped back, knees sore, hands sore, but grinning, the shelves looked like they’d always been there. Every mistake? Hidden. Worth it.
Not cheap, but still far less than the $3,000–$5,000 quotes I got from contractors.
Ideas to Customize Your Built-Ins
Once the structure is done, the design possibilities are endless:
Library ladder – Expensive, but jaw-dropping.
Built-in desk – Combine shelves with a work surface.
Lighting – I added puck lights under one shelf, and it made a huge difference.
Cabinets below – Great for hiding clutter while keeping shelves stylish.
Mistakes I Made (So You Don’t Have To)
Didn’t account for outlets. I had to notch around one at the last minute.
Painted too late. Crawling into narrow shelves with a brush is a nightmare.
Skimped on the trim the first time. It looked unfinished until I went back and added crown molding.
Final Thoughts
Building DIY built in bookshelves was one of the most satisfying projects I’ve done. It turned a plain wall into the highlight of the room. Yes, it took time, sweat, and a few “why did I start this” moments, but in the end, I saved thousands of dollars and got exactly the look I wanted.
If you’re considering it, my advice is simple: go for it. Plan carefully, take your time with the trim, and don’t be afraid to make adjustments along the way.
Related Posts:
Floating Shelves: Stylish Storage & Easy DIY Guide by Admin September 8, 2025 DIY I still remember the first time I put up floating shelves. It wasn’t some big renovation—just a Saturday project in my living room. Instead of…


")

")
")