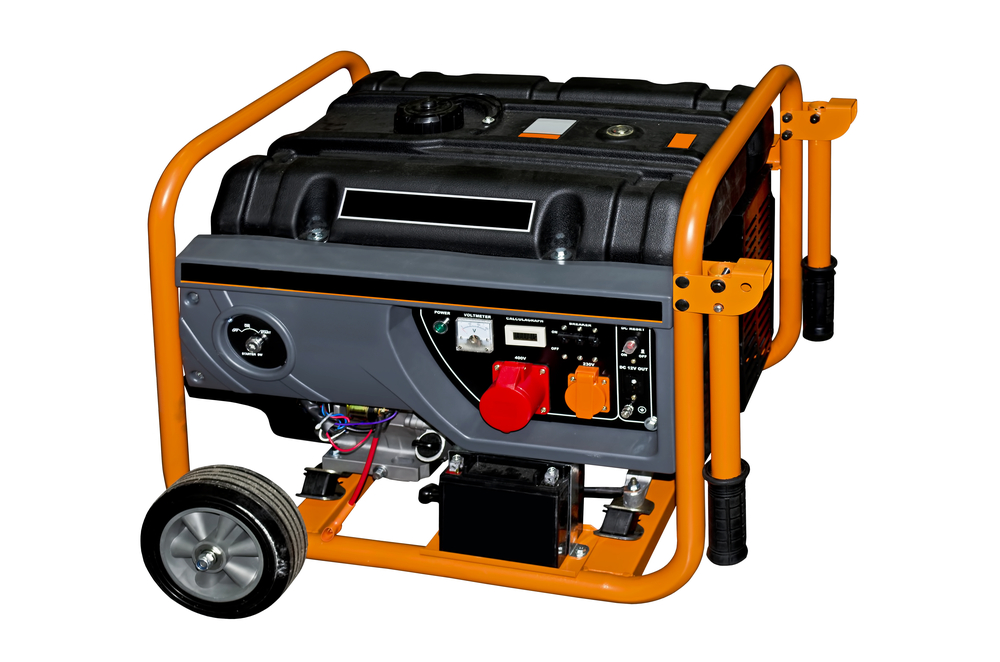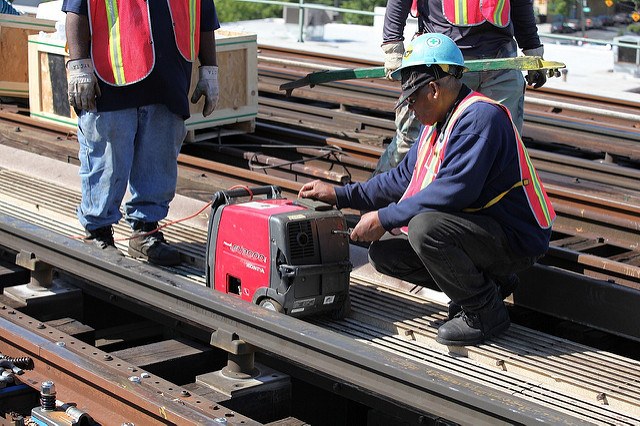
While you can buy a generator baffle box, building an enclosure is possible without making much of an investment. You can use inexpensive materials to make this portable generator enclosure – you can recycle scrap wood if you have any lying around. Let’s get started!
Essential Tools
You don’t need many tools to build a DIY generator enclosure. Consider borrowing or renting them if you don’t have them on hand.
- Table saw and circular saw
- Drill with appropriate driver bits
Essential Materials
Your generator enclosure should protect from the elements while allowing plenty of ventilation. Without enough breathing room, your generator might heat up and shut off, or even worse, catch fire. If you decide to go with your design, be sure that you keep this in mind. Here’s a quick list of materials to build this easy generator enclosure.
- ¾” Pressure-treated plywood. The amount depends on the generator’s size
- Pressure treated 4×4, length determined by generator size
- Optional for large generators that are difficult to move: Pressure treated 2x4s and four lawnmower wheels for a DIY generator enclosure that can be moved back and forth for easy access to cords, fuel tank, and other components
- Pressure treated 2×2, length determined by generator size
- Aluminum flashing or sheet metal, the amount determined by generator size
- ¼” machine screws
- Prefabricated louvered vents, 3 to 5, depending on generator size
- Exterior L-brackets with screws
- 2 to 3 Exterior Hinges with screws
- 2 Exterior Latches
- Deck sealer
- Shingles or metal roofing plus appropriate fasteners (optional)

Building the Generator Enclosure
Start by measuring your generator. You want to be generous with the enclosure’s dimensions since you want to give your generator plenty of room to breathe. Leave at least 10 inches of free space around the sides, top, front, and back.
Draw up a quick sketch. You will be building a small, flat-topped “shed” with a door that allows you to remove the generator for refueling and maintenance. The louvered vents will go into the generator’s sides and back. The pressure treated 4×4 will support the two lengthwise sides while providing some clearance for your electric cords.
1. Cut the plywood’s top, sides, front, and back according to your measurements.
2. Determine which end or side will receive heat from the generator’s exhaust. Cover the inner portion of this piece in aluminum flashing or sheet metal, and fasten it with machine screws.
3. Position the louvers on the sides and back, marking the areas to be cut.
4. Cut the openings for the louvers and then tap the louvers into place. You may need to use tinsnips or metal shears to get through the metal on the heat-protected side.
5. Cut the 2×2 pieces to fit the upper sides of the generator baffle box. Attach these pieces to the inside of each side with deck screws.
5. Cut the 4×4 pieces to fit the sides of the generator enclosure. Attach the sides to the 4x4s with the L brackets. Ensure that the louvers are facing out. Note: if using 2x4s and wheels instead, attach the sides of the generator enclosure to the 2×4 pieces with deck screws. Use appropriate hardware to attach the wheels to the sides. You may also wish to add a pair of wheelbarrow handles to the sides for easier maneuvering.
6. Double-check your positioning and then fasten the back of the generator enclosure to the sides, using L brackets at the top and bottom of each side. If you like, you can use hinges and latches instead. This will allow you to open up the exhaust end for additional breathability.
7. Attach the front “door” of the generator enclosure to the sides using hinges. Attach one latch to the top of the door and fasten the second latch to the bottom. Close the latches.
8. Attach the top of the generator box to the sides, driving deck screws into the 2×2 sections.
9. If you use roofing material, add it to the enclosure’s top.
10. Coat the exterior of the generator shed with your chosen finish and allow it to dry.
11. Wheel your generator into its enclosure and close the latches. It’s safely stored until time to use it!
12. Remove your generator from its baffle box to fuel and start it. Plug-in cords before positioning the generator back in its enclosure.
How Much Time Does It Take to Build a DIY Generator Enclosure?
This project will take at least two hours to complete, and it could take longer if you’re building an enclosure for a large generator. Because every generator is different, it’s a good idea to take plenty of time to draw up your design and make any necessary modifications.
What is the Average Cost to Build an Enclosure for a Portable Generator?
You can expect to pay about $30 per 4’ x 8’ sheet of pressure-treated plywood needed for this project. The metal louvers are surprisingly inexpensive – many hardware stores carry these for under $5 apiece. Hardware and finish prices vary depending on size and number.
In most cases, you can build a DIY generator enclosure for less than the price of a plastic generator shed. The finished product can be as attractive as you like; you can even paint this project to match your home or outbuildings. Additionally, the end product is sturdier than the average plastic storage solution and will not fly away like a temporary tent-style shed. While these products perform well under normal circumstances, a sturdy portable generator enclosure is preferable in heavy weather, particularly when high winds are involved.
This project takes time, effort, and tinkering to design and build! But the results are well worth the work you put into it – and in the end, you’ll be rewarded with a safe, secure portable generator enclosure you built with your own two hands and just a touch of ingenuity.


