Learning how to drill angled holes—what most people call pocket holes—is one of those skills that instantly elevates your woodworking. The first time I watched someone drill a perfect pocket hole and pull two boards together with almost no effort, I remember thinking, That’s it? That’s all it takes? Years ago, angled holes were mainly used in professional cabinetry shops where visible screws weren’t acceptable. Today, they show up in everything from IKEA furniture to high-end custom work because they allow you to build strong, clean joints without complicated machinery.
If you’ve ever toe-nailed a stud while framing a wall, you already understand the basic concept. A pocket hole is simply a controlled, repeatable way to drive a screw at an angle—but with far more accuracy and holding strength. Many woodworkers jokingly call it “toe screwing,” and honestly, the name fits: you’re guiding a screw into the wood at just the right angle to lock two pieces together.
What makes pocket-hole joinery so appealing is that it’s both powerful and effortless. Beginners can learn it in one afternoon. Pros use it every day because it saves time and offers precision that traditional methods sometimes don’t. Whether you’re building cabinets, tables, bookshelves, or outdoor furniture, mastering this technique will make your builds faster, cleaner, and more durable.
Why Some DIYers Hesitate to Drill Angled Holes
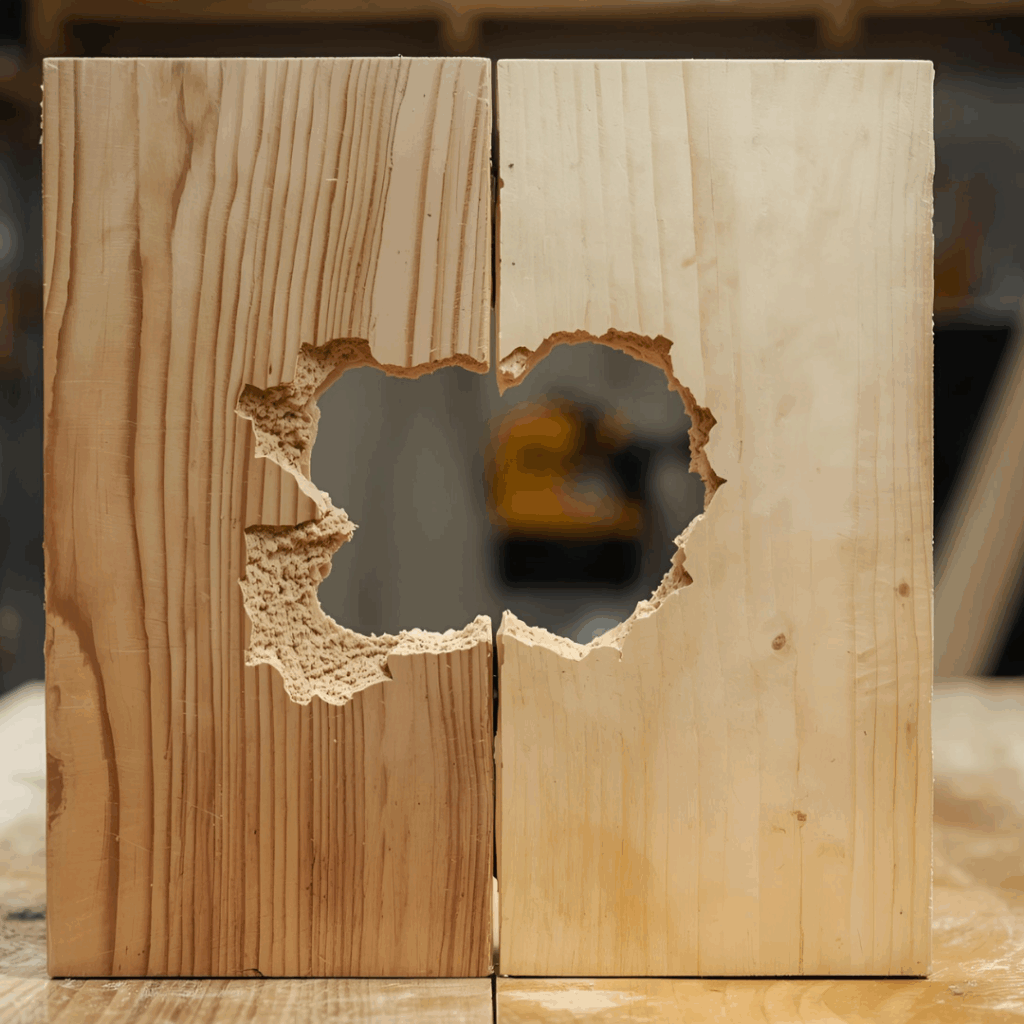
Before I learned the technique well, I felt the same hesitation most beginners do. Angled holes look tricky. Without a jig, the drill bit wants to skate across the wood. The angle feels unnatural. And if you’ve ever had a bit wander during drilling, you know how disastrous that can be—splits, tear-out, crooked holes.
But the truth is simple:
If you can clamp your workpiece securely and start the drill at a steady pace, you can drill angled holes cleanly.
The technique is far less intimidating once you’ve done it a couple of times. In fact, most people are surprised by how quickly it becomes automatic.
Common reasons beginners avoid angled holes:
Fear of splitting the wood
Lack of confidence in holding a drill at an angle
Belief that special machinery is required
Previous bad experiences with the wrong tools
Confusion about screw length or jig settings
Every one of these concerns disappears once you use a proper jig and understand the basic mechanics.
Drill Press vs. Hand Drill: What You Really Need
Let’s clear up one common misconception: You do NOT need a drill press to drill angled holes.
A drill press does produce incredibly consistent, perfectly aligned holes. It keeps the bit rigid, prevents wandering, and requires almost no learning curve. But most DIY woodworkers don’t have a drill press—and don’t need one.
A standard cordless drill combined with a pocket-hole jig is more than enough to produce near-perfect results. I’ve built entire dining tables, garage cabinets, benches, and built-ins with nothing but a drill, a jig, and decent clamps.
If you have a small shop, a garage corner, or even just a fold-out workbench, you can drill angled holes with ease.
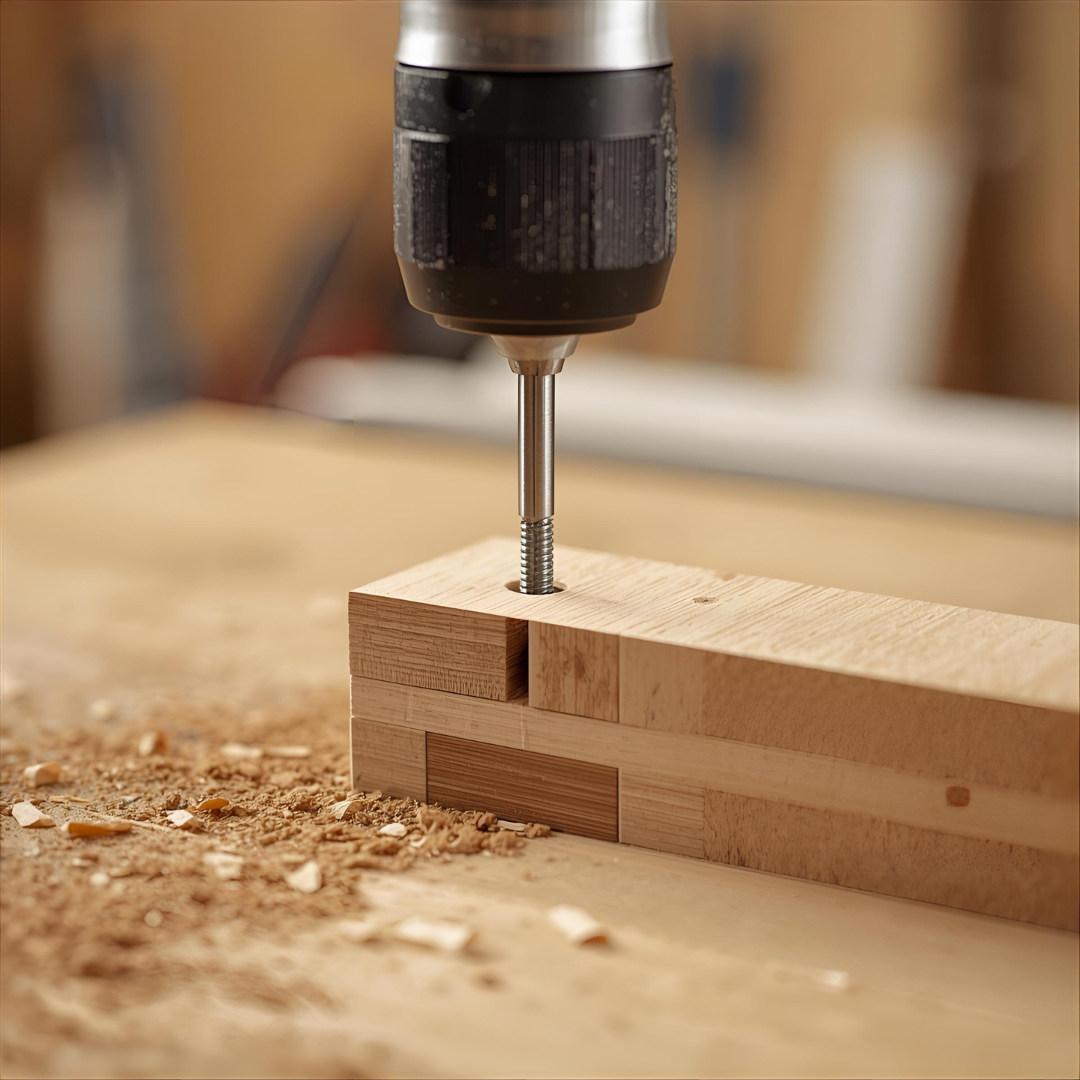
Choosing the Right Drill Bits for Drilling Angled Holes
Technically, any drill bit will remove wood. But when drilling angled holes, starting cleanly is everything.
Why Brad-Point Bits Are Best
Brad-point bits have a sharp center spur that anchors the bit exactly where you place it. That prevents wandering—especially important when drilling at an angle.
Benefits of Brad-point bits:
Clean entry holes
Less tear-out
Better control
Reduced risk of slipping
If You Don’t Have Brad-Point Bits
Drill a small pilot hole first. Even a 1/16″ pilot hole stabilizes the bit and gives you a clean, controlled start.
Tip: If you’re working with plywood, check out my guide on how to sand plywood properly—it helps reduce tear-out around pocket holes.
Selecting the Right Angle for Your Project
The standard angle for pocket holes is 15 degrees. That’s why most pocket-hole jigs—especially Kreg models—come pre-set to that angle.
But sometimes you may want a different angle:
10°–12°: Great for hardwoods, reduces splitting
18°–20°: Works well for thicker stock
Variable angles: Useful for unusual joinery or structural frames
If you purchase an adjustable jig, you’ll be able to drill angled holes from shallow to nearly vertical, giving you more flexibility in custom projects.
This is where angled holes really shine. When you drill angled holes and drive screws into them, the screw pulls the two boards together tightly. The joint experiences two forces:
1. Compression — pressing the boards tightly together
2. Tension — pulling the boards along the grain
A straight screw only provides downward holding force. An angled screw provides:
Vertical pulling force
Horizontal pulling force
A locking effect in the wood
A clamping action
This combination makes pocket-hole joints incredibly strong. In strength tests, pocket-hole joints often outperform dowels, biscuits, and butt joints by a wide margin.
Typical tensile strength tests show:
Pocket-hole joints: 700–1,000 lbs
Dowels: 500–600 lbs
Biscuits: alignment only
Traditional screws: 80–150 lbs
This is why I confidently use pocket holes in tables, benches, shelving, and even bed frames.
The Power of a Good Jig: Consistency, Accuracy, Confidence
A good jig is the heart of clean, angled holes. Even professional shops rely on jigs for consistent alignment.
There are two main types:
1. Fixed-Angle Jigs (Most Common)
Typically 15°
Perfect for general woodworking
Very beginner-friendly
Reliable and sturdy
2. Adjustable-Angle Jigs
More versatile
Great for custom or structural work
Require more setup
If you’re drilling dozens or hundreds of angled holes for a big project—like building cabinets or a large table—a fixed-angle jig is the simplest and fastest option.
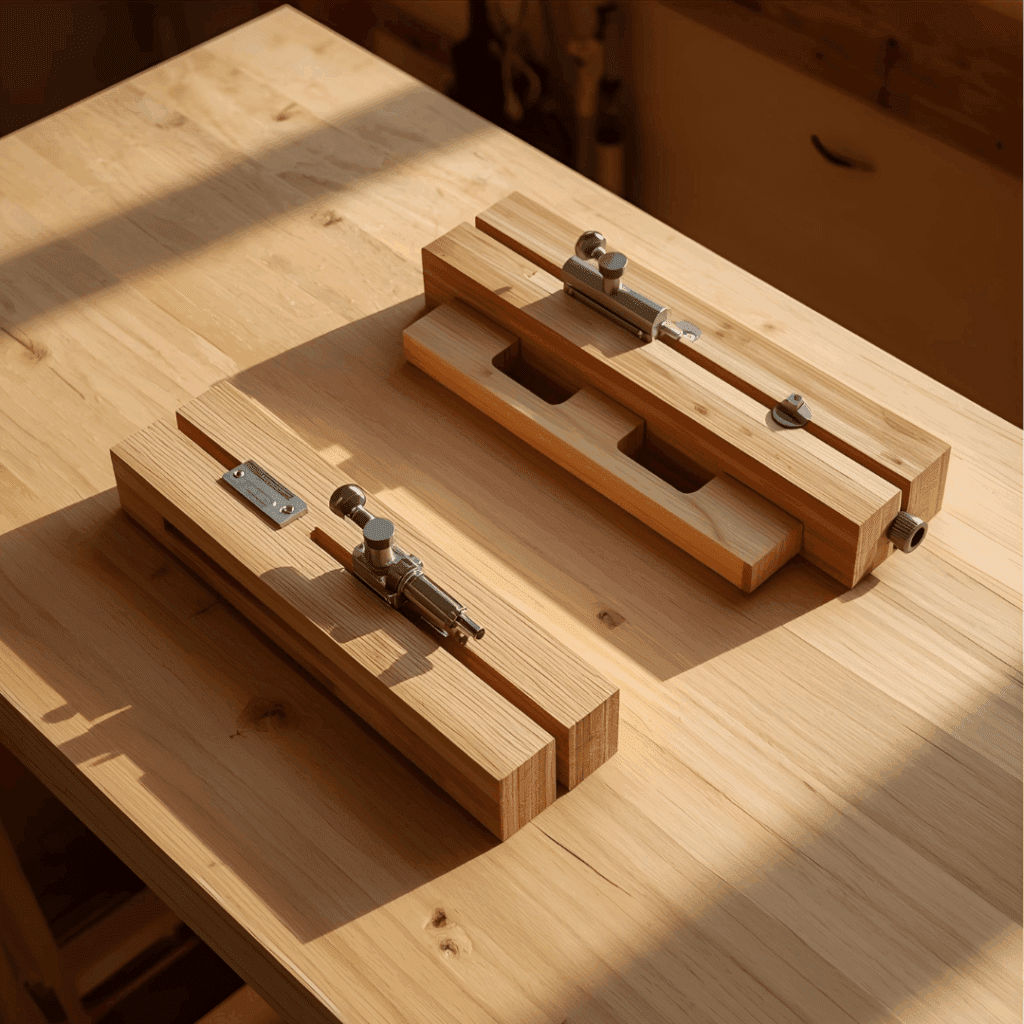
How to Build Your Own DIY Pocket-Hole Jig
If you enjoy making your own tools, a DIY jig is surprisingly simple.
Steps to make one:
Start with a hardwood block with straight, square sides.
Drill a pilot hole at a slight angle through one end.
Tilt your table saw blade to 15°–20° and cut the block accordingly.
Add side rails or supports to prevent the jig from sliding.
This type of jig isn’t as durable or precise as a commercial version, but it works beautifully for a small project or emergency use.
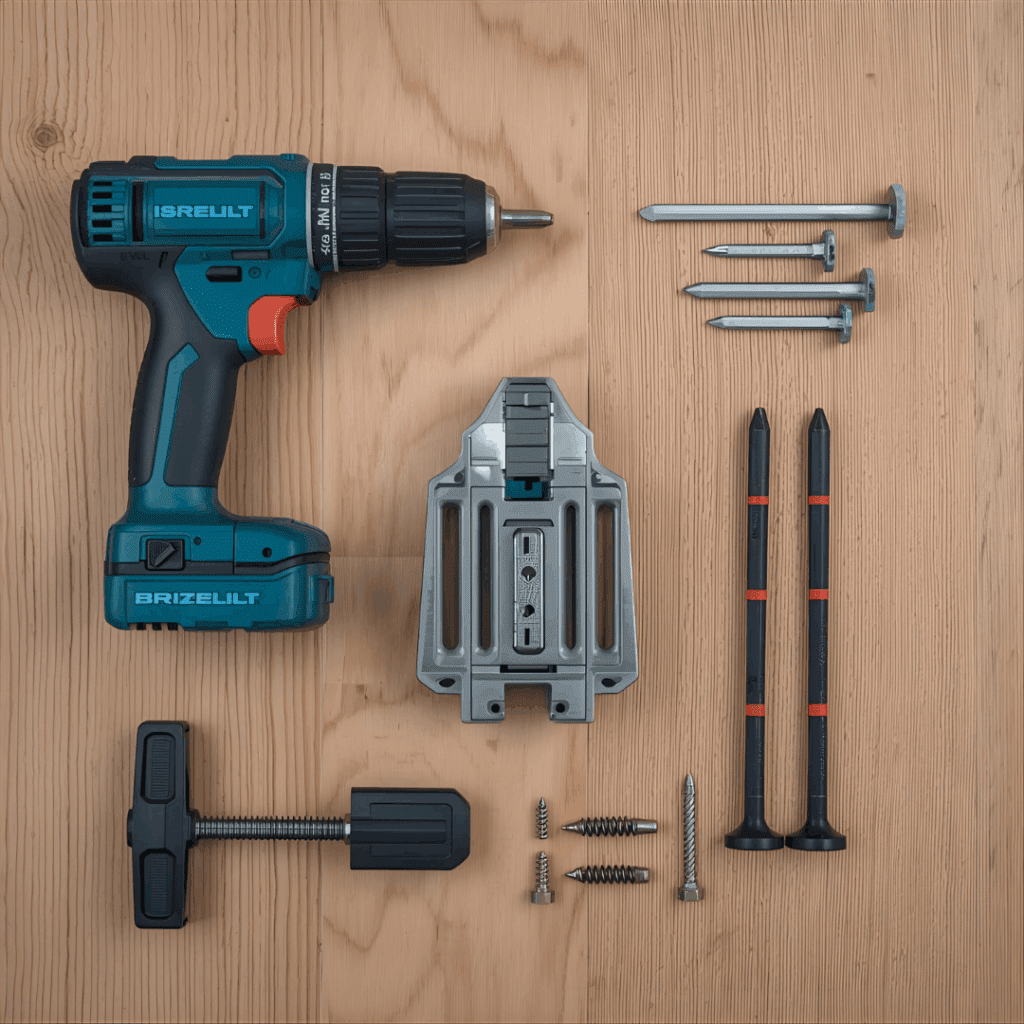
Tools That Make Drilling Angled Holes Easier
Here are beginner-approved and pro-approved tools:
When you learn how to drill angled holes, new possibilities open up fast.
Common applications include:
Cabinet face frames
Bookshelves and built-ins
Dining tables and benches
Farmhouse furniture
Drawer boxes
Trim and molding work
Outdoor tables and chairs
Pocket holes are beneficial when building with plywood. If you’re unsure which plywood to use, check out my guide on choosing the right plywood thickness before drilling.
Common Mistakes When You Drill Angled Holes (And How to Avoid Them)
❌ Starting the drill too fast
✔ Start slowly so the bit bites before speeding up.
❌ Forgetting to clamp
✔ Clamp both the jig and the workpiece.
❌ Using standard wood screws
✔ Use pocket-hole screws—they have special threads and heads.
❌ Setting the collar depth incorrectly
✔ Always match the collar to your material thickness.
❌ Allowing the bit to wander
✔ Use a brad-point bit or create a small pilot hole.
If you fix these mistakes, your holes will be cleaner, and your joints will be much stronger.
Choosing the Right Pocket-Hole Screw Length
Material Thickness
Screw Length
½″
1″
¾″
1¼″
1″
1½″
1½″
2½″
Most woodworking projects use ¾″ material, so 1¼″ screws are the standard.
Pocket screws act like clamps, but glue adds long-term stability.
Use glue when building:
Tables
Chairs
Cabinets
Benches
Skip glue when:
The project needs disassembly
Working with materials that expand heavily
Building temporary fixtures
Advanced Tips for Cleaner, Stronger Angled Holes
✔ Drill a micro pilot hole for accuracy ✔ Use dust collection to reduce heat and burning ✔ Build a dedicated drilling station ✔ Keep a second drill nearby for driving screws ✔ Lower your drill’s clutch setting to avoid overdriving
Each of these tips reduces splitting, increases accuracy, and improves your workflow.
Troubleshooting Common Pocket-Hole Issues
Problem: Screw pokes through Fix: Wrong screw length—refer to the chart.
Problem: The Entrance hole is ragged Fix: Slow your drill or switch to brad-point bits.
Problem: The Joint won’t close tightly Fix: Improve your clamping setup before drilling.
Problem: Bit wanders Fix: Start slower or create a small pilot hole.
Problem: Wood splits Fix: Back off the collar depth slightly and reduce the drill speed
Pocket Holes in Plywood vs. Solid Wood
Plywood
Very stable
Rarely splits
Holds screws well due to cross-grain layers
Use coarse-thread screws
Solid Hardwood
Strong mechanical hold
Drill slowly to avoid burning
Use fine-thread screws
More technique required
Why Pocket-Hole Joinery is Perfect for Small Workshops
This is why pocket holes are often the first joinery technique beginners master—and one professionals never stop using.
A Personal Look: How I First Learned to Drill Angled Holes
The first time I tried to drill angled holes without a jig, the results were terrible. The bit walked across the wood; the angle was wrong, and the hole looked like a squirrel had dug it. The board nearly split, and I honestly thought pocket holes were overrated.
Then I bought a simple jig. The difference was immediate.
The bit grabbed confidently. The hole was cut cleanly. The screw pulled the boards together with a satisfying snap.
That moment changed the way I build furniture. Since then, pocket holes have become one of the most reliable tools in my shop—simple, consistent, and surprisingly strong.
Final Thoughts
Learning how to drill angled holes is one of the best upgrades you can make to your woodworking. Once you understand how to use a jig, choose the right screws, and set up your drilling technique, everything else becomes easier—building cabinets, assembling tabletops, reinforcing shelves, or creating frames.
Pocket-hole joinery gives you:
Strength
Speed
Clean appearance
Professional results
Whether you’re a brand-new DIYer or a seasoned builder, mastering angled holes will transform the way you work.
Related Posts:
How to Apply a Shellac Finish to Plywood by Amy Reed September 16, 2025 DIY Applying shellac to plywood is a traditional way to finish a woodworking project. Made from insect-secreted resin flakes dissolved in alcohol, it’s a non-toxic finish…
How to Install Mobile Home Skirting: A Simple DIY Guide by Admin March 17, 2025 DIY Skirting is an essential feature for mobile homes, offering protection, insulation, and a polished appearance. Skirting is a valuable investment whether you're looking for an…