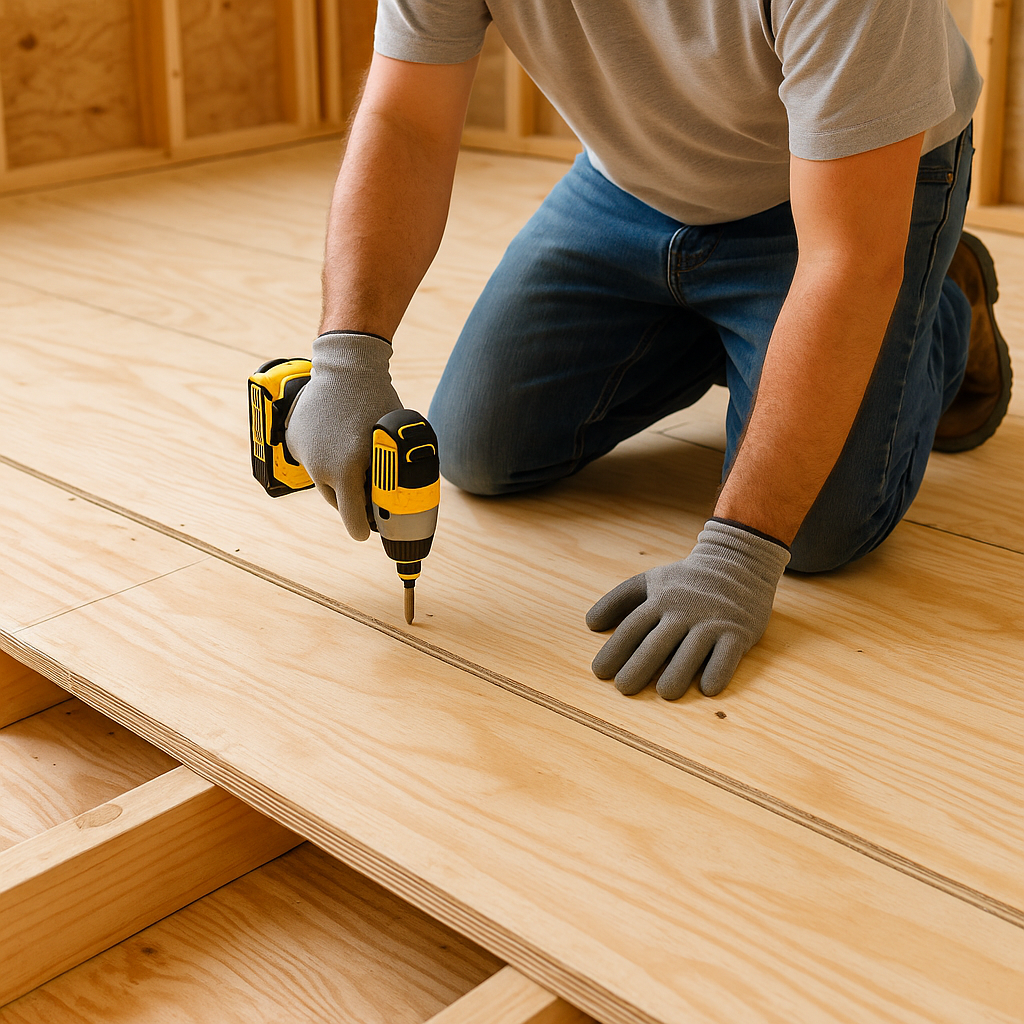
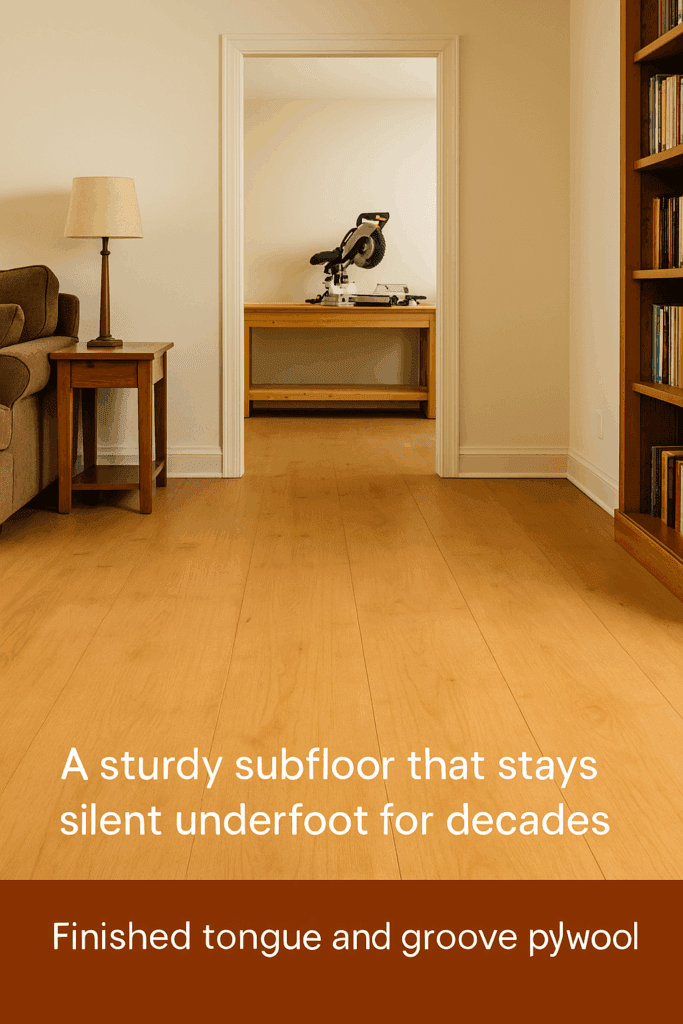
The first time I stepped on a subfloor made with tongue-and-groove plywood, I immediately noticed the difference. The boards didn’t creak, flex, or shift underfoot—they felt as if the entire floor was one solid piece. That’s the quiet strength of tongue and groove plywood, a small design detail that makes a big difference in how your floors, walls, and roofs hold up over time.
If you’re wondering what makes this plywood special, or whether it’s worth paying extra for, here’s everything I’ve learned from real-world projects using tongue and groove panels in flooring, decking, and wall builds.
🪚 What Is Tongue and Groove Plywood?
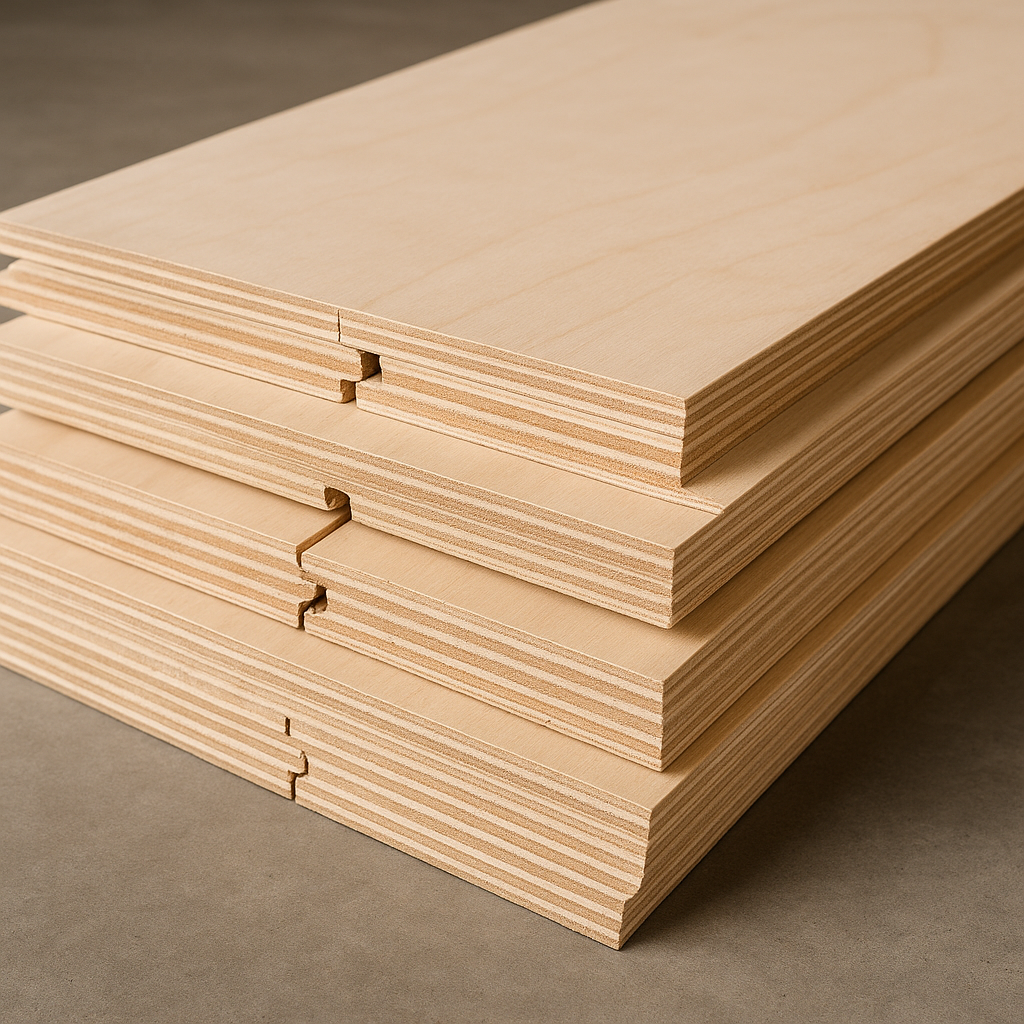
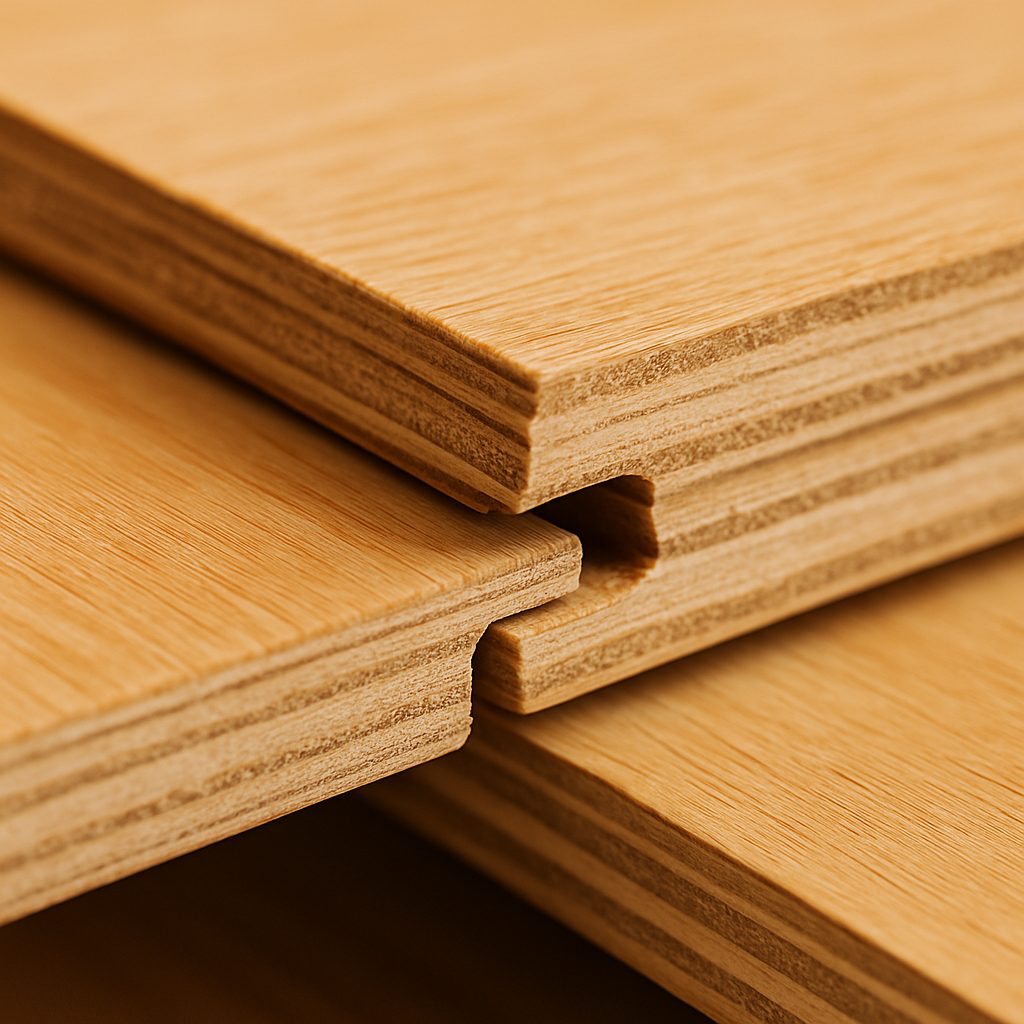
When you first pick up a sheet of tongue and groove plywood, it might look just like the regular stuff stacked nearby. But run your hand along the edge and you’ll notice the difference—one side has a raised tongue, and the other has a matching groove. When you slide those edges together, they lock with a satisfying click, forming a tight seam that doesn’t flex or separate over time.
That simple joint changes everything. Instead of each sheet carrying its own weight, the load spreads evenly across the seam. It’s the reason floors built with T&G plywood feel firm and quiet underfoot, without those tiny ridges that show up through flooring later on.
The idea isn’t new—carpenters have been joining boards this way for centuries. From solid oak floors in old farmhouses to paneled ceilings in Victorian homes, the tongue-and-groove method has always been a mark of good craftsmanship. Adapting it for plywood was just common sense: the strength of multiple plies combined with the precision of a classic wood joint.
🧱 How It’s Made
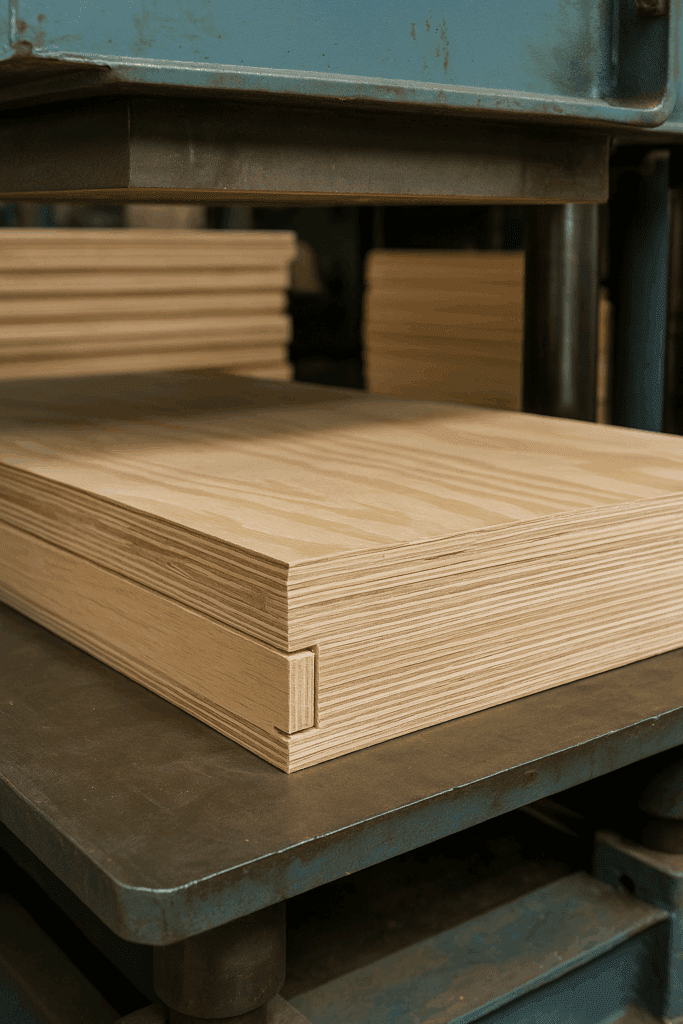
When you strip it down to basics, tongue-and-groove plywood starts life the same way as any other plywood sheet. Thin layers of wood—called veneers—are stacked with the grain of each layer running opposite to the one below it. This cross-lamination is what gives plywood its strength and stability.
After the layers are glued and pressed together under heat, the panel becomes a single solid sheet. From there, the real magic happens: each long edge is carefully milled so that one side has a tongue and the other a groove. That little bit of extra shaping is what allows the panels to fit together perfectly once installed.
The higher-end versions—like Sturd-I-Floor panels—go through extra steps most folks never see. The edges are measured down to a fraction of a millimeter, the glue is rated to resist moisture, and the faces are sanded smooth enough for underlayment. You’ll usually see a stamp like PS-1 or PS-2, meaning it meets structural-grade standards used in flooring systems.
So if you spot a sheet marked “Sturd-I-Floor,” that’s your sign it’s made for subfloors where precision matters. Those tight-fitting edges are designed to stay flat, stay quiet, and stay solid underfoot—precisely what you want when building something meant to last.
⚒️ Why Builders Use Tongue and Groove Plywood
After years of home projects, I’ve found tongue and groove plywood shines wherever you need extra rigidity—especially in floors and roof decking. Here’s why contractors and DIYers alike prefer it:
1. Strong, Squeak-Free Floors
The tongue-and-groove connection prevents one sheet from rising or flexing independently of the next. That tight fit makes floors quieter and sturdier—ideal under hardwood, tile, or vinyl.
2. Faster Alignment
If you’ve ever installed standard square-edge plywood, you know how frustrating it can be to line up every sheet. The groove guides each panel automatically into position.
3. Cleaner Finish
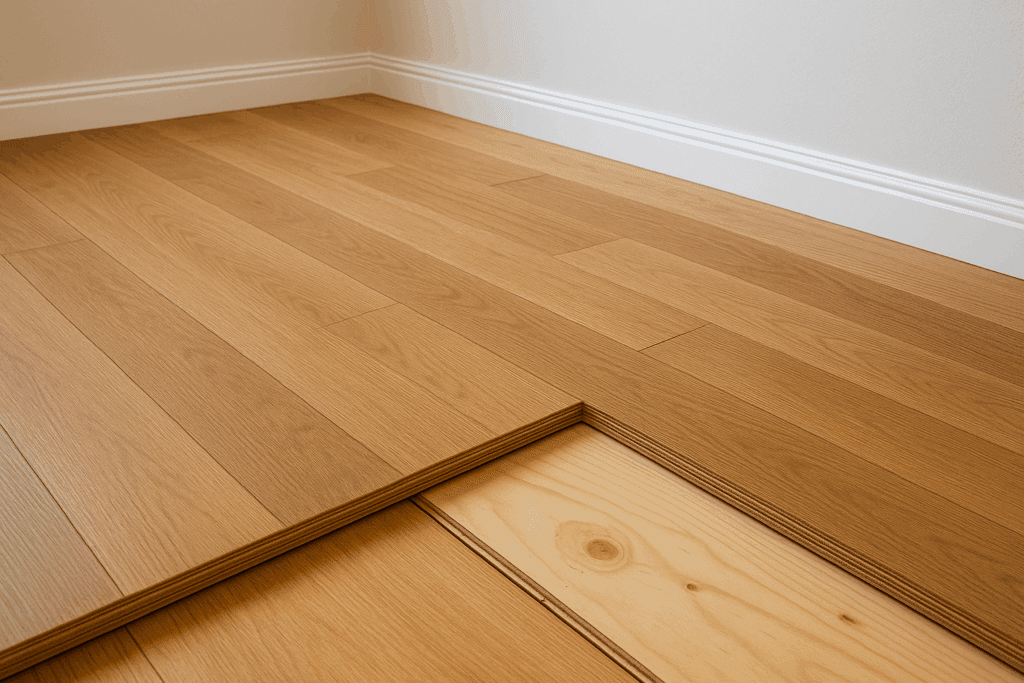
The seamless joint minimizes visible gaps, which is particularly useful under thin vinyl or laminate flooring that can telegraph imperfections.
4. Improved Load Distribution
Because the panels lock together, loads are shared across multiple joists—reducing deflection and extending the life of your subfloor.
5. Reduced Waste
Fewer gaps and better edge alignment mean fewer repairs, fillers, and fasteners in the long run.
If the plywood will be exposed, lightly sand it and apply a polyurethane topcoat, such asMinwax Polycrylic.
⚖️ Pros and Cons of Tongue & Groove Plywood
Pros
Cons
Prevents squeaks and bounce
Slightly higher cost per sheet
Provides stronger, flatter floors
Can be harder to cut to size
Easy to align during installation
Tongue edges can chip if mishandled
Reduces waste and fastener use
Limited sizes available in some regions
Cleaner seams under finished flooring
Requires expansion gaps to prevent buckling
🪵 Best Applications for Tongue and Groove Plywood
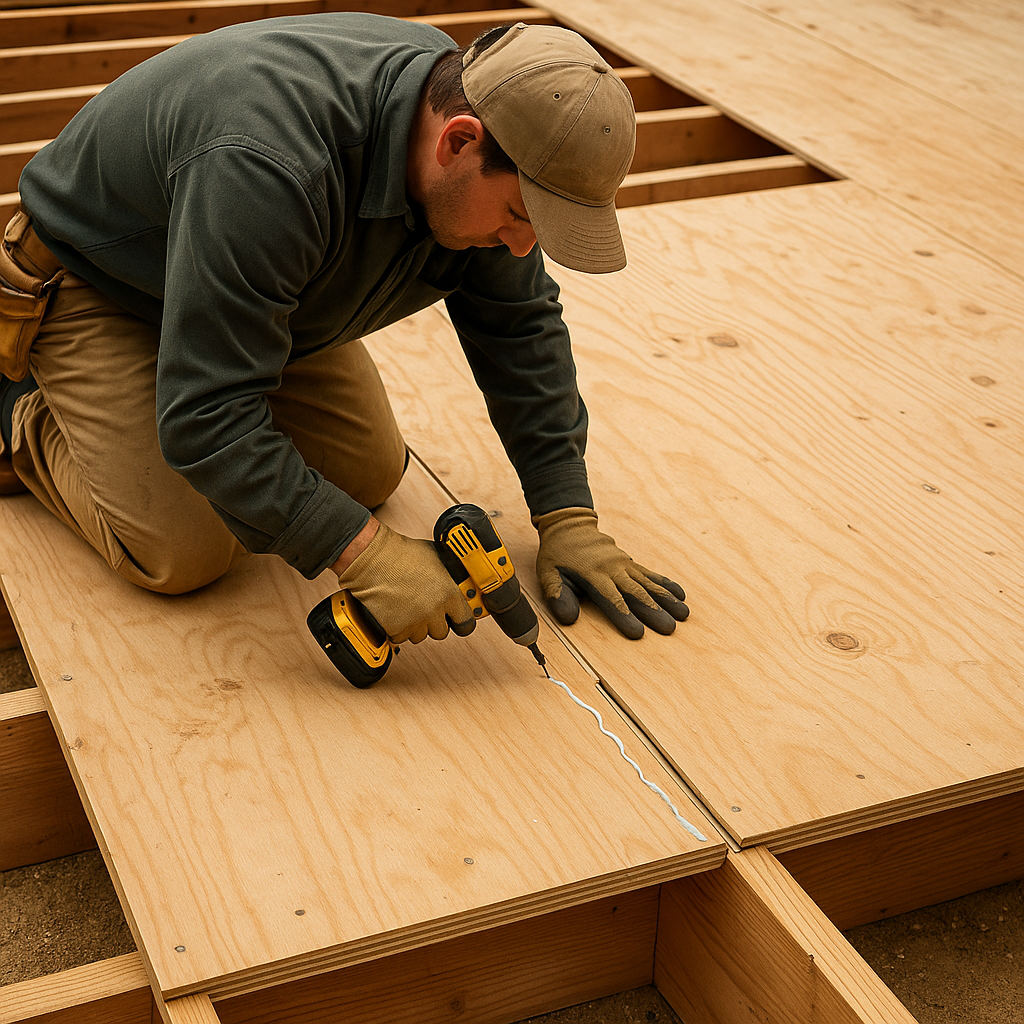
✅ Subfloors
When I’m starting a remodel or laying a new floor, tongue-and-groove plywood is the first thing I reach for. You can feel the difference immediately—once the sheets lock together, the entire floor moves as one piece. There’s no flexing, no hollow sound, and the grout lines in tile stay perfectly intact years later. I’ve used it under hardwood, vinyl, and even thick porcelain tile, and it holds up every time.
If you want a floor that feels as solid as concrete, this is where you start.
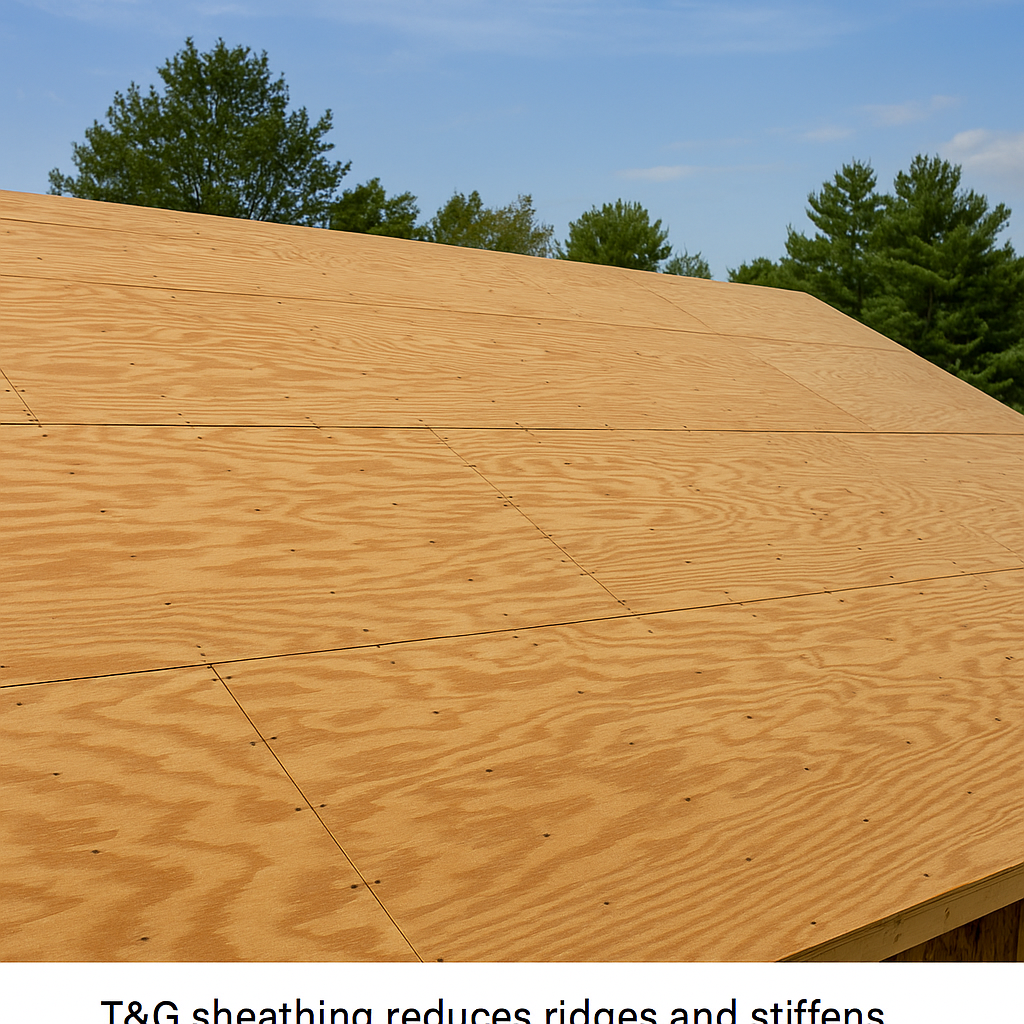
✅ Roof Sheathing
Roofing crews love T&G plywood for one big reason—it eliminates the tiny ridges that appear when standard panels expand and contract. Once those edges interlock, the entire roof deck stiffens up. You end up with cleaner shingle lines and less stress on the rafters.
I’ve seen this make a real difference in windy coastal areas and snowy mountain regions. The panels stay tight even when temperatures swing 40 degrees overnight, which means a longer-lasting roof and fewer callbacks for repairs.
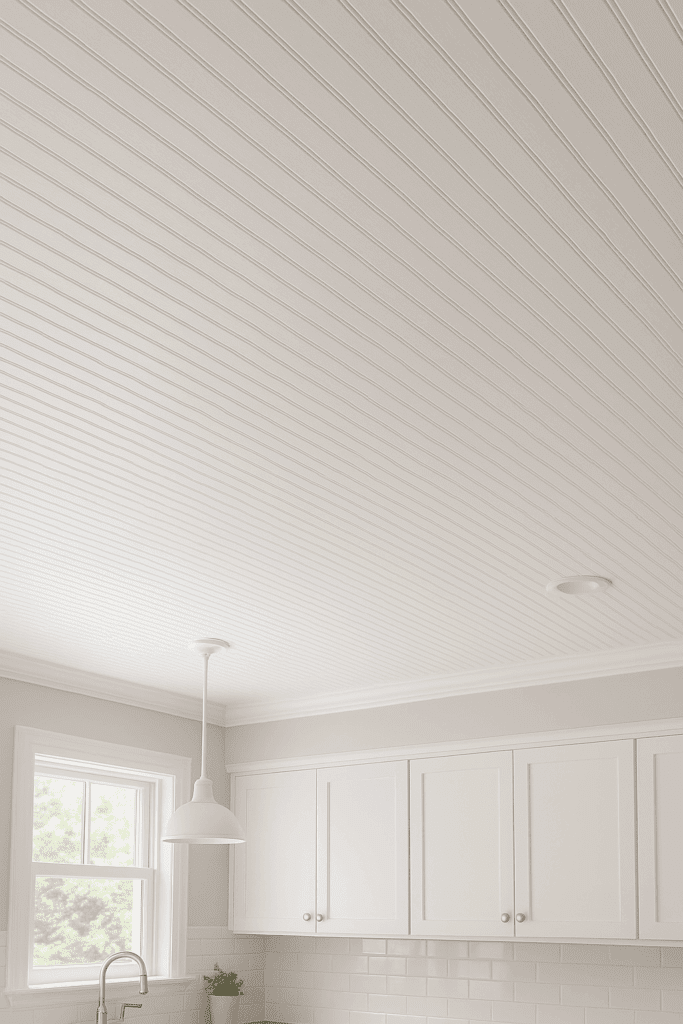
✅ Ceilings and Wall Paneling
Not every sheet of plywood has to hide behind drywall. Smooth, sanded tongue and groove panels can look stunning as ceiling or wall finishes. In one farmhouse kitchen I helped renovate, we used beaded T&G plywood instead of solid planks, then painted it in warm white. The seams practically vanished, and guests still think it’s custom woodwork.
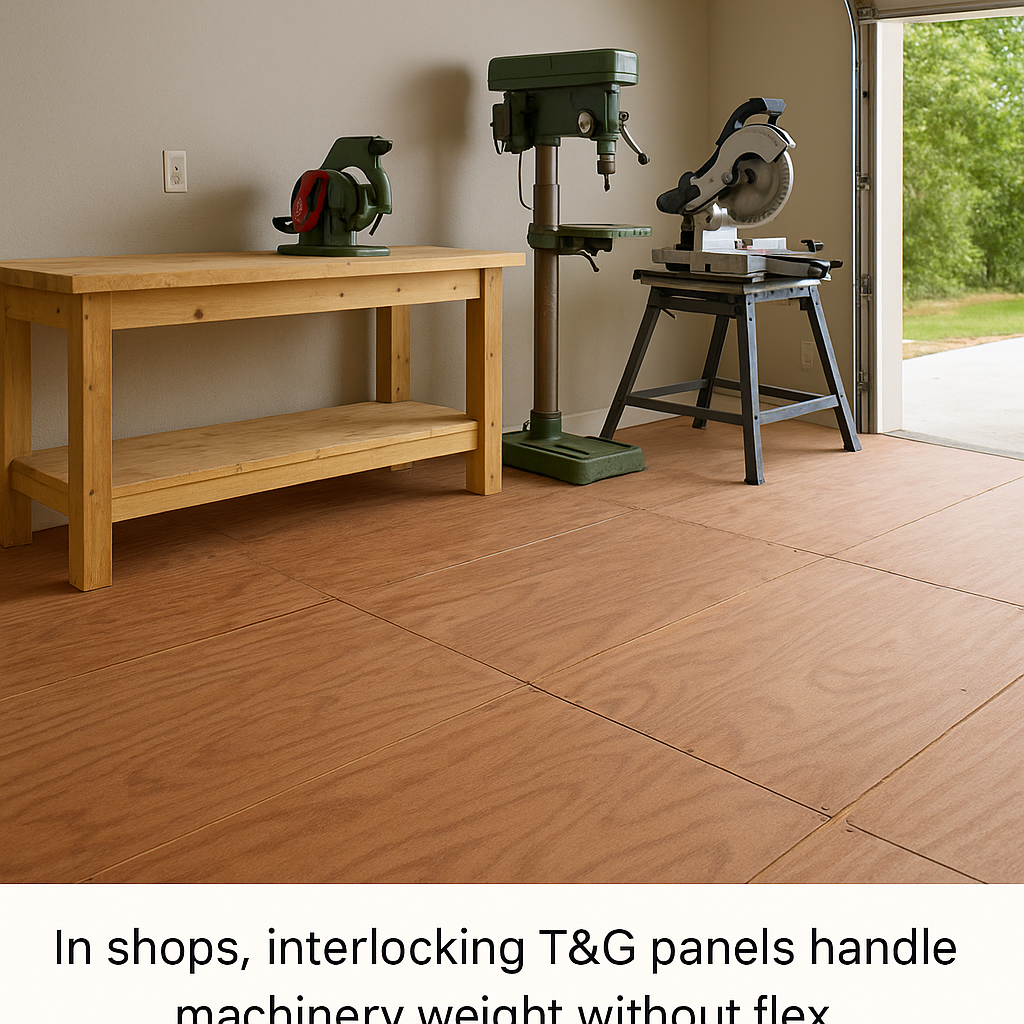
If you spend time in your workshop, you already know how much abuse a floor can take—dropped tools, rolling carts, sawdust, and foot traffic. A tongue-and-groove plywood subfloor stands up to it all. Once sealed, it becomes a tough, stable base for epoxy coatings or rubber flooring tiles, and those interlocking edges keep heavy machinery from creating uneven spots.
It’s one of those upgrades that doesn’t seem like much until you’ve lived with it. Every time I roll my miter saw stand across the floor and it glides smoothly, I’m reminded why I always choose T&G panels for shop builds.
🔍 Tongue and Groove vs. Other Plywood Options
Choosing between tongue-and-groove plywood, standard plywood, and OSB can be confusing—especially when prices vary by sheet and stores label things a bit differently. I’ve worked with all three on different projects, and each has its place depending on your priorities.
Below is a quick comparison based on what I’ve seen in real-world use:
Feature
Tongue & Groove Plywood
Standard Plywood
OSB Subfloor Panels
Edge Fit
Interlocking seams that stay tight
Simple butted edges
Some models have T&G edges
Cost
$$ (Mid to High)
$ (Budget-friendly)
$ (Lowest cost)
Strength
High — strong and rigid under load
Moderate
Moderate
Ease of Install
Guided edges make layout fast
Manual alignment needed
Moderate
Moisture Resistance
Moderate (Exposure 1 rated)
Low unless treated
Varies by brand
Best Use
Subfloors, roof decking, durable builds
Walls, general sheathing
Low-cost subfloors or garages
In new construction, you’ll often see a mix of materials. Builders might use OSB panels for roof decking or wall sheathing where cost control matters, then switch to tongue-and-groove plywood in kitchens, bathrooms, or other high-traffic areas. It’s a simple formula: OSB saves a few dollars upfront, but T&G plywood saves you from squeaks, soft spots, and callbacks later.
From my own experience, if you’re finishing a space you’ll actually live or work in, go with the tongue and groove plywood. It’s stronger, more reliable, and easier to install straight—one of those “buy once, cry once” materials that earns its keep every single day.
🪛 Recommended Tools and Supplies
To get pro-quality results with T&G plywood, I’ve found these tools essential:
One of the most overlooked aspects of installing tongue-and-groove plywood is moisture management. Wood expands and contracts slightly with humidity, and tight seams can amplify that stress. Always leave a ⅛” expansion gap at walls or perimeter edges.
For outdoor or semi-exposed spaces, seal cut edges with spar urethane or primer. Pressure-treated T&G plywood is also available for decks and utility sheds.
🧩 Further reading:Rot-Resistant Wood Types — a good guide if you’re building in damp environments.
❓ Expanded FAQ
Q: Can tongue-and-groove plywood be installed over concrete? A: Yes, but you’ll need sleepers or a vapor barrier underneath. For step-by-step help, see Installing Plywood Subfloor over Concrete.
Q: Can I cut off the tongue or groove edge to fit tight spaces? A: You can, but only on end panels. Cutting both sides removes the locking benefit.
Q: How much does T&G plywood cost? A: Expect to pay 10–20% more than standard sheets—typically $40–$55 for ¾” panels at most home centers.
Q: Can it be used as a finished floor? A: Yes! Sanded T&G plywood can be stained or painted for rustic workshop or cabin floors.
Q: What’s the difference between Sturd-I-Floor and regular T&G plywood? A: Sturd-I-Floor panels are rated explicitly for subflooring—they’re stronger, moisture-resistant, and built to meet APA standards.
Q: Is tongue-and-groove plywood better than OSB? A: For durability and moisture stability—yes. OSB swells when wet; plywood usually dries back flat.
🪵 Editor’s Tip: Real-World Experience
Last year, I replaced an aging 1960s subfloor in a rental home with 3/4-inch AdvanTech tongue-and-groove panels. I glued and screwed every joint. Two years later, not a single squeak. The investment paid off instantly—the tenant even commented that it “felt like walking on concrete.”
That’s the beauty of T&G plywood: solid, quiet, and built to last decades.

")
")

