Let’s be honest — plywood thickness is one of those things nobody tells you about until you mess it up.
When I first started DIY projects, I had no clue what I was doing. I bought a few sheets of 1/4-inch plywood (because it was cheap), slapped together some shelving, and called it good. Three weeks later? The thing sagged like wet cardboard. Lesson learned — and not the last one.
If you’re wondering what plywood thickness to use for your next project, here’s a breakdown based on years of trial, error, and “I should’ve known better” moments.

Subfloors: Get It Right the First Time
Truth be told, I skimped on my first subfloor and paid the price. I used 1/2-inch plywood because it was on sale. It bounced. It squeaked. It made every step sound like a haunted house.
Now? I never go below 5/8-inch, and I prefer 3/4-inch tongue-and-groove. It’s sturdier, quieter, and holds up better long-term.
If you’re laying flooring over it — especially hardwood or tile — go with the good stuff. It matters.
Tools I Actually Use:
- DeWalt 20V Max Circular Saw: Clean cuts, reliable every time.
- Construction Adhesive: This is how you stop those annoying squeaks before they start.
- 3M WorkTunes: Because cutting plywood all day deserves good music.
Wall & Roof Sheathing: Strong but Not Overkill
If you’re sheathing exterior walls, 1/2-inch CDX plywood is usually the move. It’s sturdy enough to support siding and weather wrap, and light enough to install without a buddy (most of the time).
For roofing, I used to do 1/2-inch across the board — but once I had to replace some panels that sagged under snow, I learned to check the rafter spacing. If it’s 24″ on center, I now use 5/8-inch to play it safe.
Bonus Tip:
Invest in a framing nailer. Seriously. I hammered manually for years until I got one — now I wonder what I was thinking.
👉 Curious about your framing setup? Here’s a helpful post: Trusses vs. Rafters
Cabinets & Furniture: 3/4-Inch Saves the Day

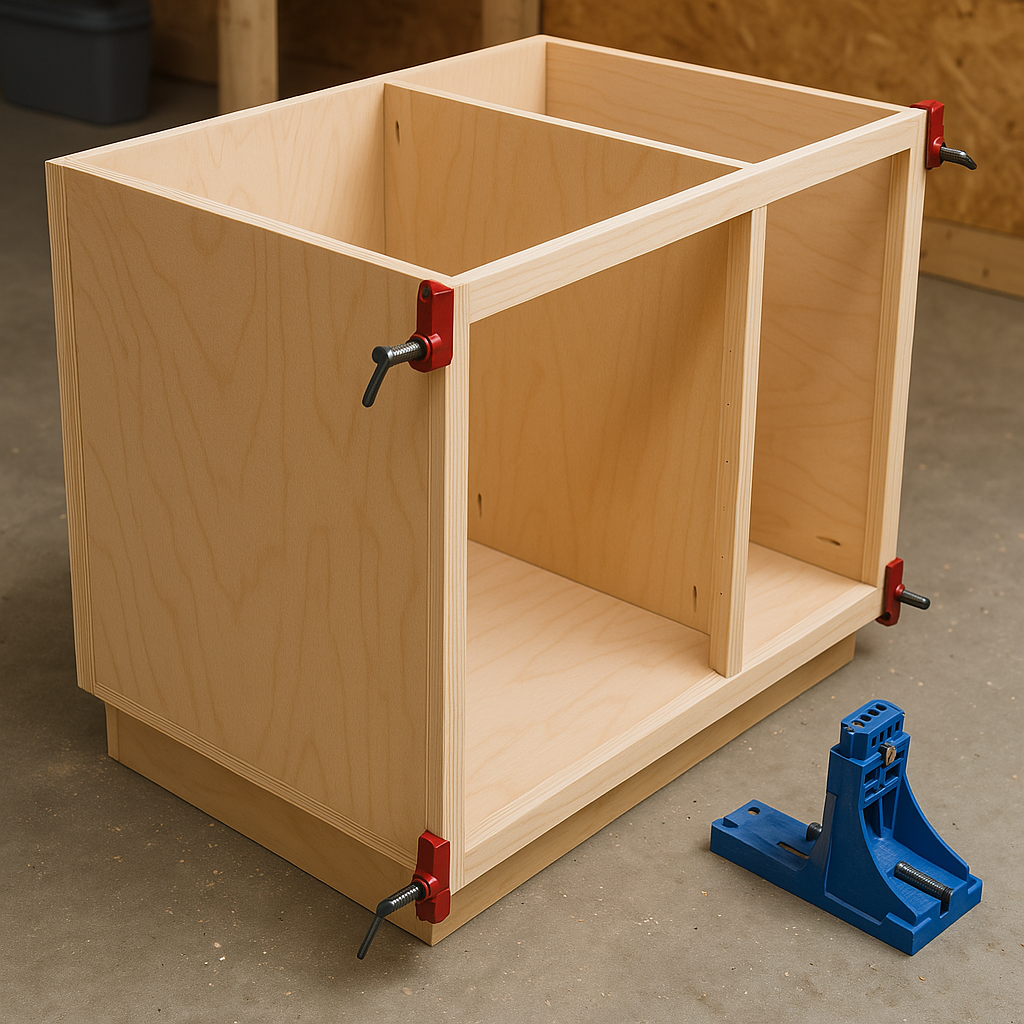
If it needs to hold weight — shelves, cabinets, benches — I stick to 3/4-inch plywood. Period.
Why? Because thinner plywood just doesn’t cut it. Literally. It flexes, warps, and makes your build feel cheap.
For cabinet backs, drawer bottoms, or anything that doesn’t take much stress, 1/4-inch works great. I use it all the time for those inside-the-box pieces.
My Must-Have Tools for These Builds:
- Kreg Pocket Hole Jig: Makes building frames feel pro.
- Titebond III Wood Glue: Strong, waterproof, and forgiving if you make a mess.
- Corner Clamps: These keep things square when your hands are full.
Image Idea:
Photo of a DIY bookshelf or kitchen cabinet mid-build.
Alt text: “Cabinet built with 3/4-inch plywood for strength and durability.”
Light Projects & Crafts: Go Thin or Go Home
Not everything needs to be thick and heavy. For drawer dividers, shop jigs, or DIY signs, I usually go with 1/4-inch birch plywood. It’s clean, smooth, and easy to work with.
If I’m cutting with a scroll saw or doing anything decorative, I’ll use 1/8-inch plywood, but it’s fragile — so I’m careful with it.
I’ve also learned that cheap plywood warps fast in the garage. If you’re working on something thin, keep it flat and clamp it if you’re not using it right away.
Favorite Tools for Crafty Builds:
- Dremel Ultra-Saw: Great for quick cuts without firing up the big saw.
- GRR-RIPPER Pushblock: This little tool has saved my fingers more times than I can count.
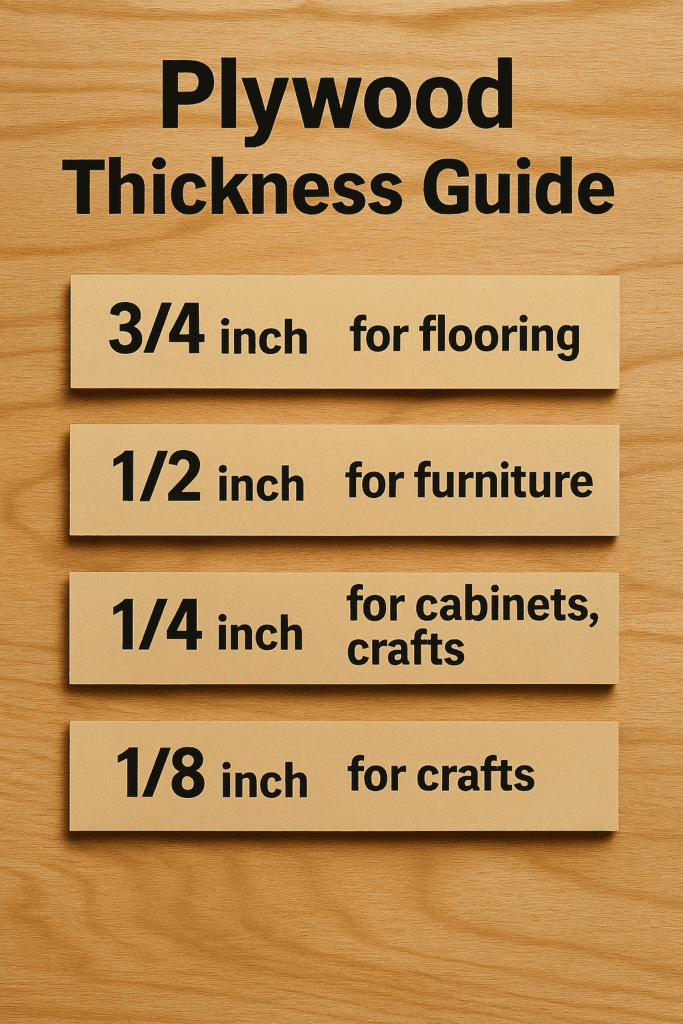
Plywood Thickness Chart (Shop-Tested)
| Project Type | Go-To Thickness |
|---|---|
| Subfloor | 3/4″ T&G or 5/8″ |
| Roof Sheathing | 1/2″ or 5/8″ |
| Wall Sheathing | 1/2″ CDX |
| Cabinets/Furniture | 3/4″ |
| Cabinet Backs | 1/4″ |
| Drawer Bottoms | 1/4″ |
| Hobby Projects | 1/4″ or 1/8″ |
A Few Lessons I Learned the Hard Way
- Label scrap wood: I used to keep random plywood offcuts and forget what thickness they were. Now I write it on the edge with a Sharpie. Saves time later.
- Edge banding helps: Plywood edges look rough when painted or stained. Iron-on edge banding makes a big difference — or use a router to round them off.
- Store it flat: Leaning sheets against a wall causes warping. I built a flat rack and haven’t had a bowed panel since.
Extra Resources You’ll Actually Use
- Types of Plywood and Their Uses
- R-Value of Plywood: What You Should Know
- Best Wood Stains Tested Side-by-Side
- Liquid Nails vs. Wood Glue – Which One Wins?
Final Thoughts: Choose Smarter, Build Better
Here’s the bottom line — plywood thickness matters more than you think. It’s one of those choices that can either make your project feel solid and pro-level, or leave you with sagging shelves and regret.
If I could give beginner-me one piece of advice? Stop guessing. Know your dimensions, trust your gut, and go thicker when you’re not sure. You won’t regret it.
Got a project coming up and unsure what to use? Leave a comment or shoot me a message — happy to talk shop anytime.


