Fastening plywood can be tricky. While glue, nails, and wood screws are traditional solutions, they’re not always ideal—especially when you want to remove or reassemble your project later. That’s where T-nuts come in: these unassuming metal inserts create strong, reusable threaded connections, making them perfect for woodworking, furniture assembly, climbing walls, and even shop jigs.
In this comprehensive guide, you’ll learn what T-nuts are, when and how to use them, which type to buy, and how they stack up against threaded inserts. Plus, we’ll share specific applications (including building a rock climbing wall) and top-rated Amazon picks to make your next project easier and stronger.
🔩 What Are T-Nuts?
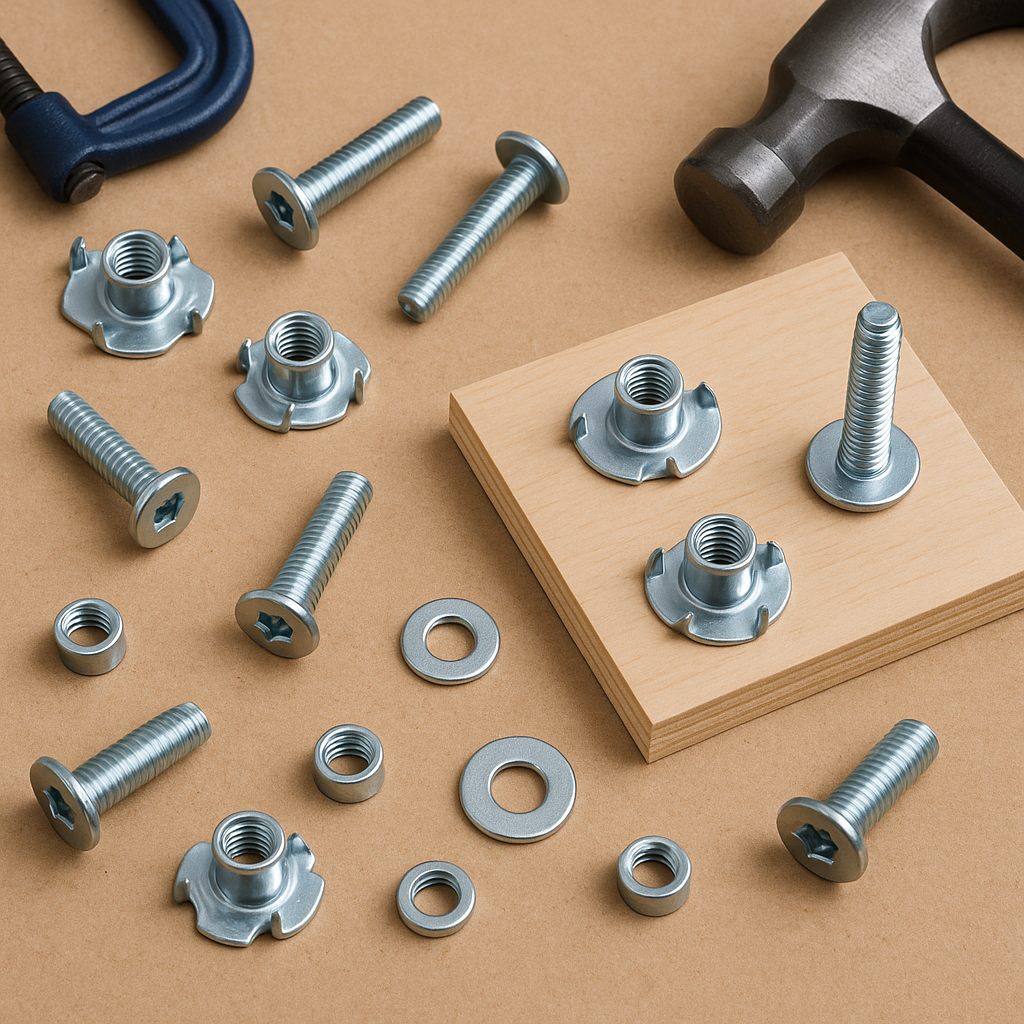
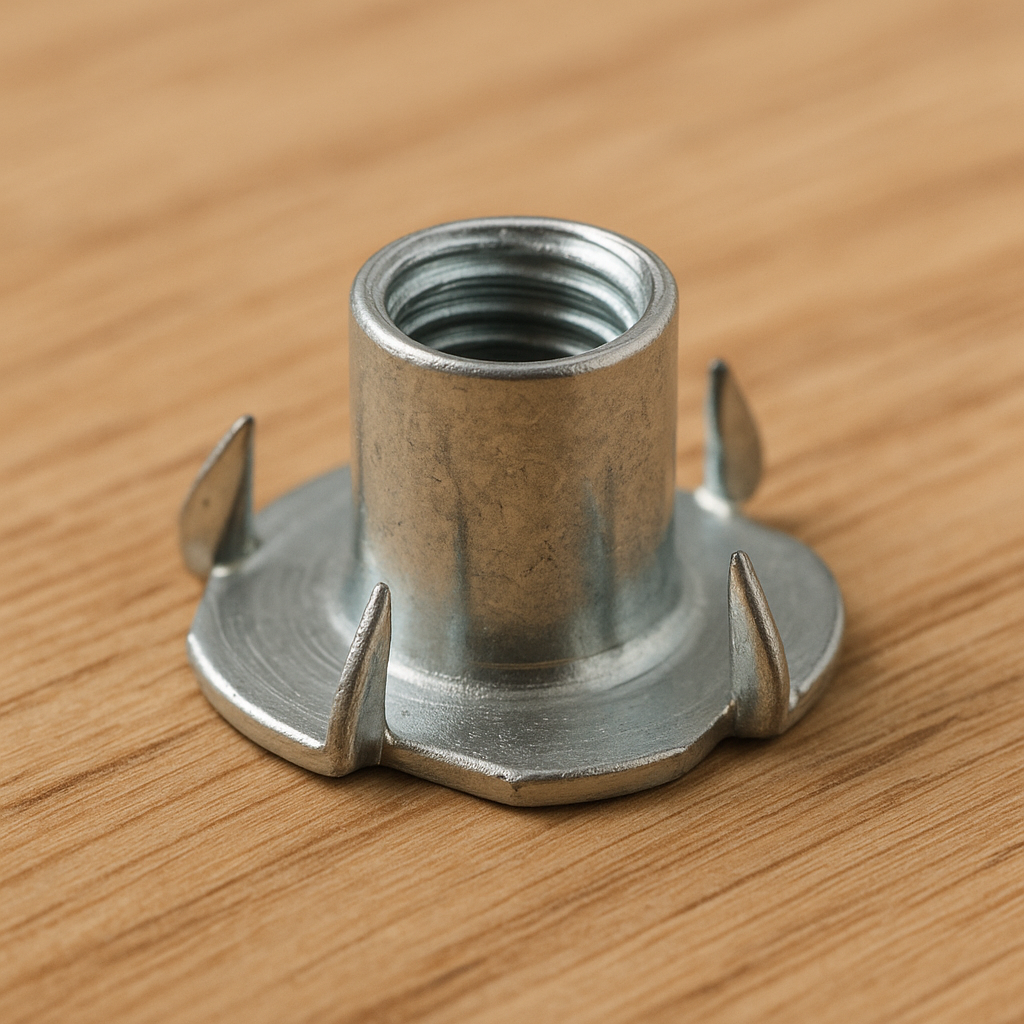
T-nuts, or tee nuts, are fasteners with an internally threaded barrel and an outer flange, usually with prongs or teeth, that anchor the nut into the wood. The barrel sits inside a drilled hole, while the flange bites into the wood’s surface to prevent rotation.
T-nuts are designed for projects where you need to bolt something into wood securely and repeatedly. Unlike regular screws, T-nuts don’t wear out the wood over time.
🔧 T-Nuts vs. Threaded Inserts: What’s the Difference?
While both provide internal threads for a bolt or screw, T-nuts are driven into the back of the panel and held by mechanical prongs. Threaded inserts are typically screwed in from the front.
Feature
T-Nuts
Threaded Inserts
Installed From
Rear (flush front finish)
Front (visible flange)
Retention Method
Prongs into wood
Screw threads into wood
Load Capacity
Higher (better clamping)
Moderate
Ideal Use Case
Furniture, climbing walls
Bookshelves, speakers
Reusability
Excellent
Good
If strength and disassembly are important, use T-nuts. If you can’t access the back of your material, use threaded inserts instead.
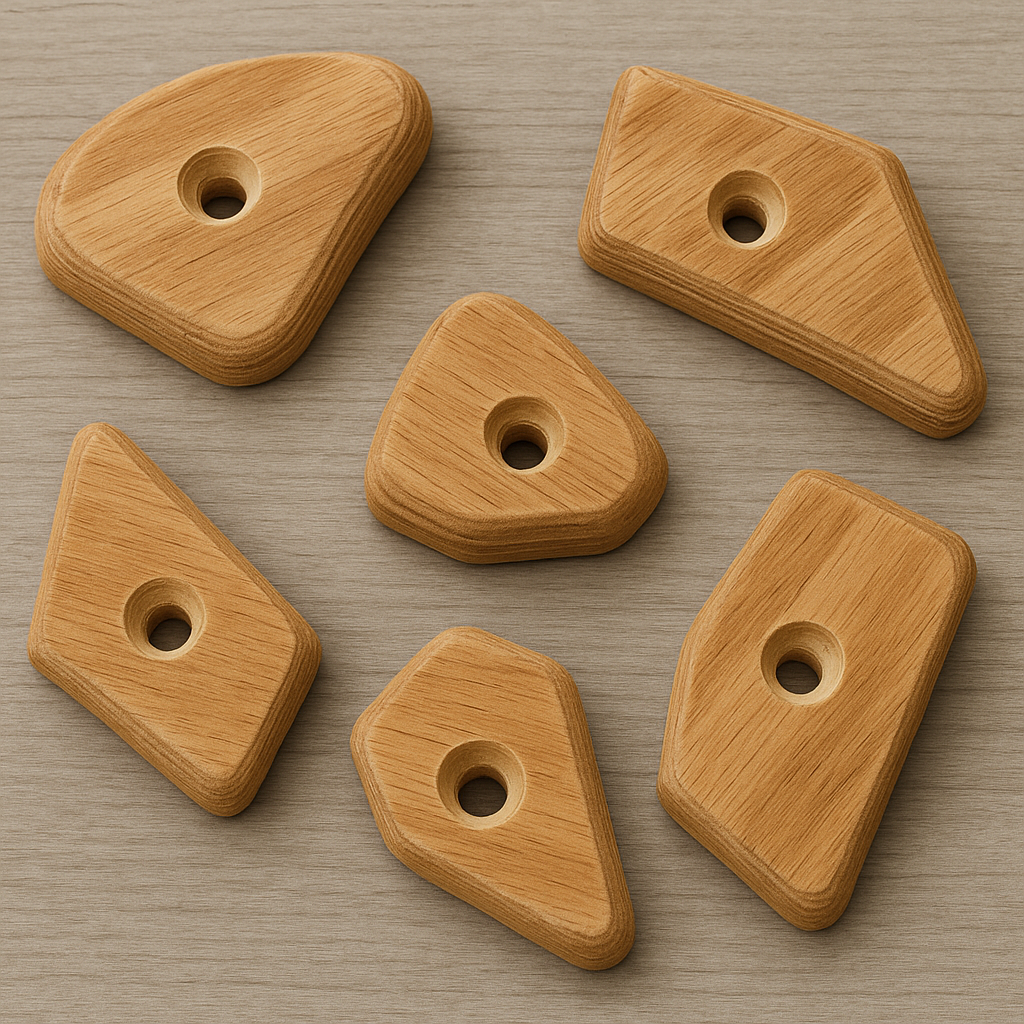
🛠️ Common Applications for T-Nuts
T-nuts are used in dozens of applications. Here are some of the most common:
Furniture Assembly – For removable legs, braces, or knockdown panels
Climbing Walls – To mount and reconfigure the climbing holds securely
Shop Fixtures – Like jigs, French cleats, and tool holders
Speaker Boxes – For securely attaching drivers and enclosures
Backyard Projects – Use them for securing panels, fencing, or benches
👉 Pro Tip: Go with larger diameter T-nuts and bolts when in doubt. This increases both strength and safety, especially for load-bearing or human-interaction designs.
🧰 How to Install a T-Nut
Tools Needed:
Drill + bits
Hammer or mallet
Machine screw or bolt
Clamps (optional)
Step-by-Step:
Mark and Drill Drill a hole through the item and the plywood where the T-nut will be installed.
Widen the Hole for Clearance Slightly enlarge the hole in the plywood for T-nut barrel clearance.
Screw Size
Clearance Hole
T-Nut Hole
#6-32
11/64″
11/64″
#8-32
13/64″
7/32″
¼”-20
9/32″
5/16″
5/16″-18
11/32″
3/8″
Insert the T-Nut Place the T-nut barrel into the hole from the back of the panel.
Drive It In Hammer the prongs into the wood until the flange is flush.
Tighten from the Front Thread in the bolt. This draws the flange snug for a secure connection.
🔧 Blind Installation Methods
Can’t access the back of your panel? Try these:
Method 1: Channel Locks
Press the prongs into the wood using a large pair of pliers. This method works best on MDF and is less effective on plywood.
Method 2: Draw-In With Screw
Use a long screw or bolt, plus washers, to pull the T-nut in from the front. This method is more secure and works well on plywood, especially when using hardwood panels.
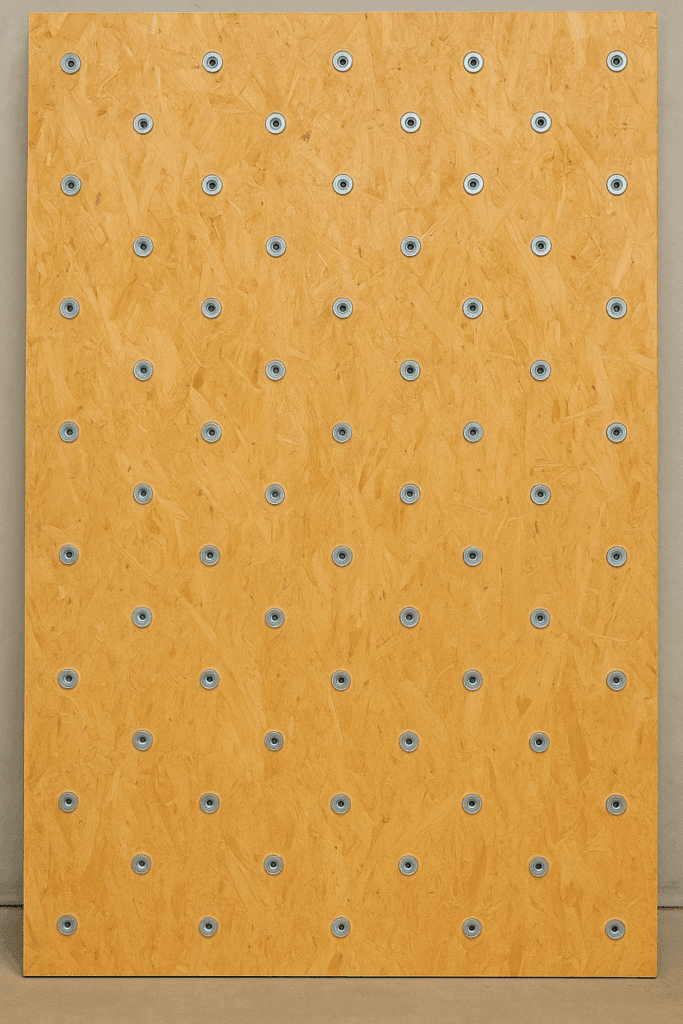
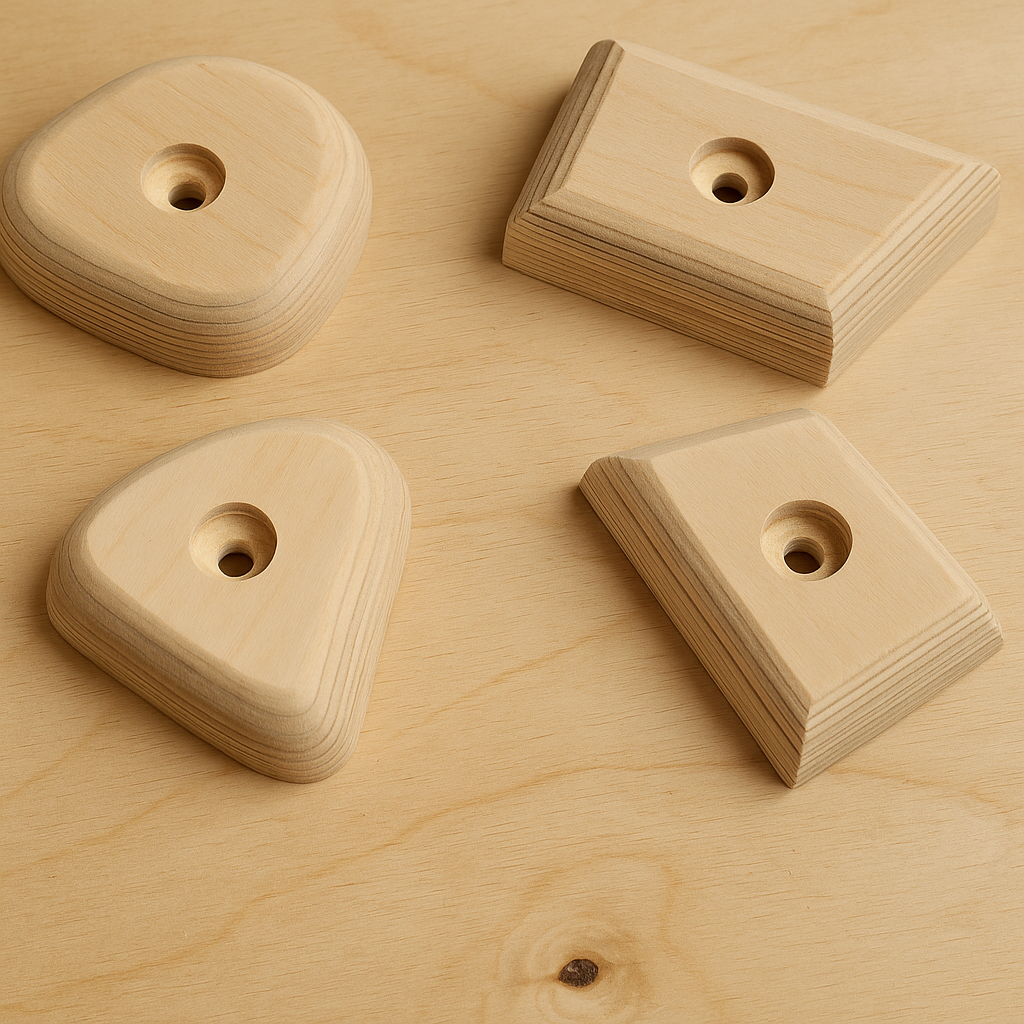
🧗 Using T-Nuts for Rock Climbing Walls
One of the most popular DIY uses for T-nuts is in building indoor rock climbing walls.
Standard Layout:
Material: ¾” birch or marine-grade plywood
T-Nuts per Sheet: 72 (in a diamond or grid pattern)
Spacing: 8″ apart, vertically and horizontally
Lay out and drill bolt holes first, then hammer in the T-nuts from the back of each plywood sheet before mounting.
T-nuts may not look like much, but their strength, versatility, and ease of use make them indispensable in any workshop. Whether you’re building a climbing wall, modular furniture, or need hardware that can withstand pressure, T-nuts are a budget-friendly solution that delivers professional results.
They’re easy to install, surprisingly strong, and available in dozens of sizes to suit any project. Add a kit to your toolbox today—you’ll wonder how you got by without them.
Cedar Plywood: A Complete DIY & Builder’s Guide by Admin September 8, 2025 Softwood If you’ve ever stepped into a cedar-lined closet or opened an old cedar chest, you know the scent. That fresh, woodsy smell isn’t just nostalgic—it’s…
Plywood in Bed Construction: Complete DIY Guide by Admin June 19, 2025 DIY If you've ever taken apart a bed frame, built one from scratch, or even replaced a creaky base, you’ve likely seen plywood at work—even if…
Drying Wood in Oven: A Complete DIY Guide by Admin September 23, 2025 More About Most people don’t give a second thought to drying wood in an oven until something goes wrong. I didn’t either. I slapped together a pine…