I’ll be honest—building a shuffleboard table wasn’t on my bucket list. I didn’t grow up playing it, and I wasn’t hit by a lightning bolt of nostalgia. Nope. It all started while I was watching a garage makeover video online—probably trying to avoid chores. This guy casually slides a puck across a homemade shuffleboard table like it’s just part of the garage décor. And in that moment, I thought: I need that in my life.
I didn’t bother looking up plans. Measuring the space? That didn’t happen either. Instead, I grabbed a crumpled receipt from the kitchen counter, doodled some boxes, scribbled “12 ft??” in the corner, and called it good. Forty-eight hours later, I was making questionable lumber purchases like a true overconfident DIYer.Forty-eight hours later, I was making questionable lumber purchases like a true overconfident DIYer.
Choosing the Right Shuffleboard Table Size
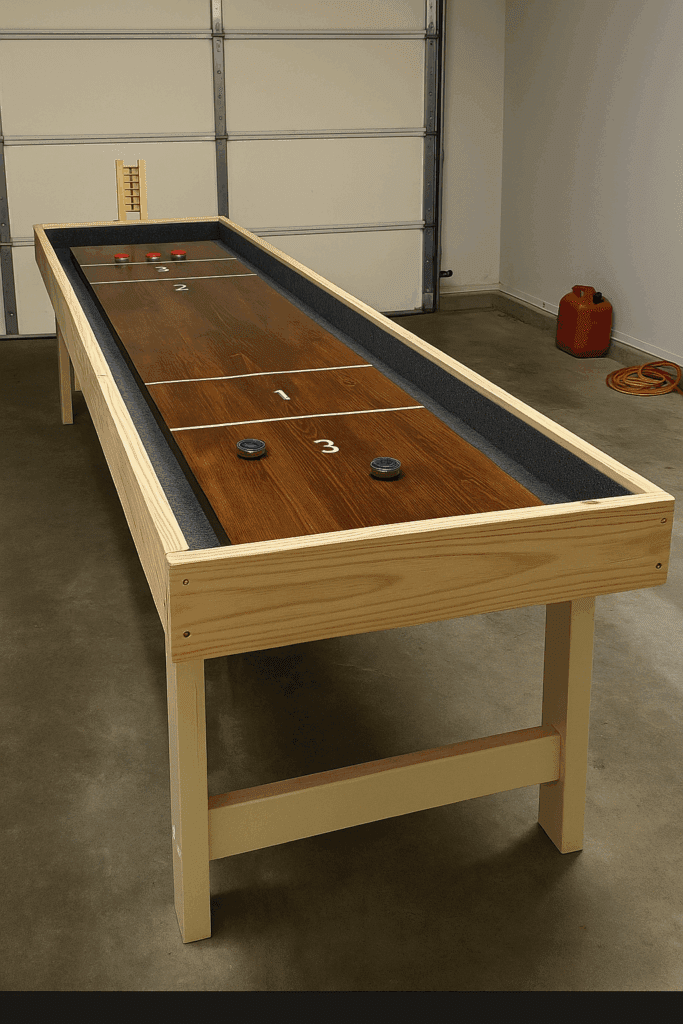
Let me save you some research: regulation-size shuffleboard tables are 22 feet long. That’s practically a bowling lane. Unless your house is also a gymnasium, it’s not happening. I settled on 12 feet, which felt serious enough for actual gameplay but short enough to keep me from tripping over it on the way to the laundry room.
Materials I Used (and Some I Regret)
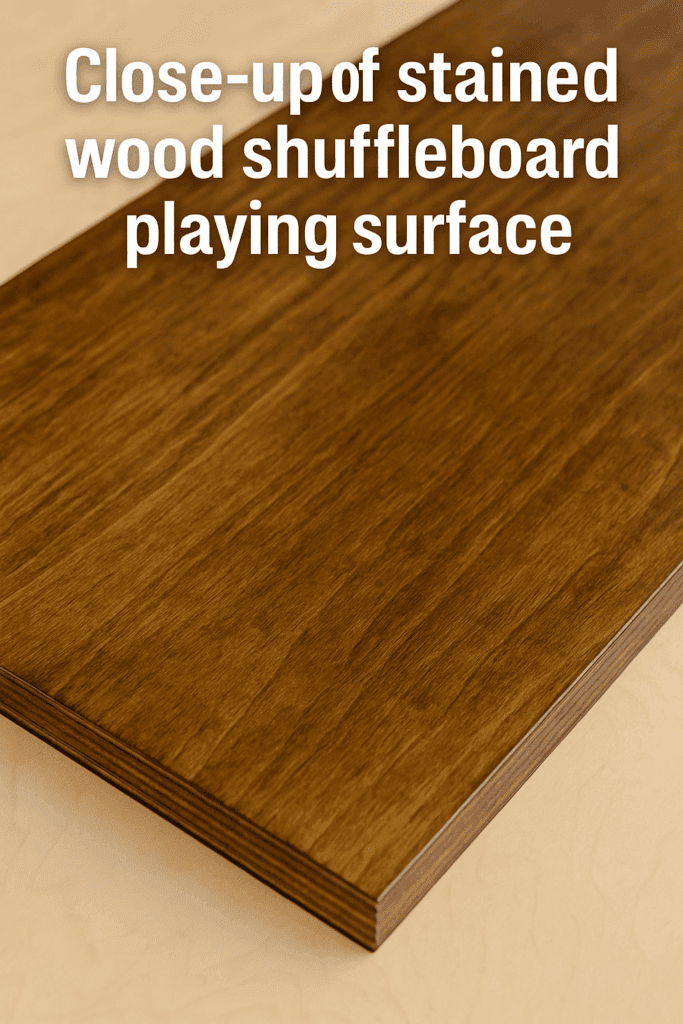
I picked up two sheets of cabinet-grade plywood for the playing surface. It’s smooth, durable, and didn’t require selling my car to afford. I glued them together using biscuits and wood glue, then clamped them like my life depended on it.
Then came the sanding. My forearms haven’t forgiven me. I sanded for what felt like an eternity—until my sander became a permanent extension of my hand. Once smooth, I stained the surface using dark walnut because I liked the name, and sealed it with four coats of polyurethane, sanding between each one like a lunatic.
Homemade Details That Worked
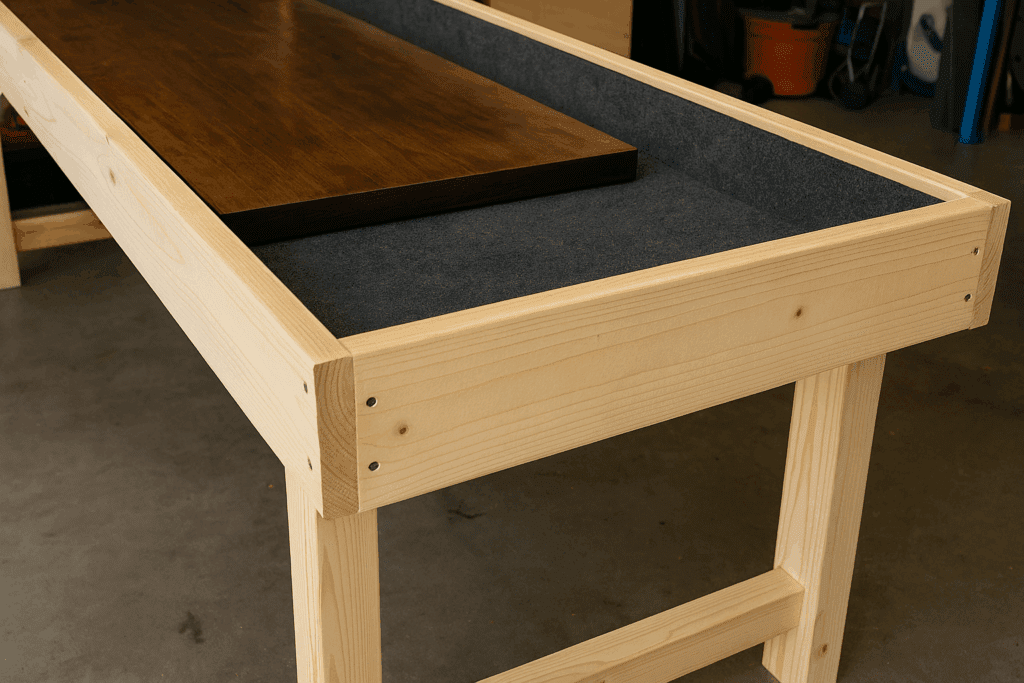
For scoring zones, I hacked a stencil out of a cereal box. Traced it with a Sharpie. Classy, right? Surprisingly, it looks fine. I used leftover 1x6s and 1x2s from an old shelf to build the frame. It’s not square. It’s not even—but it holds together.
I lined the inside of the frame with leftover garage carpet (yes, it smelled like oil), and it added this cool, finished look. If you’re fancy, go with felt. If you’re like me, use whatever’s under the lawnmower.
Building the Base (A Lesson in Stability)
My first idea? Set it on sawhorses. Spoiler: terrible idea. The table wobbled like it was built for toddlers. I scrapped that and threw together some 2×4 legs. They’re bulky, ugly, but incredibly solid. I also added some leveling feet I found in a clearance bin. Best $6 I ever spent.
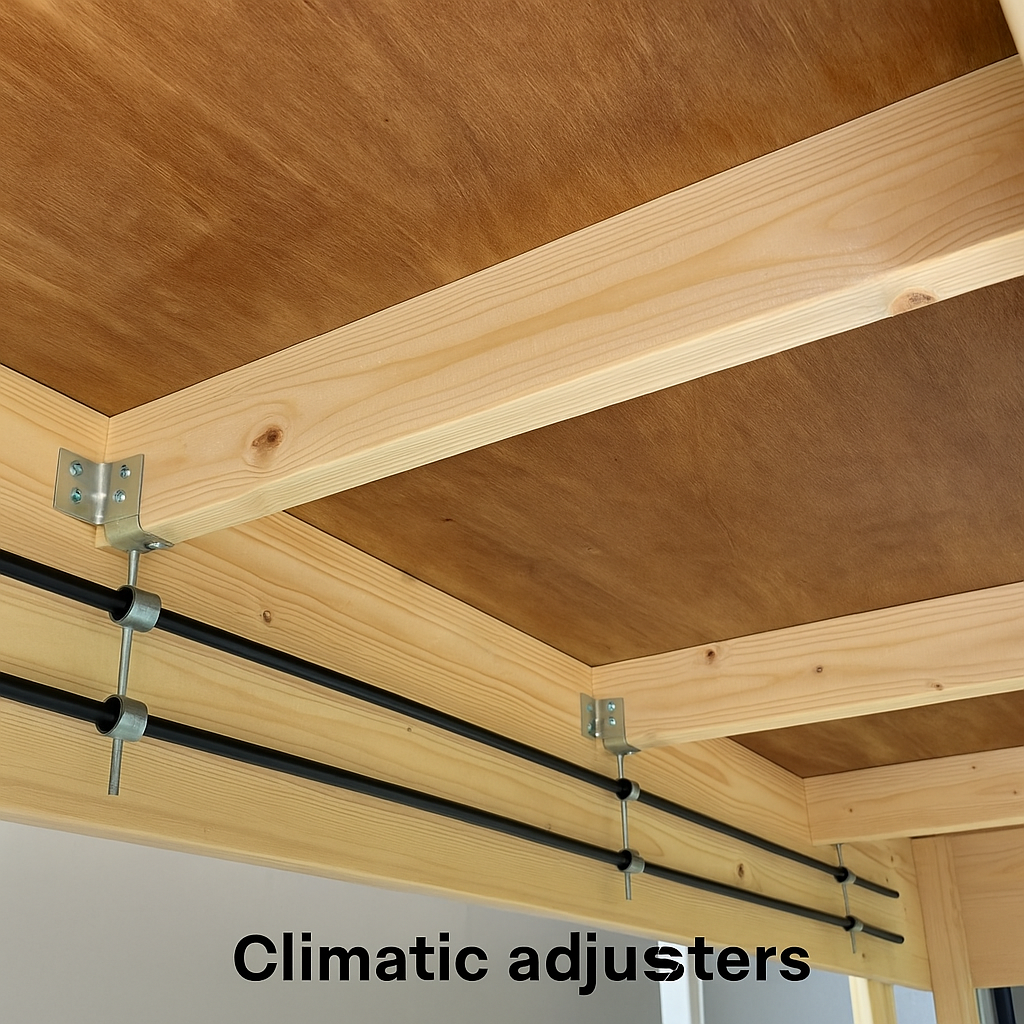
Then someone said, “You adding climatic adjusters?” Like I was prepping for a moon landing. Turns out they’re metal rods that help prevent the board from warping with the seasons. I ordered a set, screwed them in, and hoped for the best. So far, so good.
Tools & Products I Recommend (With Amazon Links)
Want to save yourself from bad purchases? Here’s what helped:
Honestly? Maybe. It’s janky. One corner dips. A bubble in the finish looks like a crater. But every time someone walks in, picks up a puck, and says, “Wait, you built this?” I get to nod like a DIY wizard.
It’s not pocket change, but it’s also not $2,000, which is what custom tables can cost.
Things I’d Do Differently (So You Don’t Have To)
Add a cup holder. I didn’t. Now I dodge soda cans like I’m in a game show.
Buy a good puck set. Mine came from an online auction. They’re slightly chipped. So am I.
Don’t use carpet that smells like oil. That one’s self-explanatory.
Take more photos. I have exactly one of me holding a clamp like a confused pirate.
What I Learned About Building Big Projects Solo
One unexpected takeaway from building this table? The project reminded me just how many little things go into a big build, especially when you’re the only one doing it. Measuring and cutting a 12-foot surface when you don’t have a second set of hands is no small feat. Balancing long boards on sawhorses while trying to glue and clamp without gaps? At one point, I used a can of paint, a toolbox, and a bag of dog food to keep things level. It worked. Kinda.
I also learned that perfection is overrated. When you’re building solo, it’s okay if the frame isn’t perfectly square or the stain went on a little uneven. This is a project that lives in your garage and gets scratched by pucks, not judged at a fine furniture expo. And there’s something weirdly satisfying about working through problems alone. You’re forced to slow down, rethink your steps, and often improvise with whatever materials (or objects) are in reach.
That said, if you ever build something this size by yourself, do yourself a favor: make a rolling cart, or at least install casters. Moving this monster around solo without help nearly destroyed my back. I ended up dragging it across the garage floor one end at a time, like I was in a CrossFit workout. Don’t be like me. Build smart—or at least build with wheels.
Final Thoughts: Should You Build One?
If you’re even remotely considering building your shuffleboard table, do it. You’ll make mistakes, glue your fingers to things, and discover the true meaning of sanding—but you’ll also end up with a ridiculously fun addition to your home and a story that starts with “So I was watching this video…”
If you’re even remotely considering building your shuffleboard table, do it. You’ll make mistakes, glue your fingers to things, and discover the true meaning of sanding—but you’ll also end up with a ridiculously fun addition to your home and a story that starts with “So I was watching this video…”
A Complete Guide to Indoor and Outdoor Shuffleboard by Amy Reed March 19, 2025 More About Shuffleboard is a beloved game often found in bars, recreation centers, and game rooms. While it's traditionally played indoors on a table, you can also…
How to Make an Epoxy Resin River Table by Admin March 18, 2025 DIY How to Make a DIY Epoxy River Table (Step-by-Step Guide) Creating an epoxy river table may look like an expensive and complex project, but with…


")