Owning a recreational vehicle brings freedom and adventure, but it also comes with upkeep. One of the biggest hidden problems RV owners encounter is RV paneling damage caused by roof leaks. Because paneling in motorhomes and travel trailers is thinner and less durable than residential wall panels, water damage can quickly spread unnoticed. Learning how RV paneling is built, how to spot damage, and how to repair or replace it will save you both money and headaches.
What Is RV Paneling?
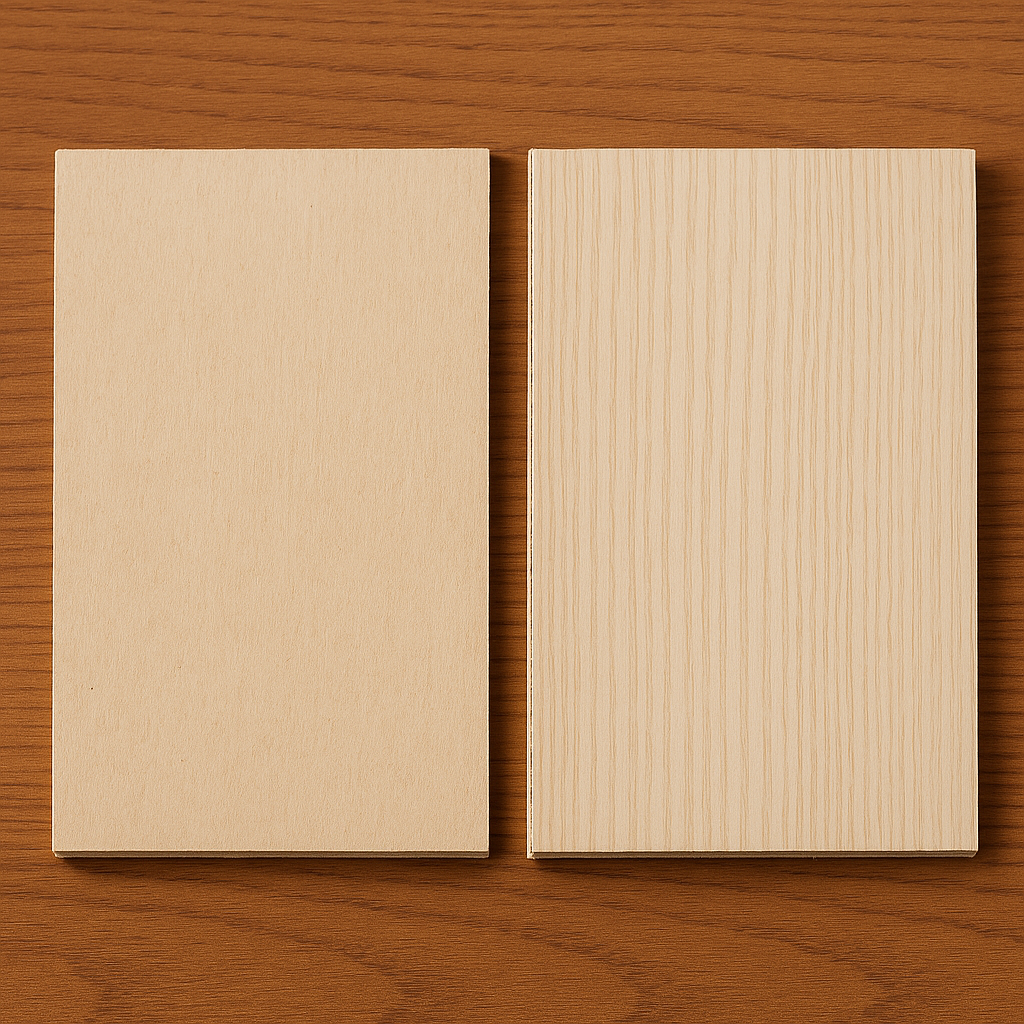
RV paneling is not the same as the paneling you’ll find in a house. It’s usually only 1/8 inch thick, though some models use 3/16” or 1/4” material. RV panels are made from thin plywood cores with veneer faces, often finished with wallpaper instead of hardwood. This makes them light and easy to install, but also vulnerable to moisture.
Lightweight by design: Walls in RVs are rarely thicker than 1–1 ¼ inches total.
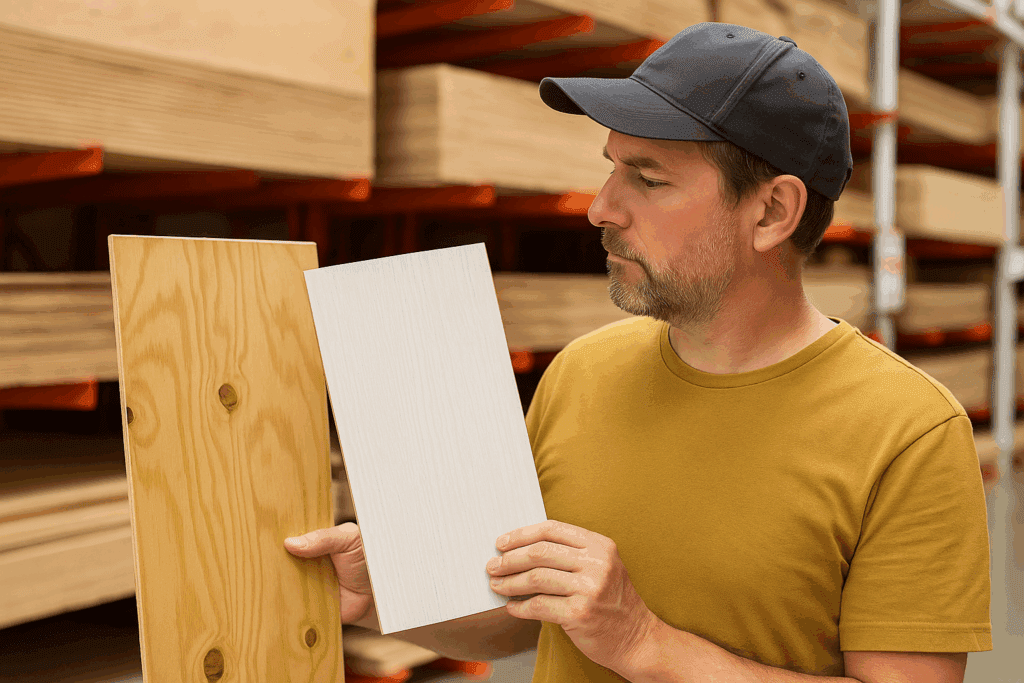
Not stocked everywhere: Unlike standard plywood, RV paneling usually must be purchased through an RV repair shop or ordered from a specialty supplier.
Matching can be tricky: Finding exact wallpaper matches is often impossible, so entire walls or rooms may need re-wallpapering.
Knowing how your RV walls are built makes a huge difference when it comes time for repairs. Older and newer RVs use very different construction methods, and that changes how easy it is to replace or patch damaged paneling.
Older RV Construction
Stick-built frame with furring strips Early RVs often used aluminum tubing or C-channel metal for the frame. Thin 1×2 wooden furring strips were added inside so the paneling had something to nail into. This design kept weight down but left a lot of small spaces where moisture could sneak in.
Flat aluminum roofs with simple insulation Most older rigs had flat aluminum roofs, a sheet of Styrofoam insulation, and then the paneling on the interior side. It worked fine until age and weather caused the roof to sag slightly. Once that happened, rainwater tended to collect around roof-mounted equipment.
Weak spots around the roof cutouts Openings for A/C units, vents, or roof pods were notorious for leaking. Water seeped through tiny gaps, traveled behind the walls, and damaged large areas of paneling before owners even noticed. Once the thin plywood absorbed moisture, it warped, bubbled, or grew mold.
Newer RV Construction
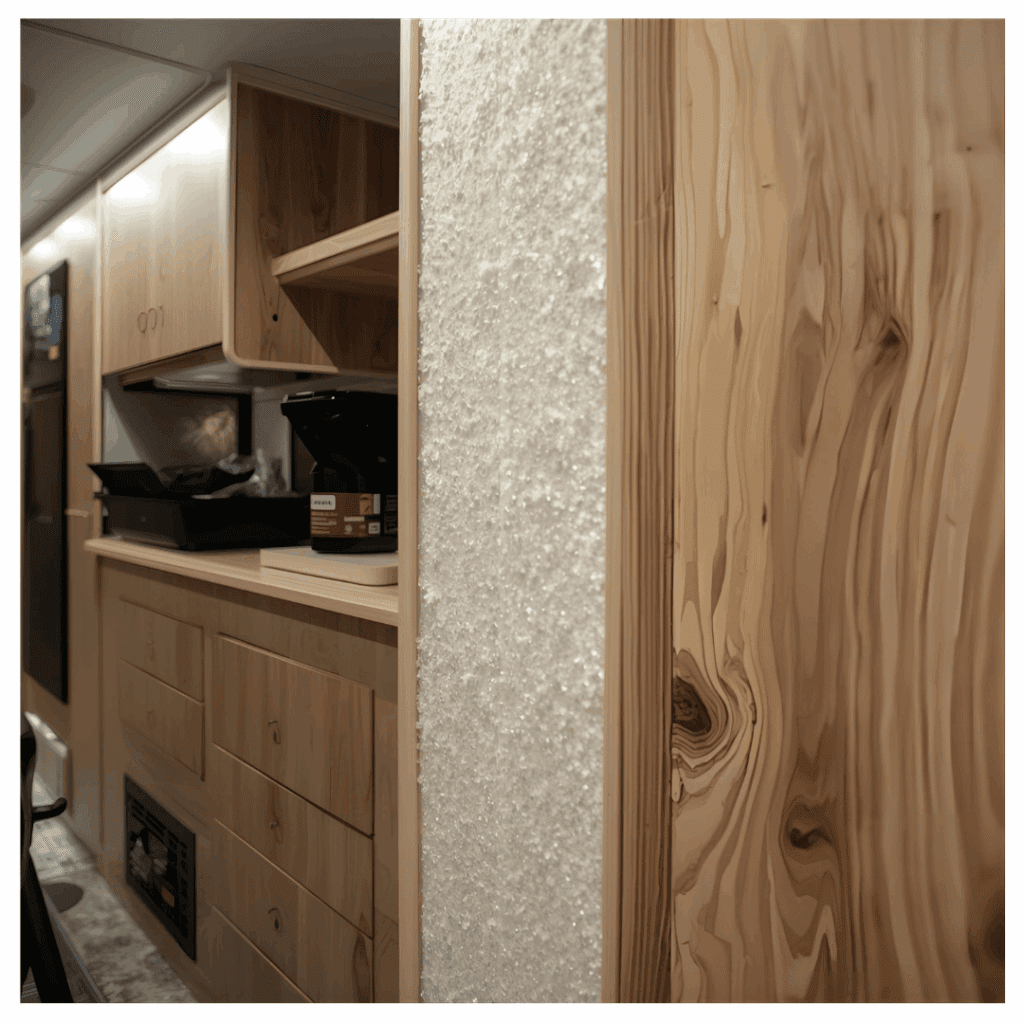
Laminated wall sections Most modern RVs use one-piece laminated walls. The outer fiberglass skin, metal frame, and foam insulation are pressed together under heat and pressure. On the inside, the paneling is glued directly to the insulation, so the whole wall becomes a single bonded unit.
Lightweight but durable This method keeps walls strong while staying under 1–1 ¼ inches thick. It’s a big improvement in insulation and durability compared to the old stick-built walls, and it helps RVs meet modern weight limits without sacrificing strength.
Harder to repair paneling The downside is that replacing paneling isn’t simple anymore. Since everything is bonded together, you can’t just pry off one sheet of paneling and nail in another. A repair often requires cutting into the laminated wall, carefully removing damaged insulation, and then rebonding new paneling. Matching the factory finish or wallpaper is another challenge, since RV interiors aren’t designed with standard lumberyard materials.
First Step in RV Paneling Repair: Fix the Leak
Before you tackle damaged paneling, stop the source of the problem.
Inspect roof seams, vents, skylights, and A/C units. These are the most common spots for leaks because they involve cuts or seams in the roof membrane. Even a small crack in the sealant can let in water that spreads behind your walls.
Don’t ignore small screw holes—these can cause major leaks. A single loose screw can act like a funnel, drawing water into the wall every time it rains. What looks like a tiny issue from the outside can cause major rot and mold inside the paneling.
If leaks aren’t visible, hose down the roof and watch for puddles. This simple test helps you track leaks you can’t see during a dry inspection. Have someone inside the RV while you spray the roof so they can spot drips or damp spots as soon as they appear.
Not always. Sometimes, damaged RV paneling in hidden areas (like inside cabinets or behind appliances) can be patched instead of replaced.
Patch hidden damage: Cover with thin “door skin” plywood. This works well when the area isn’t visible, and it adds strength without a full teardown.
Paint over minor areas: Works if the insulation is intact and the leak is fixed. A coat of primer and paint can hide stains and seal the surface to prevent further issues.
Full replacement: Needed for visible delamination, staining, or sagging. In these cases, replacement is the only way to restore both appearance and structural integrity.
Step-by-Step: Replacing RV Paneling
1. Prepare the Wall
Remove trim, cabinets, windows, or doors carefully (most are brad-nailed). RV trim is often delicate and can split if pried too aggressively. Keeping nails and screws organized in small bags will make reassembly much easier later.
2. Remove Old Paneling
Use a putty knife, Ryoba pull saw, or oscillating tool. These tools allow you to cut paneling freely without damaging the framing underneath. Go slow—rushing can splinter the thin plywood.
Scrape away old glue and fibers. A clean surface is crucial for the new adhesive to bond properly. Any leftover residue can cause bumps or weak spots in the repair.
A heat gun softens stubborn adhesives. Gentle heat loosens glue without scorching the wood. Keep the gun moving so you don’t overheat and warp nearby material.
3. Replace Insulation
1” Styrofoam sheets cut to fit. These are lightweight and insulate well, but they need to be cut precisely to avoid gaps. Even small spaces can cause drafts or condensation.
Fiberglass batts trimmed down. This option works in odd-sized cavities and provides good insulation. Be sure to wear gloves and a mask—fiberglass can irritate your skin and lungs.
Spray foam (with a plywood mold). Expanding foam fills every gap but can be messy if not contained. Using a waxed plywood mold keeps the foam flat and easy to finish later.
4. Cut and Fit New RV Paneling
Use cardboard templates for curves. Tracing tricky corners onto cardboard first saves mistakes and wasted panels. It’s especially useful in older RVs where walls aren’t perfectly square.
Always land edges on framing. This ensures the panel is strong and won’t flex when the RV moves. Unsupported edges can loosen over time and cause squeaks.
Cut from the back side; tape veneer to prevent splinters. Scoring or taping the veneer side before cutting keeps the finish clean. RV paneling is thin, so splinters are common without this precaution.
5. Glue and Clamp
Use epoxy or flexible construction adhesive. Epoxy provides a strong bond, while flexible adhesives handle vibration from travel. Avoid brittle glues that may crack as the RV shifts.
Test-fit before gluing. Dry fitting prevents surprises and makes sure everything lines up with windows or outlets. Once the adhesive sets, adjustments are nearly impossible.
Clamp with wide boards for even pressure. Wider clamping boards spread force evenly and prevent dents. Leaving clamps on until the adhesive fully cures ensures a long-lasting repair.
6. Trim Openings and Finish
After curing, cut window/door openings with a jigsaw. A fine-tooth blade prevents chipping around delicate edges. Go slow and follow your template for clean, accurate cuts.
Reinstall trim, cabinets, and wallpaper/paint. Adding trim hides cut edges and restores the finished look. A fresh coat of wallpaper or paint blends everything so the repair looks factory new.
If pulling out walls feels overwhelming, you don’t always have to go that route. A lot of RV owners, myself included, have had good luck just covering bad spots instead of replacing everything. It won’t be a factory-fresh look, but it can save you days of work and still make the camper feel livable again.
Tongue-and-groove wood planks These bring a cozy, cabin-like feel to an RV. They’re light enough for most rigs, but you have to seal them or they’ll expand and contract every time the humidity changes. I learned that the hard way when a section near the back door started squeaking after one wet summer.
Laminate flooring repurposed for walls Laminate snaps together easily, and I’ve seen people use leftover flooring to make some sharp-looking accent walls. It holds up well to scratches, which is nice if you travel with dogs or kids. Just don’t cover every inch of the camper in it—the extra weight shows up fast when you’re towing uphill.
Upholstery fabric for a soft finish Fabric is cheap, hides dents, and it actually dampens sound a bit. I’ve used it in a bedroom area where the walls were scarred, and it instantly made the space feel warmer and quieter. The nice thing is you can pull it tight over rough spots instead of spending hours sanding them smooth.
Kydex plastic (used in buses and airplanes) Kydex is one of those underrated materials most RV folks don’t think about. It’s thin, waterproof, and bends around curves without cracking—perfect in bathrooms or around sinks. It’s not fancy, but when you want something tough and easy to wipe down, it does the job.
Fiberglass sheets These are my go-to in wet areas like showers. They’re tough and won’t peel like wallpaper, but cutting them is messy and itchy. Wear gloves, a mask, and long sleeves, or you’ll regret it later—I still remember the fiberglass dust sticking to my arms after the first time I cut a panel.
⚠️ Quick tip: Skip heavy stuff like tile, stone, or sheet metal. RV walls just aren’t built for it, and you’ll feel the weight every time you hit the gas pump.
Tips for Success with RV Paneling
Always solve leaks first. Otherwise, new paneling will rot too.
Check hidden areas. Damage spreads farther than visible stains.
Use flexible adhesives. They handle road flex better than brittle glues.
Prime and seal. Even wallpapered RV paneling benefits from a protective sealer in damp climates.
FAQs About RV Paneling
How thick is RV paneling? Most is 1/8”, though 3/16” and 1/4” exist.
Can I buy RV paneling at Home Depot? Not usually. Specialty RV suppliers or repair shops carry it.
Do I have to match the wallpaper? Matching is tough—redoing an entire wall is a common occurrence.
What’s the cheapest way to repair RV paneling? Door skin overlays or fabric coverings can save money if full replacement isn’t needed.
Can I use regular plywood instead? Yes, but it’s heavier. RV paneling is thinner to reduce weight.
Nobody buys a camper because of it, but when it goes bad, you notice. Soft spots in the wall, wallpaper bubbling, that faint musty smell—it changes how the whole place feels.
Fixing paneling isn’t just about saving money at the repair shop. It’s about knowing your camper inside and out. Once you’ve done it yourself, you stop being nervous about every little squeak or soft spot—you know what’s behind the wall and how to handle it.
Related Posts:
Vinyl Shake Siding: Durable, Stylish & Low-Maintenance by Admin July 20, 2023 Installing Home maintenance can be challenging, especially when buying a used home from someone who hasn’t paid as much attention to their home as they should…