Over time, the hardware on your doors, windows, and cabinets will naturally wear out, corrode, or lose its shine. This often leads to people replacing it or covering it with paint. Many older homes feature stunning brass hardware on doors and cabinets, but it’s often hidden under multiple layers of paint.
Replacing worn or rusty hardware might seem like the easiest option if you’re working on a newer home. And while you’re not losing anything by swapping out the old hardware, you can upgrade with something that looks just as good—or even better—if that’s what you prefer.
However, older hardware is a different story. Many of these pieces feature unique engravings or intricate designs, which are not only beautiful but hard to replicate. You won’t find hardware with the same level of craftsmanship at your local home improvement store. If you want to preserve that vintage charm, restoring the original hardware is the way to go instead of replacing it.
Preparing to Restore Hardware
Before diving into restoration, it’s important to assess your hardware and decide what kind of finish you want to achieve. Many older homes feature brass hardware, but it’s essential to determine whether it’s solid brass or just plated. In some cases, the hardware could even be made of steel. Understanding what you’re working with is key to knowing what results you can expect.
Identifying the Material
You can use a simple magnet to test if your hardware is brass. Solid brass is non-magnetic, so the magnet won’t stick to it. On the other hand, brass-plated hardware from that era is often plated over steel, meaning the magnet will stick despite the appearance of brass. Steel hardware, of course, will also attract the magnet.
Of the three possibilities, brass-plated hardware is the trickiest. The thickness of the plating can vary, and there’s no easy way to determine its thickness. This means you must be extra cautious when using a wire wheel or any polishing method, as you could accidentally strip away the plating if you’re not careful.
Choosing the Right Finish
When it comes to brass hardware, you have options for its finish. You can go for a high-gloss shine or opt for a more antique patina, depending on the look you prefer. Similarly, steel hardware can be polished or left with an aged, rustic appearance. However, it’s quite common to paint steel hardware with flat black enamel to give it a classic, matte look.
Removing the Hardware
No matter what type of hardware you have or the final result you’re aiming for, you’ll need to remove the hardware from the door or window before restoring it. If you’re working with hardware from multiple locations, it’s helpful to mark the pieces on the backside to ensure you can put them back in their original spots.
The screws holding the hardware in place may present a challenge. Most likely, they’re slotted screws that could already be slightly stripped. Even if they’re not, there’s a good chance they’ve been painted over. To make removal easier, use a flat-bladed screwdriver or knife to scrape off any paint from the screw slot carefully. You might also want to clean around the screw head to prevent the paint from acting as an adhesive, which could make the hardware harder to remove.
Removing Paint Without Commercial Strippers
You don’t need to purchase commercial paint strippers to remove paint from hardware and wood—hot water and dish soap can do the job just as effectively.
Start by using an old pan or Crockpot that you won’t use for cooking again, as some metal from the hardware may dissolve into the water. Be cautious, as there’s a high chance the paint you’re removing may contain lead. The lead from older paint can contaminate your container, so it’s important to handle the materials carefully.
Fill the pan with clean tap water, unless your local water has a high mineral or salt content, in which case, purified water is a better option. Add a small amount of dish soap and mix it in. Heat the water on low heat—aim for it to be warm enough that it’s slightly too hot to touch, around 140°F to 160°F. The hotter the water, the better, but avoid boiling.
Place your hardware in the pan, ensuring it’s not overcrowded, and let it soak for a while. This step helps soften the paint. If the paint isn’t soft yet, it means you need to soak the hardware longer.
Getting to Work
Using pliers or tongs, remove the hardware from the hot water and place it on a work surface, like a stiff plastic paint tray, so the water can drain off or be absorbed. Then, use a plastic putty knife to scrape off the softened paint. Avoid using a metal putty knife, as it could scratch the metal of the hardware.
After scraping off as much paint as possible, return the hardware to the warm water to soften more paint. Depending on how many layers of paint there are, you may need to repeat this process several times until you reveal the metal underneath.
Once you’ve removed most of the paint and the metal is visible, switch to a stiff nylon brush to clean out intricate patterns or corners that the putty knife couldn’t reach. If needed, return the hardware to the water again to soften remaining paint.
A Faster Method
If you’d rather not use elbow grease, you can speed up the process with a wire wheel attached to a bench grinder or electric drill. However, be cautious with this method—it can be too aggressive, especially if you want to preserve a patina on brass or brass-plated hardware. The wire wheel might remove corrosion too quickly, so be sure to choose a less aggressive wheel for delicate work.
Wire wheels come in several types:
Steel wire wheel: Very aggressive, best for removing paint from steel parts.
Knotted steel wire wheel: Even more aggressive, ideal for removing heavy rust.
Brass wire wheel: Less aggressive, great for brass hardware and won’t damage steel.
Nylon wheel: Perfect for corners and crevices without harming the surface.
Scotchbrite wheel: Not a wire wheel, but still effective for paint removal without damaging finishes. It works slower but is gentler on delicate surfaces.
When using a wire wheel, it’s crucial to wear a dust mask rated N100 or P100 to avoid inhaling harmful lead dust from old paint, which can be extremely dangerous.
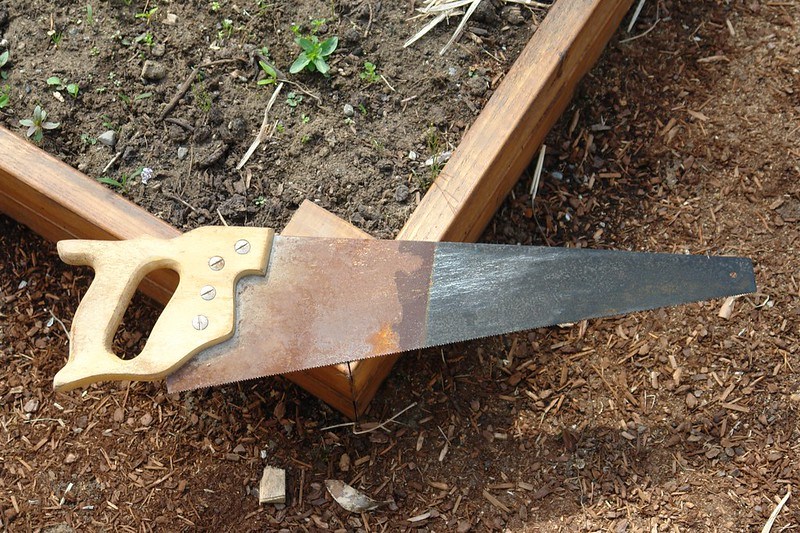
Removing Rust
For steel hardware, rust removal is an important step in restoration. It’s crucial to eliminate all rust, as any remaining corrosion will continue to spread over time. One effective method is using a steel wire or knotted steel wire wheel, depending on the size of the hardware and the extent of the rust.
Alternatively, you can use chemical rust removers, which are effective but require caution. These products are acidic and work quickly to break down rust. However, leaving the hardware in the solution for too long can cause the acid to eat away at the good metal, potentially damaging the part beyond repair. Always follow the manufacturer’s instructions carefully and limit exposure time to prevent further damage.
If you’re aiming for an antiqued look, it’s important to handle the wire wheel carefully to avoid removing the natural patina or oxidation along with the paint. If the patina gets accidentally removed, there are products specifically designed to restore an aged appearance to metal. Search for products labeled “add patina to metal” and make sure to choose one suited to the type of metal you’re working with.
For those who want to return the hardware to its original shine, you’ll move on to the polishing phase after removing the paint. The first step is to remove the patina from the metal, which can be easily done by placing the hardware in a plastic food storage container and covering it with vinegar. Then, add baking soda to the container and allow the two to react, which will strip the patina. Remember, this container should no longer be used for food after this process.
For polishing, using a cloth buffing wheel attached to your drill and a “brass polishing compound” will give you a faster, better result compared to using liquid brass polish and a cloth. This method is similar to how jewelers polish their pieces, giving the metal a beautiful, smooth finish.
Sealing and Lubricating
Once you achieve the desired luster or antique finish, it’s important to seal the hardware to prevent further corrosion. The best way to do this is by applying a clear, spray-on lacquer. While some recommend using urethane or polyurethane, lacquer is better suited for metal parts. You can find it in both high gloss and satin finishes, depending on the look you prefer.
After the lacquer has fully dried, lubricate the moving parts of the hardware with graphite oil. It’s best to finish the lacquering before applying any oil, as the lubricants can interfere with the lacquer’s adhesion. Be sure to wipe off any excess lubricant to avoid smudging the finish.
It’s always better to see clean like new hardware!
Related Posts:
Sandblasting Wood: How to Clean & Restore by Admin May 17, 2025 Finish There’s something satisfying about bringing old wood back to life. Whether it's barn siding, an antique door, or a weathered cedar plank, wood has a…
How to Clean Old Unfinished Wood Floors by Admin May 20, 2025 More About Cleaning old unfinished wood floors can feel intimidating—after all, they’re raw, porous, and prone to staining or warping. But the good news is: with the…