When I moved in, the yard looked tired. The mulch had wandered into the grass, the grass crawled into the flower beds, and the gravel walkway just disappeared into the driveway. It wasn’t awful, but it bugged me every time I looked at it. I’d spend Saturdays trying to fix it—raking, trimming, pulling weeds—only to watch it all slide back to chaos by the following weekend.
One afternoon, I was picking up screws at the hardware store when I saw a roll of plastic edgingon the shelf. I’d never used it before, but it promised “clean lines” and “no digging required.” I figured, sure, why not.
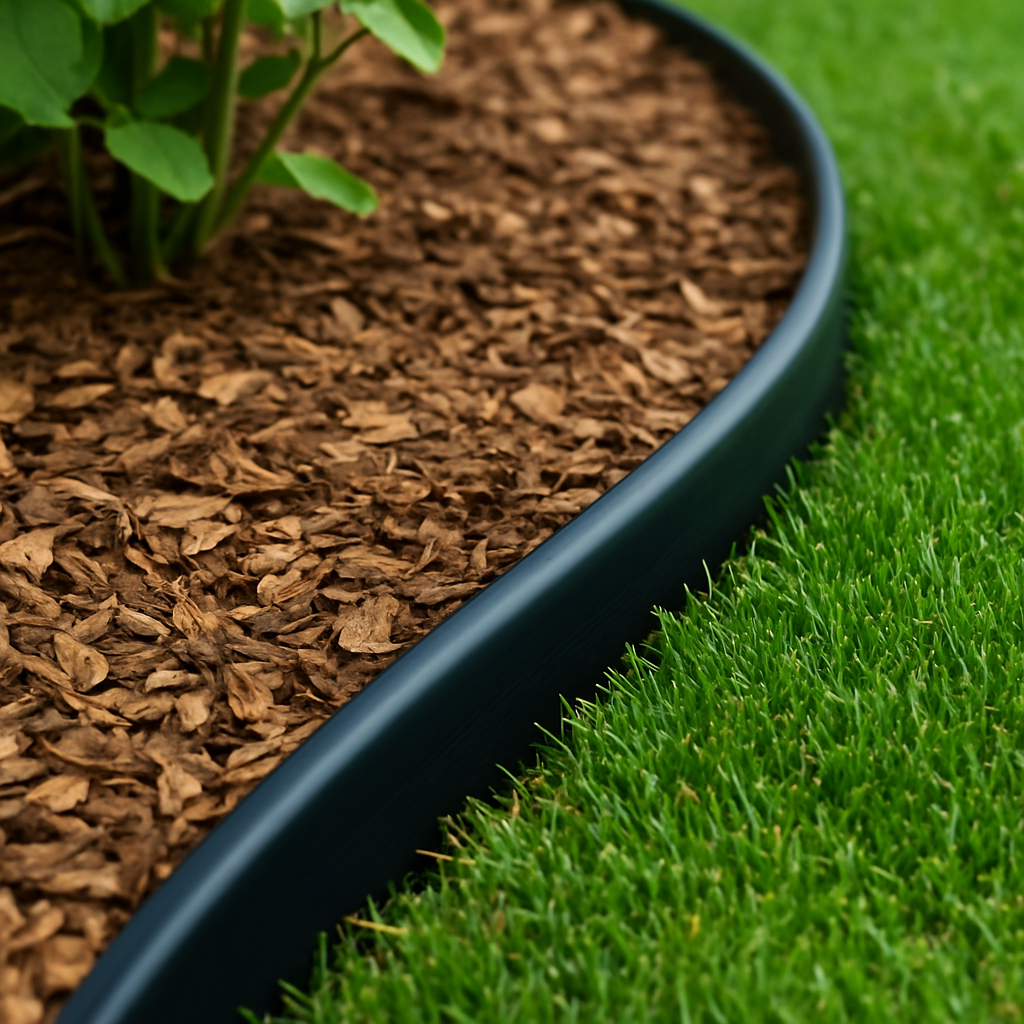
A few hours later, I had the whole front yard outlined. Just a little trench and that black strip tucked into place—it completely changed the look. The mulch stayed put, the grass stopped creeping, and mowing finally felt easy. I stood there for a minute, sweaty and proud. It actually looked finished.
A week later, I found the leftover pieces in the garage and thought, ” I wonder if this would work on wood? I cut a short strip and tacked it along the edge of my plywood workbench. Smooth edge, no splinters, and it even looked sharp. I couldn’t believe it.
Now I use plastic edging everywhere. Around garden beds, walkways, and even furniture projects, when I want a quick edge that won’t chip. It’s not fancy, but it works—and it’s one of those little things that make everything look intentional without costing much or taking all weekend.
🌿 What Is Plastic Edging?
Plastic edging (also called landscape edging or garden border edging) is a flexible or rigid barrier made of durable polyethylene (PE) or polyvinyl chloride (PVC). It creates a visible separation between materials—such as grass and mulch, gravel and soil, or plywood and laminate.
Outdoors, it’s used to define garden beds, walkways, and lawns. Indoors, it’s used as PVC edge banding to finish and protect the raw edges of plywood furniture or shelving.
The beauty of plastic edging is that it’s lightweight, weatherproof, and extremely forgiving—perfect for DIYers who don’t want to wrestle with concrete or metal.
🌱 Why Plastic Edging Is Perfect for DIY Garden Projects
When I first tried it, I wasn’t convinced that something so lightweight could hold up. But plastic garden border edging has a few secret strengths that make it perfect for homeowners.
Flexible but rigid: It bends for curves yet holds firm in straight runs.
Weatherproof: It won’t rust, rot, or splinter like wood or steel.
Affordable: A 40-foot roll costs less than a nice dinner out.
Low-maintenance: Once installed, it stays put for years.
Multi-use: The same material can be used indoors as PVC edge banding for plywood.
Whether you’re defining a flower bed or finishing a plywood shelf, plastic edging does the job without drama.
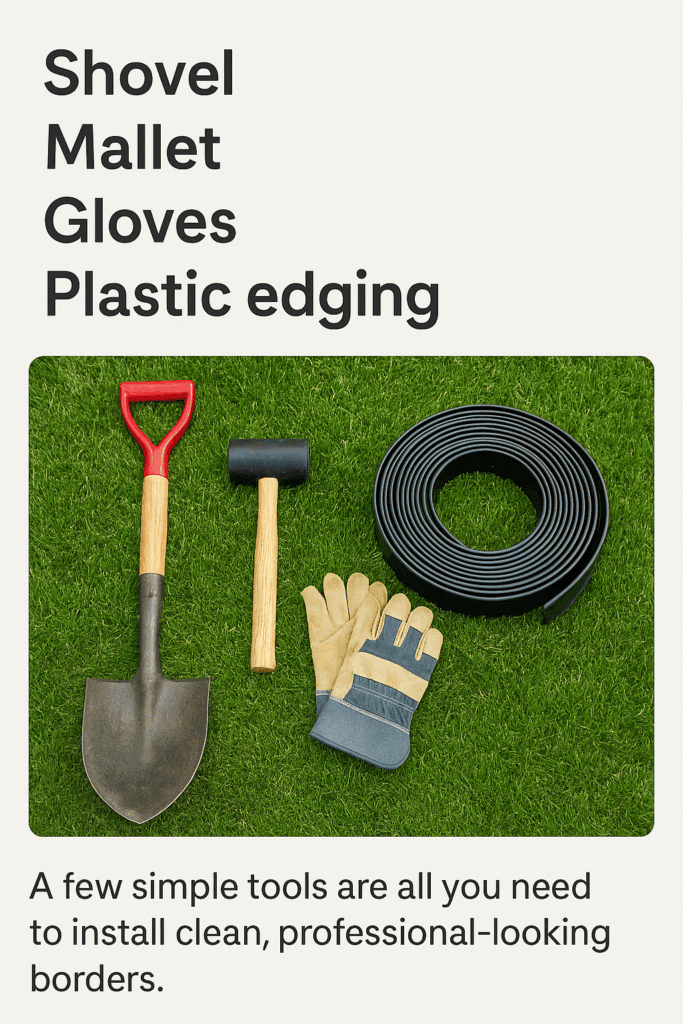
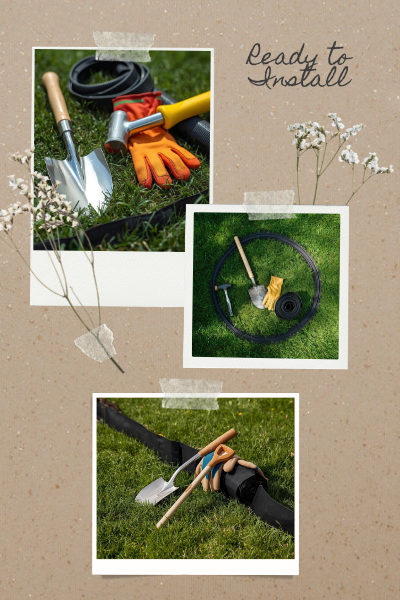
🧰 Tools and Materials for Installing Plastic Landscape Edging
You don’t need a truckload of equipment to install edging. Most of what you’ll need is already in your shed.
Set your edging out in the sun for 20–30 minutes. It’ll relax and bend much more easily around curves.
Step 4: Set and Anchor
Insert the edging into your trench so the top lip sits just above the ground. Drive in spikes every 3–4 feet, especially around curves and corners.
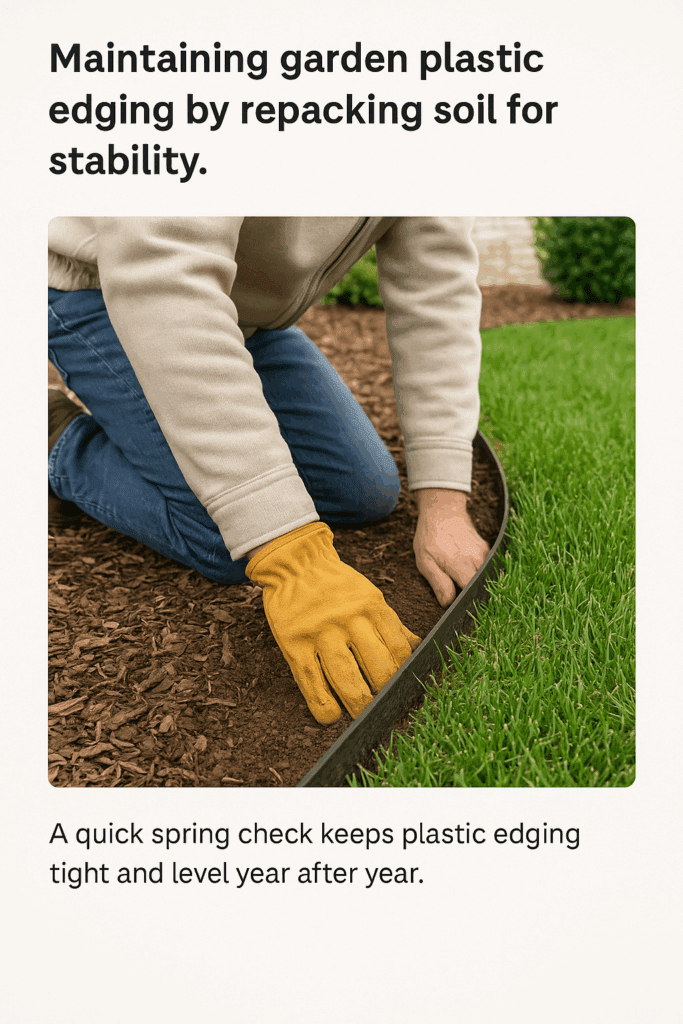
Step 5: Backfill and Pack
Push the soil back against both sides and tamp it down firmly. This locks the edging in place and prevents frost from lifting it.
🌾 Tips for Installing Lawn Edging Around Driveways or Paths
When you’re working close to a driveway or sidewalk, pay attention to how the ground drains. I always dig my trench with a very slight slope away from the concrete. It doesn’t have to be dramatic—just enough so rainwater runs off instead of collecting right along the edge. That little detail saves a lot of headaches later when the soil starts washing out.
If you’re bordering a gravel or stone path, skip the flexible edging and go with a rigid style. The stiffer type keeps the gravel from spreading into the grass, even after years of traffic or mowing. It also gives that sharp, clean divide between lawn and path that makes a yard look finished, like something out of a landscape catalog.
And here’s a small trick I learned the hard way: use a rubber mallet instead of a hammer when setting spikes near concrete. You’ll save the edging—and your knuckles.
🪚 Using Plastic Edging Indoors for Plywood Projects
The same logic that keeps mulch in place also works wonders for woodworking. PVC edge banding is just a thinner, adhesive-backed version of plastic edging.
To apply it:
Cut a strip slightly longer than the edge of your plywood.
Heat the adhesive with an iron on medium (no steam).
Q: How long does plastic edging really last? In my experience, the good UV-resistant kind holds up for decades. Most manufacturers say 15 to 25 years, and that lines up with what I’ve seen. Once it’s buried and out of the way of direct sunlight, it just sits there doing its job year after year.
Q: What about winter? Won’t the frost crack it? That was my worry at first, too, but flexible polyethylene edging actually expands and contracts with the ground. I’ve pulled some out after a few winter,s and it still looked fine—no splits or brittleness. Just make sure the soil is packed firmly when you install it.
Q: Can I reuse it if I end up redesigning my garden? Yes, totally. It’s easier than you’d think. I’ve redone a few beds over the years—pulled the edging up, hosed off the dirt, and pushed it back into a new trench. Still works great.
Q: What’s the difference between vinyl and polyethylene edging? Vinyl (PVC) edging is stiffer, which makes it perfect for straight lines and sharp corners—like along driveways. Polyethylene is more flexible, making it ideal for winding around flower beds or curved paths. I usually keep both types on hand, depending on the project.
🧠 Final Thoughts: Why Plastic Edging Is Worth It
Looking back, plastic edging has been one of my most satisfying DIY discoveries. It’s cheap, easy, and instantly upgrades any yard or project. Every time I walk around the garden now, the lines are crisp, the mulch stays put, and mowing feels effortless.
Inside, that same concept keeps my plywood furniture looking polished and durable. Plastic edging is the kind of small detail that quietly says, “This was done with care.”
If you’re tired of messy borders or raw plywood edges, don’t overthink it—grab a roll and start. You’ll see why this simple material is a favorite for both garden borders and woodworking projects alike.
Maple Plywood DIY Guide: Projects & Finishing Tips by Admin August 23, 2025 Hardwood My First Experience With Maple Plywood When I first started messing with plywood, I honestly didn’t care what I was buying. Pine was cheap, easy…


")


")

