Creating a sturdy and beautiful tabletop starts with properly joining planks together. Whether you’re making a dining table, coffee table, or workbench, a strong and seamless joint is key to durability and aesthetics. This guide will walk you through the process of joining planks for a tabletop using expert-recommended tools and materials available on Amazon.
What You’ll Need
Before getting started, gather these essential tools and materials:
Select planks of the same thickness and wood type. Hardwoods like oak, maple, and walnut work best for durability. Ensure the planks are straight and free from warping by laying them side by side. If needed, use a planer or jointer to smooth out any uneven edges for a perfect fit.
2. Measure and Cut the Planks
Use a measuring tape to mark the exact length needed for your tabletop. Cut the boards with a table saw to ensure precise edges for a seamless fit. If necessary, trim small sections off the edges to create cleaner joining surfaces.
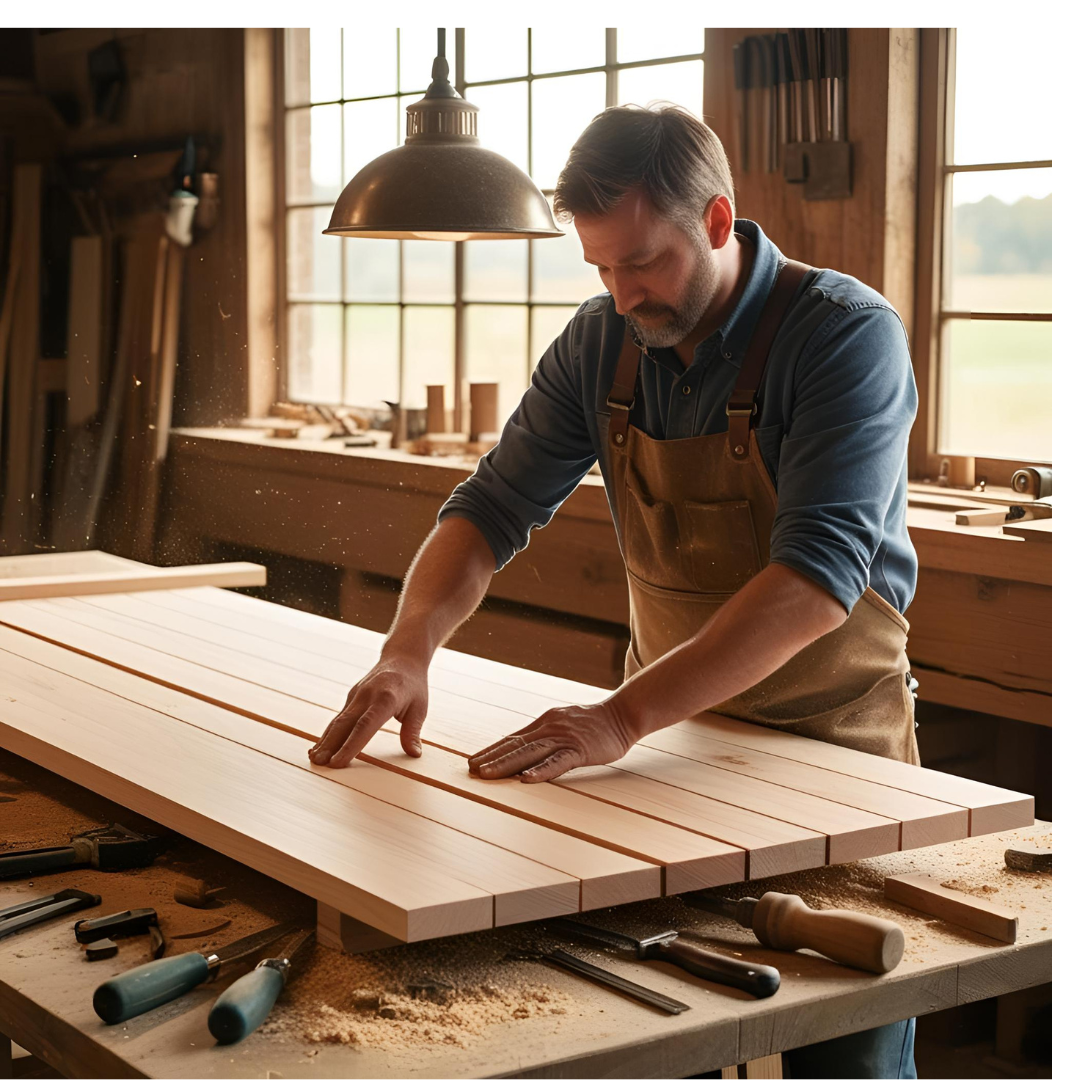
3. Arrange the Planks
Lay the planks on a flat surface in the desired order. Flip each piece to find the best grain match and reduce visible seams. You may also label each piece with chalk or a pencil to keep track of the sequence.
4. Apply Wood Glue
Spread a generous amount of Titebond III Ultimate Wood Glue along the edges of each plank. For extra strength, insert wood dowels or biscuits using a biscuit joiner. This will ensure proper alignment and additional reinforcement. Be sure to work quickly as wood glue begins to set within minutes.
Use BESSEY 36-inch Bar Clamps to hold the planks tightly together. Place clamps evenly across the tabletop, alternating top and bottom to prevent bowing. Tighten the clamps gradually, ensuring there are no gaps between the boards. Wipe off excess glue with a damp cloth before it dries. Let the glue cure for at least 24 hours for maximum strength.
6. Sand the Surface
Once dry, use a BLACK+DECKER Random Orbit Sander to smooth out rough edges and seams. Use coarse-grit sandpaper (around 80 grit) to remove any excess glue and uneven areas. Then, switch to finer grits (such as 120 and 220) for a polished and smooth finish. If there are small gaps or imperfections, use a Minwax Stainable Wood Filler and let it dry before sanding again.
7. Reinforce the Tabletop (Optional)
For added durability, consider adding support braces underneath the tabletop. You can use wooden battens or metal brackets to help prevent warping over time. Secure them with wood screws, ensuring they do not interfere with the final table base attachment.
8. Finish the Tabletop
Apply wood stain or sealant to protect the surface. Choose a stain color that complements your decor, and use a clean cloth or brush to apply evenly. Let the stain dry, then apply a protective polyurethane coat for added durability. Use a CRAFTSMAN Torpedo Level to check for evenness before attaching the tabletop to a base.
By following these steps, you can easily join planks for a sturdy, stylish, and built-to-last tabletop. Investing in high-quality tools like the ones mentioned above will ensure a professional-looking finish. Check out the Amazon links for expert-recommended products to make your DIY table project successful!
Cedar Plywood: A Complete DIY & Builder’s Guide by Admin September 8, 2025 Softwood If you’ve ever stepped into a cedar-lined closet or opened an old cedar chest, you know the scent. That fresh, woodsy smell isn’t just nostalgic—it’s…

")

")

")