If you’re planning to use plywood outside—whether it’s for a planter box, shed, outdoor bench, or even a little chicken coop—you have to waterproof it. Otherwise, it’ll soak up water like a sponge, warp, and start peeling apart after the first good rain.
I learned this the hard way when I built a cute outdoor coffee table that turned into a soggy mess in less than two months. Don’t be me.
In this guide, I’ll walk you through how to waterproof plywood the right way, step-by-step. I’ll also share the best waterproofing products (that you can grab on Amazon), give you some honest DIY tips, and show you a few things I wish I’d done differently.
Let’s get into it.
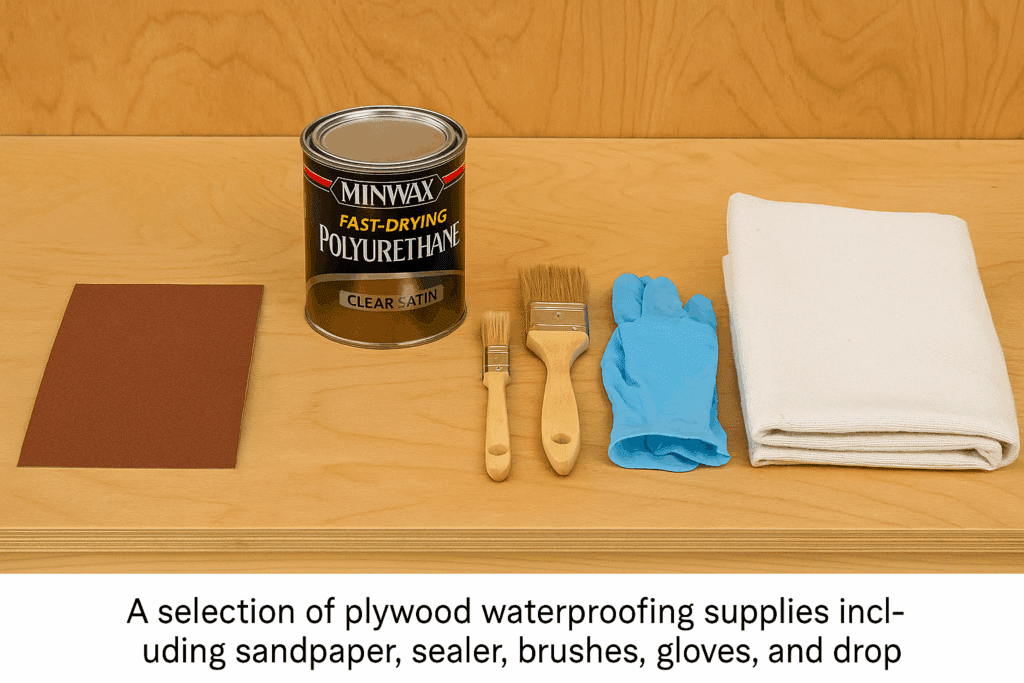
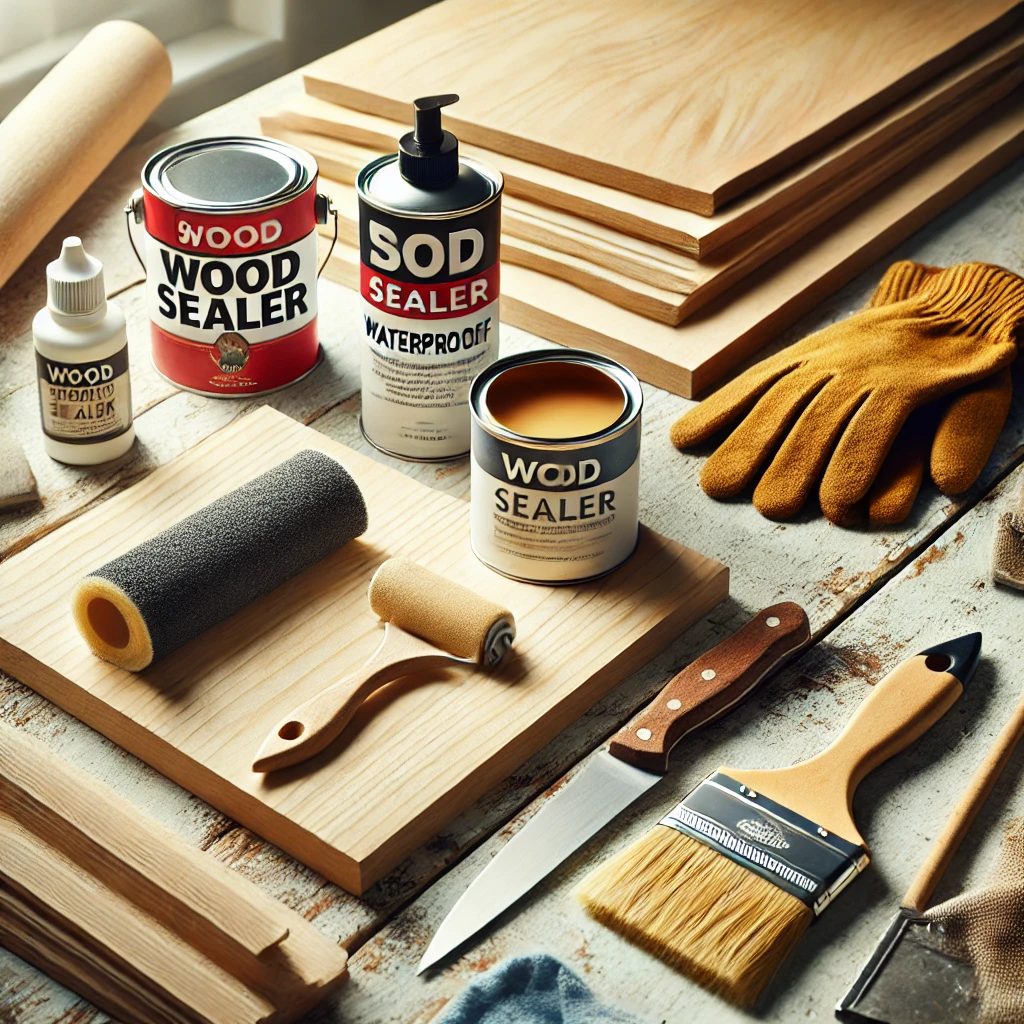
🧰 What You’ll Need
Depending on which waterproofing method you choose, here’s what you might need:
Sandpaper (100–150 grit)
Tack cloth or microfiber cloth
Exterior wood filler (optional for patching holes)
Waterproofing product (sealer, paint, or epoxy)
Quality paintbrush or foam roller
Gloves and mask (for fumes)
Drop cloth or cardboard (to protect your surface)
✅ 3 Easy Ways to Waterproof Plywood (and When to Use Each)
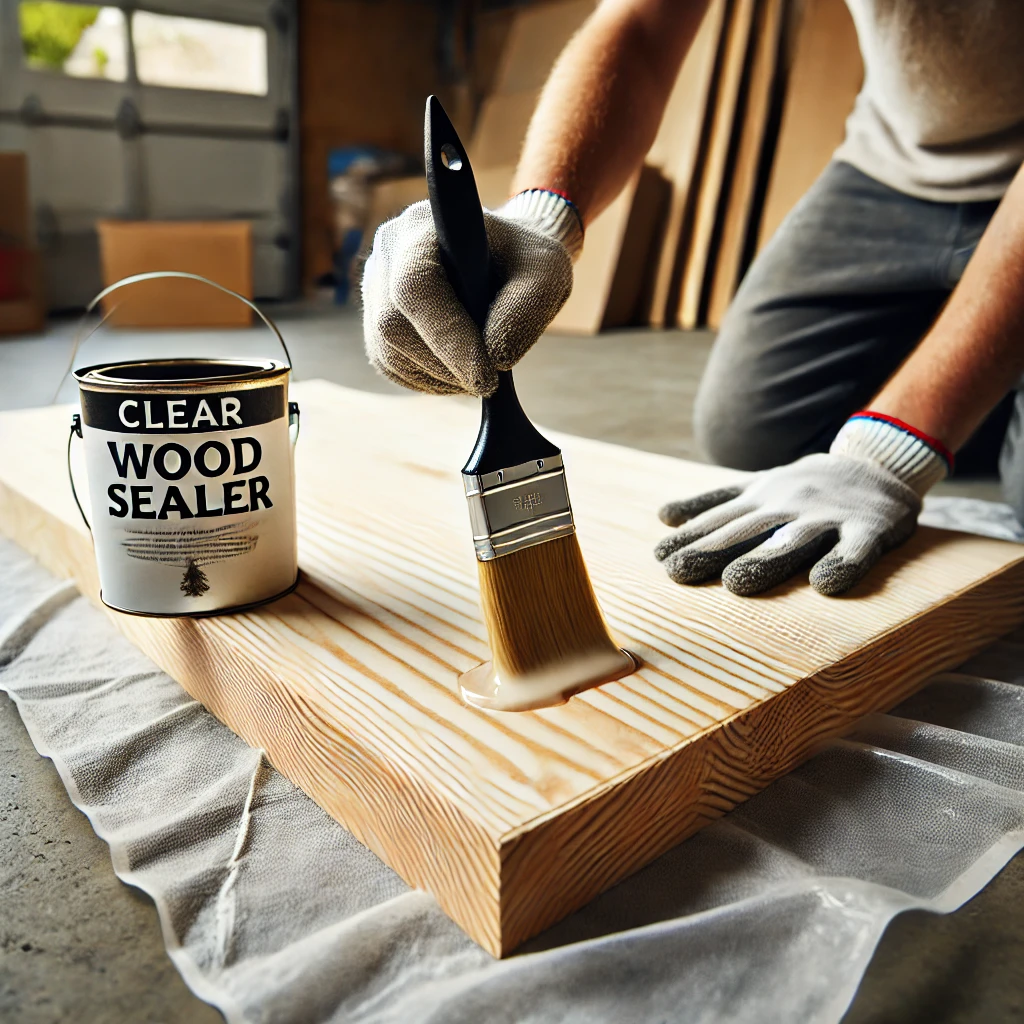
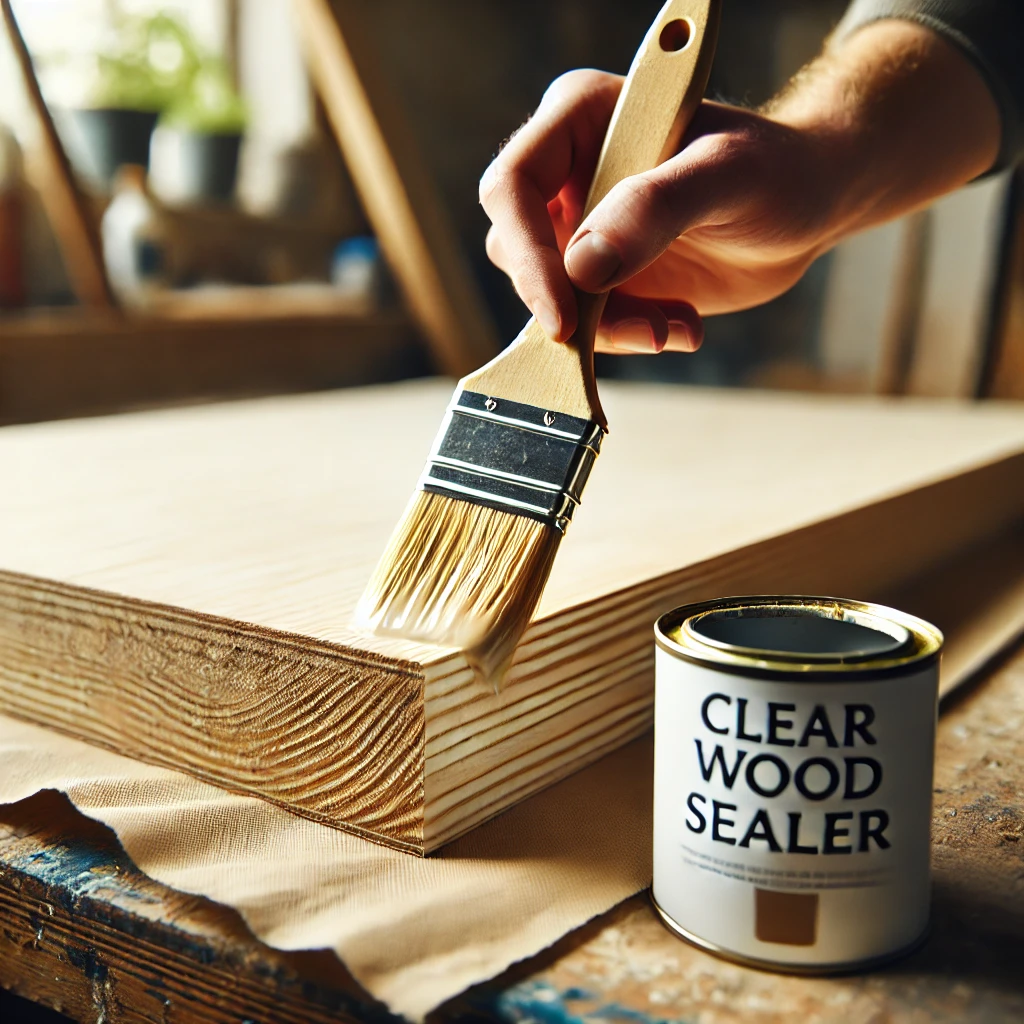
1. Use an Exterior Wood Sealer
(Best for clear natural wood finish)
If you want your plywood to show off that nice wood grain, a clear penetrating wood sealer is the way to go. It soaks into the surface and protects from water without changing the look too much.
How to do it:
Sand the plywood. This opens up the grain so the sealer soaks in better.
Wipe it down. Use a tack cloth or rag to get rid of all the dust.
Apply the sealer. Use a brush or roller to coat all sides and edges.
Let it dry completely. Usually takes 4–6 hours.
Apply a second coat. For outdoor use, two coats is the sweet spot.
2. Use Waterproof Paint
(Best for adding color + protection)
This is great if you want a colored finish. It adds personality and protection.
How to do it:
Prep the surface. Sand and clean your plywood.
Prime it. Use an exterior wood primer—this step matters!
Paint it. Apply two coats of high-quality exterior paint.
Seal it (optional). For heavy rain or long exposure, use a waterproof topcoat like spar urethane.
Most of these are affordable and available with Prime shipping, so you can have them ready for the weekend.
💡 Real Talk: What I Wish I Knew
Don’t forget the edges. That’s where water gets in first.
Dry time matters. If it says “wait 6 hours,” wait 6 hours. Rushing = peeling later.
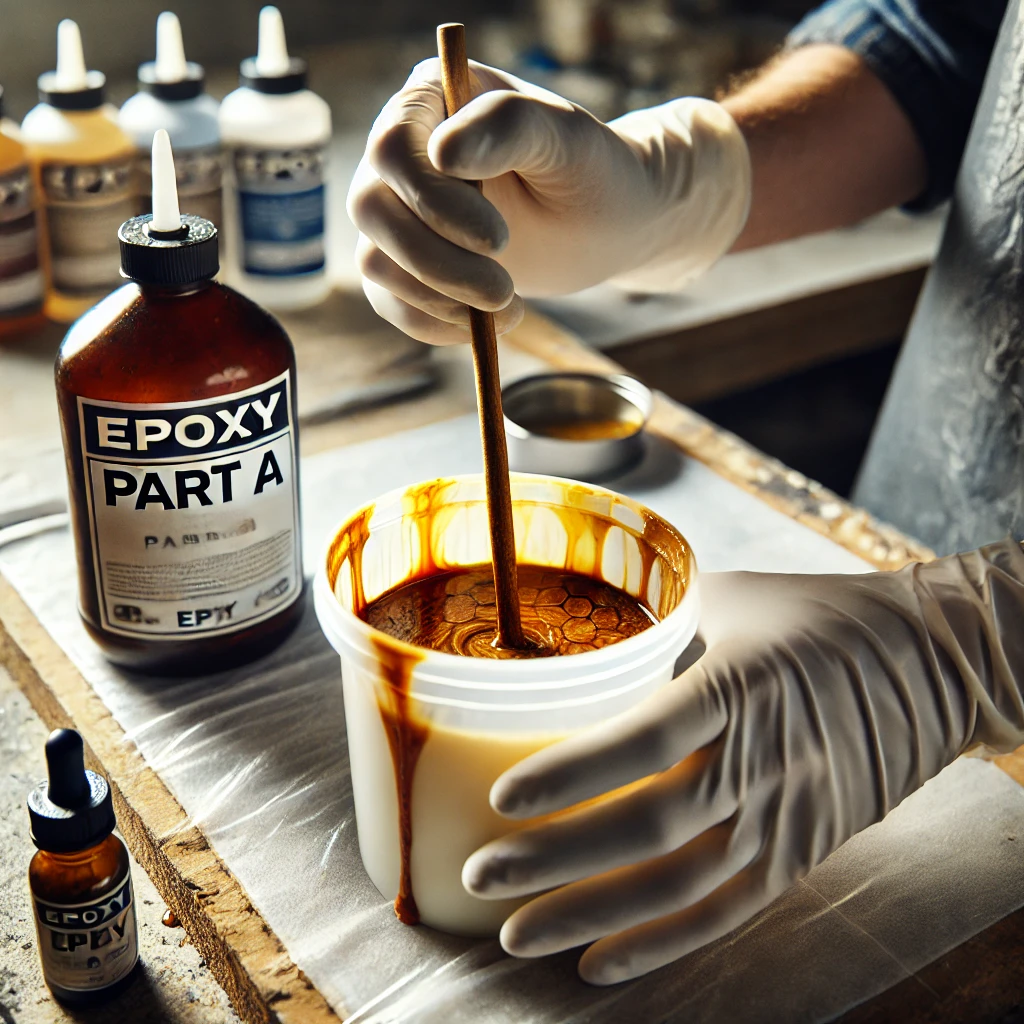
Use gloves! Especially with epoxy—it’s a mess on skin.
Reapply sealers every year or two if your plywood is fully exposed.
🧠 FAQ: Common Waterproofing Questions
Q: Can I waterproof plywood after it’s already been outside? A: Sort of. If it hasn’t started rotting, clean and dry it completely, then apply a sealer. But prevention is always easier than repair.
Q: What’s the difference between water-resistant and waterproof? A: Water-resistant means it’ll hold up against some moisture—waterproof means it’s fully protected and won’t absorb water even after days of exposure.
Q: How long will waterproofed plywood last outside? A: With good prep and regular maintenance? Easily 5–10 years or more, depending on the project and environment.
Deck Stairs: DIY Guide to Building Safe Outdoor Steps by Admin July 30, 2025 Installing The first summer after I finished building my backyard deck, I realized something was missing—deck stairs. Every time I wanted to get to the garden…