Wooden barrels are a timeless blend of functionality and craftsmanship. From aging fine wine to storing whiskey, these coopered containers are built not just to last, but to seal liquids naturally, without glue or synthetic materials. In this hands-on guide, we’ll walk through the full process of making a wooden barrel at home using traditional and modern methods. Whether you’re a hobbyist or a serious woodworker, this guide has you covered.
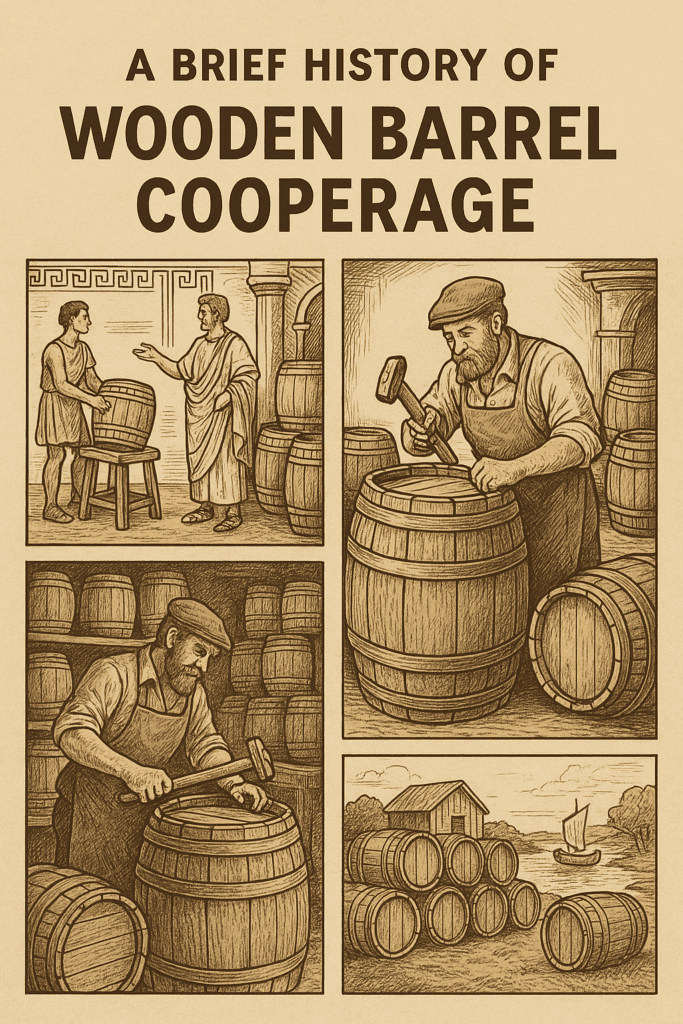
A Brief History of Wooden Barrel Cooperage
The ancient art of cooperage—barrel making—dates back thousands of years, with evidence of wooden casks found in Roman and Celtic settlements. Coopers were once considered elite craftsmen, as barrels were essential for storing everything from wine and beer to salted fish and gunpowder. Today, the tradition lives on, particularly in industries like bourbon and wine production, where the wooden barrel still plays a vital role in flavor development and preservation.
Best Woods for Wooden Barrel Construction
The gold standard for barrel construction is American White Oak. It’s rich in tyloses—natural compounds that block pores and make the wood watertight. Other options include:
Red Oak (not waterproof, but usable for decorative barrels)
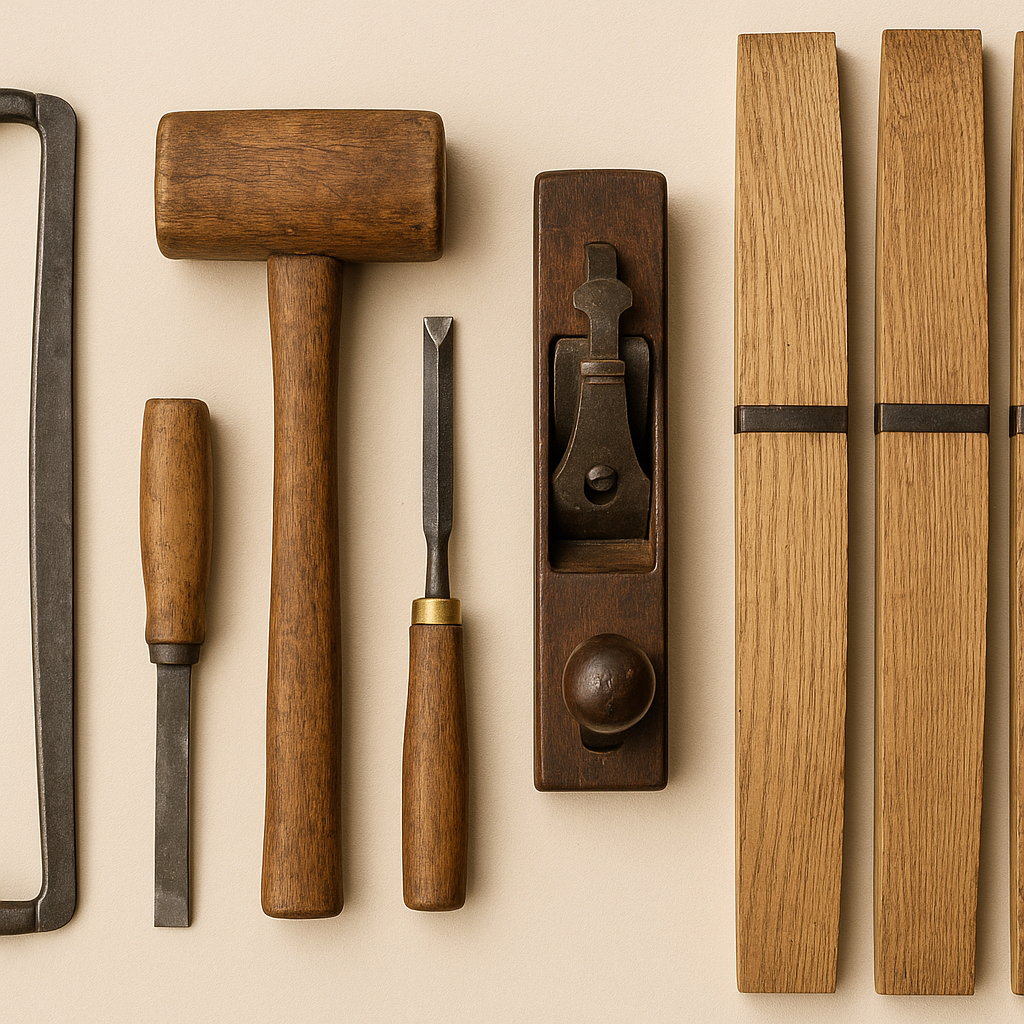
A standard wooden barrel uses about 31–33 staves. Start with quarter-sawn oak boards that are 1″ thick and 36″ long. The barrel shape requires each stave to be slightly wider in the middle and tapered at the ends.
Cut to Length – All staves should be the same length.
Determine Width – Divide the circumference by the number of staves to get the ideal width.
Shape the Interior – Use a radius spokeshave to hollow out the inside.
Shape the Exterior – Use a straight spokeshave to form a convex curve.
Edge Tapering – Cut a 10.9° bevel on each edge for a watertight fit.
📌 Pro Tip: Use a router table and jig for perfect edge angles.
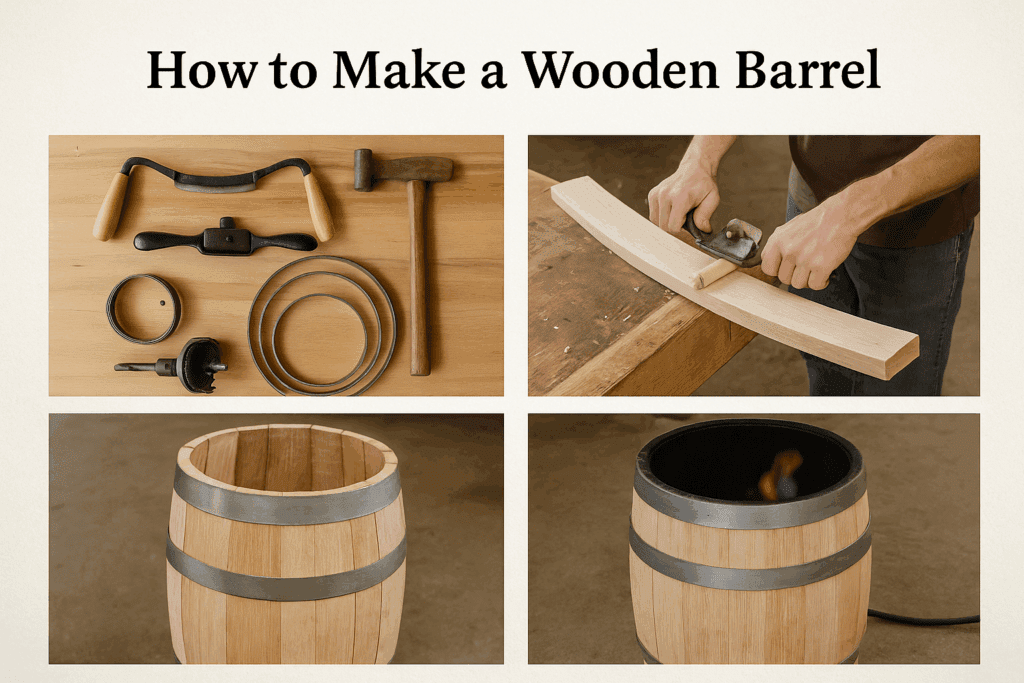
Building the Barrel Body from Wooden Staves
With the staves cut and shaped, it’s time to assemble the barrel:
Use Temporary Hoops – These welded steel rings hold the staves together while shaping.
Arrange Staves Vertically – Fit them together tightly inside the hoop, side by side.
Apply Second Hoop – Slide a second hoop down the opposite end.
Hammer each hoop downward with a hoop driver to press the staves into the classic barrel shape.
Heating and Bending Wooden Staves into Shape
To tighten and shape the barrel:
Insert a propane burner into the open barrel.
Heat until the interior reaches ~300°F.
Use a strap clamp to compress the barrel ends.
Fit a third hoop over the compressed end and hammer it in place.
🔥 Some coopers also steam or spray water during this process to ease bending.
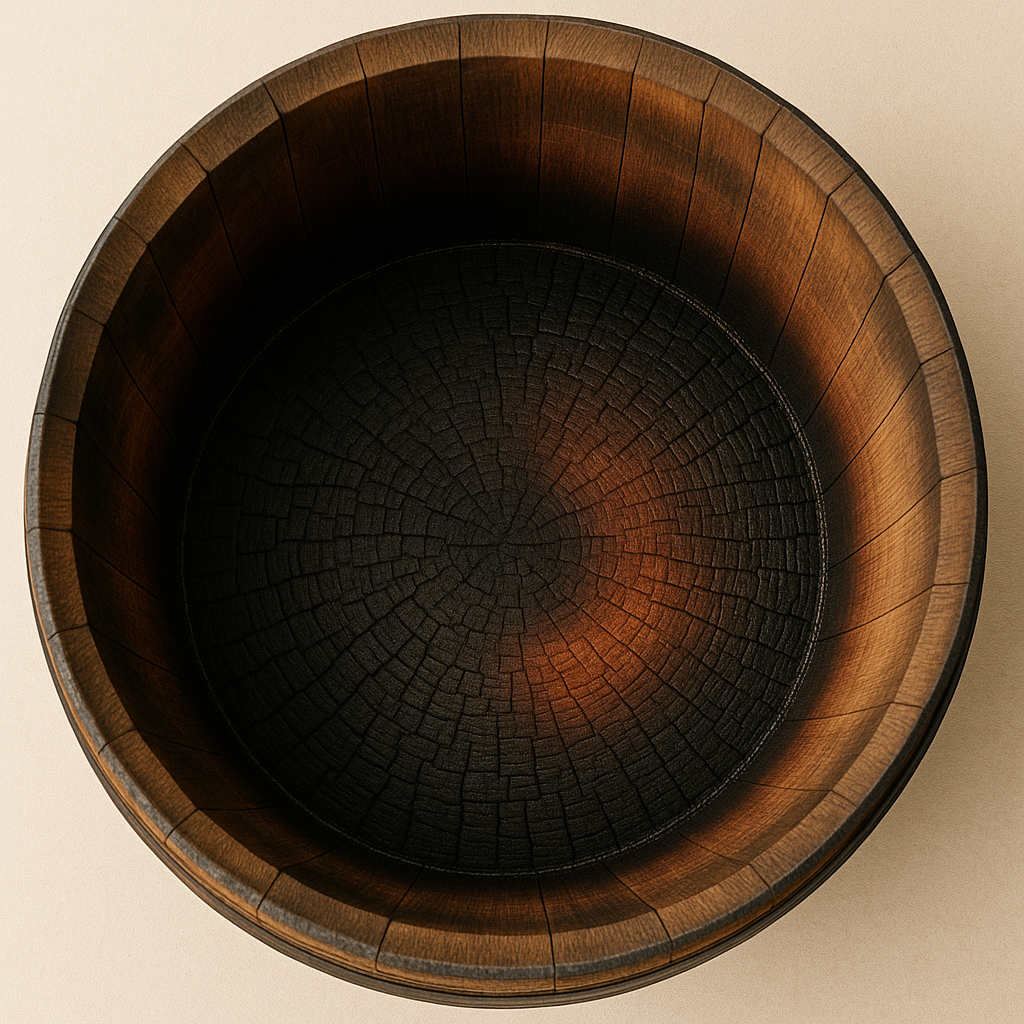
Toasting and Charring a Wooden Barrel Interior
Toasting caramelizes the interior and enhances flavor. For whiskey barrels, go a step further and char the inside:
Place the barrel over the open flame
Toast lightly for the wine barrels
Char until blackened for whiskey
The charred layer filters out impurities and gives spirits their smooth taste.
How to Make Barrel Heads and Seal the Wooden Barrel
Barrel heads are typically made from 3/4″ oak planks joined edge-to-edge (but not glued).
Use dowels or interlocking joints (e.g., double z-groove)
Cut a circular head that fits snug into a routed croze (groove inside barrel ends)
Toast or char the interior face as needed
Reinstall the hoops one side at a time to secure the head.
Always wear protective gloves and goggles when working with fire or metal.
Don’t overheat the barrel—this can cause cracking.
Keep the staves uniform in length and width to avoid leaks.
Avoid synthetic glue, which can compromise flavor if the barrel is used for aging drinks.
Precision, patience, and safety will take your build to the next level.
FAQs: Wooden Barrel Building Questions Answered
Q: Can I use glue on a wooden barrel? A: No. Barrels are sealed by pressure between the staves and reinforced with hoops. Glue is avoided to keep the contents pure.
Q: How long does it take to build a barrel? A: A skilled woodworker can build one in 2–3 days, depending on tools and finish.
Q: What’s the best size for a beginner’s barrel? A: Start small—5 to 10 gallon barrels are easier to handle and still functional.
Q: Can I age spirits in a homemade barrel? A: Yes, as long as the wood is oak, properly toasted or charred, and watertight.
Maintenance Tips for Long-Lasting Wooden Barrels
Once you’ve built your barrel, keeping it in great shape ensures it can be reused for years to come. Here’s how to maintain it:
Store filled or partially filled – A dry barrel will shrink and possibly leak. If not aging spirits, keep it filled with water.
Rinse between uses – Clean with warm water (never soap), and occasionally use a barrel cleaning solution for deeper maintenance.
Keep in a cool, humid place – Avoid excessive heat or dryness, as this leads to stave separation and cracking.
Rechar as needed – After several uses, the interior may benefit from re-toasting or charring to restore flavor-filtering properties.
Monitor for mold – Especially when used outdoors. Light mold on the outside can be scrubbed with a vinegar solution.
With regular attention, your wooden barrel can become a trusted vessel for wine, whiskey, or even decorative use.
Final Thoughts: Build a Wooden Barrel That Lasts
Building a wooden barrel isn’t just a woodworking project—it’s a legacy. You’re tapping into a craft that’s been honed over centuries. With the right tools, quality oak, and patience, you can create a functional, beautiful piece of heritage right in your shop.
Ready to build your wooden barrel? Share your results with us at theplywood.com, and we might feature your work!
Related Posts:
How to Make a Wooden Sword by Admin July 14, 2025 DIY 1. Why I Still Make Wooden Swords I wasn’t planning to make a wooden sword that day. I just needed something—anything—for my kid’s last-minute costume.…
How to Make Wooden Gears by Admin April 2, 2025 DIY Building Wooden Gears — My No-Nonsense Notes from the Garage If you've ever thought about building wooden gears for a clock, a jig, or just…
How to Make the Perfect Wooden Name Plate by Admin April 25, 2025 DIY Name plates are more than just labels — they’re subtle symbols of professionalism, pride, and identity. Whether it’s hanging outside an office door or sitting…