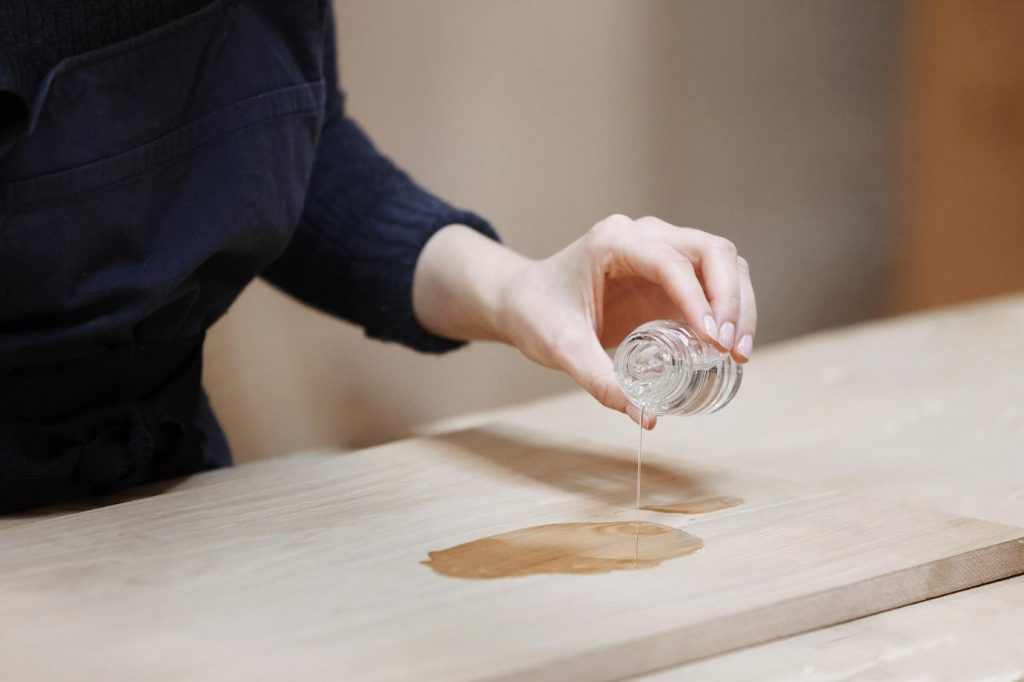
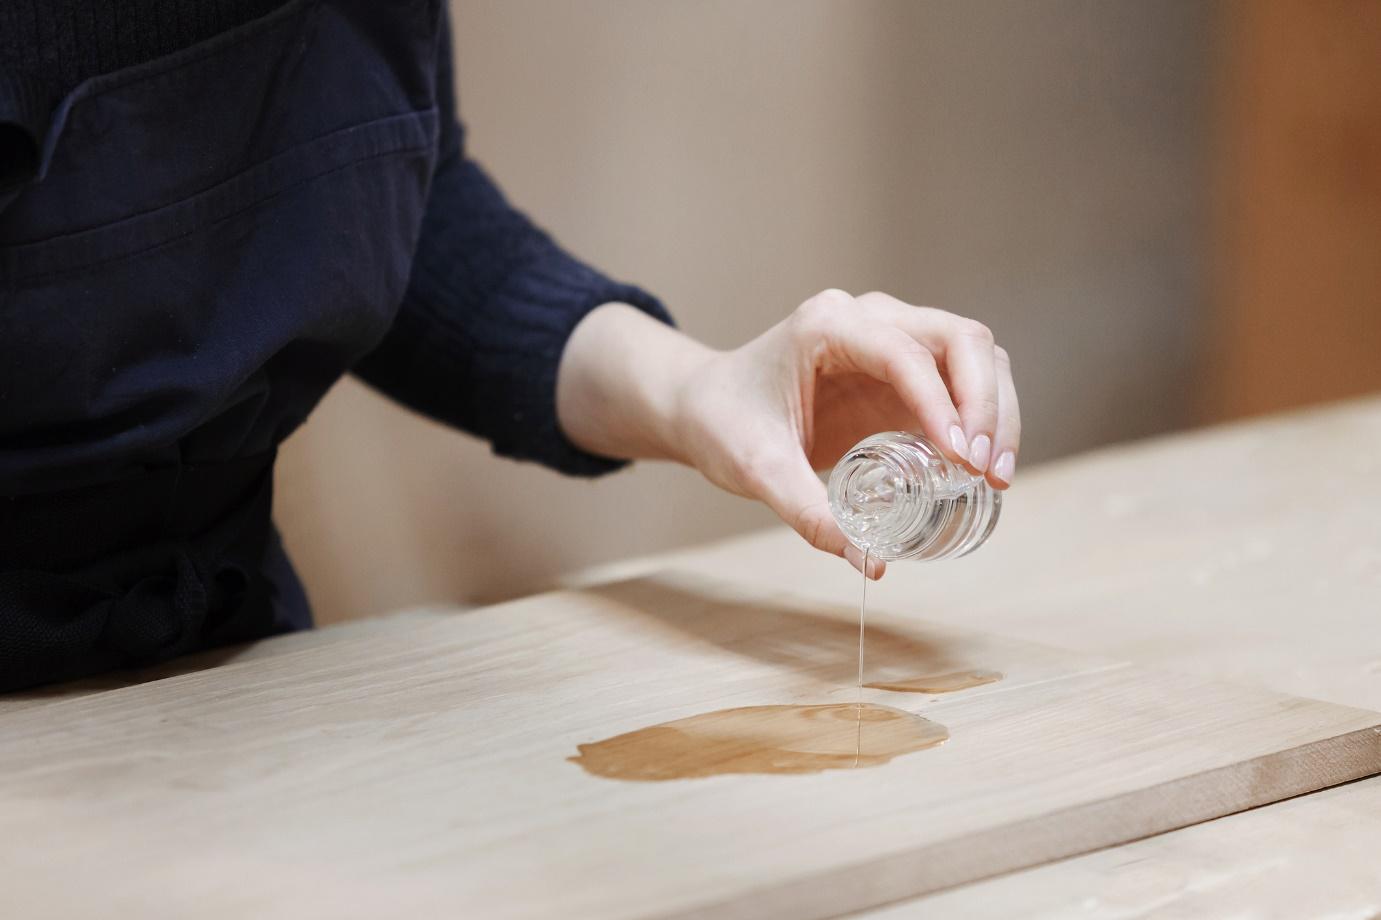
Applying shellac to plywood is a traditional way to finish your woodworking project. Made from insect-secreted resin flakes dissolved in alcohol, it’s a non-toxic finish that’s quick and easy to apply. Shellac is ideal for grained plywood or wooden furniture. The finish magnifies the grain and offers a glossy, glass-smooth finish.
Shellac is only available in two primary colors: a clear white or orange hue. Despite needing to apply several coats, it’s thin, dries quickly, and is extremely easy to work with, so you can use it in less than a day. To achieve a polished, plastic-like look, you can shellac over a painted or stained surface. When purchased in orange, shellac doesn’t work well as a stain despite its dark tint. Keep reading to learn how to apply shellac to wood or plywood.
How Do You Get the Perfect Shellac Finish?
Firstly, it’s best to ensure you’re using shellac appropriately. Despite its versatility, shellac isn’t the most durable plywood finish. It, therefore, shouldn’t be used for furniture prone to wear and tear, like dining room tables or kitchen worktops, unless you plan to wax the surface after application.
Because liquids easily damage shellac, you should avoid using it for coffee tables, as cup rings will stain the finish. Humidity and sunlight can also cause problems for shellac finishes. Prolonged exposure to either can cause the color to fade or turn white.
Applying shellac to plywood is easy, but getting the perfect finish is all about using the proper concentrate and applying it in multiple thin layers, with frequent steel wool buffing in between. Before application, test the mixture on scrap wood or an unnoticeable area of your furniture. Testing the consistency to ensure it is thin enough will promote a better result.
How to Mix Shellac: What is the Alcohol to Shellac Flakes Ratio?
You can purchase premixed shellac, the better choice for beginners, or make your mixture using shellac resin flakes and denatured alcohol. Getting the mixture right is an essential part of finishing wood with shellac. Too many flakes will produce a thicker mixture that’s hard to apply cleanly.
You’ll know if your shellac mixture is too thick if it’s sticky and difficult to apply. Ideally, shellac should be very thin so you can quickly and easily apply multiple coats to achieve a high gloss finish.
If it’s too thick, add more denatured alcohol and test the consistency on scrap wood. Continue adding denatured alcohol to the mixture until you reach your preferred consistency. Try to purchase as close to the amount you need, as leftover shellac has a short shelf life.
When mixing shellac, use the guide below to determine how thick your shellac mixture should be:
| Application Type | Best Mixture |
| A thin mixture suitable for a full finish of wood, with multiple shellac coats | 2 pounds of shellac per gallon of denatured alcohol |
| A very light sealant to apply before staining | 2 pounds of shellac per 2-3 quarts of denatured alcohol |
| A thick mixture that requires fewer coats (use caution when applying this, as it can become sticky) | 3+ pounds of shellac per gallon of denatured alcohol |
How is Shellac Applied to Plywood?
Because of the rapid evaporation of alcohol, shellac dries exceptionally quickly. This makes it easy to work with but also means you need to work fast during application. Pools and blotches can dry rapidly in thinned shellac, so you’ll need to look out for excess and wipe it immediately to prevent extra sanding work later.
Avoid applying shellac to plywood in an extremely hot or humid room. Dewaxed shellac and French polish can dry in as little as 1-2 minutes when used in a warm environment. Finishing plywood at room temperature, outdoors, or in a cool space often works best. Here’s how to apply shellac to plywood step-by-step.
- Sand the surface thoroughly
Gently sand the entire plywood surface using low-grit sandpaper (between 180-220-grit). You should sand the wood regardless of whether you’ve already stained or painted the piece. This ensures the shellac has something rough to stick to. Once sanded, use a damp, lint-free cloth to remove dust and a dry cloth to dry the surface.
- Apply shellac
You can use a paintbrush or a cotton cloth to apply shellac. Using a cloth to cover large areas, like the top, side, or front of a cabinet, and a paintbrush for the edges and corners is best. When applying shellac, dip the rag into the mixture and apply a thin layer evenly in long, smooth strokes. Shellac dries quickly, so try to wipe away pools or blotches swiftly. Use a paintbrush for the edges, avoiding brush marks as best as possible.
- Buff the surface
Because shellac is prone to pooling, you should buff the surface thoroughly once it has dried using superfine grade 0000 steel wool. Do this between coats to achieve a smooth finish that brings out the grain. Remember, the more you buff, the duller the piece can appear. For a highly glossy finish, buff minimally before applying additional coats. Clean any dust with a dry cloth.
- Apply additional coats (as required)
To achieve the perfect finish, Shellac should always be applied in multiple thin layers. Most plywood products require between 3-4 coats, but you can use more if you suspect your mixture is too thin or hasn’t achieved the desired coverage. Once your first coat is dry and buffed, repeat steps 2-3 to reapply shellac until you’re happy with the finish.
Can I Use Shellac on Plywood?
Yes, shellac is ideal for use on plywood because of the clean, smooth, grainy finish it can offer. However, because it isn’t as durable as other finishes, like varnish and polyurethane, you should avoid using a shellac finish for bathroom furniture or kitchen cabinets made from plywood. It’s best used for wall paneling, cabinets, woodwork, or hardwood flooring.
Can You Apply Shellac With A Rag?
Yes, shellac can be applied with a rag, which is the easiest way to spread the finish evenly. Using a rag makes it significantly easier to prevent blotches and brush marks. When covering a large area, like a tabletop or countertop, use a clean cloth to apply shellac in long strokes.
For corners and edges, use a paintbrush, but be careful not to leave brush marks on the surrounding areas. If you do experience pooling or streaking, these can be sanded away before applying your next coat.
How Many Coats Of Shellac Should I Use?
Shellac is best applied in several thin layers to achieve a smooth, grainy, glossy finish. Usually, between 3-4 coats of shellac are enough to produce the desired finish. You can apply more coats to cover blemishes or obtain a thicker finish, but you should avoid using more than six. Similar to lacquer finishes, shellac can start to dissolve the underlayers the more you use, so your stain or paint underneath can fade slightly after 6+ coats.
Do I need to Sand before applying for Shellac?
Yes, you should always sand the wood surface before applying shellac. Not sanding wooden furniture before applying shellac will prevent the finish from sticking correctly and can lead to a rougher, less durable finish. When applying shellac as a pre-staining sealant, you can scuff sand the entire piece with an orbital sander. If you’re using shellac as a glossy finish after painting or staining, it’s best to lightly sand all surfaces by hand to avoid damaging the paintwork beneath.
Summary: Things to Remember
- Avoid using shellac for bathroom or kitchen cabinets due to the humidity
- Don’t use shellac finishes for furniture in high sunlight areas, like sunrooms and conservatories
- The thinner the mixture, the easier it is to apply
- Don’t apply more than four coats to prevent color fading
- Buff gently for a glossier finish and rougher for a matte finish


