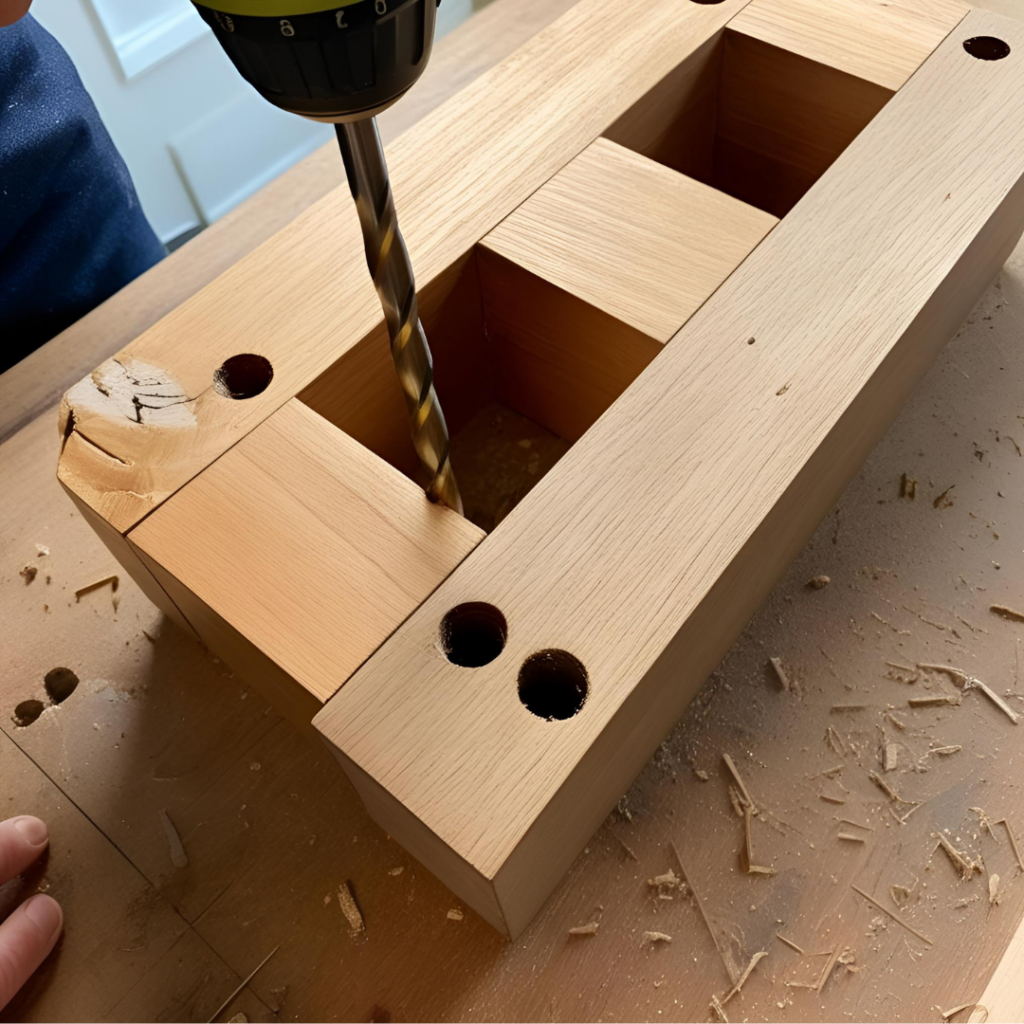
Angled holes, or pocket holes, have become a go-to method for assembling furniture. Initially, this technique was mainly used in high-end furniture where visible fastener holes were unacceptable. Today, even big manufacturers like IKEA use angled holes regularly because they create sturdy, seamless joints without compromising appearance.
If you’ve ever framed a wall using toe-nailing—where nails are driven at an angle to secure a stud to the bottom plate—you already understand the concept. The difference here is that instead of nails, screws are used, making it “toe screwing.”

Why DIYers Avoid Angled Holes (And Why They Shouldn’t)
Despite their strength and clean look, angled holes aren’t as common in DIY projects. The reason? They seem tricky to drill. Unlike standard holes, angled ones require precise positioning. Without the right tools, it’s easy to make mistakes, and each hole must be carefully clamped and aligned before drilling. This extra effort often discourages beginners.
But here’s the truth—drilling angled holes isn’t as hard as it seems. You can create professional-quality joints in minutes with a simple drilling jig and some clamps. Once you get the hang of it, you’ll wonder why you ever avoided them in the first place!
Tools You Need for Drilling Angled Holes

A drill press is the best tool for drilling angled holes for accuracy and ease. It helps prevent the drill bit from wandering, which can lead to misaligned or uneven holes. However, not everyone has a drill press, and that’s okay—you can still achieve great results with an electric hand drill.
Best Drill Bits for Angled Holes
While any drill bit can technically do the job, brad point drill bits work best. The sharp point helps center the drill bit, reducing the risk of slipping off target.
If you don’t have a brad point bit, drill a small pilot hole first—about half the diameter of the final hole. This keeps the main drill bit from shifting, ensuring a cleaner and more accurate hole.
Finding the Right Angle for Your Project
The ideal drilling angle depends on what you’re building. For most pocket holes used in furniture making, 15 degrees is standard. That’s why many commercial drilling jigs come preset at this angle.
However, some projects require different angles. Adjustable jigs allow you to set custom angles ranging from 15 degrees to 90 degrees, giving you complete flexibility for unique woodworking needs.
The Secret to Success: Using a Jig
No matter what angle you need, a jig is essential. It acts as a guide, keeping the drill bit aligned for accurate, repeatable results. There are two main types:
- Fixed-Angle Jigs – Set at 15 degrees, these are the most common and provide excellent stability.
- Adjustable Jigs – These let you choose different angles but require extra care to prevent the drill bit from shifting.
Without a jig, drilling precise angled holes is nearly impossible. Even professionals rely on them to get clean, accurate results.
How to Make Your Own Angled Hole Jig
If you’re a DIYer, you might prefer to make your own jig rather than buy one. Luckily, it’s easy to do with a few simple materials.
Steps to Build a DIY Angled Hole Jig:
- Start with a solid wood block – Ensure the sides and ends are perfectly square.
- Drill a hole near one end of the block, keeping at least ¼” from the edge.
- Cut the block at the desired angle (15 degrees is standard).
- Attach small side supports flush with the angled edge—these act as clamping surfaces.
A homemade jig won’t last as long as a store-bought one (since it lacks a steel bushing to protect against wear), but it’s a great cost-effective solution for smaller projects.
Expert-Recommended Tools for Drilling Angled Holes
To make drilling angled holes easier and more precise, woodworking experts recommend the following must-have tools available on Amazon:
🔹 Kreg Pocket-Hole Jig 320 – One of the best pocket-hole jigs for DIYers, designed for easy, accurate angled drilling.
🔹 DEWALT Cordless Drill/Driver Kit – A reliable, high-powered drill that’s great for angled holes and general woodworking.
🔹 Milescraft PocketJig200 – A budget-friendly jig with adjustable angles for custom projects.
🔹 Bosch Brad Point Drill Bit Set – Sharp and precise drill bits that reduce wandering, perfect for clean holes.
🔹 IRWIN Quick-Grip Clamps – Essential for keeping your jig and workpiece steady while drilling.
These expert-recommended tools make angled hole drilling faster, easier, and more professional. Investing in the right gear ensures stronger joints and a frustration-free experience.
Additional Tips for Drilling Angled Holes Like a Pro
To ensure your angled holes are strong and clean, keep these extra tips in mind:
✅ Clamp everything down – This prevents the workpiece from shifting while drilling.
✅ Drill slowly and steadily – Rushing can cause the drill bit to grab the wood unevenly, creating a rough hole.
✅ Use sharp drill bits – Dull bits increase tear-out and make it harder to get clean cuts.
✅ Check your angles before drilling – Measure twice, drill once!
✅ Use wood glue for added strength – Combine screws with glue for an even sturdier joint.
Final Thoughts
Drilling angled holes might seem complicated at first, but once you master the basics, it becomes an essential skill for woodworking and DIY furniture projects. With the right tools—whether a drill press or a hand drill—and a simple jig, you can create strong, professional-quality joints that look seamless.
Now that you know how easy it is, there’s no reason to avoid angled holes in your next project. Give it a try and see the difference it makes!


