Protecting your handmade wood furniture is just as important as crafting it. A single hot dish or a cold drink can leave behind lasting damage like water rings or burn marks. Sure, refinishing a table is possible—but who wants an extra project? That’s where coasters and trivets come in handy. In this extended guide, we’ll dive deeper into multiple ways to make wooden coasters—from rustic live-edge styles to polished resin-infused creations—and how to finish and protect them properly.
Why Use Wood for Coasters?
Wooden coasters aren’t just functional—they add warmth and style to any setting. They complement a wide range of décor, from farmhouse rustic to modern minimalist. Whether you’re crafting them to match existing furniture or to gift someone a custom piece, wooden coasters offer endless design potential.
They also allow creative freedom—carving, staining, engraving, or combining wood types gives you control over the final look. Unlike plastic or cork, finished wood handles heat, moisture, and wear with elegance.
Choosing the right wood species plays a huge role in the durability and appearance of your coasters. Some woods are too soft, while others may split easily or resist finish absorption.
Top Wood Choices:
Walnut: Rich color, easy to finish, beautiful grain
Cherry: Ages beautifully, medium hardness
Maple: Extremely durable, smooth texture
Oak: Prominent grain and high strength
Padauk/Purpleheart: Exotic colors for contrast
Avoid woods like pine, which are too soft and prone to denting.
Workshop Setup and Safety Tips for Making Coasters
Crafting coasters might seem simple, but having a smart, safe workspace makes the experience smoother and your results more consistent. Whether you’re working on a fold-out bench in your garage or a full-blown woodworking studio, it pays to deliberate how your space is arranged.
Start by clearing a large, flat surface for cutting and assembly. Even a kitchen table can work with a protective mat and some clamps. For those with more dedicated setups, a heavy bench with bench dogs or a quick-release vise can make tasks like sanding or chiseling more secure. Keep your most-used hand tools—like a square, pencil, sanding block, and small clamps—within arm’s reach. A magnetic strip or pegboard can help organize without cluttering your surface.
When it comes to power tools, safety starts with stability. Make sure your router, bandsaw, or drill press is firmly anchored and well-lit. Shadows can hide hazards. Natural daylight is best, but LED shop lights mounted over your bench work wonders for late-night builds or dim basements. Consider a small, portable dust collector or even a box fan with a furnace filter taped to the back for a DIY air cleaner. Wood dust—especially from MDF—can linger and irritate your lungs long after you’re done working.
Divide your workshop into zones: a cutting area, sanding station, gluing zone, and finishing corner. Each should have its own drop cloth or waste bin. For example, finishing the application benefits from a clean surface free of sawdust. Line your finishing station with parchment paper or an old silicone baking mat. Elevate your coasters on painter’s triangles or bottle caps to prevent sticking while drying.
Protect yourself with goggles, a dust mask (or better, a respirator), and ear protection if you’re using noisy machines. If you’re mixing epoxy or using a heat gun, wear gloves and work in a space with good ventilation. Store a fire extinguisher nearby, especially when working with flammable finishes or using open flame to pop bubbles in resin. Keep cords tidy and avoid working near water sources unless you’ve got GFCI outlets.
Lastly, add a little comfort: a stool with good back support, a rubber mat for tired feet, or a Bluetooth speaker for your favorite woodworking podcast. A thoughtful workspace doesn’t just keep you safe—it helps you enjoy the process, which ultimately makes your coasters turn out better.
Cutting Techniques for Consistent Shapes
Precision in cutting leads to consistent coasters, especially if you’re making sets. Here are popular tools and techniques:
For Straight Cuts:
Use a table saw with a sled for perfect squares
Set a stop block for repeatable cuts
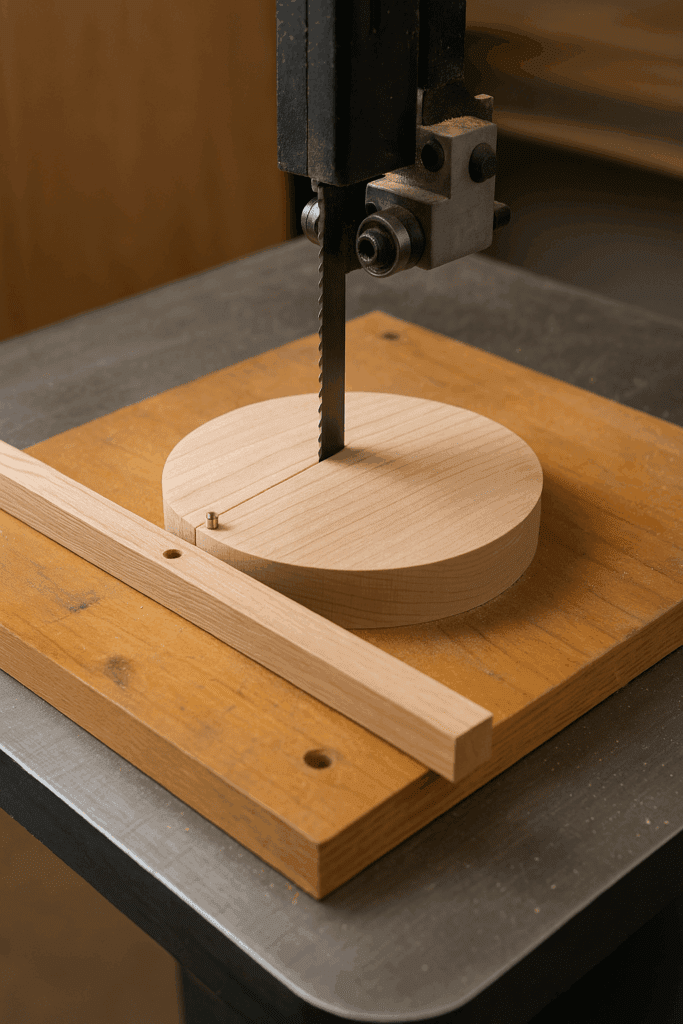
For Round Coasters:
Bandsaws with circle-cutting jigs
Hole saws (for small batches)
CNC routers (for bulk production)
Always mark your center lines and secure the material properly.
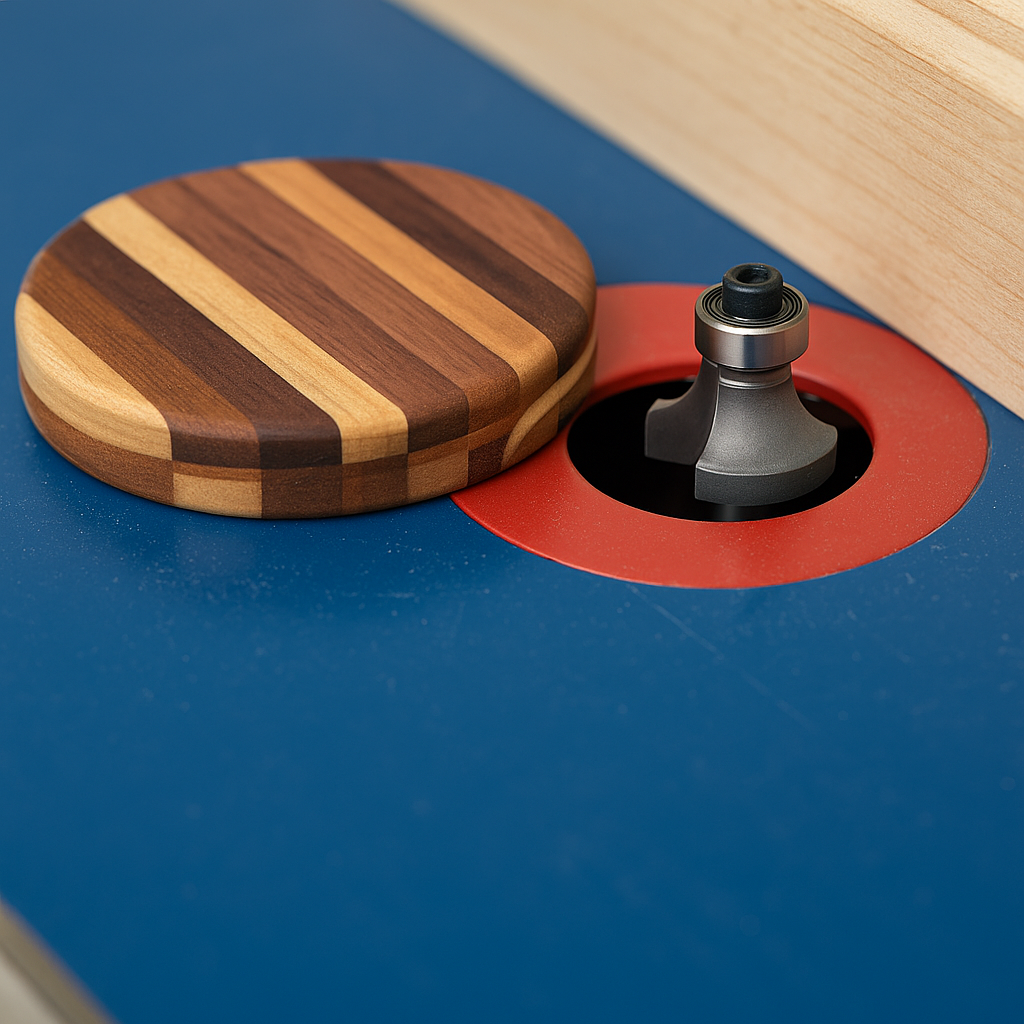
Sanding Tips for a Smooth, Professional Finish
After cutting, your coasters need thorough sanding. Here’s a breakdown:
Tools:
Belt sander for flattening faces
Random orbital sander for final smoothing
Sanding block for edges
Recommended Grits:
Start at 80–100 grit (shaping)
Move to 150–180 grit (smoothing)
Finish at 220–320 grit before applying the finish
Between coats of varnish or polyurethane, use 320–400 grit for leveling.
Problem: Bark falls off live-edge coasters Fix: Use a deep-pour epoxy to seal the bark before slicing or reinforce after.
Problem: Finish stays tacky Fix: Ensure drying environment isn’t too humid or cold; thin coats are key.
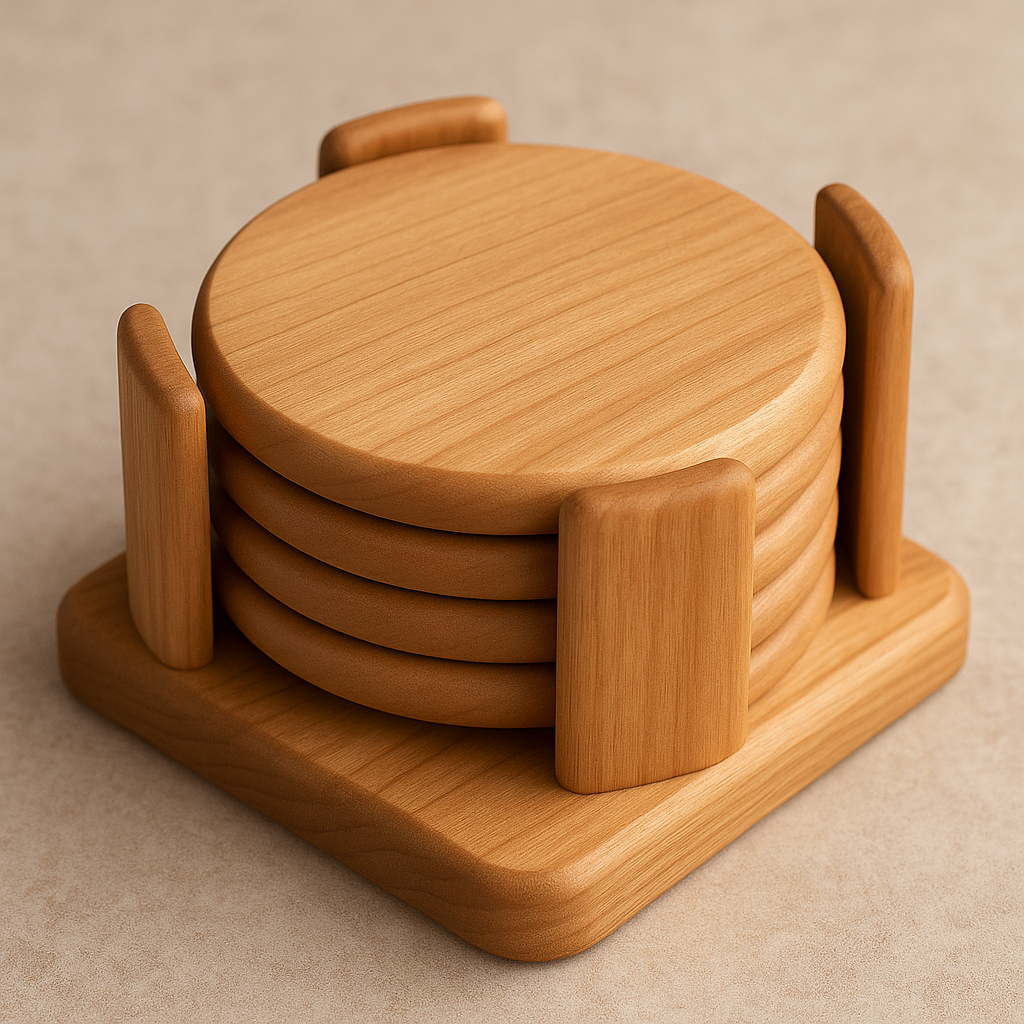
Final Thoughts
From rustic live-edge designs to elegant resin mosaics, wooden coasters are a satisfying DIY project for woodworkers of all skill levels. They offer style, protection, and functionality—and make great gifts, too. With all the design possibilities and market appeal, they’re also a smart option for turning woodworking into profit.
Plywood H-Clips: What They Are & Why You Need Them by Admin March 13, 2025 Installing Softwood plywood is commonly used for walls, roofs, and floors in home construction. In all these areas, the plywood must bridge gaps between support beams.…
How to Finish Plywood by Admin August 3, 2025 Finish Finishing plywood can transform budget-friendly, rough sheets into professional-looking furniture, cabinets, and home improvement projects. This ultimate guide walks you through every step—sanding, sealing, staining,…
How to Apply a Shellac Finish to Plywood by Amy Reed September 16, 2025 DIY Applying shellac to plywood is a traditional way to finish a woodworking project. Made from insect-secreted resin flakes dissolved in alcohol, it’s a non-toxic finish…