Cleaning old unfinished wood floors can feel intimidating—after all, they’re raw, porous, and prone to staining or warping. But the good news is: with the right technique, you can clean old unfinished wood floors safely and restore their natural beauty without sanding or sealing.
In this detailed guide, I’ll show you how I’ve brought decades-old floors back to life using gentle tools, mineral spirits, and natural oils. We’ll also talk about what not to do and which Amazon tools I’ve found most helpful.
Why You Need a Special Approach to Clean Old Unfinished Wood Floors
Cleaning old unfinished wood floors is not like cleaning your modern, sealed hardwood. These older floors:
Absorb water quickly
Shows wear easily
Can trap dirt deep in the grain
They are vulnerable to warping and staining
Using steam mops or harsh chemicals on them can cause permanent damage. Instead, you need a process that respects the wood’s natural state.
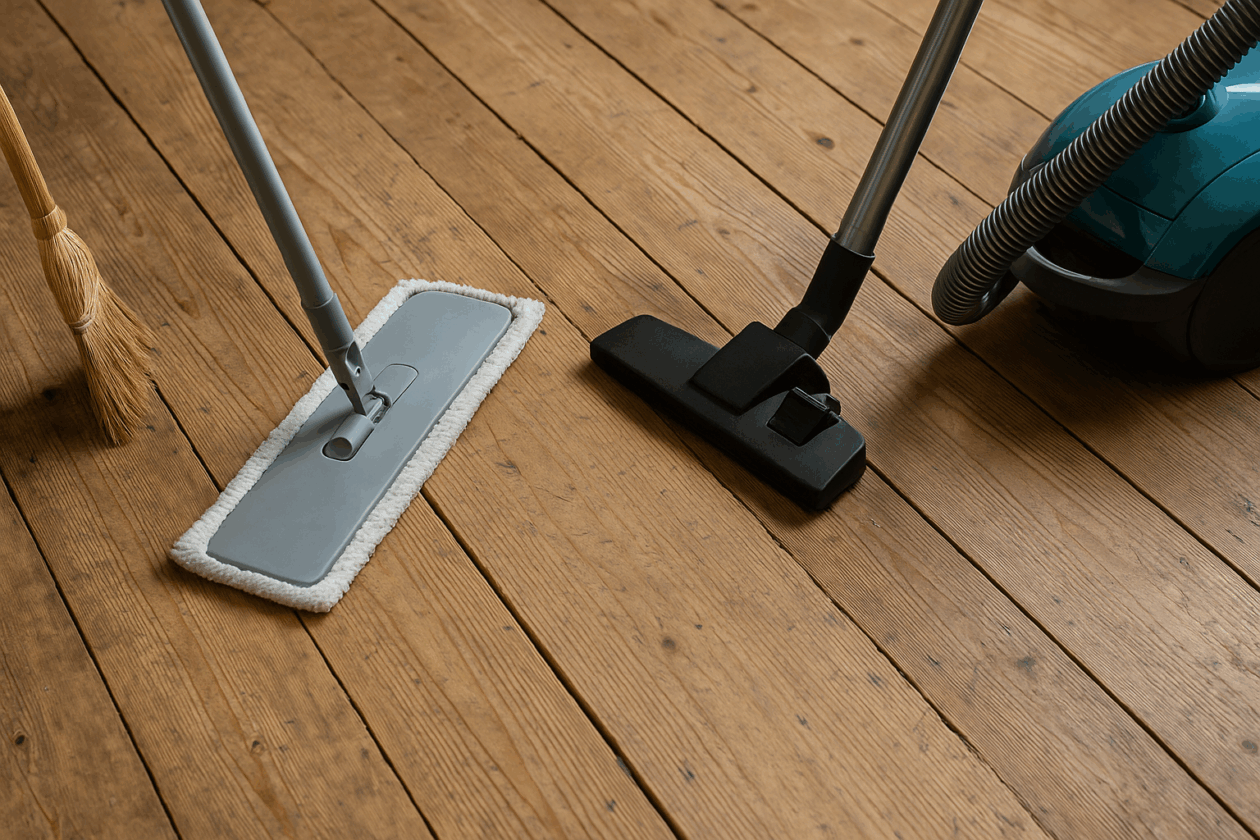
Step 1: Sweep and Vacuum Carefully
Start with a thorough sweep using a soft-bristle broom, then follow up with a canister vacuum that has a hard floor setting (no beater bar!).
Optional: 1 tsp white vinegar for mildew (avoid on softwood)
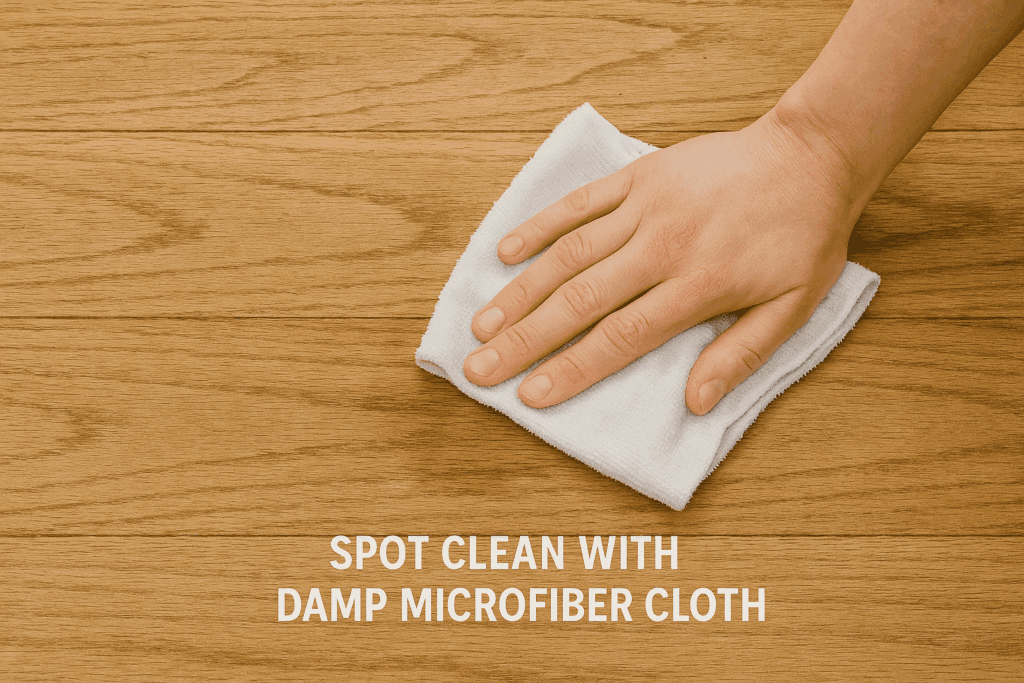
Use a microfiber cloth—wring it out nearly dry—and gently wipe dirty spots. Immediately follow up with a dry towel.
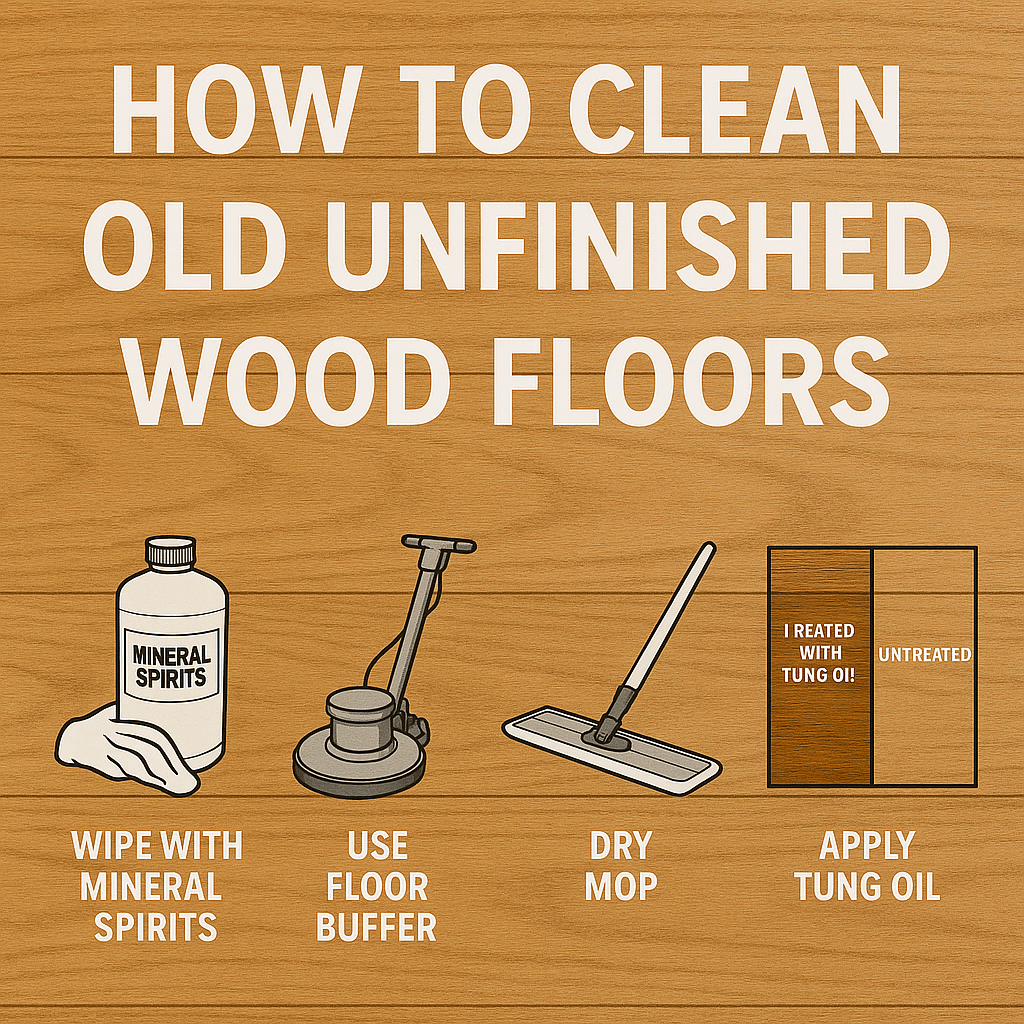
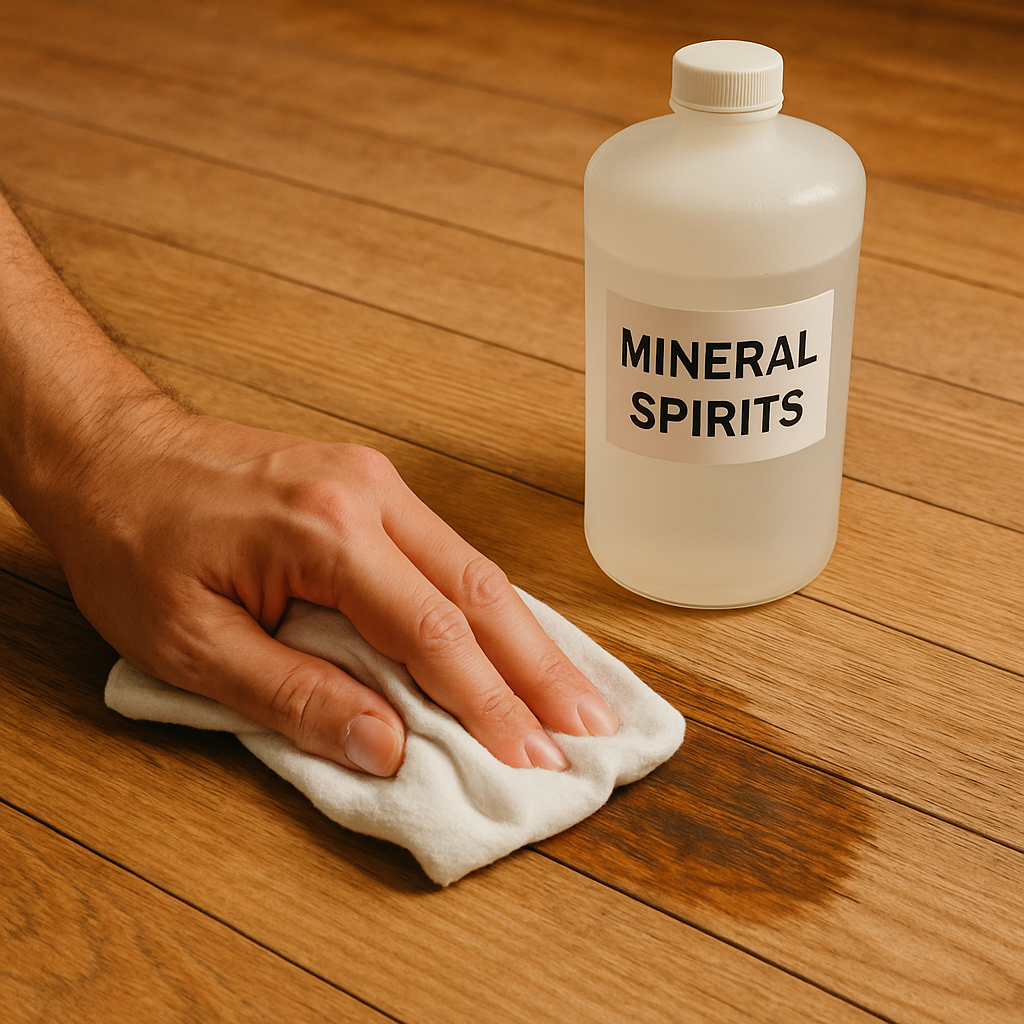
Step 4: Deep Clean with Odorless Mineral Spirits
If your old floor has embedded grime or wax, odorless mineral spirits are a safe cleaner. They dissolve grease and remove trapped dirt without soaking the wood.
Old unfinished wood floors often become brittle or dull. Applying a thin layer of natural oil, like tung oil, revives the grain and offers mild protection.
Rub in with a lint-free cloth and buff dry. Avoid wax unless you plan to regularly reapply.
Restoring Old Unfinished Wood Floors Without Refinishing
Sometimes, even after a deep clean, old unfinished wood floors can still look dull, dry, or uneven in color. That doesn’t mean it’s time to sand or refinish—there are other ways to bring them back to life without altering their character. One of my favorite tricks is applying a wood rejuvenating oil. These products are specially designed to soak into dry, thirsty wood and highlight the natural grain without leaving a shiny or plasticky finish.
Before applying, make sure the floor is immaculate and dry. Work in sections, using a lint-free cloth to apply the oil in the direction of the wood grain. Let it sit for 15–20 minutes, then buff off the excess with a dry towel. You’ll instantly see the wood darken slightly, giving it a rich, nourished look. For a product that’s ideal for old unfinished wood floors, I recommend 👉 Watco Rejuvenating Oil, which I’ve used on century-old pine boards with great results.
You can also try a tinted oil to even out patchy tones or blend in old stains. Just be careful not to use anything with a built-in sealer or polyurethane if you want to keep the floor unfinished. The goal here is subtle restoration, not dramatic transformation. When done right, this approach enhances what’s already there and adds depth to your floor without changing its rustic appeal. It’s especially great in living rooms, hallways, or anywhere that natural patina matters more than perfection.
FAQs About Cleaning Old Unfinished Wood Floors
Can I use a steam mop?
Never! It will force moisture deep into the wood and may cause swelling.
Are vinegar or bleach safe?
Vinegar is okay in small doses; bleach is too harsh and should be avoided.
Can I use furniture polish?
No. It leaves an oily residue and can attract dust and grit.
Maintenance Tips After Cleaning Old Unfinished Wood Floors
Use mats at every entry point
Enforce a no-shoes rule
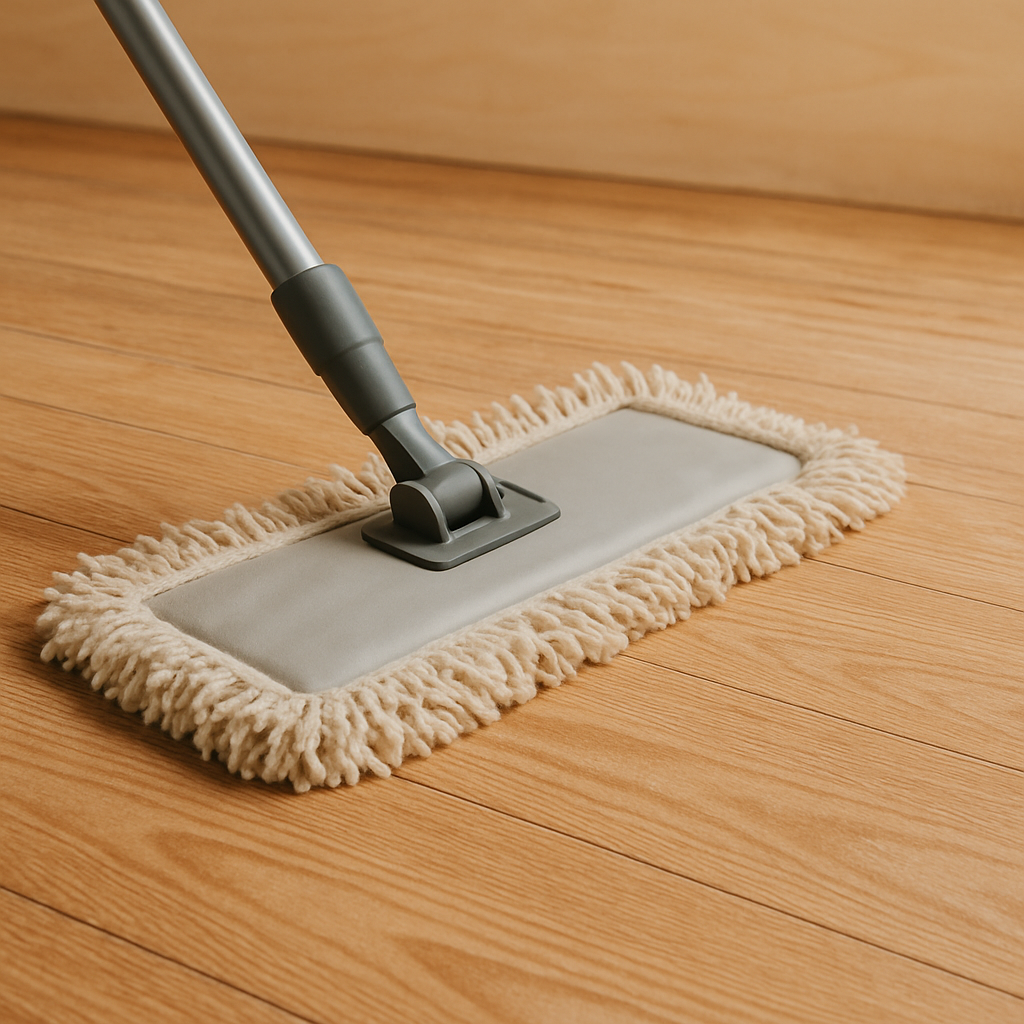
Sweep or dry mop weekly
Use felt pads under furniture
Wipe up spills immediately
But what if those floors haven’t been properly cared for? Sadly, many hardwood floors have been covered by either carpeting or linoleum, often glued down to the hardwood itself. But even without covering the wood, many hardwood floors have been ignored, not properly cleaned over the years of use. The dirt that gets ground into these floors can dull the finish and discolor the wood, especially in the case of open-grained woods, like oak.
You can reapply tung oil once or twice a year to preserve the appearance.
Seasonal Maintenance Routine for Old Unfinished Wood Floors
To keep old unfinished wood floors looking their best all year round, it helps to follow a seasonal cleaning and care routine. While weekly sweeping and spot cleaning handle the basics, your floors need a little extra love as the weather shifts. Winter tends to bring in salt and grit from boots, while summer can introduce humidity that makes wood swell. By planning, you can prevent damage and preserve your investment.
In the fall and spring, take time to deep clean using mineral spirits and reapply a light coat of natural tung oil or rejuvenating oil. This not only nourishes the wood but also provides mild resistance against grime and seasonal moisture. During these transitional months, I also recommend pulling out heavy furniture and cleaning along baseboards and corners where dust collects.
In winter, use absorbent entry mats and encourage a no-shoes rule to protect the floor from road salt and water. Be extra cautious with space heaters and radiators—sudden temperature shifts can cause cracks in old, dry wood. Watch for signs of swelling in summer, such as boards cupping or joints tightening. A dehumidifier can make a huge difference in keeping your wood stable.
If you notice any creaky spots or boards that shift, avoid driving nails or screws unless necessary. Instead, place area rugs over the noisy sections or add soft rubber furniture pads to reduce impact. A little awareness goes a long way—especially with unfinished wood, which tells the story of its age and use. By sticking to this seasonal schedule, you won’t just clean old unfinished wood floors—you’ll preserve them for generations to come.
How to Restore Old Hardware by Admin March 20, 2025 Tools Over time, the hardware on your doors, windows, and cabinets will naturally wear out, corrode, or lose its shine. This often leads to people replacing…
Sandblasting Wood: How to Clean & Restore by Admin May 17, 2025 Finish There’s something satisfying about bringing old wood back to life. Whether it's barn siding, an antique door, or a weathered cedar plank, wood has a…
🪵 How to Clean a Wooden Cutting Board Naturally by Admin November 12, 2025 Finish If you’ve ever wondered how to clean a wooden cutting board the right way, this simple step-by-step guide will keep it safe and beautiful for…