Carpenter bees are not as well-known as honeybees, but they are closely related. There are about 35 different species found throughout the United States and Canada, with most living in the southern and eastern regions. These bees come in different sizes, but the larger ones, growing up to an inch long, are the most recognizable.
Carpenter Bees and Their Name
Carpenter bees get their name from their habit of drilling holes into dead wood to create nests. Unlike termites, they don’t eat wood—they simply use it as a shelter. Like other bees, they play an important role in pollination.
Carpenter Bee Nests and Traps
Unlike most bees that build communal hives in natural cavities like tree hollows or plant stems, carpenter bees carve tunnels in decaying wood for nesting. Female carpenter bees lay their eggs in these tunnels, and both males and females use them for shelter during winter.
Male carpenter bees are known for their aggressive behavior in guarding their nests, but they do not sting. Unlike honeybees, carpenter bees do not produce honey.
The Impact of Carpenter Bees
For people, carpenter bees can be a nuisance because they may sting and tunnel into wooden structures, potentially causing damage over time. A single bee burrowing into wood may not cause significant harm, but if many bees create nests in the same area, the damage can add up. If left unchecked, this can weaken wooden structures, making it important to address the issue early.
Additional Concerns with Carpenter Bees
The damage caused by carpenter bees isn’t the only issue to worry about. Woodpeckers are attracted to their nests and larvae, often making the problem worse by enlarging the original holes to reach their food. Another concern is water damage—when rain seeps into the exposed wood fibers left behind by carpenter bee tunnels, it creates the perfect conditions for fungi to grow. This fungal growth, sometimes mistaken for “dry rot,” can further weaken the wood over time.
Preventing Carpenter Bee Damage
One way to protect wooden structures is by painting or staining the wood, as carpenter bees typically avoid these surfaces. However, they may still burrow into painted wood if they have no other nesting options. Because of this, painting alone isn’t a foolproof solution—additional measures, like using traps, may be necessary to prevent serious damage.
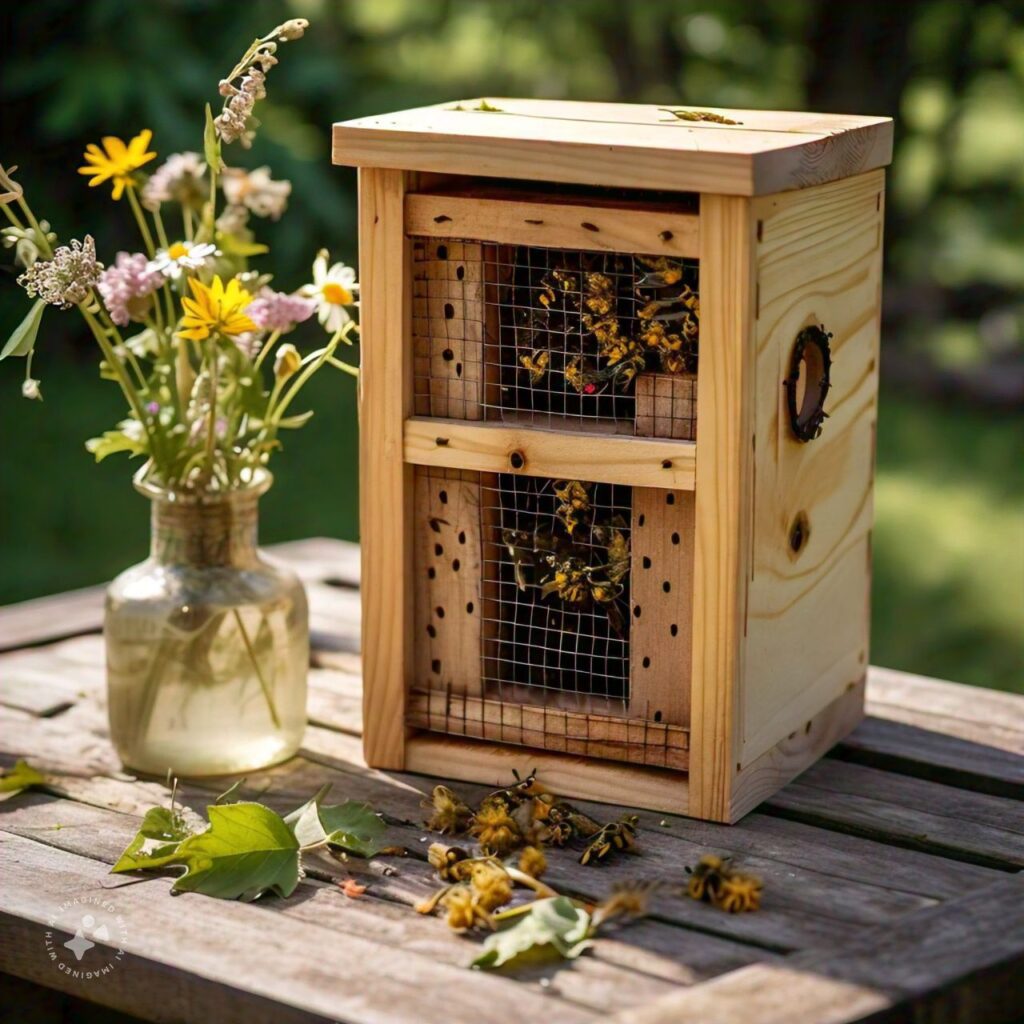
Carpenter bee traps are an easy and effective way to manage these insects. Depending on the homeowner’s preference, the trap can be used to either kill or relocate the bees. Some bees may die within hours, while others can survive for up to two weeks inside the trap. This makes it possible to catch multiple bees before releasing them into a new location, allowing them to continue their role as pollinators while keeping homes safe from damage.
How a Carpenter Bee Trap Works
A carpenter bee trap functions similarly to a fish trap. Its opening is easy to enter, attracting bees inside. However, they struggle to find their way back out once they are inside. This design makes the trap highly effective for capturing multiple bees simultaneously.
How to Make a Carpenter Bee Trap
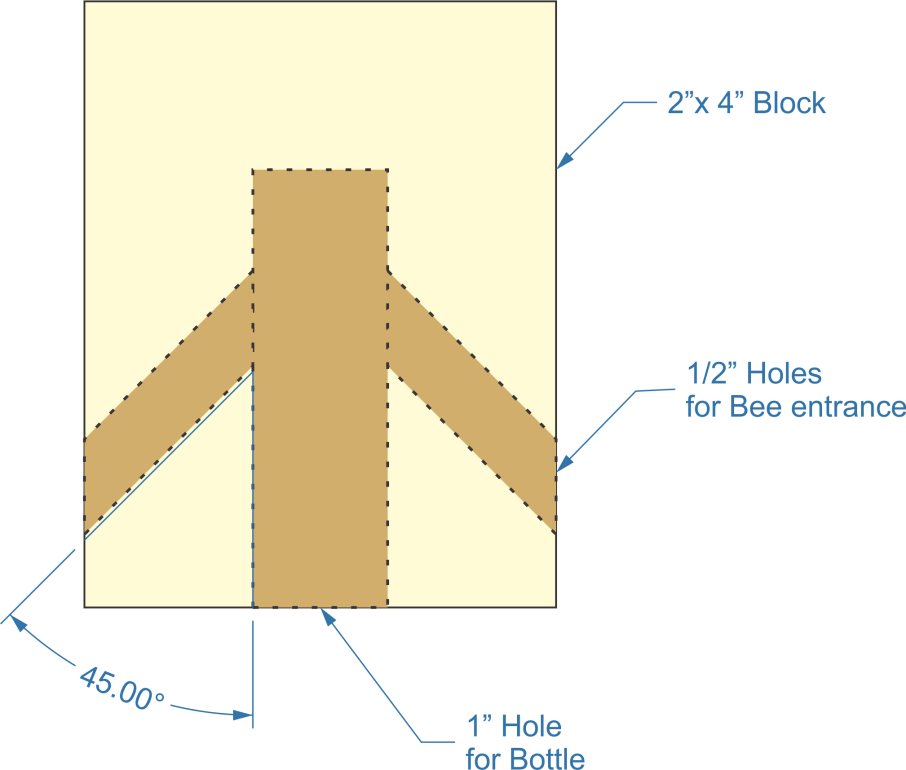
A simple carpenter bee trap can be built using a block of scrap wood—a 2”x 4” or a 4”x 4”—along with a plastic soda bottle or a glass jar. The lid of the bottle or jar is essential, as it helps attach the container to the wooden block, creating a secure holding area for the trapped bees.
The wooden block is the entrance, while the clear container traps the bees inside. Since bees are naturally drawn to light, they move toward the brighter center of the trap. However, inside the transparent bottle or jar, they struggle to find the exit, keeping them securely trapped.
When selecting materials like scrap wood, plastic bottles or jars, drill bits, masking tape, and vices on Amazon, experts typically consider the following factors:
1. Scrap Wood (2”x 4” or 4”x 4”, Cut to 4”-6” in Length)
Why? A secure grip ensures safety and precision while drilling.
Practical materials for building long-lasting carpenter bee traps.
Step-by-Step Instructions
Prepare the Wood Block
Cut the scrap wood into uniform 4” to 6” pieces.
Mark a 1” spade drill bit with masking tape about ¾ of the block’s length. This will act as a depth guide.
Drill the Center Hole
Secure the wood block in a bench vice or drill press.
Drill a 1” hole into the center of one end of the block, stopping at the masking tape mark.
Create Entry Holes
Reposition the block so that the drilled hole is horizontal.
Using a 1/8” drill bit, start a hole on the side of the block.
Angle the hole at about 45° to connect with the center hole.
Repeat on the opposite side, making a mirror-image entry hole.
Ensure that no wood chips are blocking the passage.
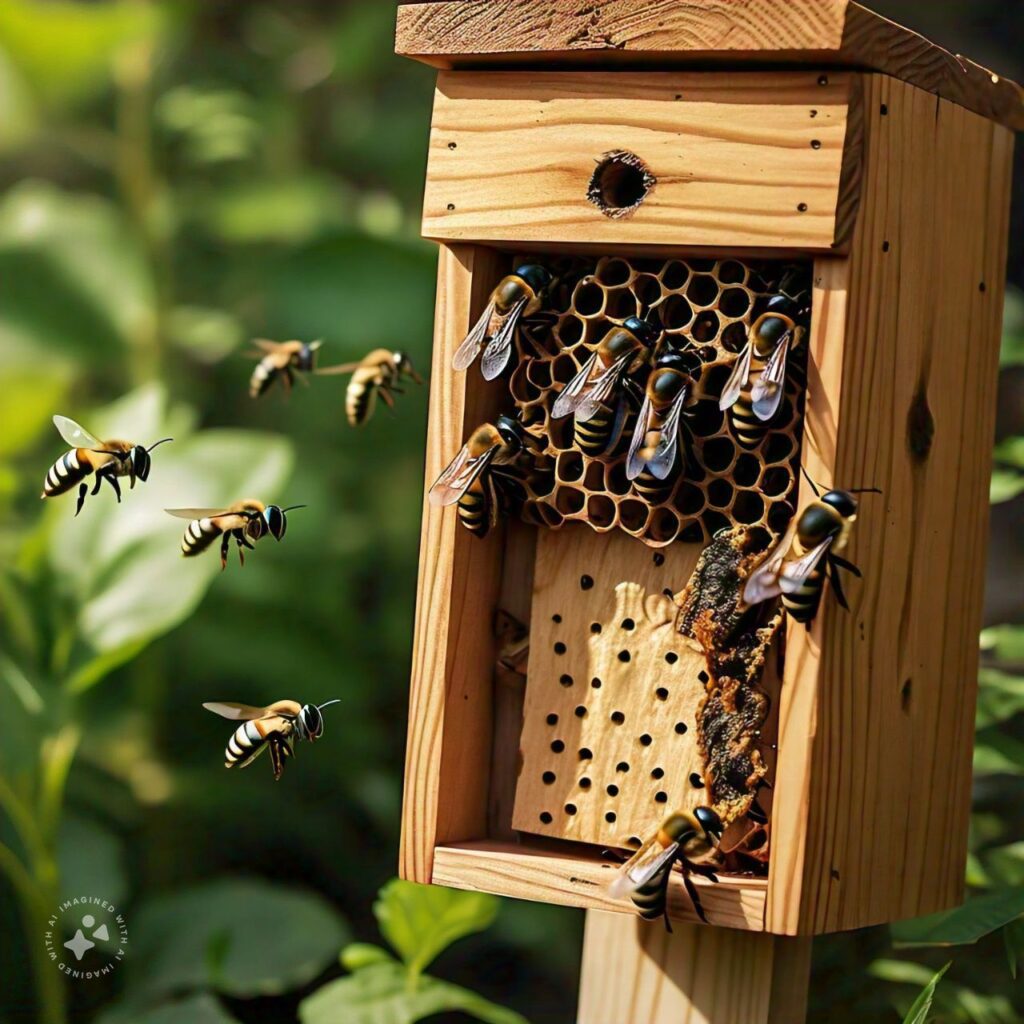
Once complete, the trap can be mounted in areas with high carpenter bee activity. It effectively captures multiple bees while preventing further damage to wooden structures.
How to Make Barn Quilts by Admin June 3, 2025 DIY Walk through rural America and you’ll start noticing a charming trend on barns, sheds, and even garages—large, colorful quilt block patterns painted right onto the…
How to Make Cornhole Boards by Admin March 25, 2025 DIY I’ve built a few cornhole boards over the years — mostly for family barbecues and neighborhood game nights. It’s one of those backyard projects that’s…