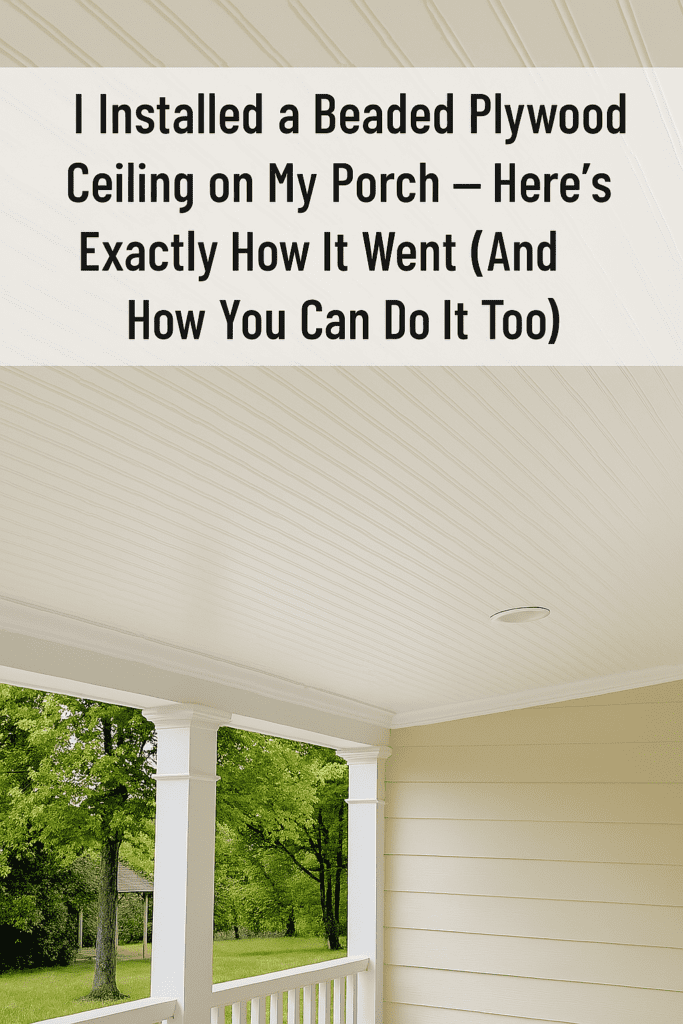
One Saturday morning, I was drinking coffee on our back porch when I looked up and finally admitted it—our ceiling looked awful. It was old drywall, cracked in spots, and a stain shaped like Florida spread from one corner. I wanted something that actually looked intentional. Cozy. Finished.
I looked into all kinds of options—tongue-and-groove boards, PVC beadboard, even reclaimed barn wood. They were either too expensive or too fussy to install. Then I stumbled across beaded plywood panels at the local lumber yard. They had just enough character, were light enough to lift solo, and best of all, were cheap.
Here’s exactly how I installed a beaded plywood ceiling on our porch. I’ll walk through every step, the tools I used, the mistakes I made, and whether I’d do it again. If you’re handy and have a long weekend, this is a very doable DIY.
What Is Beaded Plywood?
Beaded plywood comes in 4×8-foot panels and has grooves (or “beads”) milled into the surface every few inches. It mimics the look of beadboard or tongue-and-groove paneling but is way faster to install. It’s often used on porch ceilings, laundry rooms, or mudrooms to add a touch of texture and cottage charm.
You can find it in 1/4″ or 3/8″ thickness. I used 1/4″ because it’s lightweight and I was installing over an existing ceiling.
Tools & Materials I Used
Here’s everything I used to install the ceiling. Some I had already, some I bought just for this project:
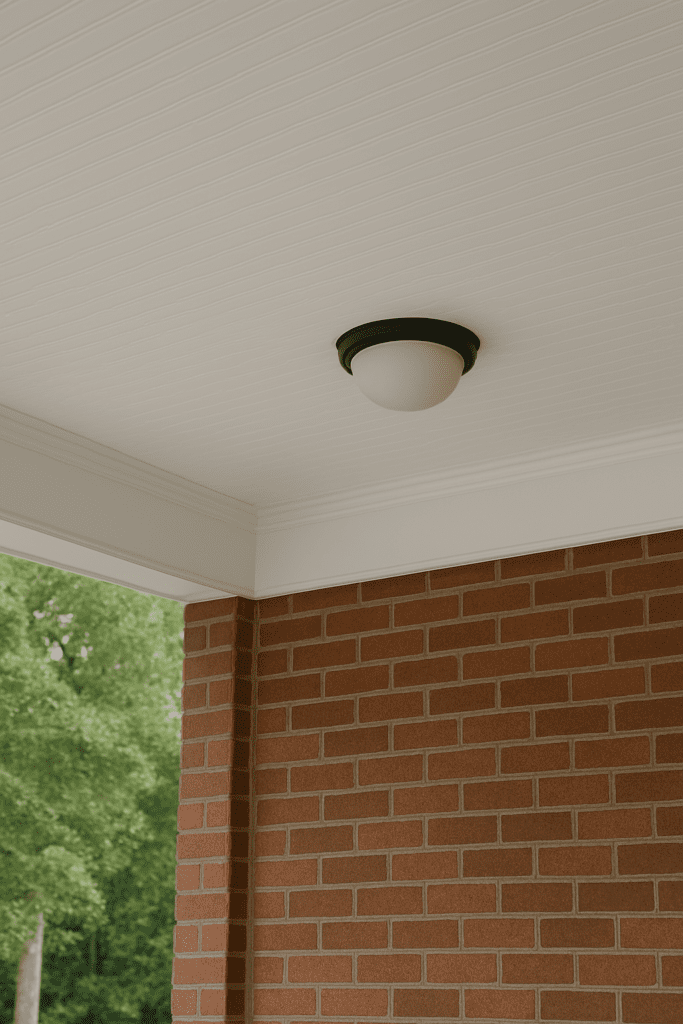
First, I removed the old light fixture and gave the ceiling a once-over. I scraped off any peeling paint and wiped it down with a damp rag. Our porch has a roof but is open on two sides, so I needed to make sure the surface was clean and dry before I glued anything.
I used a stud finder to locate the joists above the drywall. Then I snapped chalk lines across the ceiling so I’d know where to drive my nails. You do not want to miss the joists — the panels will sag over time.
Step 2: Cut the First Panel
I measured the distance from the wall to the center of the nearest joist, marked the panel, and cut it with my circular saw. The beaded pattern runs along the 8-foot length of the panel, so keep that in mind when you’re laying things out.
Pro tip: Sand any rough edges. Splinters overhead are no joke.
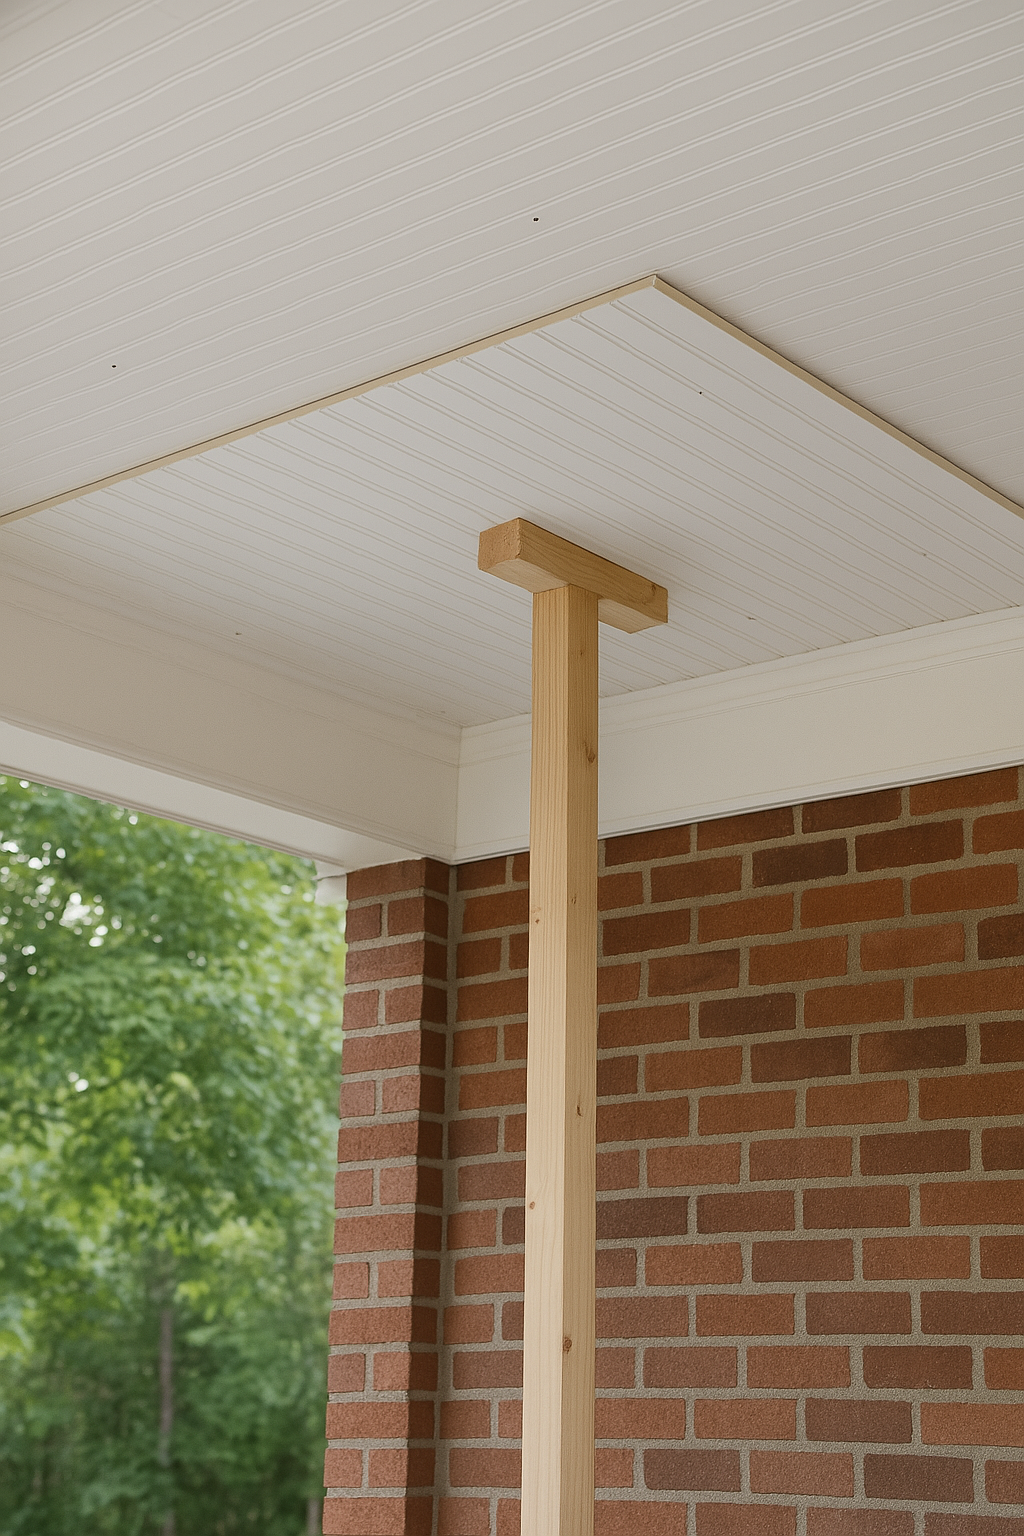
Step 3: Make DIY T-Braces (These Saved Me)
I was working solo, so I made two T-braces out of scrap 2x4s. Just a vertical post about the height of the ceiling, and a 3-foot crossbar screwed across the top. These held the panels in place while I glued and nailed them.
If you don’t make these, you’ll either need a helper or some serious arm strength.
I ran beads of construction adhesive on the back of the first panel, lifted it into place with the T-braces, and adjusted it so the grooves lined up parallel to the wall.
Then I used my brad nailer to tack it in place along the joists. I nailed every 6–8 inches. The adhesive does most of the holding, but the nails keep things tight while it sets.
Each panel went up the same way. I staggered the seams for a more natural look.
Step 5: Fill Gaps, Caulk, and Paint
Once all the panels were up, I went back and filled the nail holes with wood filler. I also caulked the seams between panels and where they met the walls.
Then I painted everything with two coats of satin white exterior paint. The grooves in the beaded plywood looked crisp and clean, and the white brightened up the entire space.
Step 6: Add Crown Molding (Optional But Worth It)
To finish the look, I installed PVC crown molding around the perimeter. It covered any small gaps between the panels and the walls and gave everything a polished feel. I used a miter box and handsaw to cut the corners, then nailed it in place and caulked the joints.
If you want a clean, professional-looking ceiling — do this step.
Final Thoughts: Was It Worth It?
Absolutely. The whole project took me about a day and a half, start to finish. It completely transformed our porch, made the space feel finished, and only cost around $300 all-in.
Would I do it again? Yes — but I’d prime and paint the panels before installing them. Painting overhead is a pain.
If you’re on the fence, go for it. Beaded plywood is an affordable, beginner-friendly way to upgrade any ceiling — porch, sunroom, or even indoors.
Related Posts:
How to Install Plywood Flooring Over Concrete Guide by Admin July 1, 2025 Installing If your home is built on a concrete slab and you’re dreaming of installing real hardwood floors, you’ll need a sturdy plywood subfloor in place…
How to Install Shiplap Walls by Admin June 2, 2025 Installing Shiplap has exploded in popularity thanks to its timeless look and farmhouse charm. Whether aiming for rustic warmth or clean modern lines, installing shiplap walls…


")


")