This post contains affiliate links. If you buy through them, we may earn a small commission at no extra cost to you.
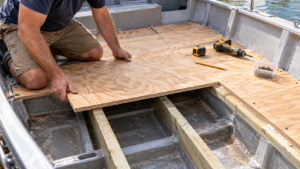
To seal marine plywood with epoxy, put at least two thin coats of unthinned marine epoxy on every face and edge. Use three coats if you plan to sand before painting. Roll each coat on, smooth it with a foam brush, and put the next coat on while the last one is still tacky. Then protect the cured epoxy from sunlight with paint or a UV-filtering varnish.
Marine plywood’s glue is made to survive water, but the wood veneers themselves aren’t treated against rot. The epoxy is what keeps water out of the wood. If you’re still picking a panel, start with our marine grade plywood guide.
Quick Answer
Coats: 2 minimum, 3 if you’ll sand, up to 6 for the most moisture protection (about 20 mils)
Epoxy: a marine epoxy like West System 105 resin with 207 hardener for clear finishes, or 205/206 hardener under paint
Never: thin the epoxy, or leave it exposed to the sun without a topcoat
Best timing: coat when the temperature is steady or falling, and do all the coats in one day
One 4×8 sheet, both faces, 3 coats: buy two WEST SYSTEM Group A sets
How Many Coats of Epoxy on Marine Plywood: Chart
Coats
What you get
Typical use
2
The minimum for a real moisture barrier
Dry-storage builds, interior boat parts, outdoor furniture under cover
3
Enough thickness to sand without cutting through to bare wood
Anything you’ll paint or varnish, like decks, hatches and seats
4–6
More moisture protection with each coat, topping out around 6 coats (about 20 mils)
Cabin soles, transom faces, parts that stay wet for long periods
West System sets the thresholds in the left column. The “typical use” column is our general guidance, not a manufacturer rule.
Cost difference to know: a third coat on one sheet uses about half a Group A set. If you sand through a two-coat job, recoating costs you an extra day plus the epoxy.
Which Epoxy Hardener to Use
Hardener (with 105 resin)
Mix ratio
Lowest cure temp
Working time, thin film at about 72°F
Best for
205 Fast
5:1
40°F
60–70 min
Cool weather, under paint (not made for clear coating)
206 Slow
5:1
60°F
90–110 min
Warm days and bigger panels, under paint
207 Special Clear
3:1
60°F
100–120 min
Clear finishes, humid days; doesn’t blush
If the panel will be varnished so the grain shows, as on okoume or teak, use 207. If it will be painted, 205 or 206 is fine, so pick by temperature.
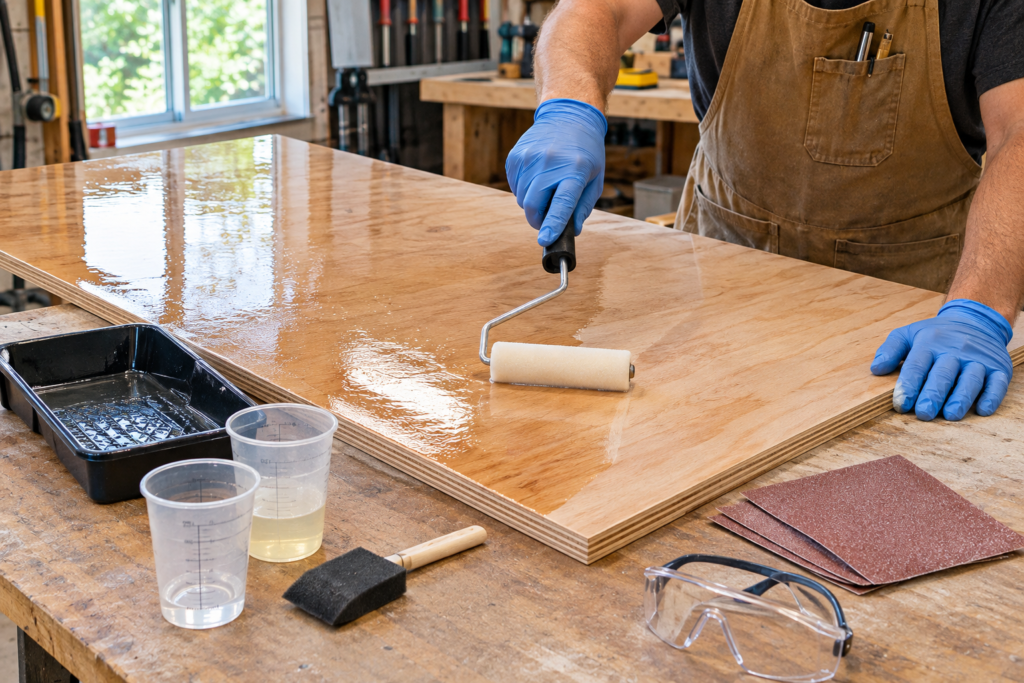
Sandpaper (80 to 220+ grit), a roller pan, mixing cups, nitrile gloves, safety glasses, white paper towels, and a 3-inch foam brush for smoothing
How to Seal Marine Plywood With Epoxy: Step by Step
1. Cut, fit and drill everything first
Make every cut and drill every fastener hole before you coat. Each new cut or hole opens bare wood. If you have to drill after coating, wet the hole with epoxy before the fastener goes in.
2. Prep the surface
The wood has to be clean, dry and sanded. If a dull blade or planer has left the face shiny, sand it with 80 grit so the epoxy has open pores to grip. Then get all the dust off. Fill dents and gaps with epoxy thickened with filler. Our wood gap filling guide covers the basics.
3. Pick your time window
Coat when the temperature is steady or falling, such as late afternoon or evening. As wood warms, the air inside it expands and pushes out through the wet epoxy, leaving pinholes and bubbles. Let the panel sit in the work space long enough to reach room temperature before you start.
4. Mix small batches
Mix only as much as you can spread before it thickens. Pour it into the roller pan right away, because epoxy left in the cup heats up and cures faster. Don’t add thinner, and don’t add pigment or filler to the first coat. If a batch starts to thicken, throw it out and mix a smaller one.
Wear nitrile gloves and safety glasses, work in a well-ventilated area, and avoid skin contact with uncured epoxy. Wear appropriate respiratory protection when sanding cured epoxy.
5. Roll it thin, then smooth it
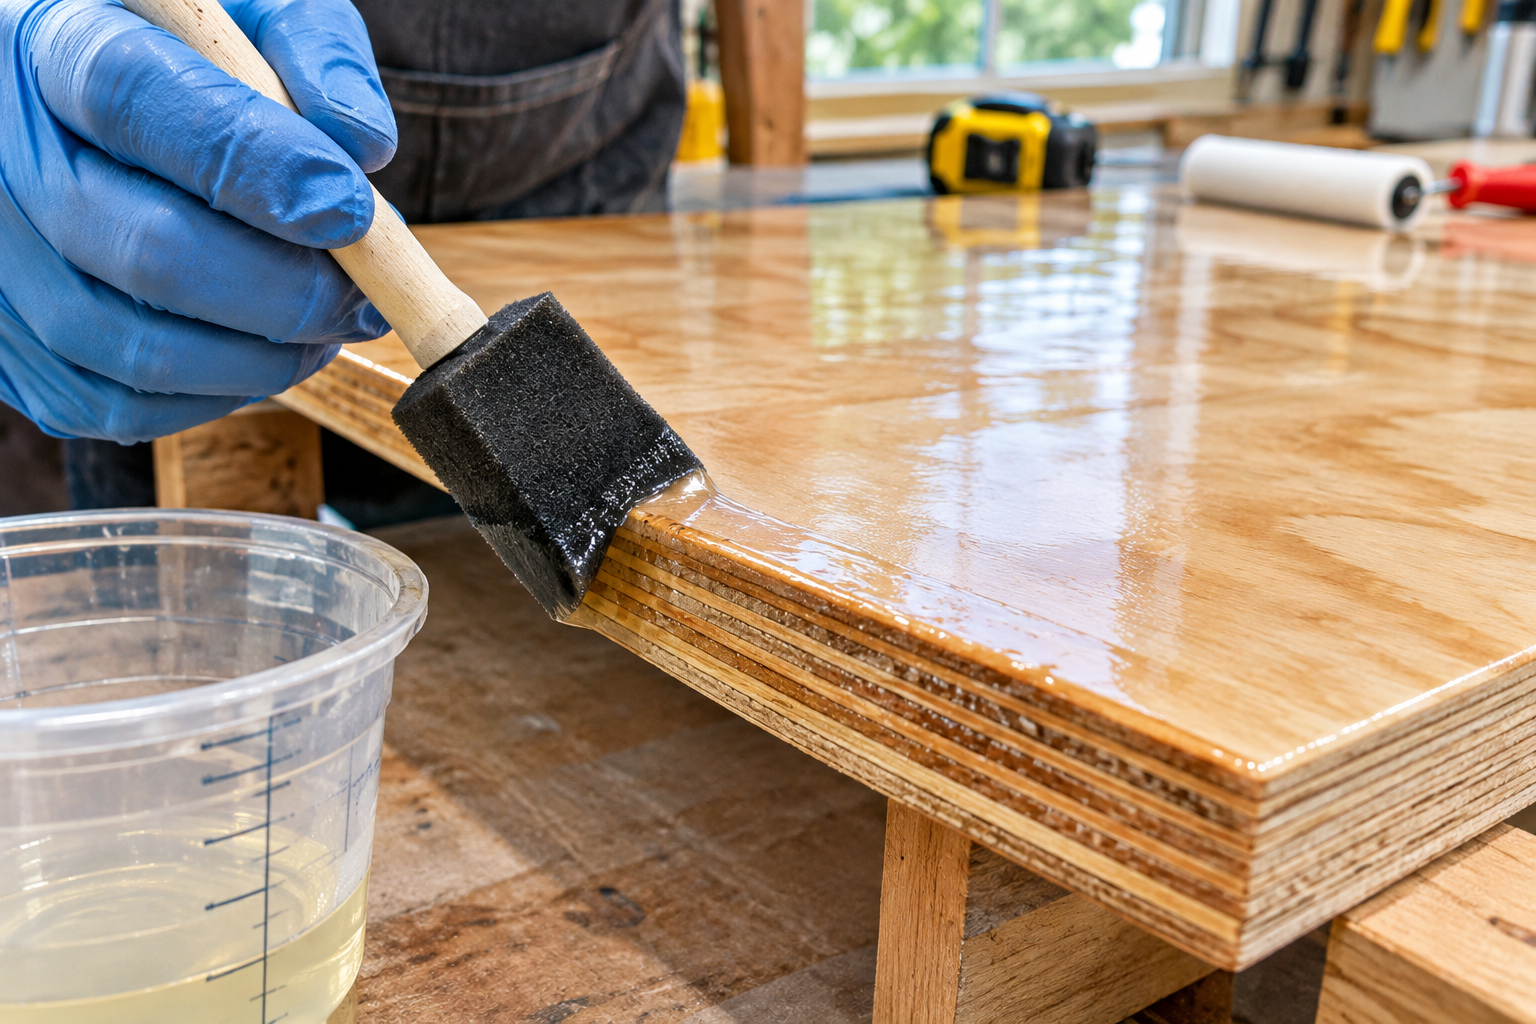
Load the roller lightly and roll off the extra on the pan ramp. Roll over about a 2 ft x 2 ft area, pressing harder as the roller dries out to spread a thin, even coat. Then drag the foam brush lightly across the wet epoxy in long, overlapping strokes to flatten the roller texture. Change direction each coat: up and down for the first, side to side for the second, and so on.
6. Soak the edges
Plywood edges are end grain on every other ply, and that’s where water gets in. Brush epoxy onto the edges, let it soak in, and brush on more until the edge stays glossy. Do this on every coat.
7. Recoat while it’s tacky
When the epoxy feels about as tacky as masking tape and you can still press a fingernail mark into it, put on the next coat. You don’t need to sand. Putting on all the coats in one day saves you from sanding between them. Coat both faces and all edges so the panel is sealed evenly.
8. Wash, then sand
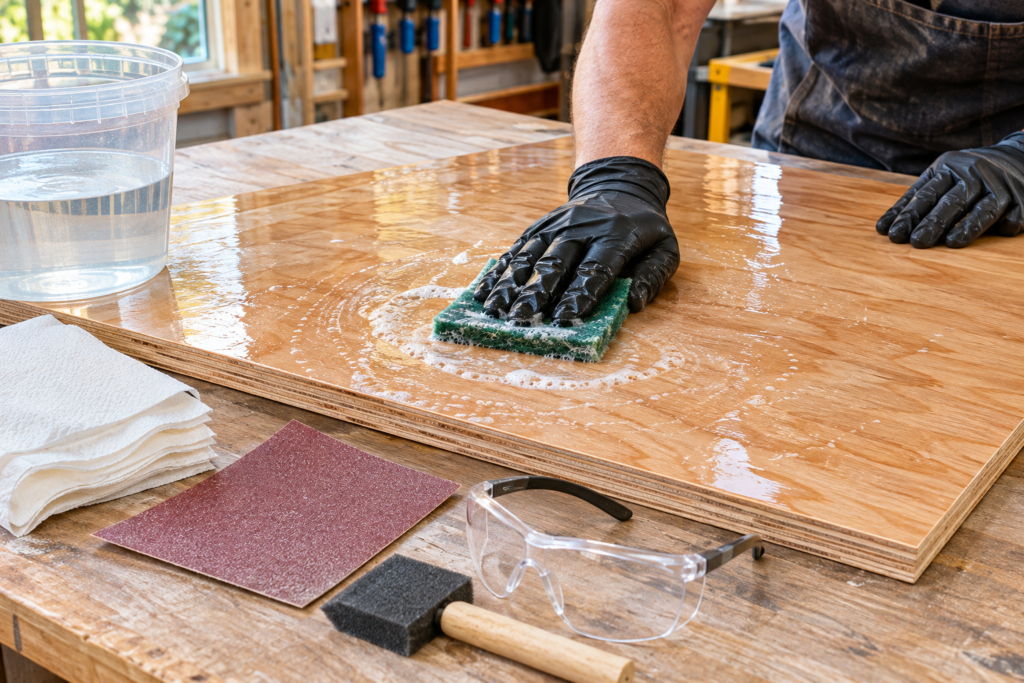
Allow the final epoxy coat to cure sufficiently for sanding. This typically takes overnight at room temperature but may take longer in cooler conditions. Remove any amine blush with clean water and an abrasive pad before sanding, then dry the surface with paper towels.
Standard primer or high-solids coating: 120–180 grit
High-gloss paint or varnish: finish at 220–400 grit. Going finer may leave too little texture for the topcoat to grip.
9. Topcoat for UV protection
Epoxy breaks down in sunlight, so anything outdoors needs paint or a UV-filtering varnish on top. Even 207, which has a UV inhibitor, still needs that topcoat. For paint prep and products, see our guide to painting plywood.
6 Mistakes That Ruin an Epoxy Seal
1. Coating on a warming morning. As the panel heats up, air escapes through the wet epoxy and leaves bubbles you’ll have to sand out. Coat in the evening or when the temperature is steady.
2. Thinning the epoxy so it soaks in deeper. West System advises against mixing thinners into its epoxy. A thinned coat is softer and a weaker moisture barrier. Use more thin coats instead.
3. Sanding before you wash. Sanding over amine blush clogs the paper and pushes the blush deeper into the surface, which hurts how well the next coat or the paint sticks. Always wash first, then sand.
4. Skipping edges and fastener holes. A perfectly coated face with one bare edge still lets water in. That’s the classic way a sealed panel ends up wet and warped anyway.
5. Leaving epoxy bare in the sun. UV turns bare epoxy chalky and it starts to break down. Regret: you end up sanding off coating that was perfectly good, just to get paint to stick.
6. Using the wrong hardener for the weather. 207 needs at least 60°F to cure properly. 205 can cure at 40°F but isn’t made for clear finishes. If it’s too cold, the epoxy may harden without fully curing.
Warning: Epoxy does not fix rot. Dig out soft wood back to solid fibers first. See how to deal with rotten plywood. Sealing over wet or punky wood traps the problem inside.
Quick test before topcoating: wet the sanded surface. If the water beads up in spots, there’s still contamination or blush there. Wash it and sand it again.
When Epoxy Isn’t the Right Call
Wood that’s wet or already rotting: dry it and repair it first.
Hull bottoms and areas that take wear: an epoxy coat alone is thin. Boatbuilders usually add fiberglass cloth set in epoxy for impact and wear resistance. Follow your boat plans.
Very cold shops: below the hardener’s minimum temperature, wait or warm the space. Don’t push through.
Panels where moving parts rub: cured epoxy is hard but it does wear. Plan on maintaining the topcoat.
A sealed and maintained panel lasts much longer than bare plywood. See our plywood lifespan guide for what affects service life.
FAQ
Do you need to seal marine plywood if it’s already “marine”? Yes, for anything that will get wet regularly. The marine rating covers the panel’s construction and its waterproof glue, not rot resistance of the wood. Epoxy and a topcoat keep water out of the veneers.
Can you epoxy marine plywood without fiberglass? Yes. Barrier coating with plain epoxy is a standard way to seal plywood. Fiberglass cloth adds wear and impact resistance where the part will take hits, such as hull bottoms.
How much epoxy does a 4×8 sheet of marine plywood need? For three coats on both faces of a standard 4×8 marine plywood sheet, purchase two WEST SYSTEM Group A epoxy sets. Actual consumption depends on wood porosity, edge absorption and application thickness.
How long before you can paint over epoxy? Once the epoxy has cured enough to sand, usually overnight at room temperature and longer in the cold, wash off any blush and sand. At about 70°F, West System epoxy reaches 90% of its full strength within 24 hours. Check your paint’s label for its own cure and prep requirements.
Can you use this method on regular exterior plywood? The steps are the same. Exterior plywood generally has more and larger gaps in its inner plies, so expect to fill more edge voids with thickened epoxy before coating.
Bottom Line
Put two to three thin coats of unthinned epoxy on every face and edge. Coat in falling temperatures, wash off blush before you sand, and always cover the epoxy with paint or UV-filtering varnish. Most failures come from skipped edges, rising temperatures, or bare epoxy left in the sun, not from the epoxy itself.
Is Kilz 2 Good Enough as a Final Coat? by Admin May 29, 2025 Finish Kilz 2 is one of the most popular water-based primers on the market. It’s known for its versatility, fast drying time, and low odor. It…