When I first started thinking about redoing the siding on my garage, I wasn’t really shopping for anything fancy. I just wanted the place to look better. At first, vinyl seemed like the easy choice—you can find it everywhere—but every time I touched a panel, it felt flimsy, like it wouldn’t last more than a few seasons. Cedar was beautiful, but one look at the price tags made me back off. Fiber cement also caught my attention, but given its weight and the specialized tools required, it felt like more than I could handle.
Then I noticed something called lap siding on a display wall at the lumberyard. The boards overlapped in neat rows, nothing complicated, just clean and classic. I remember thinking, “Okay, that I can work with.” A few boards came home with me that day, and by the weekend, I was on a ladder, figuring it out one piece at a time.
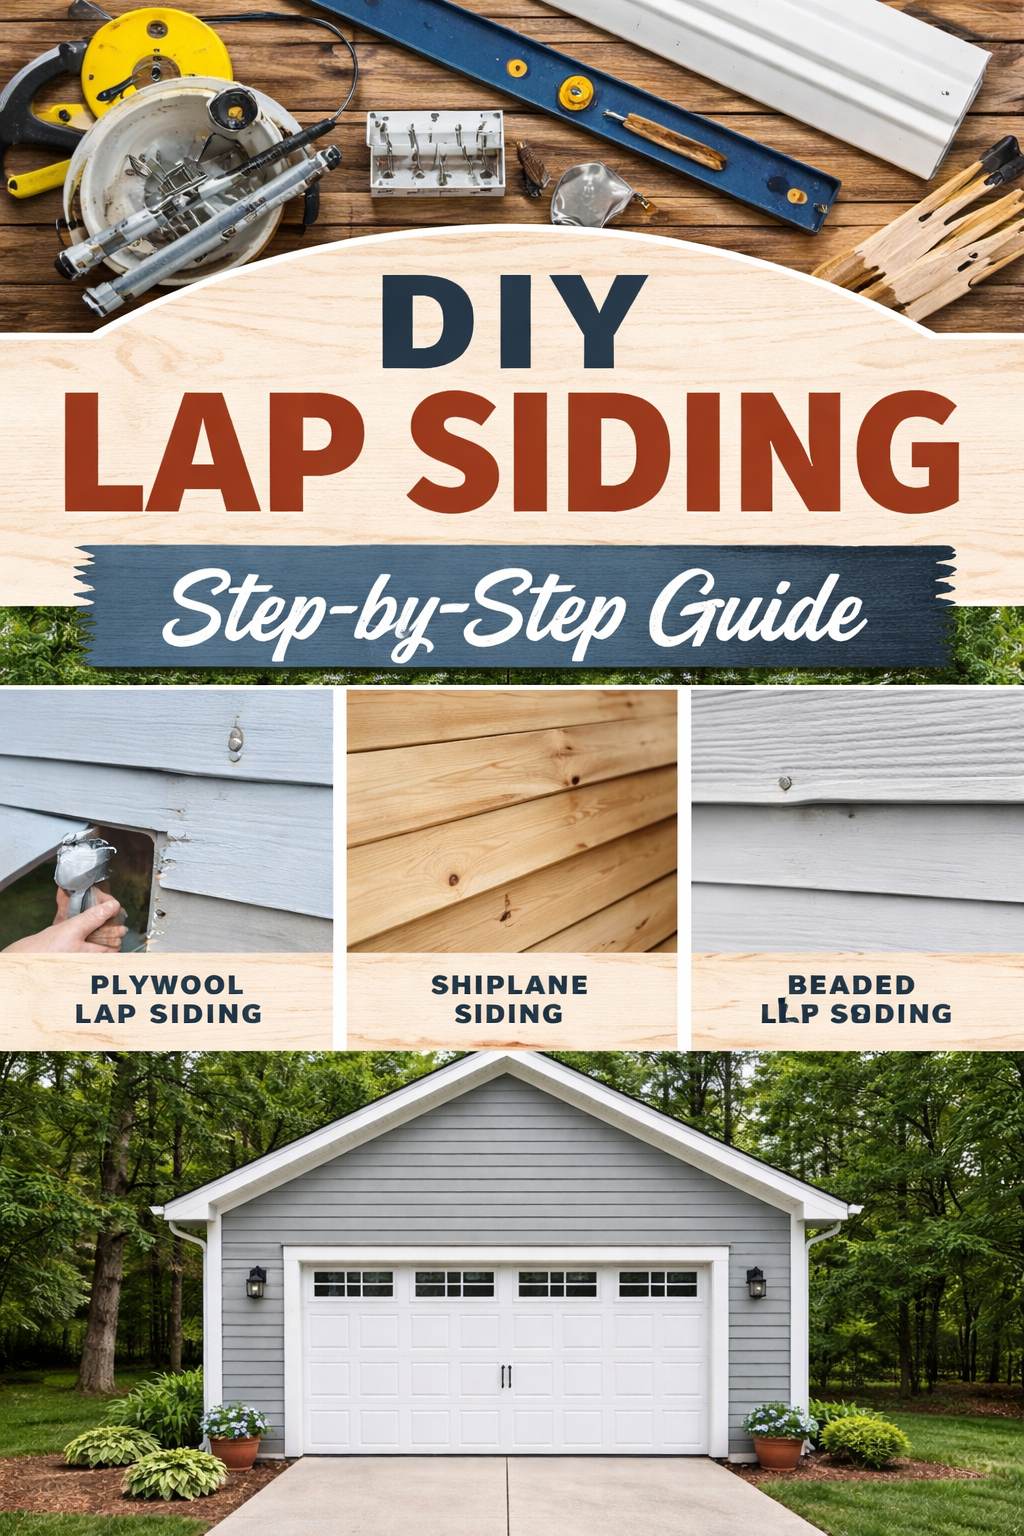
What started as a quick attempt to cover up old walls became a whole project that completely changed the garage’s appearance. Along the way, I learned a lot—the types of lap siding available, which tools made the job easier, and even a few mistakes you’ll want to avoid. That’s what this guide is about: helping you navigate the same process without the second-guessing I went through.
What Is Lap Siding?
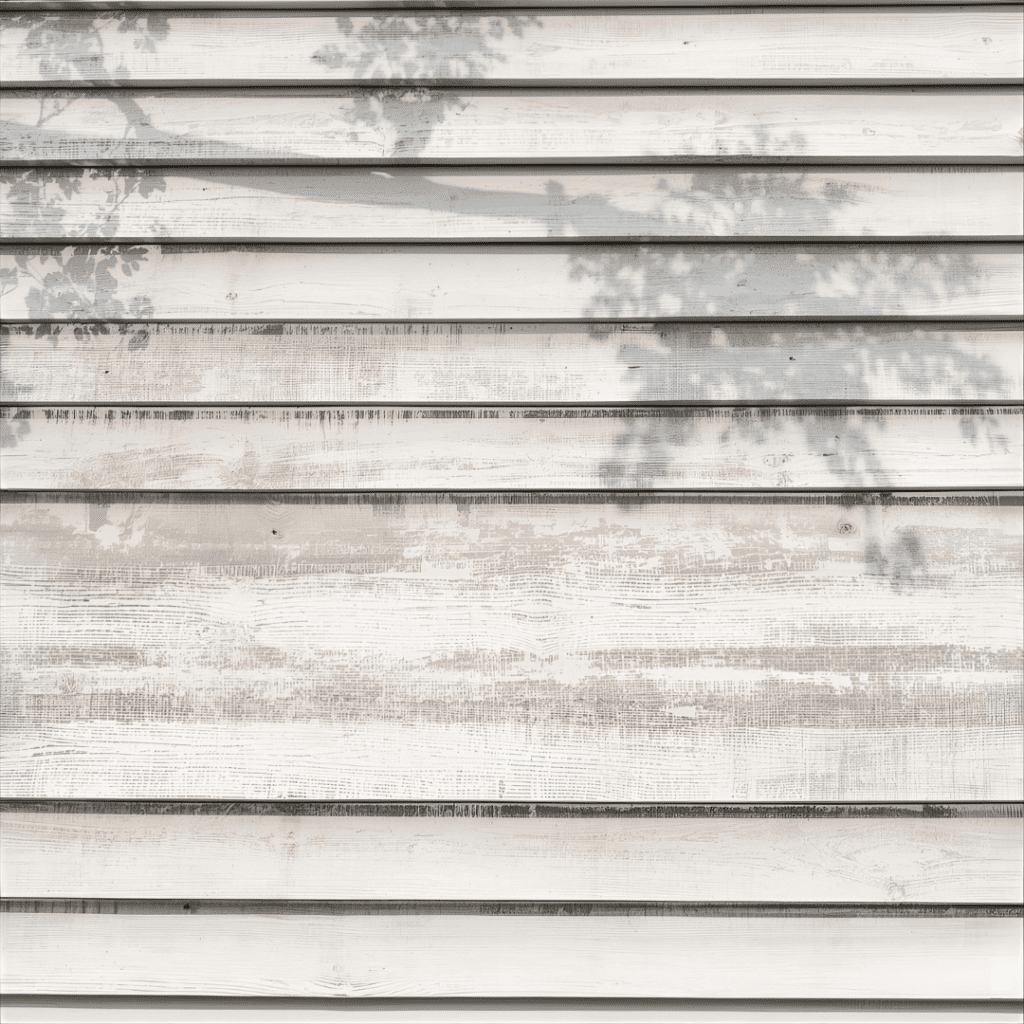
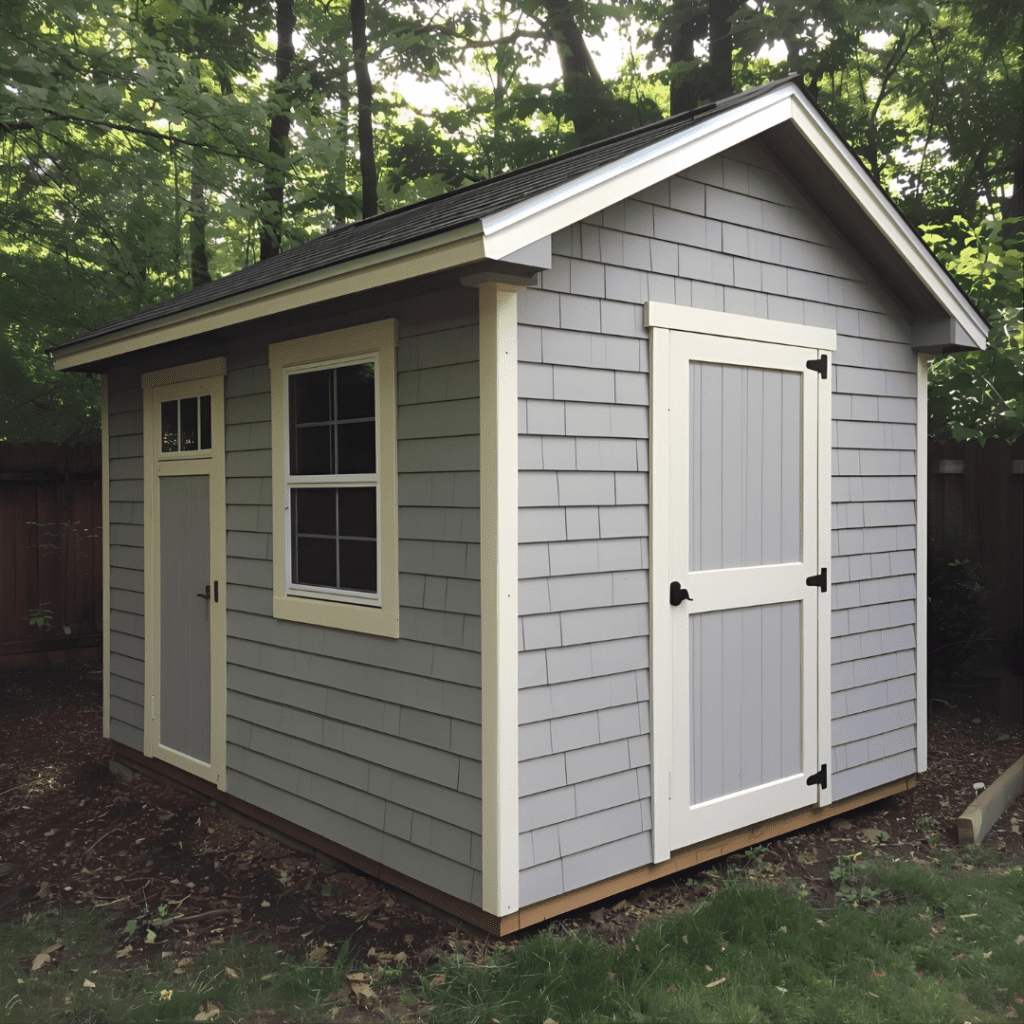
Lap siding—sometimes called clapboard siding or beveled siding—is made by overlapping horizontal boards across a wall. Each course overlaps the one below it, creating crisp shadow lines and an effective barrier against rain.
This design has been used for centuries on farmhouses, barns, and coastal homes because it’s simple, durable, and attractive. Today, lap siding is available in wood, engineered wood, vinyl, fiber cement, and plywood panels.
Types of Lap Siding
When I first started looking into lap siding, I thought there were just a couple of choices—plain boards or maybe vinyl. I was wrong. Once you take a closer look, you notice several styles, each with its own unique character. I remember standing in front of a display wall at the lumberyard, running my hand over the samples, and thinking, “They all overlap, but they don’t look the same.” Here’s what I found.
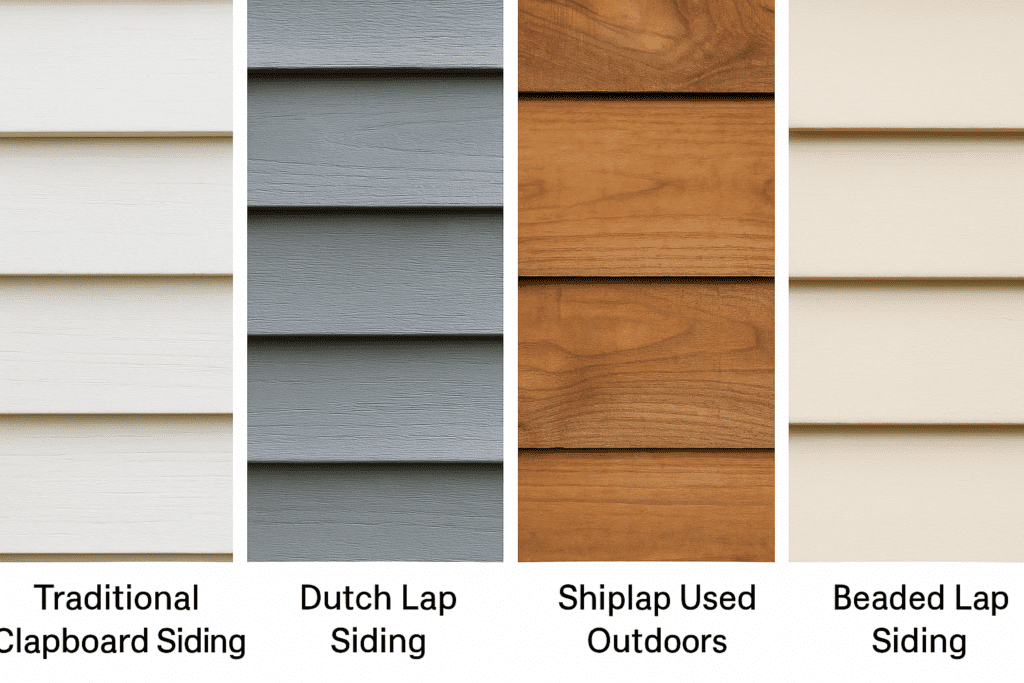
1. Traditional Clapboard Siding
This is the “classic farmhouse” look. The boards taper slightly and overlap in clean rows. When painted, it feels solid and timeless. My grandfather’s old barn still has clapboard, now weathered gray, and even after decades, it hasn’t given up.
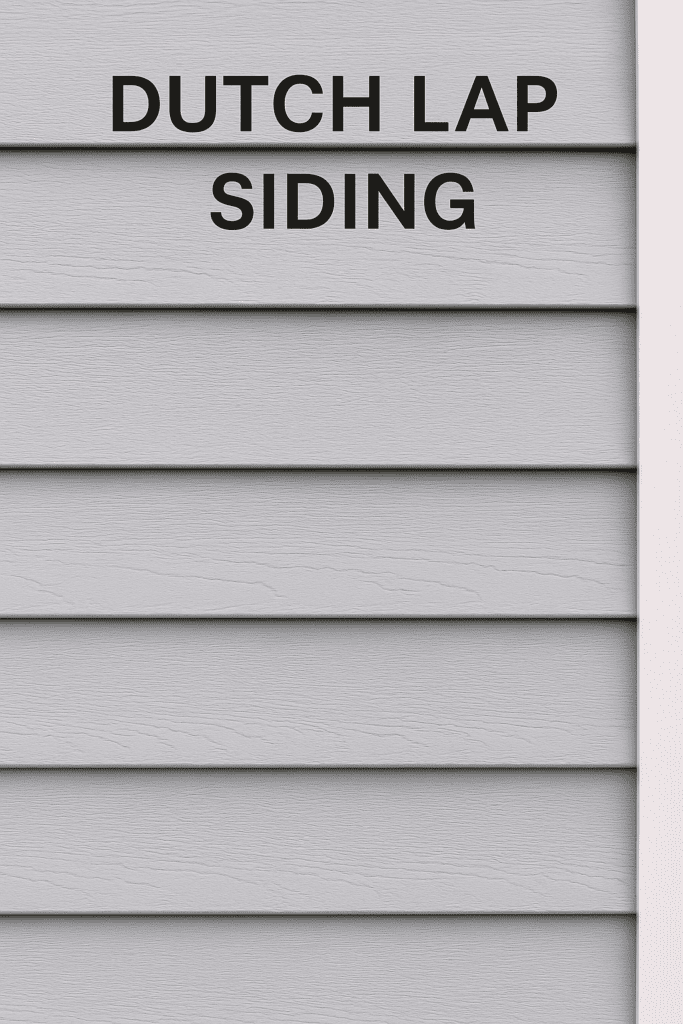
2. Dutch Lap Siding
The Dutch lap has a groove carved along the top edge. That small detail makes a big difference—it throws a shadow that makes the wall look deeper. A friend of mine used it on his 1920s home, and it gave the place a stately, colonial feel.
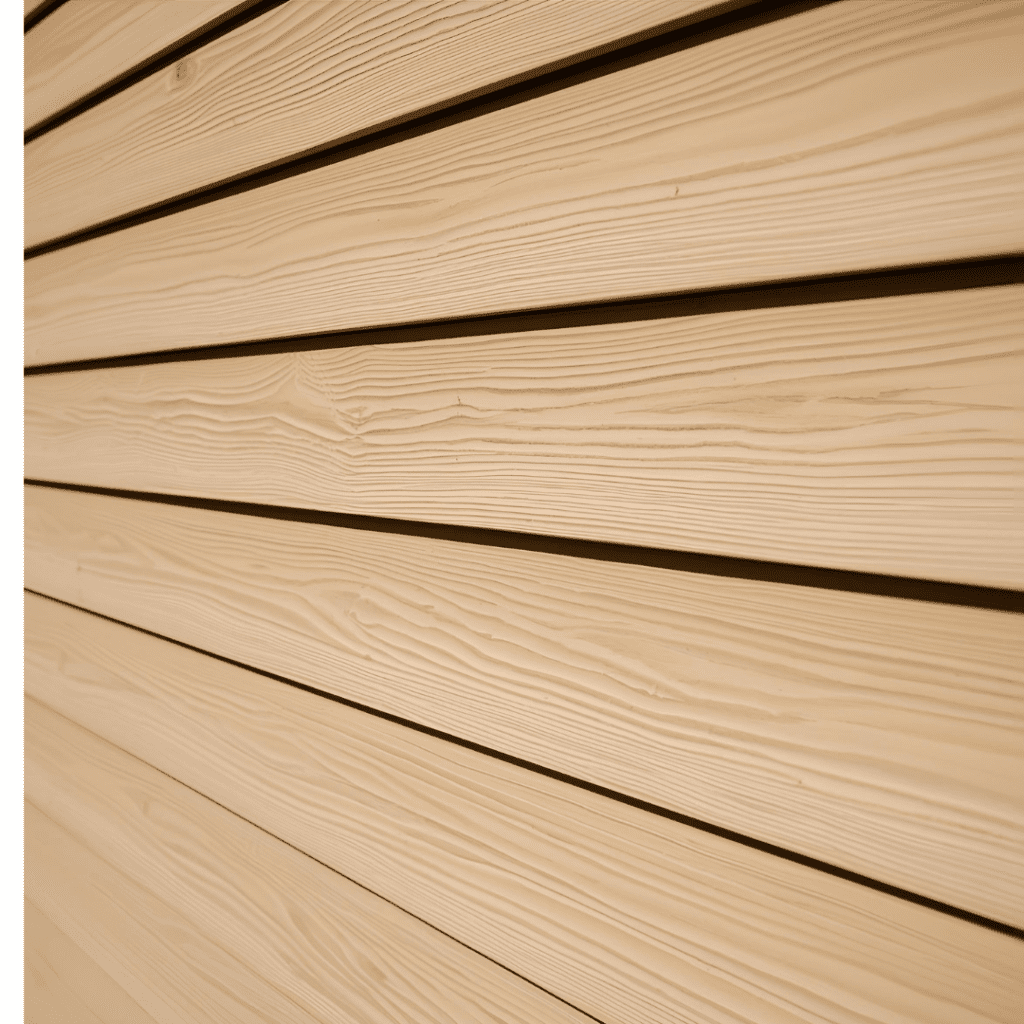
3. Shiplap Used Outdoors
Most people think of shiplap on living-room walls (thanks to TV shows), but outside it’s practical, too. The boards lock together with rabbets, reducing drafts. I tried a few pieces on my shed and found it easier to line up than clapboard.
4. Beaded Lap Siding
Beaded siding has a little rounded edge at the bottom of each board. I first noticed it on a Victorian-style house in town—it almost looked like the siding had trim built right in. It’s a bit fussier to install, but it’s eye-catching.
5. Plywood Lap Siding
This one surprised me. You can take a sheet of plywood, cut it into strips, and suddenly you’ve got affordable lap siding. I used this trick on a backyard shed. With paint, nobody guessed it was plywood unless they got close. It’s not fancy, but it’s quick and budget-friendly.
When I first tried lap siding, I assumed it was just a matter of “nail boards to the wall.” Turns out, there are a few tricks that make the difference between a job that looks professional and one that screams DIY. Here’s the process I followed—complete with the little lessons I picked up along the way.
Step 1: Prepare the Wall
Before you even touch a board, deal with what’s already on the wall. If there’s old siding, pull it down, and don’t rush this part—I learned the hard way that leaving behind uneven surfaces makes everything crooked. Once the wall is bare, cover it with a house wrap. This layer is your insurance against leaks. Snap a chalk line across the base of the wall. That line will become your guide, and if it’s crooked, the whole job will look off.
Step 2: Install a Starter Strip
Nail a thin strip at the very bottom. It doesn’t look like much, but it tilts the first board outward so rain runs down and away. Skip it, and you’ll regret it the first time water sneaks behind your siding.
Step 3: First Course of Lap Siding
Set your first board along that chalk line. Leave a tiny expansion gap near corners—I forgot once, and by summer the boards had buckled. Use galvanized nails or exterior screws, and ensure they’re not overdriven.
Step 4: Overlap Successive Rows
Now the fun part: stacking rows. Each new board should overlap the one below by at least an inch. Don’t eyeball it—use a scrap of wood as a spacer so every row matches. I checked each row with a level, and it saved me from drifting out of square.
Step 5: Corners and Trim Work
Corners make or break the look. I used 1×4 boards to create neat, firm edges. Around windows and doors, measure twice before cutting—trim that’s even a little off will stand out.
Once the siding is up, it’s time to button things down. Fill nail holes, caulk the joints, and then finish with paint or stain. I chose a stain for my garage that brought out the grain, but paint offers more protection. Whatever you choose, don’t leave the wood raw.
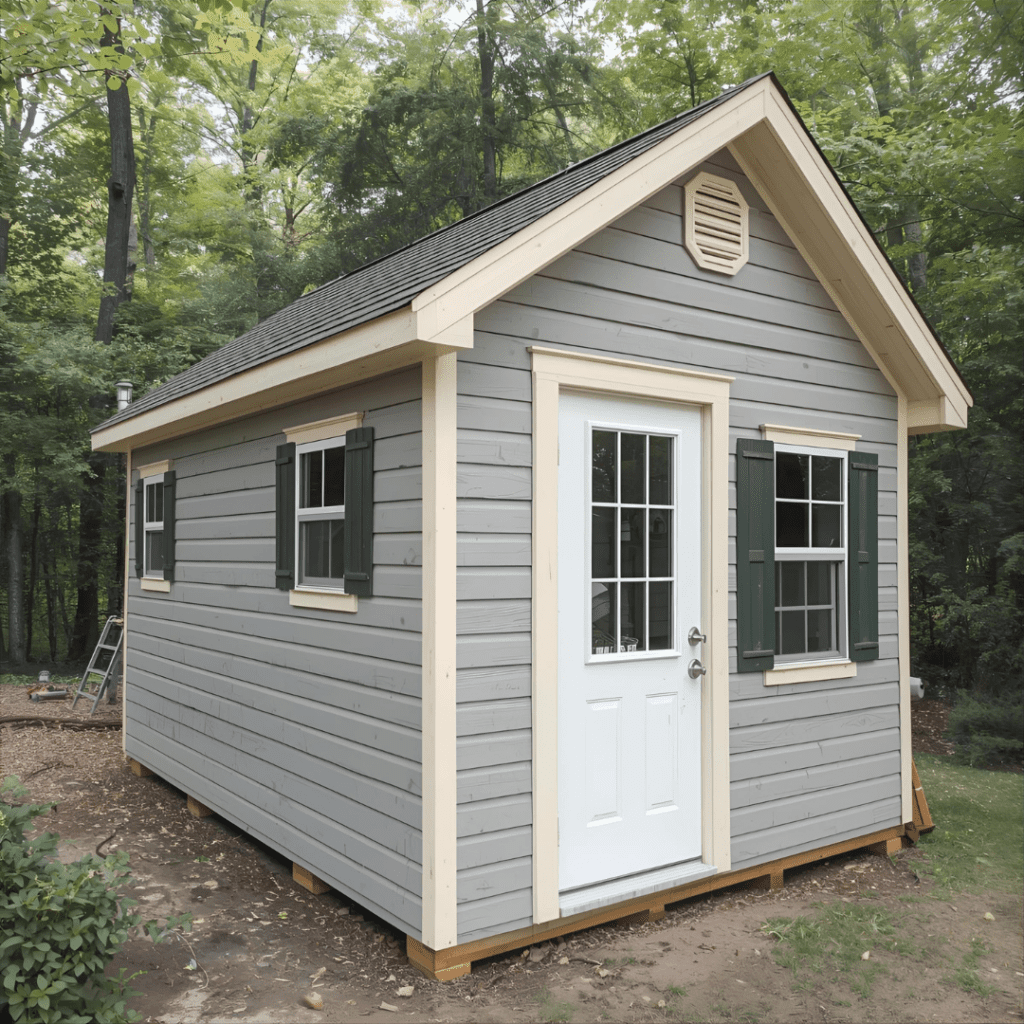
Using Plywood for Lap Siding on Sheds and Garages
One of the best budget tricks is cutting 4×8 plywood sheets into strips to create lap siding. It’s beneficial for garages, barns, or sheds.
I wish someone had warned me about these before I started. They seem minor when you’re in the middle of a project, but every one of them has a way of showing up later and making you shake your head.
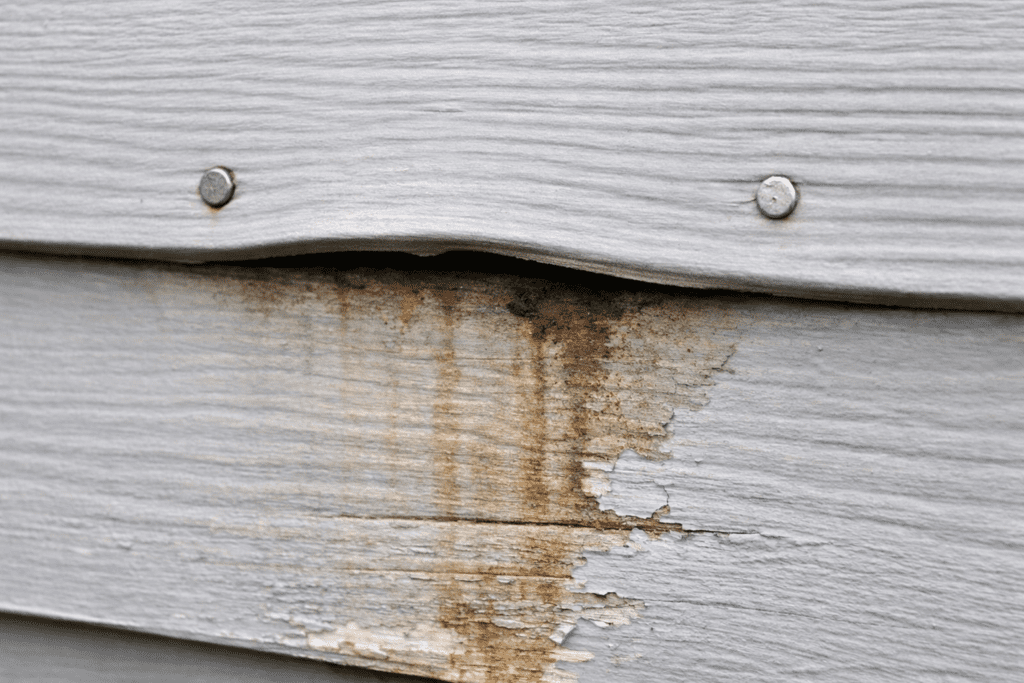
Skipping the starter strip The first time I sided a wall, I thought, “Why bother with that thin piece of wood?” A year later, rainwater had seeped behind the boards, and I was scraping out mildew. That strip tilts the siding just enough to shed water—it’s not optional.
Nailing too tightly It feels right to drive nails flush, but siding should move with the seasons. In my garage, I overdid it and ended up with boards that bowed out in the summer heat. Now I leave just a hair of wiggle room.
Lining up all the joints I once rushed through and didn’t stagger my cuts. It looked fine from close up, but from across the yard, the seams formed a vertical line like a zipper. Since then, I have taken the extra time to offset them.
Skipping primer or sealer Raw wood looks good for about two weeks. Then the edges darken, and in my case, the plywood began to peel. A quick coat of primer or stain is the difference between siding that lasts decades and siding you’re replacing in five years.
Finishing Options for Wood Lap Siding
How you finish your siding will define its look and lifespan:
Lap siding isn’t just another exterior finish—it’s one of the few siding jobs you can tackle yourself without hiring a crew. I didn’t believe that at first. When I started, I was nervous about cutting long boards straight and keeping rows level. My first course wasn’t perfect; one end dipped slightly, and I had to pull it off and redo it. It slowed me down, but I learned more from that mistake than from any video tutorial.
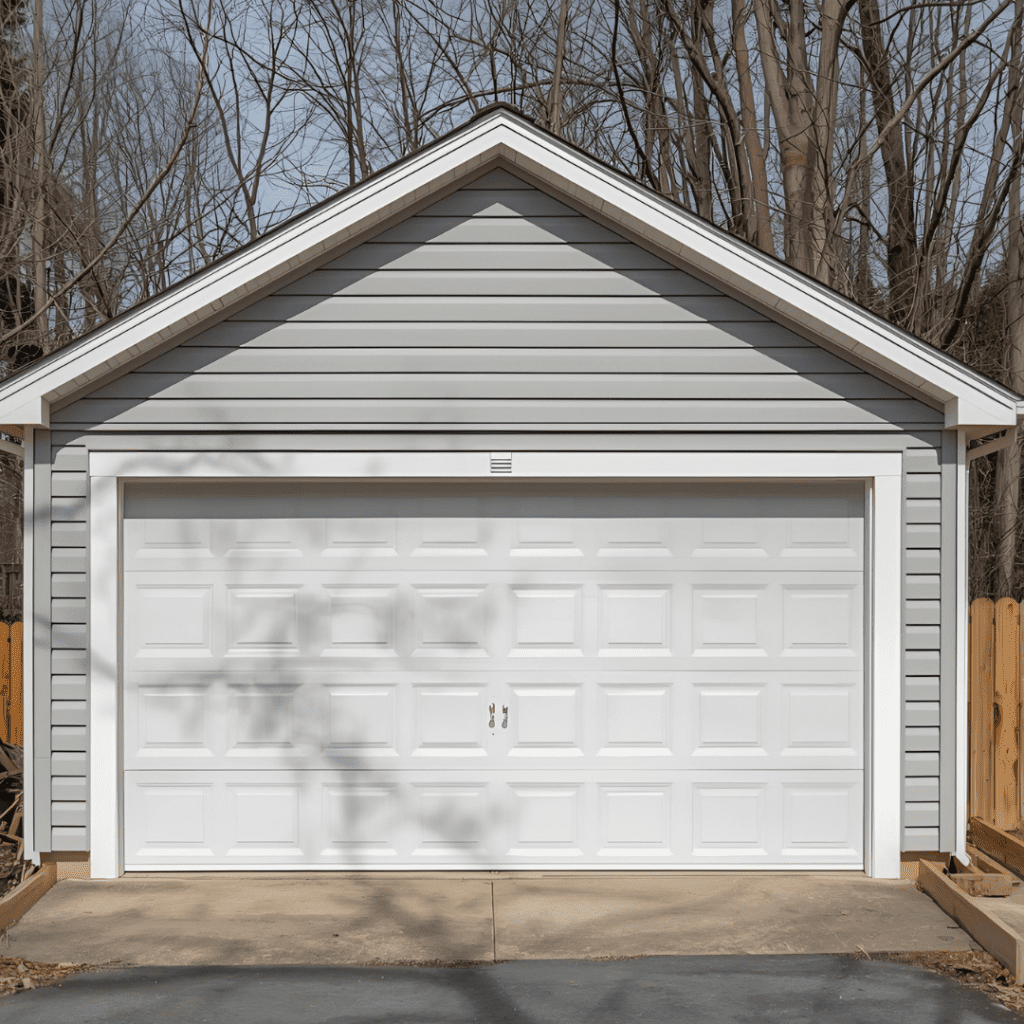
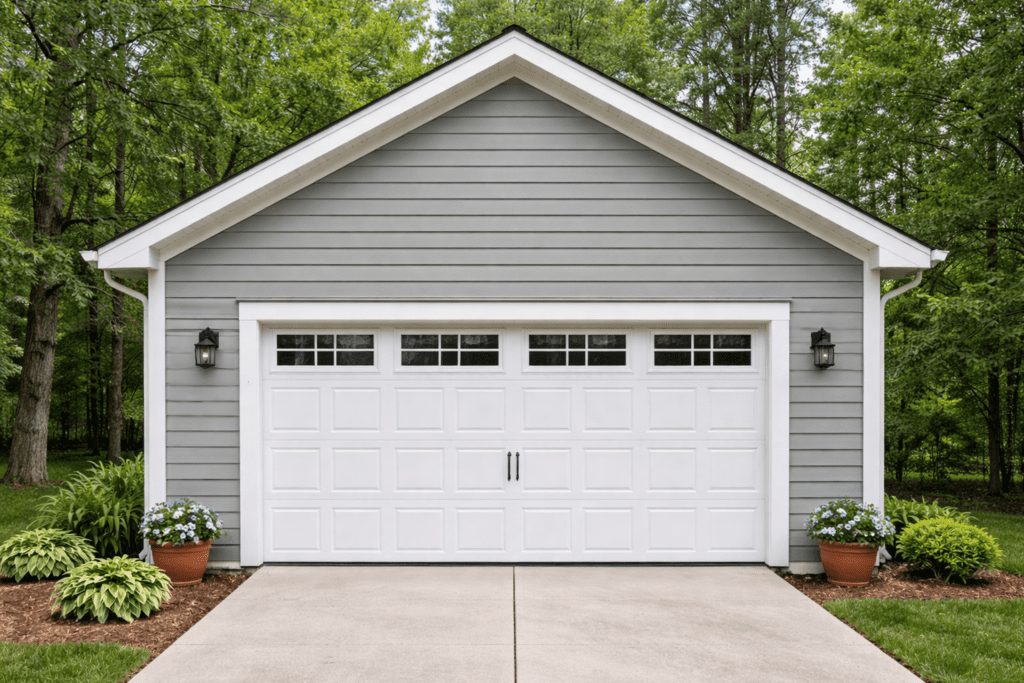
What surprised me most was how quickly lap siding changes a place’s look. In my garage, even one finished wall made the whole structure feel solid and new again. Cedar has a warm, natural charm, while vinyl is often considered maintenance-free. Fiber cement? Heavy, but nearly indestructible. And plywood—believe it or not—got me through on a tight budget. None of them is wrong; it just depends on your priorities.
If you’re willing to put in a couple of weekends, you’ll end up with more than curb appeal. You’ll walk outside, look at the straight lines you installed, and think, “I built that.” For me, that pride in the work is as valuable as the siding itself.
Shiplap Guide 2026: Cost, Styles & Installation by Admin April 18, 2026 Installing Installing a shiplap wall looks simple—but one small mistake can cost you hundreds and ruin the entire wall. Shiplap is a type of wooden wall…

")

")

