This post contains affiliate links. If you buy through them, ThePlywood.com may earn a commission at no extra cost to you.
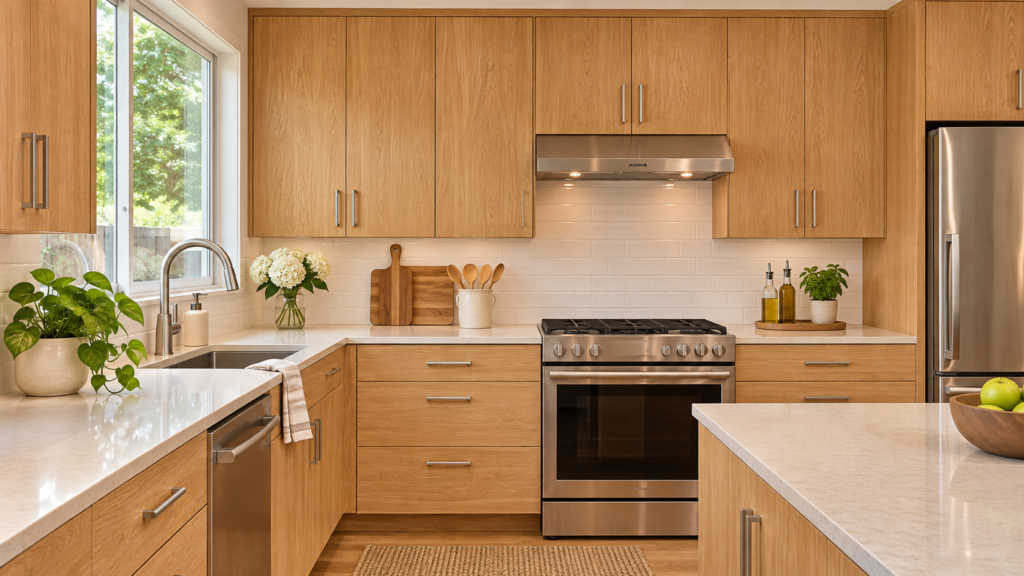
Cabinet veneer is real wood sliced thinner than a credit card, and the backing on it decides whether your refacing job stays flat for years or bubbles within a month. For most kitchens, use 10 mil paper-backed peel-and-stick (PSA) veneer on face frames. On end panels and slab doors, use a thicker 20–22 mil paper-backed or phenolic-backed sheet glued with contact cement.
Quick Answer
Face frames and narrow strips: 10 mil paper-backed PSA (peel-and-stick)
End panels and finished sides: 20–22 mil paper-backed with contact cement
Over laminate or paint: phenolic-backed is a common supplier recommendation; confirm the adhesive with the veneer maker
Curves and tight wraps: plain 10 mil paper-backed
Never: contact cement under peel-and-stick veneer
Before finishing: wait at least 24 hours after the veneer goes on
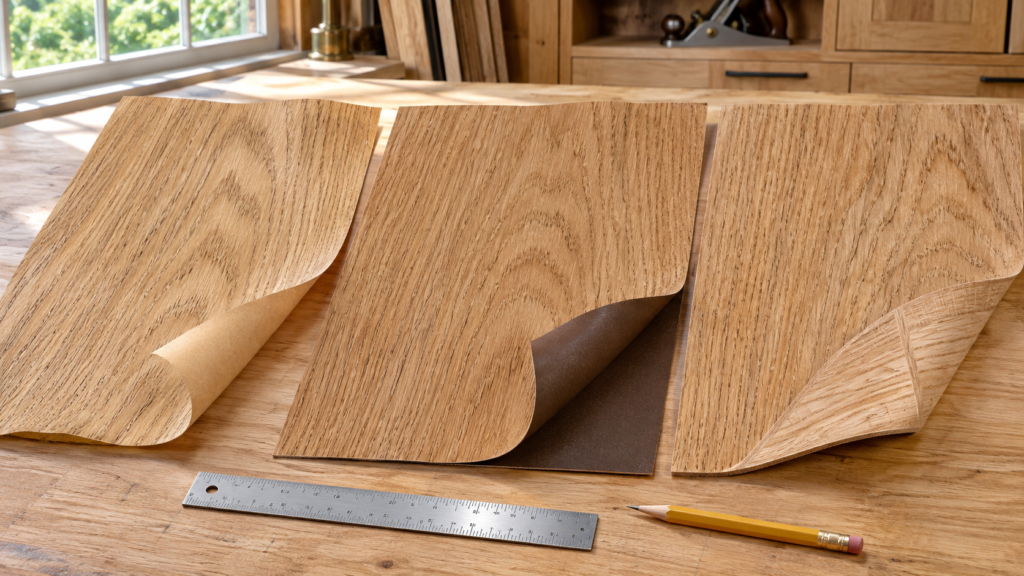
Cabinet Veneer Backing Chart
Backing
Typical sheet thickness*
Flexibility
Usual adhesive**
Hides surface flaws
Best cabinet use
10 mil paper
~0.020″
Best
Contact cement or veneer glue
Low
Face frames, curves, small parts
20–22 mil paper
~0.030″–0.035″
Good
Contact cement or veneer glue
Medium
End panels, large flat areas, open-grain species
PSA (peel-and-stick)
~0.025″
Very good
Built-in pressure-sensitive adhesive
Medium
Face frames, on-site refacing, no fumes
2-ply wood-on-wood
~0.040″
Moderate
Veneer glue in a press or vacuum bag
High
Doors you can take off and press flat
Phenolic
~0.045″
Low
Contact cement, often solvent-based
Best
Covering laminate or paint, hard-wear areas
*These are typical supplier figures for the whole sheet. Brands vary, so check the spec sheet. The wood face is roughly the same thickness whatever the backing, so a thicker backer gives you a stiffer sheet, not more wood to sand.
**The adhesive listed is what suppliers commonly recommend. What works varies by veneer and adhesive brand, so follow both makers’ instructions.
What Cabinet Veneer Is (and What the Backing Does)
Sheet veneer starts as thin slices of real wood that are spliced into a full 4×8 sheet. The backing does two jobs. It holds those pieces together as one sheet, and it calms the wood’s seasonal swelling and shrinking.
The “10 mil” and “20 mil” labels describe the paper backing, not the wood. That matters when you sand: a 22 mil sheet does not have a thicker face than a 10 mil sheet, so you can sand through either one just as easily.
If you’re still choosing the panels underneath, our cabinet grade plywood guide covers the boxes themselves. Veneer only changes the surface.
Which Cabinet Veneer Backing to Use Where
Face Frames: 10 Mil PSA
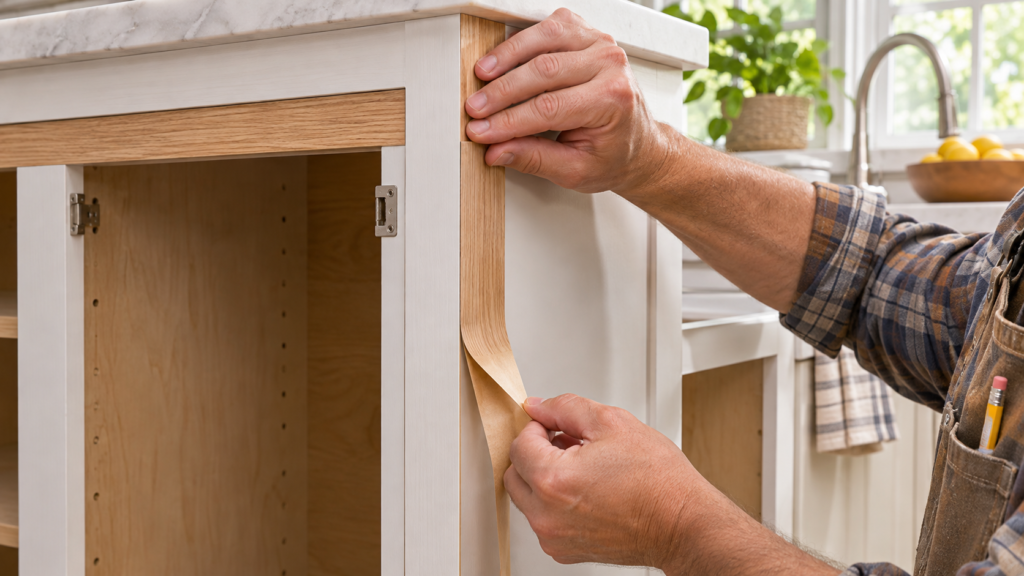
Face frames are narrow, they’re already finished, and you’re usually working inside an occupied kitchen. Peel-and-stick fits that job. You need no contact cement, no fumes and no open time, and the sheet cuts with a razor knife. PSA can go over a smooth painted or lacquered surface, but only if that coating is firmly bonded. The veneer will only last as long as the finish under it.
End Panels and Finished Sides: 20–22 Mil Paper
Large flat areas show every flaw underneath. A thicker paper backer hides minor substrate imperfections better than 10 mil. It also helps stop solvent contact cement from bleeding up through open-pored species like red oak or ash, which is a common cause of finish bubbles. Suppliers point to this backer for shops that don’t own a vacuum press.
Over Laminate or Painted Surfaces: Phenolic (Usually)
Phenolic is the stiffest and thickest backer and hides surface flaws best, and several suppliers recommend it for refacing over laminate or paint. It isn’t automatically the right pick. How well it holds depends on the existing surface being sound and on using an adhesive the veneer maker approves. Phenolic also cracks around sharp corners, and a razor won’t cut it cleanly, so trim it with a router and a flush-trim bit.
Slab Doors: Phenolic, 22 Mil, or 2-Ply If You Can Press
If the doors come off and you can press them flat with veneer glue or a vacuum bag, 2-ply wood-on-wood gives the best result. Its edge shows only wood, with no tan or black glue line. If you’re gluing on site with contact cement, use 22 mil paper or phenolic instead. Our cabinet doors upgrade shows the build-new-doors route if veneering isn’t worth it.
Plain 10 mil paper is the most flexible backer and wraps tight radii that thicker sheets won’t. The catch is that it hides almost nothing underneath, so the surface has to be smooth.
PSA vs Contact Cement: Which Is Better for Cabinets?
Neither is better in every case; they suit different jobs.
PSA is the fastest and cleanest choice for face frames and on-site work. It costs more per sheet than the same species with a plain paper back, so check current pricing. It also has a shelf life of about a year, and expired adhesive is a known cause of failures.
Contact cement works with paper and phenolic backers. It needs full coverage on both surfaces, the right drying time, and heavy pressure. Solvent-based and water-based versions behave differently, so pick the one your veneer maker recommends.
Regret to avoid: brushing contact cement onto the cabinet “for extra hold” before applying peel-and-stick. The solvents and polymers in contact cement can break down the PSA adhesive. Use one adhesive or the other, never both.
For a wider look at adhesives, see our guide to plywood glues.
How to Apply Cabinet Veneer Without Bubbles
The two methods work differently, so follow the one that matches your veneer. Whichever you use, the veneer maker’s and adhesive maker’s instructions come first where they differ from these steps.
Method 1: Peel-and-Stick (PSA) Veneer
Acclimate. Lay the sheets flat between two flat panels, with weight on top, in the room where they’ll be installed. Veneer Supplies’ PSA instructions call for at least 72 hours.
Check and clean the surface. It must be smooth, dry, and free of grease, wax and dust. Any existing finish must be firmly bonded, because peeling paint will take the veneer with it.
Cut oversize. Leave about 1/2 inch extra on every side.
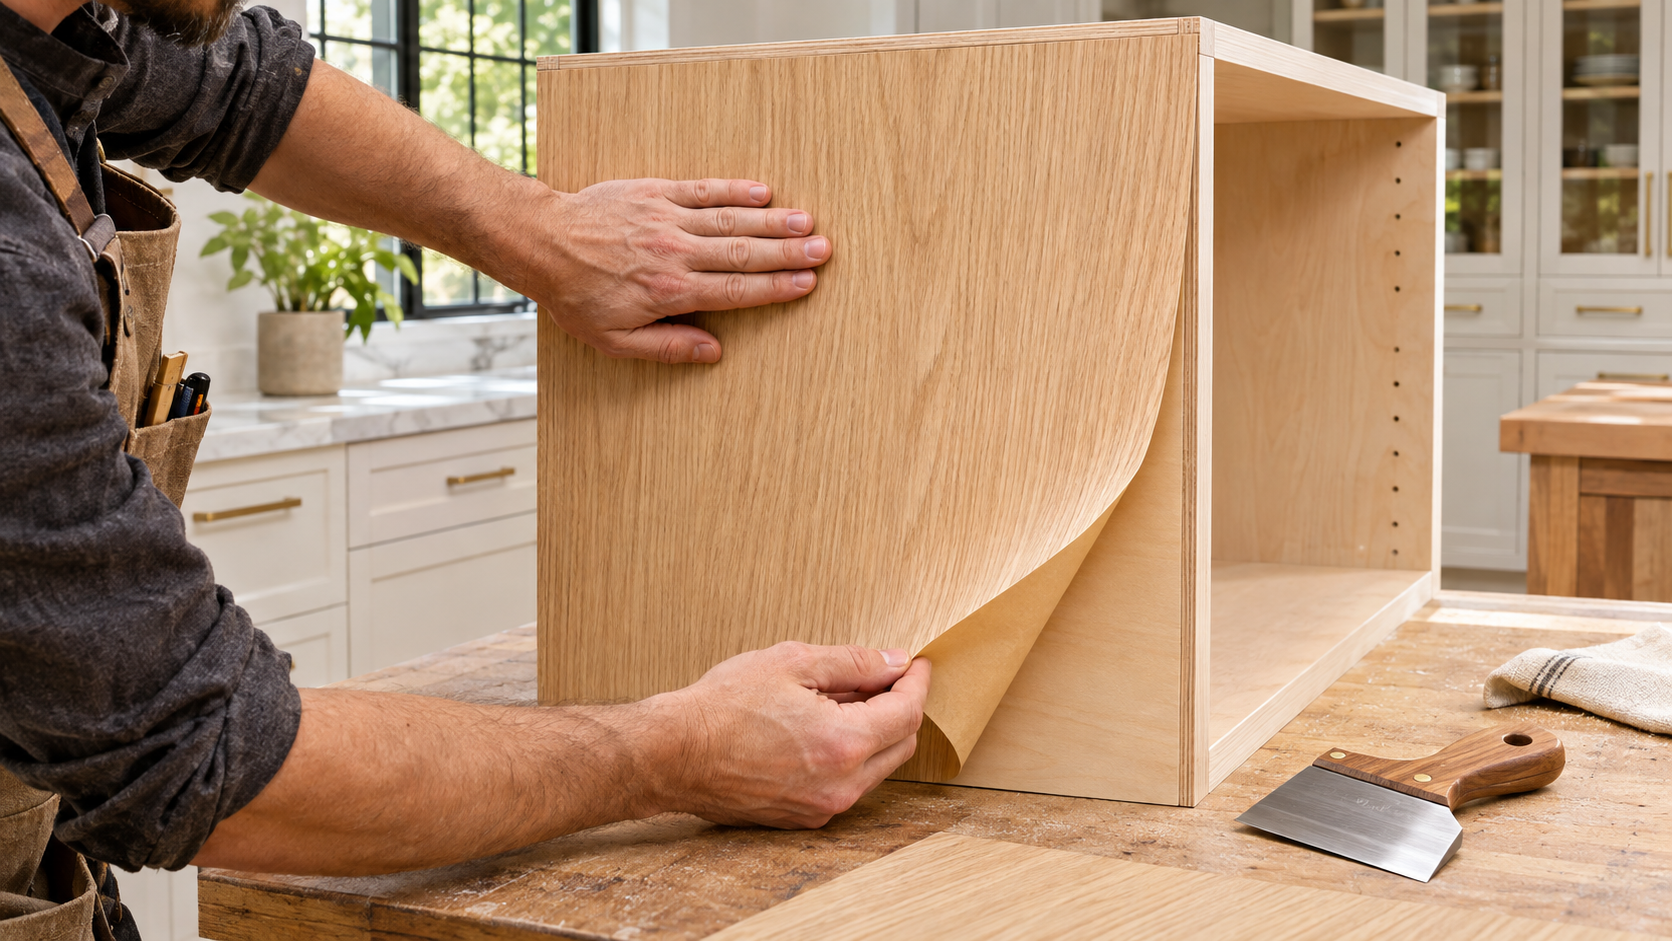
Seat the adhesive. Before peeling, lay the sheet face up and scrape it firmly with the release paper still on. This presses the adhesive layer tight to the back of the veneer.
Position, then peel. Peel back a few inches of the release paper, line up one edge, and stick it down. Then pull the paper out gradually as you go. PSA grabs on contact and can’t be repositioned.
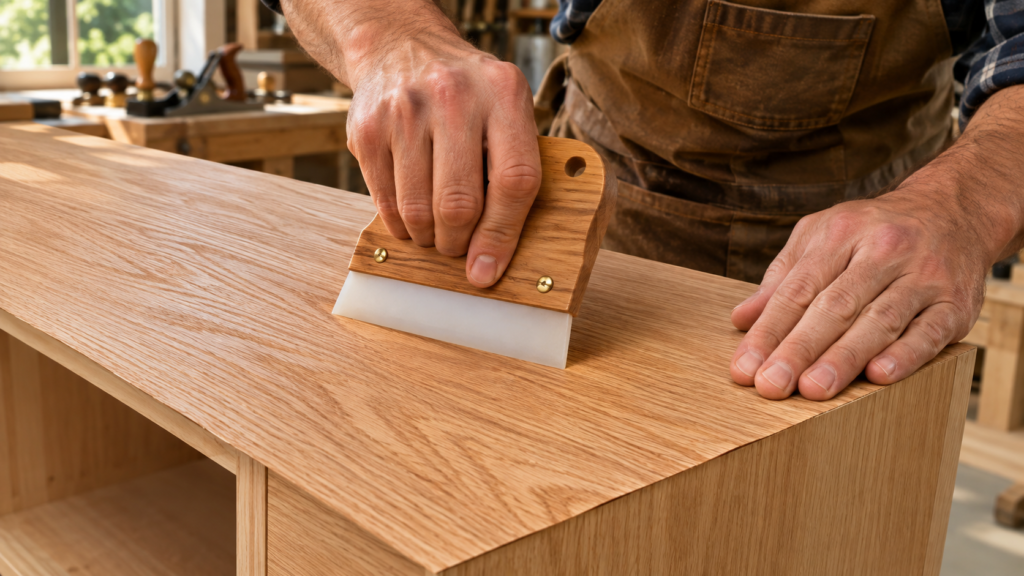
Press with a scraper. Work from the center out over every inch. A hand roller doesn’t put enough pressure on the bond.
Trim. Use a fresh razor knife. If you’re using a laminate trimmer, wait 24 hours first so the bond can strengthen.
Check for bubbles, then wait. Fix any bubbles before finishing, because afterward may be too late. Wait at least 24 hours before stain or finish, and longer if the veneer maker says so. Some PSA sheets call for 48 hours.
Method 2: Paper-Backed or Phenolic Veneer With Contact Cement
Acclimate. Lay the sheets flat with plywood and weights on top for at least 48 hours, ideally around 40% relative humidity and 70–80°F.
Set up safely. Solvent-based contact cement is flammable and its fumes are harmful. Open windows and doors for cross-ventilation, shut off pilot lights, and keep sparks and flames away. Wear the protection listed on the label. A water-based, nonflammable contact cement is an option if your veneer maker approves it.
Prep the surface. Solvent contact cement can soften an old finish, so sand or strip down to raw wood unless the veneer and adhesive makers say otherwise.
Coat both surfaces fully. Cover 100% of both the cabinet and the veneer back. The number of coats depends on the product and the surface; porous plywood and particleboard often need two. Follow the label.
Wait for the right tack. Let both surfaces dry for the time on the label. Bond too early and gas trapped in the glue can blister the veneer later. Wait past the label’s open time and you may need to recoat.
Position with spacers. Lay dowels every 6–12 inches between the surfaces, line up the veneer, then pull the dowels out one at a time, pressing as you go.
Press with a scraper. Work from the center out, with the grain, overlapping each pass.
Trim. Use a razor for paper-backed sheets and a flush-trim bit for phenolic.
Wait before finishing. Give it at least 24 hours at around 68°F and 50% humidity, and longer when it’s cooler or more humid.
Warning: A J-roller can leave blisters about every 16–20 inches, because pressure drops off as the roller moves away from you. A hard veneer scraper puts more pressure on the bond.
Finishing Veneered Cabinets
Sand veneer one grit finer than you would solid wood (180 if the solid parts got 150) for more even stain color, and go lightly, because the face is easy to sand through. Water-based stains and topcoats are the riskiest choice over contact cement, since the water swells the wood and can loosen the bond. If you use them, put down a sanding sealer first, keep the coats thin, and test on scrap. More on technique in how to stain wood and the rest of our finishing guides.
Raised-panel or Shaker doors. Flat veneer can’t follow profiles. Replace the doors or paint them.
Swollen or water-damaged boxes. Veneer doesn’t fix a bad substrate, and the damage will show through or lift the sheet. Fix the boxes first. Our plywood vs MDF vs particleboard guide explains why particleboard swells.
Peeling or flexible surfaces. If the existing skin is lifting, the veneer goes with it. PSA isn’t suited to non-rigid surfaces at all.
Bare drywall, plaster or concrete. Veneer an MDF panel first, then mount the panel.
6 Cabinet Veneer Mistakes (and What They Cost You)
Skipping acclimation. The sheet moves after it’s glued down, and the buckling can be permanent. That means buying a new sheet.
Rolling instead of scraping. Light pressure leaves a weak bond, and blisters show up weeks later, often after the finish is on.
Contact cement under PSA. The solvents break down the factory adhesive, so you pay for peel-and-stick and get a weaker bond than either glue alone.
Solvent cement over an old finish. The finish softens under the glue and lets go later, taking the veneer with it.
Finishing too soon or too heavy. Finish applied before the 24-hour wait, or one heavy wet coat, can swell the wood and raise bubbles across the panel.
Sanding like it’s solid wood. One aggressive pass with coarse paper cuts through the face, and there is no patching that invisibly.
Cabinet Veneer FAQ
How thick is cabinet veneer?
Most sheet veneer is roughly 0.020″ to 0.045″ thick overall, depending on the backing. The wood face itself is about the same on every backer; the 10 mil or 20 mil label refers to the paper.
Can you put veneer over laminate cabinets?
Often, yes, if the laminate is solidly bonded and you clean it and prep it as the veneer maker directs. Phenolic-backed veneer is a common supplier recommendation for this, but check which adhesive the maker approves. If the laminate is peeling, fix or remove it first.
Is peel-and-stick veneer good for kitchen cabinets?
It’s good for face frames and on-site work. Acclimate it, press it hard with a scraper, and don’t use contact cement under it. Wait at least 24 hours before finishing, and use it within its adhesive shelf life of about a year.
How long should you wait before finishing veneer?
At least 24 hours for both peel-and-stick and contact cement, and longer in cool or humid conditions or if the veneer maker says so. Check for bubbles before you finish, because afterward is much harder to fix.
Yes. Sand lightly at 180 grit, test the stain on scrap, and be careful with water-based products over contact cement. A sanding sealer first lowers the risk.
Bottom Line
Pick the backing for the surface: 10 mil PSA on face frames, 20–22 mil paper or phenolic with contact cement on panels and doors, and plain 10 mil on curves. Most bubbles and lifting come from skipped acclimation, light pressure and rushed finishing, not from the veneer itself.
Related Posts:
Drawer Boxes & Slides Explained: Best Types & Sizes by Admin May 19, 2026 DIY Drawer boxes are the structural containers that hold drawer contents, while drawer slides are the mechanical tracks that allow the drawer to open and close…
Baltic Birch vs. Birch Plywood Comparison Guide by Admin June 14, 2026 DIY If you have ever built a cabinet drawer, routed a seamless sign on a CNC machine, or tried to laser-cut intricate models, you know that…