Plywood is an extremely useful material for both architectural applications and making furniture. But the finish that the various plywood products provide isn’t necessarily attractive. While it is common to stain and varnish plywood or to paint it, there are applications where something more is needed; an actual covering material.
When discussing covering plywood, we must be clear about what we refer to. We could be talking about covering the edges or the entire panel. Much will depend on the type of plywood we use, the application, and the finish we are looking for.
When talking about high-quality cabinet-grade hardwood plywood, the only thing we would normally want to cover is the edges. The hardwood veneer on the face of the plywood is normally quite attractive, especially when stained and varnished. However, the exposed edges of this plywood may need to be covered if other parts of the project do not already cover them, as they don’t have the same beauty as the face. Using an expensive plywood product like this, designed specifically for furniture and cabinetry, would be a waste of money but cover it up with some other material.
Covering Plywood Edges
Only the edges must be covered for furniture and cabinetry made of hardwood plywood. This is done in three ways, depending on the project’s design. Two of those ways involve using wood, and the third is plastic.
Wood Veneer
Wood veneer edge treatment provides the most unobtrusive option for covering the edges of hardwood plywood, often leaving the appearance that the piece is made out of solid hardwood if installed properly. If you already use wood veneers somewhere in the project, you might use some of the same veneers for the edges. If not, then veneer edging is made with hot-melt glue already applied to the back side, making it very easy to install.
For an expert-level finish to this edging, cut off the core veneers of the plywood, leaving a tongue of the face veneer sticking out, which overhangs the edge the same amount as the thickness of the veneer you’ll be using on the edges. This will allow the face veneer to cover the whole surface rather than having the edge veneer visible from the face of the board.
The commercially available veneer with hot melt glue is the easiest. It comes available in various widths, although 3/4″ is the easiest to find. To attach it, position it on the edge of the plywood and melt the hot-melt adhesive with a clothes iron, as if you were ironing the veneer in place. A sharp knife can trim the extra material if the veneer is wider than the thick board. Always be careful to work with the grain direction when cutting.
Using your veneer is a touch more complicated as it doesn’t already have the adhesive attached. In this case, you’ll need to apply a thin coating of wood glue to both the back side of the veneer and the surface you are gluing it onto, spreading it out with a small brush. Allow the glue to dry for about 45 minutes, then attach the veneer to the plywood using iron like the pre-glued wood veneer trim attached.
Wood Banding
A slightly more visible way of covering the edges, which can nevertheless look quite attractive, is to use a 1/8″ to 1/4″ thick strip of hardwood banding to cover the edge. This can be cut out of the same hardwood used elsewhere in the project, or a contrasting hardwood, depending on your preferred style. The banding is glued with wood glue or glued and nailed to the edge.
There are several ways of attaching this banding to the edge of the plywood, such as cutting a tongue and groove. But the most common way is to glue it in place, either using edge clamps to hold it while the glue dries or using brad nails to hold it while the glue dries. However, if you use brads, the nail holes must be filled.
A third option for banding is to attach a square strip of wood, gluing it into a 90-degree, angled notch cut into the board’s edge, as shown in the diagram below.
In this case, the edge of the plywood needs to be cut at a 45-degree angle, with either a table saw or a router, to make a place to insert the hardwood edge piece. The trim is cut from a hardwood board and glued into the notch. Excess material is then cut off with a table saw.
The advantage of this method is that it provides you with a durable hardwood edge, which is more resistant to damage than veneer is, while still making the finished piece look like it is all solid hardwood. It’s a bit harder, but the results are worth it.
Finally, there is another way of edge banding: wood screen molding, which usually comes in a 3/4″ width. This can be plain or beaded but will be made of the same whitewood commonly used for other architectural trim moldings.
Plastic Trim
Plastic trim is commonly found, factory installed, in furniture made of plywood. It is something like veneer with rounded edges, except it is made of plastic. This piece fits into a groove, cut into the edge of the plywood as if it were tongue and groove.
You can buy this material in a variety of colors and widths. While it doesn’t provide as nice an edge as hardwood edge banding or veneer, it is easy to finish off an edge, which will go well with casual areas, work areas, and children’s playrooms.
Covering Plywood Surfaces
Many materials can cover plywood panels, giving them a nice and attractive look. These provide a very different look, so it may not be evident that the project is made of wood, let alone plywood.
Fabric
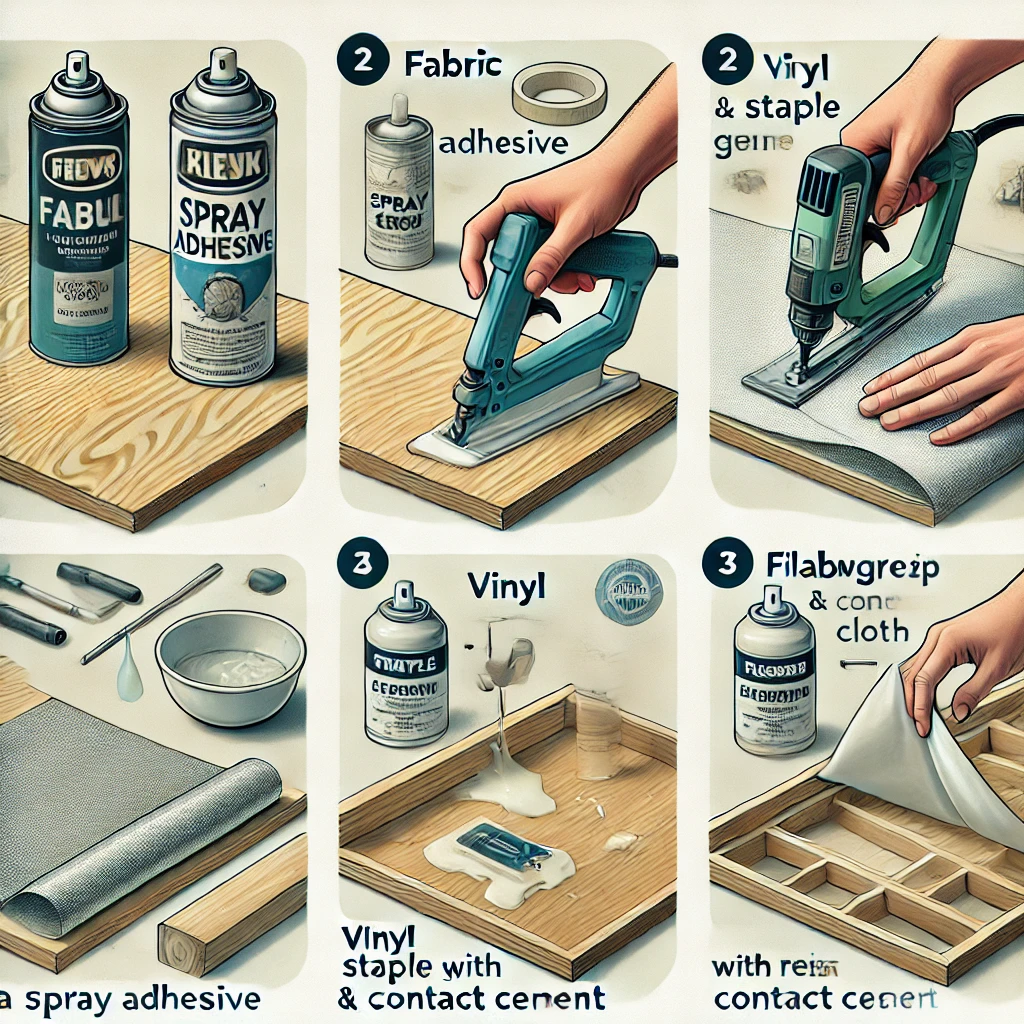
Fabric is considered the oldest and most straightforward means of covering plywood projects. The fabric selection would have to be made very carefully considering the look you want to give to the project. Almost all fabrics will stick to all plywood products if a suitable adhesive is used.
Before gluing any fabric to plywood, the plywood must be sanded. You’re looking to accomplish two seemingly opposite things here. The first is to eliminate sharp or rough edges, corners, and splinters, which could cut or poke through the fabric. The other is to rough up the surface of the plywood to ensure that the glue will adhere. Using 120 to 150-grit sandpaper for this should accomplish both purposes.
The best adhesive for attaching most fabric to plywood is a spray adhesive, something like 3M type 77, essentially a thinned-down version of contact cement. For fabric, you probably want to spray it on the fabric and not the plywood, then put the fabric in place, smoothing it down.
When using this adhesive, be aware that it dries quickly, and you can’t move the fabric once dry. So you want to be careful about the placement of the fabric on the wood, avoiding wrinkles. Be careful to center the fabric over the wood so that you can wrap it around the edges and glue it in place. Be sure to do the folding and gluing around the edges in an organized way so you can end up with neatly folded corners.
Some people recommend using hot glue with fabric, but this only works with heavier fabrics, like some heavy upholstery fabrics. If hot melt glue is used with thinner fabrics, it will soak through the fabric and be visible.
When using hot melt glue, only apply it around the edges of the panel you cover, immediately sticking the fabric to it. One advantage of this method is that you can insert quilt batting under the fabric before sticking it down, giving the panel a softer feel.
Vinyl
Covering a plywood panel with vinyl upholstery is much like covering it with fabric, except that contact cement is used rather than spray adhesive or hot melt glue. While those adhesives can be used, they are not strong enough long-term. Another alternative is to use a staple gun to attach the vinyl if your design allows you to cover the edge with the staples.
There are also vinyl products specifically designed to be installed as a covering for plywood. These products are not upholstery but rather designed to provide a specific texture and style, becoming the surface and hiding the plywood underneath. Some appear metallic, while others could take on the appearance of fake alligator skin or other textures. They are designed to provide a specific “look” to finish off modern-styled furniture.
Vinyl floor covering can even be used for plywood, although it rarely is. But in the case of a playroom with, say, a play fort in it, vinyl flooring may be used to cover parts of the fort, especially walkways. As this floor covering is usually installed over plywood subflooring, installing it on any other project is like installing it onto the floor.
Fiberglass
Fiberglass normally isn’t used as a “finish” for plywood, but plywood is often used as a support for fiberglass. Combining fiberglass with plywood provides a durable mix that is waterproof and strong. Such a combination is common on boats but can also be used in recreational vehicles and outdoor furniture. It will work anywhere you need something strong, attractive, and waterproof.
I must warn you, though, working with fiberglass is messy, so be prepared for that. Always wear rubber gloves when working with fiberglass and cover the workbench or floor with waterproof and absorbent coverings.
You want to avoid sharp edges and corners when designing projects covered with fiberglass. Fiberglass cloth is loosely woven, and corners will jab through it easily. This leaves you with an unfinished corner, even while the rest of the board is. Better to use rounded corners and round all your edges so that the fiberglass can cover the entire project evenly.
Before applying the fiberglass, the project should be finished and sanded. You’ll want to sand all surfaces with 120 to 150-grit sandpaper to provide a surface that is just rough enough for the fiberglass resin to get a good “bite” on. Be sure to wipe the sawdust off the surface.
A minimum of two layers of fiberglass cloth is needed for any project. More layers can be used. If you are trying to build up a thick fiberglass coating, using “woven roving,” a fiberglass cloth product with a much larger yarn diameter would be best.
One layer of woven roving is equivalent to roughly five layers of normal fiberglass cloth. This is approximate, as there are more than one type of fiberglass cloth and more than one kind of woven roving.
You can use either fiberglass resin or liquid epoxy for fiberglass work. Different products have different working times, so pay attention to that when you buy them. You’re usually better off with an epoxy that has a 30 to 60-minute working time when doing fiberglass work. I’ve had too much epoxy harden on me right before applying my fiberglass. Mix enough resin for what you need, but not too much. Excess rosin or epoxy that hardens is useless to you, and these materials are expensive.
Before starting, cut as many layers of fiberglass cloth as you need. To wrap the excess around the edges, these should be larger than the surface you cover.
Using a disposable paintbrush, paint a layer of rosin or epoxy onto the surface. Neatness isn’t all that important, but you don’t want to miss any spots.
Lay the fiberglass cloth onto the project, centering it, folding the edges over the sides, and sticking them there. Be sure to do that now, as you can’t do it later. You can move and reposition the cloth somewhat but don’t overdo it, as it tends to start falling apart.
Continue alternating layers of rosin and cloth until you have built up as thick a finish as you want. Always cover the last layer of cloth with a thick fiberglass resin or epoxy coating.
The finished fiberglass can be sanded and painted or have gel coating applied once it has had time for the rosin or epoxy to cure thoroughly.