Stair treads may look simple, but they do more work than any other part of a staircase. Every step, every scrape from moving a couch, and every bit of daily wear lands on that surface. Without sturdy, well-chosen treads, even the most stylish staircase feels shaky and unsafe.
Most homeowners pay attention to the railings or risers because they stand out visually, but the tread is where safety and design truly meet. The material you pick, the thickness you install, and the way you maintain those steps will determine how your stairs hold up over time.
In this guide, I’ll share what I’ve learned about stair treads—covering the best materials, the right thickness for durability, and simple installation tips you can handle yourself. We’ll also look at costs, maintenance routines, and upgrade options so you can make a choice that fits both your home and your budget.
What Are Stair Treads and Why They Matter
A stair tread is the flat surface you step on when climbing stairs. It sits on top of the stair stringers (the angled supports) and may connect to a riser (the vertical face).
Typical depth: 10–11 inches
Standard thickness: 1–1.25 inches for wood, 1.5+ for commercial or open-riser designs
Overhang: Usually extends 1 inch past the riser for comfort and safety
Without durable treads, your stairs can squeak, sag, or even split. Building codes often require a minimum tread depth for safety—usually 10 inches in residential settings.
Best Stair Tread Materials for Your Home
Choosing the right material is always a balance between budget, durability, and style. The tread material you pick not only affects how your stairs look, but also how they perform over the years of daily use. Below are the most common stair tread options that homeowners and DIYers turn to, along with practical notes on where each one works best.
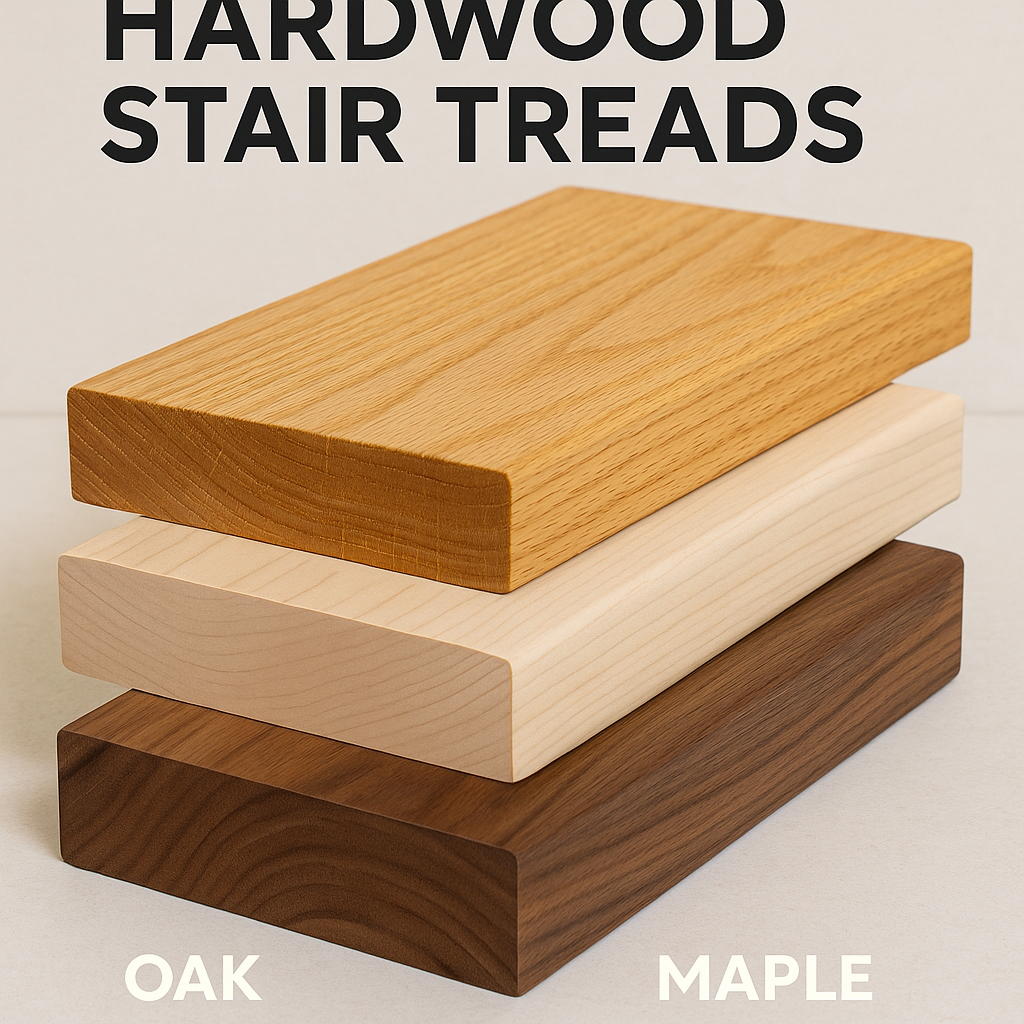
Hardwood Stair Treads (Oak, Maple, Walnut)
Solid hardwood is the gold standard for stair treads. It’s durable, beautiful, and can be refinished multiple times.
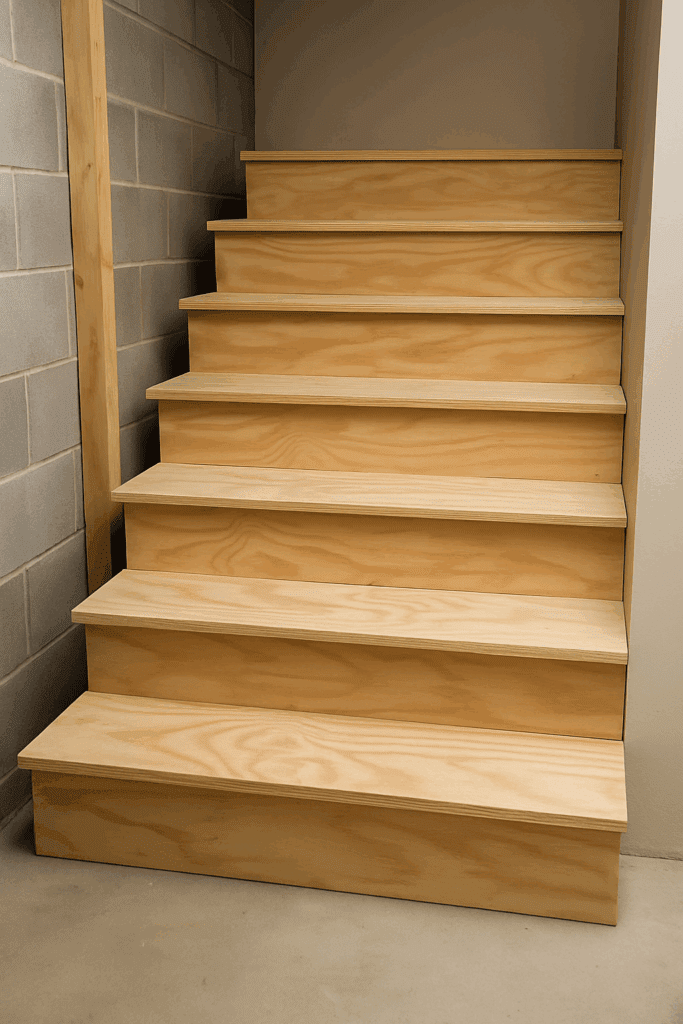
Plywood stair treads are affordable and surprisingly strong when built from structural-grade plywood.
Plywood stair treads are one of the most cost-effective solutions for both new construction and remodels. When made from structural-grade plywood, they’re surprisingly strong and capable of handling daily foot traffic without sagging. While they don’t carry the natural beauty of hardwood, they make an excellent base layer and are the best choice if you plan to cover your stairs with carpet, laminate, or vinyl.
In utility areas like basements, workshops, or rental properties, plywood treads are practical and durable. They can be cut to size with basic tools, installed quickly, and replaced without major expense—making them a favorite for DIY homeowners working on a budget.
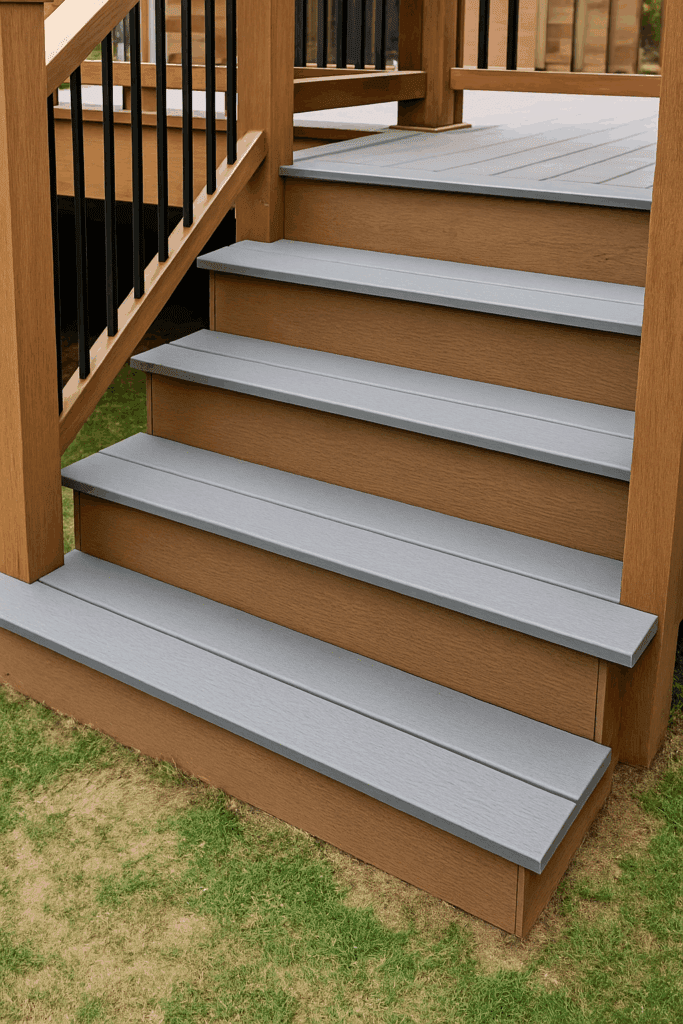
Composite & Vinyl Stair Treads for Outdoors
When you want a staircase that holds up with very little work, composite and vinyl stair treads are hard to beat. I’ve used them on outdoor deck stairs where rain, snow, and temperature swings would quickly ruin wood. They don’t swell, warp, or split, and you never have to worry about insects chewing through them.
The textured finish adds just enough grip so the steps feel safe, even when wet. That makes them perfect for porches, patios, basements, or anywhere damp conditions are common. Most brands also offer subtle color choices—grays, browns, and tans—that blend in nicely with decking or siding. While they don’t have the natural charm of oak or maple, the benefit is simple: install them once, and you won’t be sanding, sealing, or refinishing every couple of years.
Stair Tread Thickness: How Thick Should Treads Be?
Thickness affects not only durability but also the way your stairs feel underfoot. A tread that’s too thin may flex or squeak, while one that’s too thick can look bulky and expensive to install.
Residential interior stairs usually perform best with treads that are 1–1.25 inches thick, whether hardwood or plywood. This provides enough strength for everyday household use without adding unnecessary weight.
Open-riser or floating stairs often require 1.5–2 inches to keep the steps rigid, especially since there’s no riser for extra support. The thicker profile also adds a modern, architectural look.
Commercial or public staircases typically demand 1.5 inches or more, often reinforced with steel, since they must withstand far heavier foot traffic and stricter building codes.
Choosing the right thickness is a mix of code requirements, design style, and how solid you want each step to feel beneath your feet.
Measure each tread carefully—staircases are rarely perfectly square. Double-check your measurements at both ends, since even a small difference can leave gaps along the wall.
Cut the tread to size, allowing for a 1-inch overhang. Use a sharp blade and make smooth, steady cuts to avoid splintering the edges.
Dry fit the tread before applying adhesive. This test run ensures you won’t be surprised once the glue is down and helps you confirm the fit is tight.
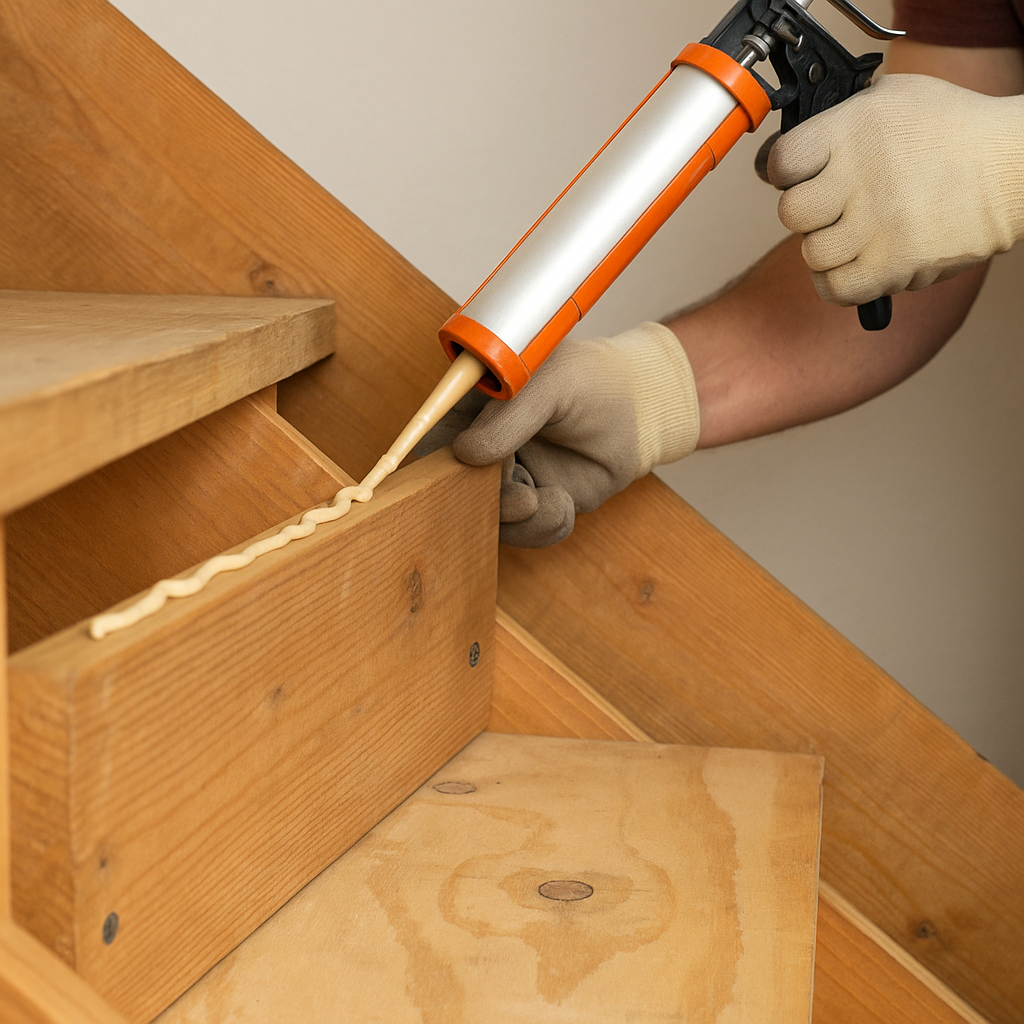
Apply construction adhesive along the stringer tops. Spread it evenly so the tread bonds across the full surface and doesn’t squeak later.
Secure with screws or finish nails—countersink for a clean finish. Wipe away any excess glue as you go to prevent hardened spots that are hard to sand.
Sand and finish with stain or polyurethane for protection. Take your time finishing coats, since this is what keeps the treads looking good and standing up to daily traffic.
If replacing your treads isn’t in the budget, stair tread covers offer a fast makeover.
Stair Tread Covers and Quick Upgrades
Not every staircase needs a full rebuild—sometimes a simple cover can make all the difference. I’ve seen homeowners transform old, scuffed steps in a single afternoon just by adding a new surface layer.
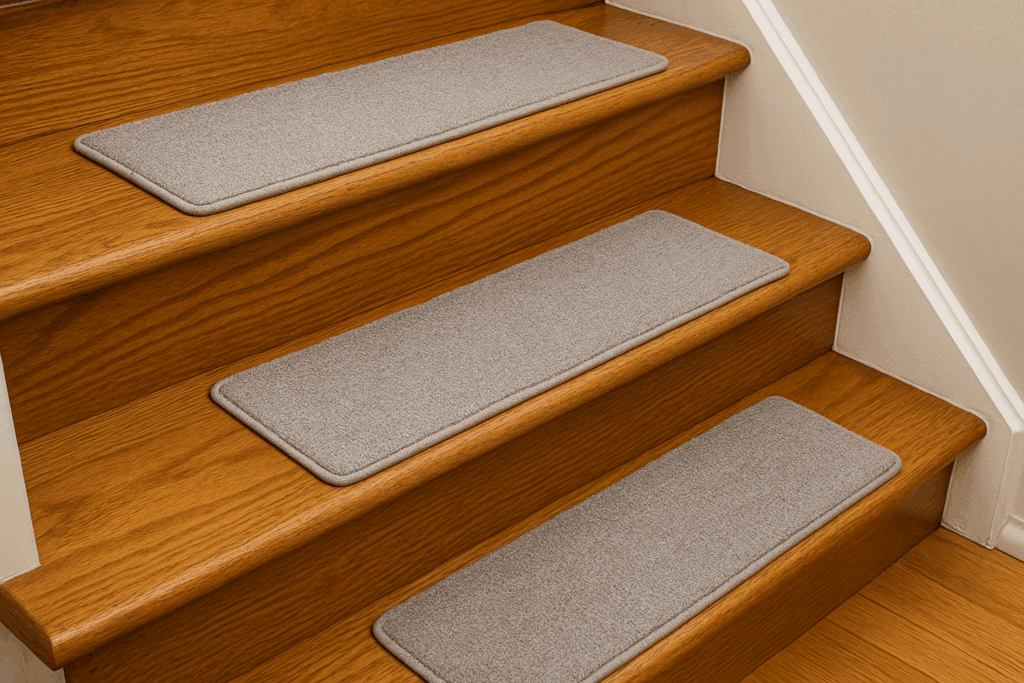
Carpet stair treads are one of the easiest upgrades. They bring a bit of warmth to cold wood and add grip so kids and pets feel safer running up and down. Most sets stick down with adhesive strips, and swapping them out when they wear thin is just as quick.
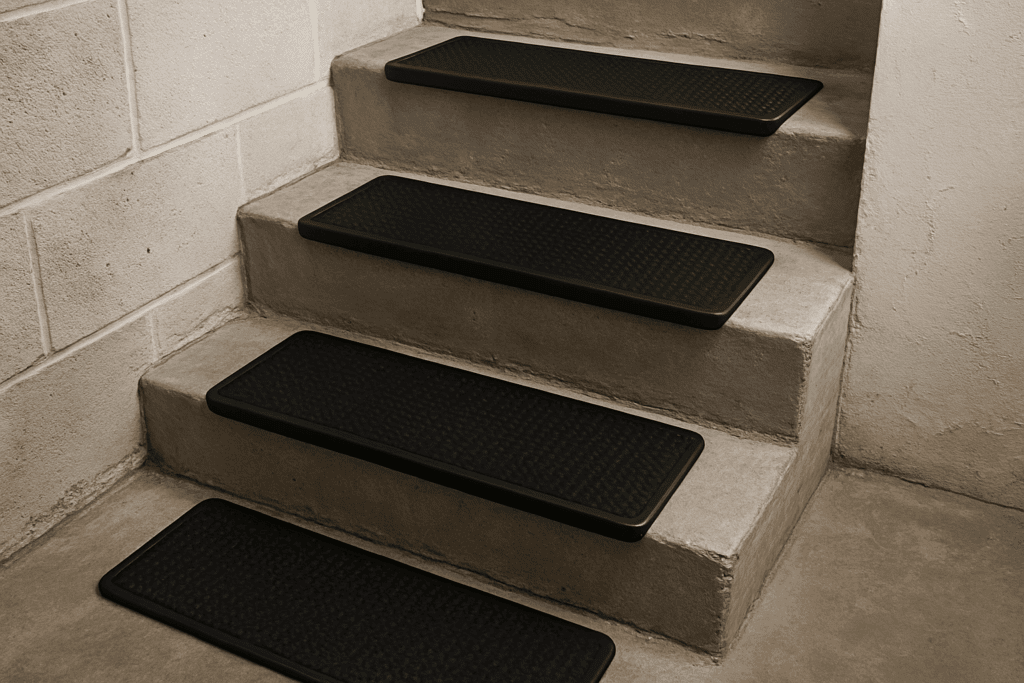
Rubber treads work well in basements, garages, or workshops where safety is more important than looks. They hold up to dirt, spills, and heavy boots, and the slip-resistant surface means you can move around with confidence even when things get wet.
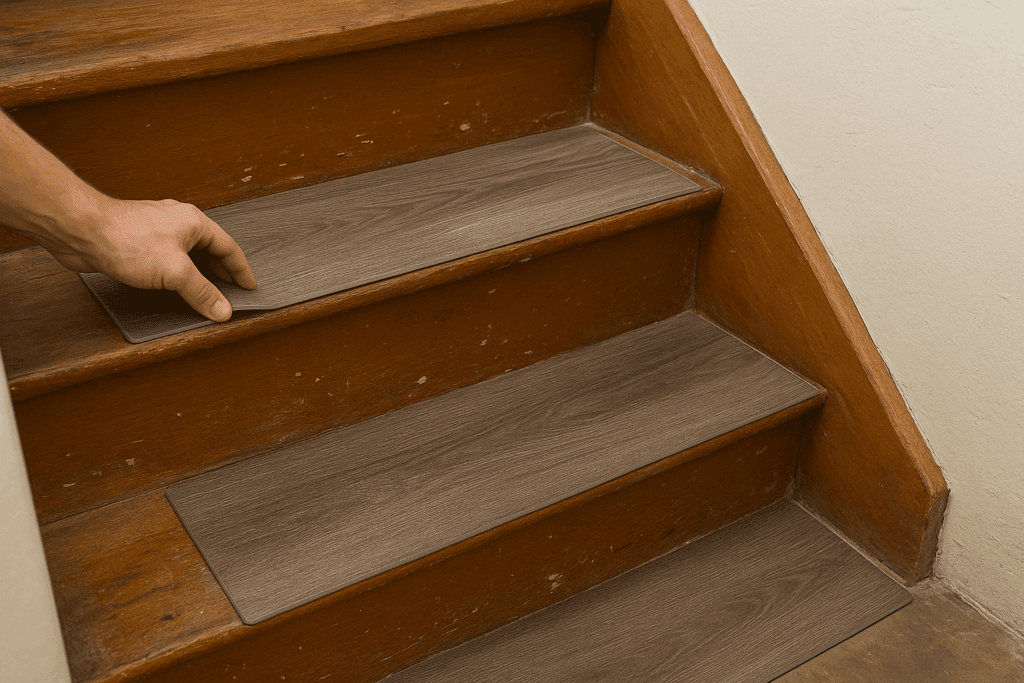
Overlay systems—prefinished wood or vinyl caps—are a favorite for remodels. Instead of tearing out your old stairs, you fit the covers right over the existing tread. In just a weekend, you can go from dull, squeaky steps to something that looks brand new.
These upgrades don’t just improve safety; they’re a smart way to extend the life of your stairs without taking on a big construction project.
My stairs get a lot of traffic, and they show it fast if I don’t keep up. Dust and grit build up almost daily, so I just run the vacuum over them once a week. It keeps little scratches from forming. Spills are the worst—if I don’t wipe them right away, I end up with spots that won’t come out. Every few years, hardwood treads need a fresh finish. It’s a weekend project, but it makes them look new again. Rubber or carpet covers don’t last forever either. Once they start peeling or feeling slick, I swap them out. On my outdoor steps, I always check after winter for soft spots or boards that feel spongy. A few minutes of upkeep here and there saves me from big repairs later.
Stair Tread Costs by Material
From what I’ve seen, the price of stair treads really swings depending on what you buy:
Plywood treads – These usually run about $15–$25 each. They’re the cheap and simple option, fine if you’re going to cover them with carpet or just want something quick.
Oak hardwood treads – Around $30–$60 a piece. Oak is everywhere, it holds up well, and it gives stairs that traditional look.
Walnut hardwood treads – Typically $50–$100 each. Walnut has that deep, rich color that people love, but you definitely pay for the upgrade.
Composite treads – I see these for $25–$40 each. They’re not fancy, but they’re easy to live with and don’t need much upkeep.
Stone or concrete treads – These start at about $100 per tread, sometimes a lot more. They’re heavy, pricey to install, but once they’re in, they’ll outlast everything else.
Final Thoughts
Funny thing, I didn’t even notice stair treads until one cracked while I was carrying a basket of laundry. Scared me half to death and made me realize how much weight those boards take every day. I tried replacing it with plywood because it was cheap and on hand, but it only lasted a season—dog nails, wet boots, and kids stomping up and down tore it up quickly. Oak feels steadier, and that’s what I’ve used since. Walnut looks fancy, sure, but I’d rather not stress about scratching something that pricey. Composite is low-maintenance, and outside, I’ve seen stone steps hold up through winters that rotted wood in no time. If there’s one thing I’ve learned, it’s not to go thin and not to cut corners. The one time I did, I ended up fixing the same tread all over again.