Why Speaker Stands Matter for Sound Quality
If you want clearer, more immersive sound from your home audio setup, speaker stands are a must-have. Placing speakers directly on the floor can cause muffled vocals and bass distortion, reducing sound clarity. Properly elevating your speakers enhances audio projection, ensures crisp dialogue, and improves your overall listening experience—whether you’re watching movies, gaming, or playing music.
This guide will help you choose the best speaker stands, whether you’re looking for DIY solutions or expert-recommended adjustable speaker stands available online.
Benefits of Using Speaker Stands
Installing speaker stands isn’t just about aesthetics—they provide practical benefits that enhance sound performance:
✅ Improved Clarity – Prevents sound distortion caused by floor vibrations. ✅ Optimal Sound Positioning – Aligns speakers at ear level for better audio projection. ✅ Better Home Theater Experience – Ensures dialogue and sound effects come from the right direction. ✅ Reduced Floor Reflection – Enhances sound accuracy by minimizing unwanted echoes. ✅ Safer Setup – Keeps speakers stable and prevents accidental tipping.
By using speaker stands, you create a cleaner, more professional audio setup that maximizes sound quality.
How to Choose the Right Speaker Stands
When selecting, consider these key factors:
1. Height & Positioning
To ensure optimal sound delivery, your speakers should be positioned so the tweeters (high-frequency drivers) are at ear level when seated. Use this formula:
📏 TV Center Height = (Top of Screen + Bottom of Screen) ÷ 2
📏 Speaker Stand Height = TV Center Height – [(Speaker Height ÷ 2) – 1.5” (plywood thickness)]
2. Material & Build Quality
The durability of speaker stands depends on their material:
✔️ Wooden Stands – Sturdy and customizable, great for DIY projects.
✔️ Metal Stands – Offer better stability and often include mass-loading features to improve sound isolation.
✔️ Glass & Acrylic Stands – Stylish but less durable than wood or metal options.
3. Base & Stability
Ensure the base is wide enough to support the speaker’s weight and prevent wobbling. Look for features like:
🔹 Rubber feet or spikes – Helps prevent sliding and absorbs vibrations.
🔹 Cable management holes – Keeps wires hidden for a clean setup.
🔹 Adjustable height – Allows for flexible speaker positioning.
DIY Speaker Stand Ideas (Budget-Friendly & Stylish)
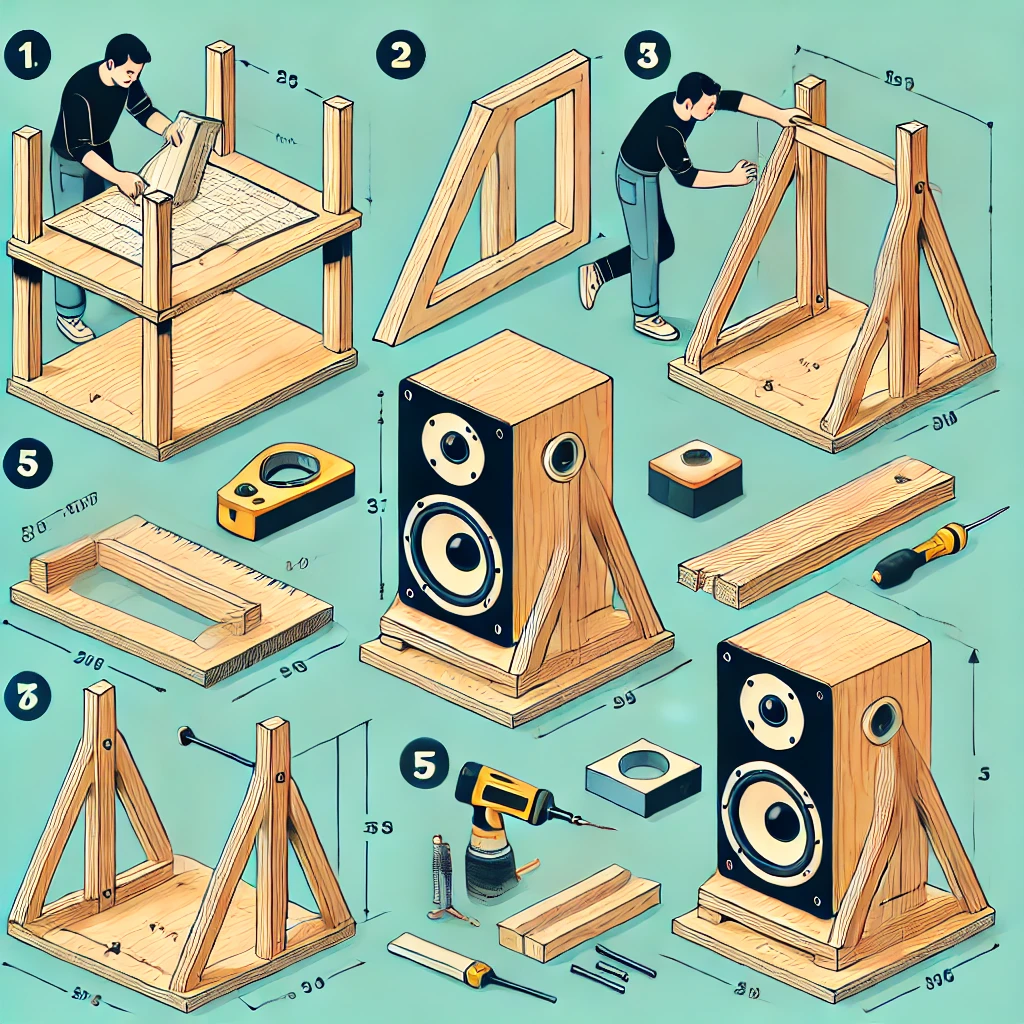
If you prefer a custom DIY approach, you can build speaker stands using cabinet-grade plywood. Here’s how:
Materials Needed:
✔️ 3/4-inch cabinet-grade plywood – Offers a smooth, durable surface.
✔️ Wood screws or nails (2-inch minimum) – Ensures strong joints.
✔️ Wood glue – Strengthens connections between pieces.
✔️ Saw (table saw or circular saw) – For precise cutting.
✔️ Sandpaper & wood stain/paint – For a polished, professional finish.
Steps to Build DIY Speaker Stands:

1️⃣ Measure & Cut Plywood – Cut pieces for the base, shelf, and vertical supports.
2️⃣ Design for Stability – Avoid weak parallel supports; incorporate triangular elements for strength.
3️⃣ Pre-drill Holes – Prevents splitting when assembling with screws.
4️⃣ Assemble Using Glue & Screws – Secure all joints tightly.
5️⃣ Sand & Finish – Smooth edges and apply paint or stain to match your decor.
DIY speaker stands offer flexibility—you can customize the height, color, and design to fit your space!
Best Speaker Stands on Amazon (Expert Recommendations)
For those who prefer ready-made options, here are some top-rated speaker stands recommended by audio professionals:
🔹 Best Adjustable Speaker Stands
✅ Sanus Adjustable Speaker Stands – Sturdy, height-adjustable, with built-in cable management.
Check on Amazon
🔹 Best High-End Speaker Stands
✅ KEF Performance Speaker Stands – Premium quality, mass-loading feature for vibration control.
Check on Amazon
🔹 Best Budget Speaker Stands
✅ Perlegear Universal Speaker Stands – Affordable, easy to set up, with strong metal construction.
Check on Amazon
Speaker Stand Placement Tips
To maximize sound quality, follow these placement guidelines:
🎯 Keep speakers at ear level – Ensures optimal sound projection.
🎯 Avoid placing stands near walls – Reduces unwanted reflections.
🎯 Use isolation pads or rubber feet – Minimizes vibrations and enhances clarity.
🎯 Ensure stability – If on the carpet, use floor spikes for better balance.
Final Thoughts: Upgrade Your Audio Setup Today!
Whether you build your own speaker stands or invest in expert-recommended models, properly elevating your speakers will dramatically improve sound clarity, bass accuracy, and overall home theater experience.
Why Speaker Stands Are Worth It:
✔️ Enhances sound quality & immersion
✔️ Prevents muffled audio & distortion
✔️ Keeps speakers secure & stable
✔️ Improves home entertainment setups
Try a DIY project or choose a top-rated option from Amazon to take your home audio experience to the next level! 🎵🔥


