Planning a kitchen makeover? One of the first things that usually has to go is the old set of cabinets. Swapping them out for something new can really change the feel of the space. But before the fun part begins, you’ve got to take down the old ones.
Paying someone to do this can cost $20–$50 per foot—and that adds up fast. The good news? You can save a chunk of change by removing them yourself with just a drill and a little time.
Doing it yourself not only keeps more money in your pocket, but it also gives you the option to reuse the cabinets elsewhere—like in your garage, workshop, or laundry room. If you don’t need them, someone else might. Post them online or donate them.
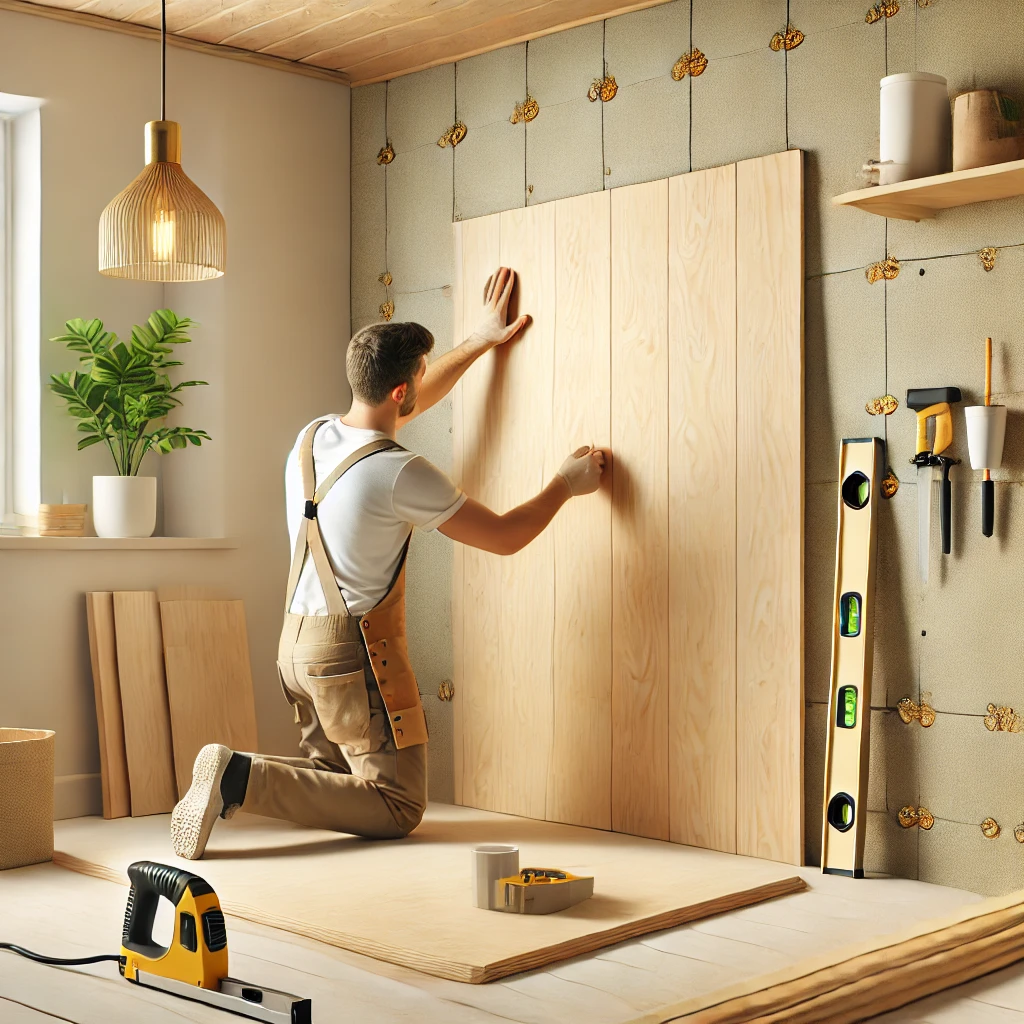
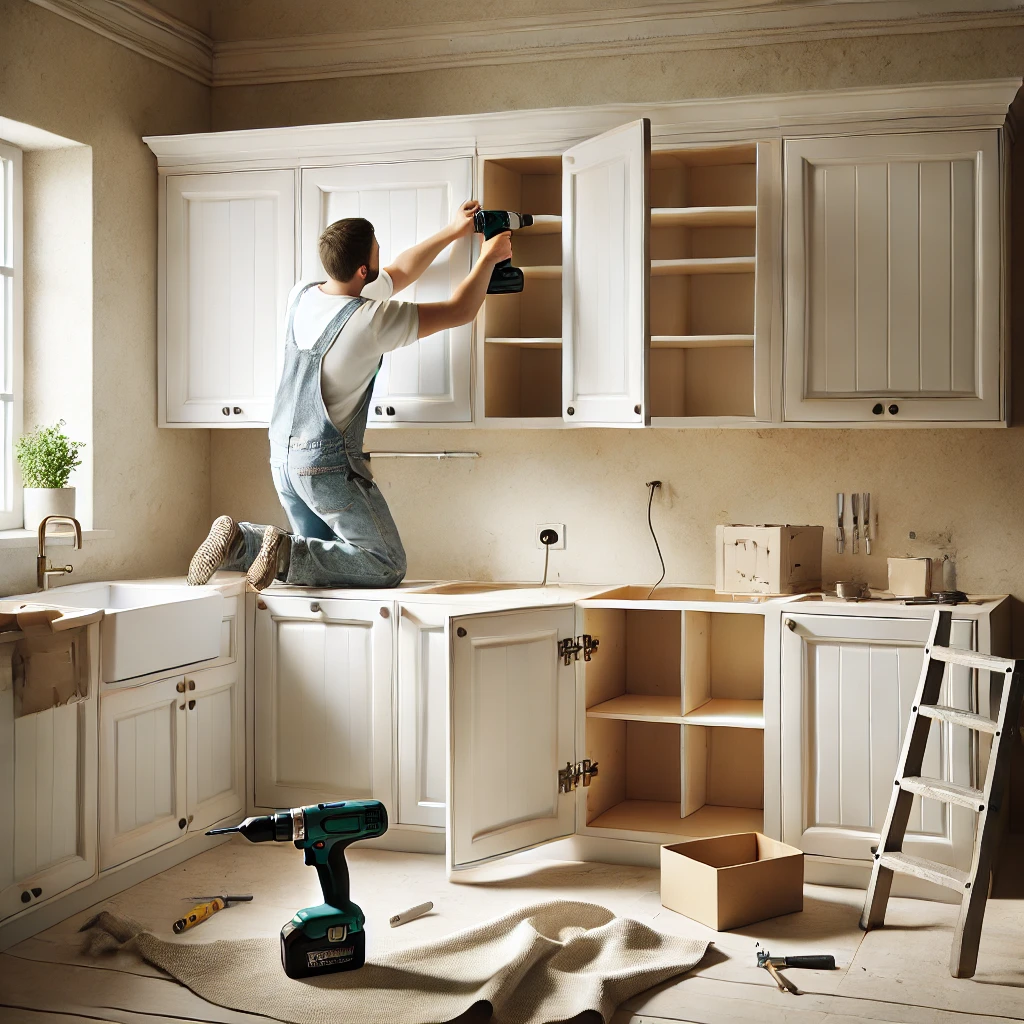
Removing wall cabinets with a drill during a kitchen remodel.
How Are Wall Cabinets Attached?
Before you grab a drill, it helps to understand how these things are stuck to the wall.
Most wall cabinets are held up with long screws drilled into the wall studs through the back of the cabinet. Some may have extra nails or glue, and in older homes, you might find them hanging from a soffit or even the ceiling.
If there’s trim on top, it’s probably held in with small nails. You’ll want to pry it off gently before you start pulling anything else down. And remember: wall cabinets are heavier than they look—especially solid wood ones.
Step-by-Step: How to Remove Wall Cabinets
Taking them down isn’t hard, but doing it right will save you from wrecking your walls or hurting yourself.
Step 1: Clear Out the Cabinets
First things first—take everything out. Even light items like glasses or cans can shift around and throw off the balance while you’re working.
Pro Tip: Use bins or boxes to keep things organized while you’re at it.
Step 2: Take the Doors Off
Unscrewing the doors makes the cabinets much easier to handle. Most doors are attached with basic hinges that pop off with a drill or screwdriver.
If the hinges are stuck or painted over, lightly score around them with a utility knife first.
Step 3: Find and Remove the Screws
Now look inside the cabinets for the screws that are holding them to the wall. You’ll usually find them at the back, driven into studs.
Where to Look:
Along the top and bottom of the back panel
Inside the side panels if cabinets are joined together
At the top, if they’re mounted to a soffit or ceiling
If there are no screws, they might be nailed in. In that case, carefully wedge a pry bar behind the cabinet and work it loose slowly.
Step 4: Get Some Help or Use Support
Cabinets can be heavy and awkward to manage, especially once the last screws are out. If you’ve got someone around, ask for a hand.
Working solo? Stack something sturdy underneath, like wood blocks or a tall bucket, to help support the weight as you loosen the cabinet.
Step 5: Pull It Away From the Wall
Once the fasteners are out, gently lift the cabinet off the wall. If it feels stuck, there might still be a hidden screw or some old adhesive holding it.
Use a pry bar if needed, but protect the wall by slipping a thin piece of wood behind it as a buffer. This helps prevent dents or damage.
If the cabinet still won’t budge, double-check for screws, nails, or even glue that you might’ve missed. Once it’s free, lower it slowly and set it aside.
Pro Tip: If you’re planning to reuse or sell them, stack them flat somewhere safe to avoid scratches or damage.
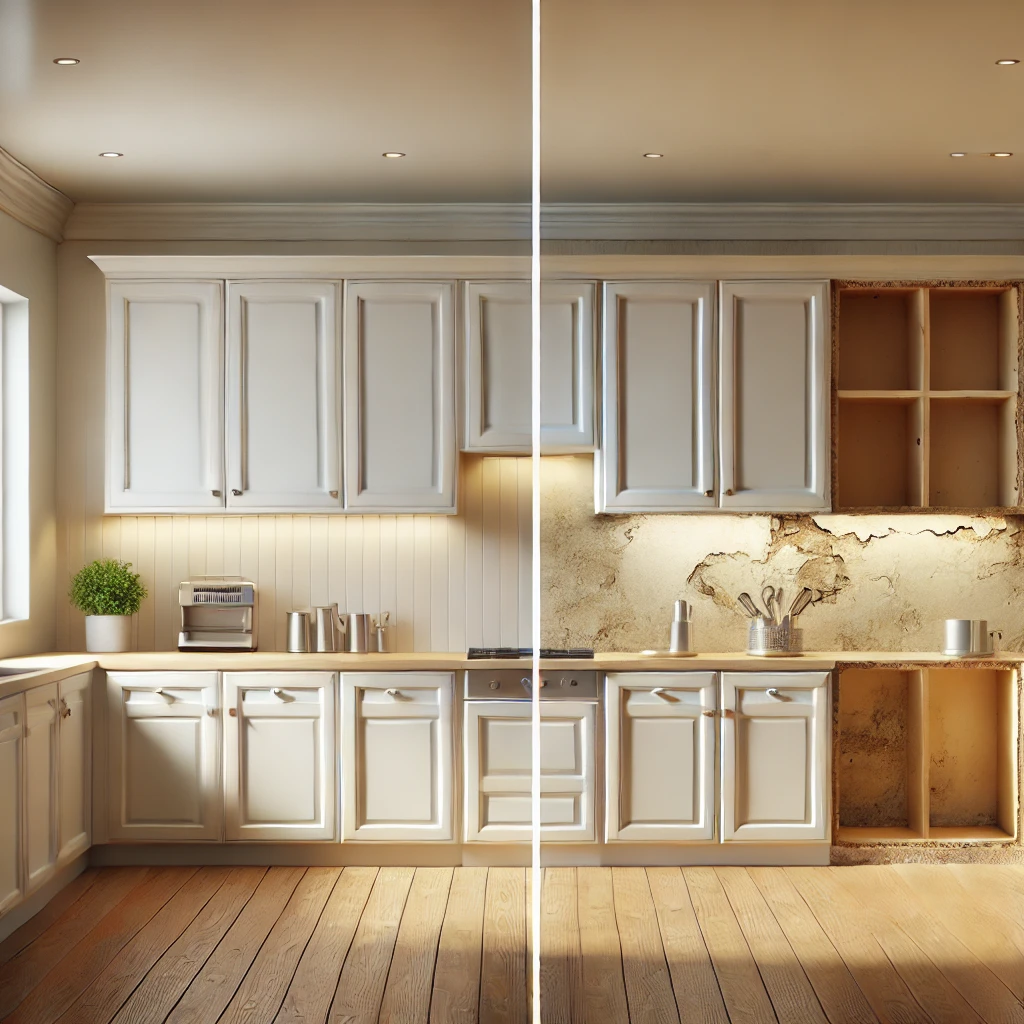
A kitchen shown before (with cabinets) and after removal (bare wall revealed).
Taking out base cabinets is a little different, but not by much.
Step 1: Remove the Countertop
Most countertops are attached with screws from underneath. You’ll usually find them inside the cabinet, screwed up into the counter.
If it’s glued or caulked, score the seam with a utility knife before prying it off. You might need a little muscle or a pry bar to break the seal.
Step 2: Take Off the Doors and Panels
Just like with wall cabinets, remove the doors and drawer fronts. This lightens the load and makes everything easier to handle.
If the cabinets are joined together, remove any screws between them.
Step 3: Pop Off the Toe Kick
That trim piece along the bottom? It’s usually attached with small nails or adhesive. Use a putty knife or pry bar to pull it off gently.
Step 4: Unscrew From the Wall
Look inside the cabinet for screws holding it to the wall. These are often at the top edge and back panel. Take them out with your drill.
If you find nails instead of screws, wedge a pry bar behind the cabinet and ease it out slowly.
Step 5: Disconnect the Plumbing
If the base cabinet has a sink, shut off the water and unhook everything first.
Turn off the water supply
Unscrew the hot and cold lines
Use pliers to disconnect the drain pipe underneath
Once that’s done, you’re safe to pull the cabinet away from the wall.
Printable Cabinet Removal Checklist
Want to keep this handy while you work? Click here to download the printable checklist with all the key steps to removing wall and base cabinets safely and efficiently.
Now’s the perfect time to patch holes, repaint, or even rework your layout. If you’re planning something bigger—like taking out a wall—make sure it’s not load-bearing before you swing a hammer.
Also, keep an eye out for wires, plumbing, or ductwork behind the wall. Moving those things adds time and cost, so plan ahead.
Tools That Make the Job Easier
If you want to make quick work of this job, here are some must-haves:
🔩 Cordless Drill/Driver – Speeds up screw removal
🔪 Utility Knife – Cuts through caulk and paint
🔧 Adjustable Pliers – Great for plumbing disconnects
⚒️ Pry Bar Set – Helps with trim and stuck cabinets
Taking down your own cabinets might sound like a big job, but once you get going, it’s pretty straightforward. Go slow, stay safe, and enjoy the savings.
Installing Garage Wall Cabinets: A Complete Guide by Amy Reed February 28, 2023 Installing Installing garage wall cabinets is a great way to free up floor space, create extra storage, and boost the aesthetics of your garage. In some…
How to Install Wall Cabinets Without Studs Safely by Admin September 26, 2025 Installing When you remodel a kitchen, laundry room, or garage, one of the biggest hurdles is figuring out how to hang wall cabinets. Normally, you’d screw…