Hurricanes can cause considerable damage, with wind speeds topping 150 mph. Worse than that, everything the wind tears off homes and other buildings becomes a ballistic object, increasing the damage caused downstream. Protecting one’s home from this onslaught can be challenging, especially protecting the windows, the most vulnerable part of any home. Knowing how to use plywood for hurricane protection is very important.
A simple DIY plywood window protection system can make a huge difference in keeping your home and possessions safe during hurricanes. There are several ways of doing this, depending on your home’s construction, especially the type of siding and window casings you have.
Plywood is the material of choice because it is the least expensive and still effective. Polycarbonate and metal window coverings are more expensive than plywood. However, it is crucial to select the right type of plywood, sturdy barrel bolts, specially designed clips, or other approved fasteners to save money while preventing damage and aggravation.
Pre-cut plywood window covers are available in some locations. But as with any factory-made part, they are made to standard sizes. This makes them much less effective than custom-cut covers such as barrel-bolt plywood shutters, especially since window sizes may vary considerably from the nominal size, depending on the home builder, construction style, and materials used.
What Not To Do
We’ll talk about using plywood for hurricane protection momentarily, but first, here’s what not to do. Some unprepared home and business owners have resorted to nailing plywood sheets over windows and doors when a hurricane approaches. Don’t do it! This can lead to more damage, as poorly attached boards are ripped off by even moderate hurricane-force winds. This makes holes in the window and door frames. The plywood panels also become flying missiles, leaving your property unprotected, smashing into things, and causing worse damage.
Nails are ineffective fasteners for this application, as compression-only holds them in place. As the wind vibrates the plywood window covers, it pulls on the nails, loosening them. The now-loosened nails would allow greater vibration in the panels, continuing to pull the nails out farther. In this manner, the wind could pull the nails out of the wall.
Never use MDF, OSB, or particleboard for these covers, as these materials are highly susceptible to moisture absorption. Even if you treat the wood to protect it from moisture, the relentless rain associated with a hurricane could strip the finish, soak into the panels, and destroy them, leaving your windows without the necessary protection.
How to Make Barrel-Bolt Plywood Shutters
Barrel-bolt plywood shutters are a good option for people who want to make window covers that can be reused repeatedly. They are suitable for use on homes and other buildings fitted with windows that are inset by at least two inches and made from various materials, but they are best for homes built from concrete blocks. According to the National Oceanic and Atmospheric Administration (NOAA), barrel-bolt plywood shutters performed extremely well even during Hurricane Andrew.
Supply List
Exterior grade plywood sheets to cover all windows and doors. When using plywood for hurricane protection, the sheets must be 7/16 inches thick or better. Some areas have even stricter requirements.
Check local codes to ensure that the barrel-bolt shutters you build will comply.
Take measurements before purchasing your plywood. It’s a good idea to buy a little extra if you make a measurement error or a cutting mistake.
3– to 4-inch-long heavy-duty barrel bolts: NOAA recommends placing bolts at intervals of every 2 feet. Other sources recommend placing bolts at six- to twelve-inch intervals.
Electric drill – If drilling into a concrete block, you’ll need a hammer drill with a masonry drill bit.
Circular saw for cutting the plywood
Note: Any sheet of plywood is strongest in the direction of its face grain. This is because there is one more layer of wood in that direction than in the other. You always want to use the stronger direction that spans the window horizontally, if possible.
Instructions
The first step in making barrel-bolt plywood shutters is to prepare the plywood and the building. Be sure that you measure carefully to ensure the shutters fit perfectly. Poorly fitted shutters will not perform well.
Carefully take the vertical and horizontal measurements inside each window casing and subtract ¼ inch. Cut the plywood to fit. If a window is not exactly square, make the panel match the actual shape of the window opening, with no gaps. A good fit is vital.
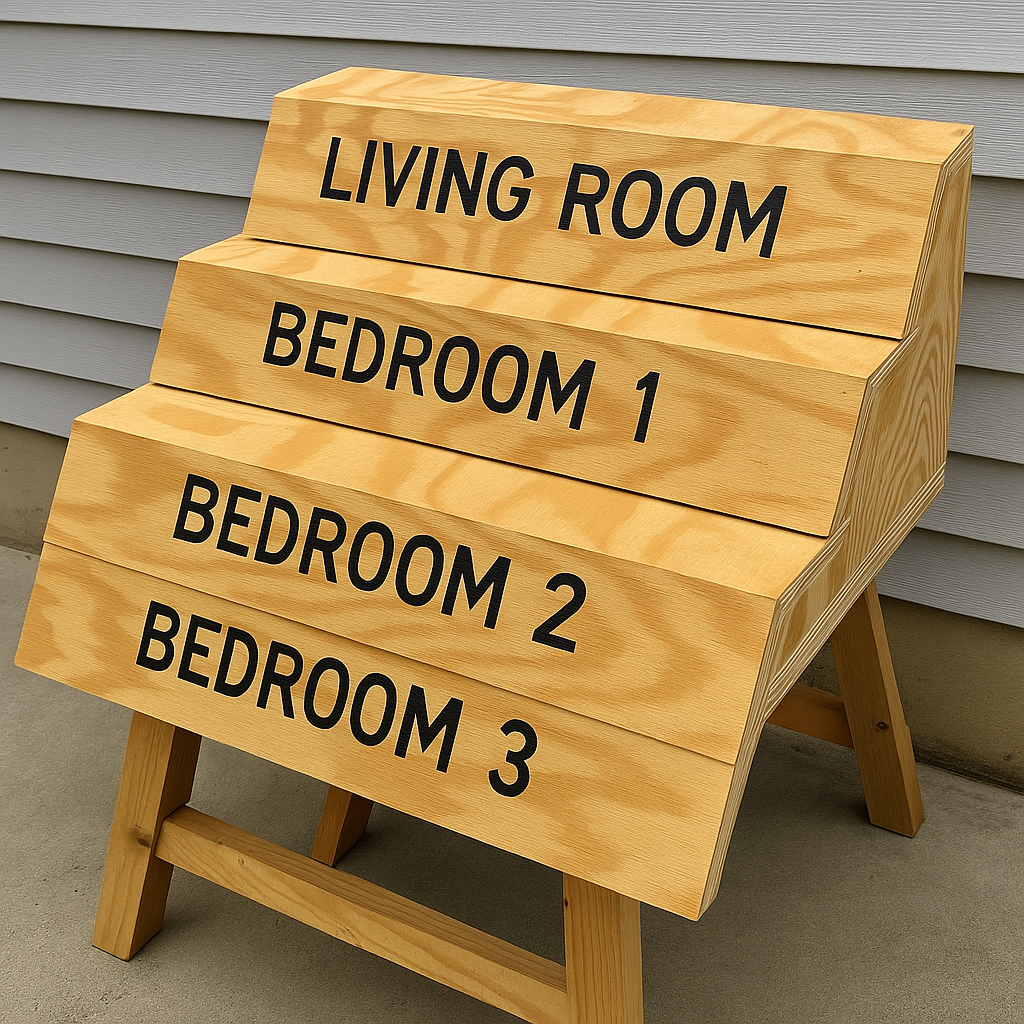
As you fabricate each panel, use a permanent ink marker to note which side is the top and which window or door it’s meant for. This will help you install your shutter quickly when a hurricane approaches.
Screw the barrel bolts to each edge of the panel. You need at least one barrel bolt every 2 feet along both sides. But the more barrel bolts you use, the better your property will be protected.
Set the panel into place in the window or door frame. Mark the spot where each barrel bolt slides against the wall.
Once you’ve made marks, remove the panel and drill the bolt holes into the window or door recess. Use a masonry or carbide-tipped bit for concrete or stucco walls, and ensure the drill bit makes a hole large and deep enough to accommodate the bolt just barely. You want a tight fit so tight that you’ll need to lightly tap the bolts with a hammer when installing the shutters.
If you need larger panels to cover picture windows or sliding glass doors, make larger panels by connecting pieces of plywood with 2x4s. Secure the 2x4s to the plywood panels with screws at four-inch intervals.
Extend their lifespan when the panels are finished by waterproofing them with a waterproof wood treatment or paint. Rewrite your markings over the finish, if needed, and store them in a dry place, up off the floor, to prevent warping.
Using Window Tension Clips
Temporary window tension clips can secure plywood to the inside face of window casings without screws or nails. They adhere to brick, wood, and stucco but do not adhere to vinyl siding. These clips are designed to work only with ½-inch-thick plywood.
Instructions
Start by measuring your window openings, then subtract ¼ inch from each opening. Always remember that it’s better to measure twice and cut once. In this case, you’re best off running the wood grain horizontally, as you will only be putting the clips on the two vertical sides of the board.
Cut the plywood to your dimensions and clean up the edges. This would be a good time to apply a waterproof sealer to the wood to protect it. Oil-based wood finishes are ideal for this application, as they are easy to apply, can even be applied sloppily, and provide adequate protection for the wood.
Mount the clips to the two vertical sides of the board, placing them every 2 feet. The longer leg of the clip, with the serrated edge, must be mounted outward. These clips fit tightly onto the plywood, so you’ll need a hammer to install them.
Place the panel inside the window opening and push it towards the window to install the window covers. For a wide window, you may need to press closer to the sides for the clips to engage. However, you don’t want the plywood so tight up against the window that there’s no room for it to move.
When the storm is over, and you want to remove the plywood covers, press in on the plywood at one end and pull up on the toothed part of the clip. With one side of the panel loose, the panel can be lifted out and stored for the next time.
Using Screws to Mount Your Plywood Shutters
If your windows are not recessed far enough to accommodate either barrel-bolt shutters or window tension clips, you will need to use screws to install the shutters. There is a large variety of different screw styles you can use for this purpose, including flush-mount anchors and hangar bolts.
A wide variety of these connectors is available, each with its own installation details. Be sure to read the instructions before using any of them. You want to do everything right with the plywood for hurricane protection.
Rather than either of these fasteners, you’re more likely to find that screws work for your installation. The question then becomes, what type of screws? That depends on the type of material your home is made of and what those screws are going into.
With this mounting, your shutters must be larger than the window rather than ¼” smaller than the window frame opening. Ideally, they should overhang the wall five inches. So, when you measure your window opening, add 10 inches to the height and 10 inches to the length.
However, if your window opening has a sill that sits out from the wall, you won’t be able to run the shutter five inches over that edge. Therefore, make the shutter only five inches taller than the window opening.
You’ll want to pre-drill the screw holes in the plywood before using it as a template to drill holes in the side of your home. Always keep these screw holes 1 1/2 inches from the edges of the shutter. Start measuring at the top corners, placing the holes there 1 ½ inches from both edges, and then add holes every foot along all edges.
Mounting in Concrete Block
If your home is made of concrete block or brick, you’ll want to use either concrete screws or screws with a metal anchor. The advantage of the metal anchor is that it can stay in your home’s wall as a permanent mount for the shutters, should you ever need to install them again. Never use a plastic anchor for hurricane shutters, as it is not strong enough to withstand wind loads.
In any case, you’ll need to drill the holes for the concrete screws or the anchors with a hammer drill and a masonry bit. The right-size bit will often come in the package with the anchors or concrete screws.
With masonry construction, there is no worry that your screws or anchors will go into an area that does not provide the necessary structural support. The whole wall will provide the support needed, so your screws won’t pull out.
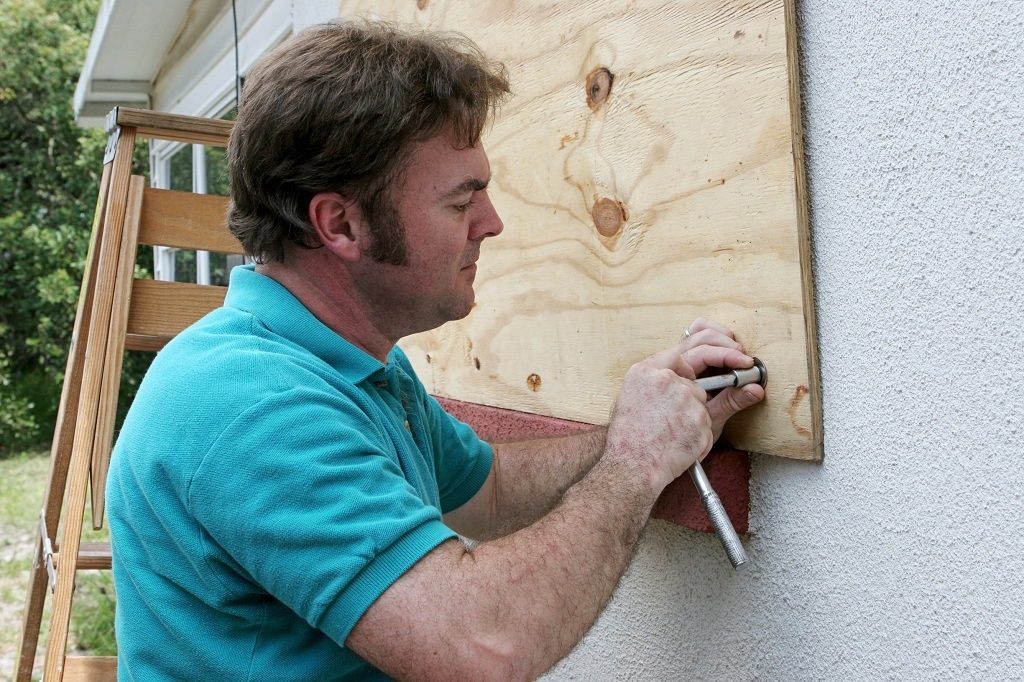
Man Protecting Windows with Plywood
Mounting to a Wood Frame Home
If you have a wood-frame home, even if it is covered with stucco, you’ll need to locate the studs inside the wall and drill your screw holes from the outside so the screws go through the siding and into the 2×4 studs. The siding alone isn’t strong enough to hold the screws, so they will pull out.
Locating these outside the house is hard, so locate the studs inside. This should be easy, as the window casing will have a half-inch-thick piece of drywall mounted directly to a double stud. So, 1/2” to 3 1/2” from the edge of the window opening is all structural wood. The same applies to the area under the window; you will have at least this much above it.
With these dimensions located, find or mark a reference point on the window that you can use to measure the same points from outside the home. A short piece of masking tape on the inside of the window should serve for this.
Select hardened screws at least 3 inches long for your mounting screws. It would be a good idea to put a washer under the screw head as well, even if you don’t have the right type of screws for use with a washer. The washer will help keep the screw from pulling through the plywood.
Once you’ve gone through the trouble of making hurricane shutters for your home, you’ll want to save them in case there’s another hurricane. Care must be taken in selecting a location to protect your shutters from moisture. You’ll also want them lying flat or standing upright on the edge. Never store them so the shutters are lying at an angle, which will put a permanent curve in the wood. Then, they won’t fit properly the next time you use them.
You also want to keep them off the floor if you store them in your garage. There are many times when the garage floor gets wet, such as when cleaning the garage. Setting the shutters on scrap 2x4s will keep them off the floor so they don’t absorb water through the vulnerable edge.
One Last Word of Advice
If you plan to make barrel-bolt plywood shutters or use a clip-style system to install plywood for hurricane protection, purchase your supplies well before hurricane season and build your shutters while the weather is good. Hardware stores always see a last-minute run on supplies when hurricanes are approaching. Be prepared; your home will have a better chance of surviving the next hurricane.
Related Posts:
Rhino Lining Plywood: A DIY Way to Make Plywood Last by Admin January 25, 2026 Grades I didn’t start using Rhino lining plywood because I wanted something extreme or clever. I ended up there because I got tired of replacing plywood…
Phenolic Plywood by Admin June 21, 2023 Hardwood Phenolic plywood is somewhat of a misnomer. It should more realistically be called "phenolic-faced plywood," "phenolic-faced plywood," or "phenolic-covered plywood." The veneer core plywood isn't…