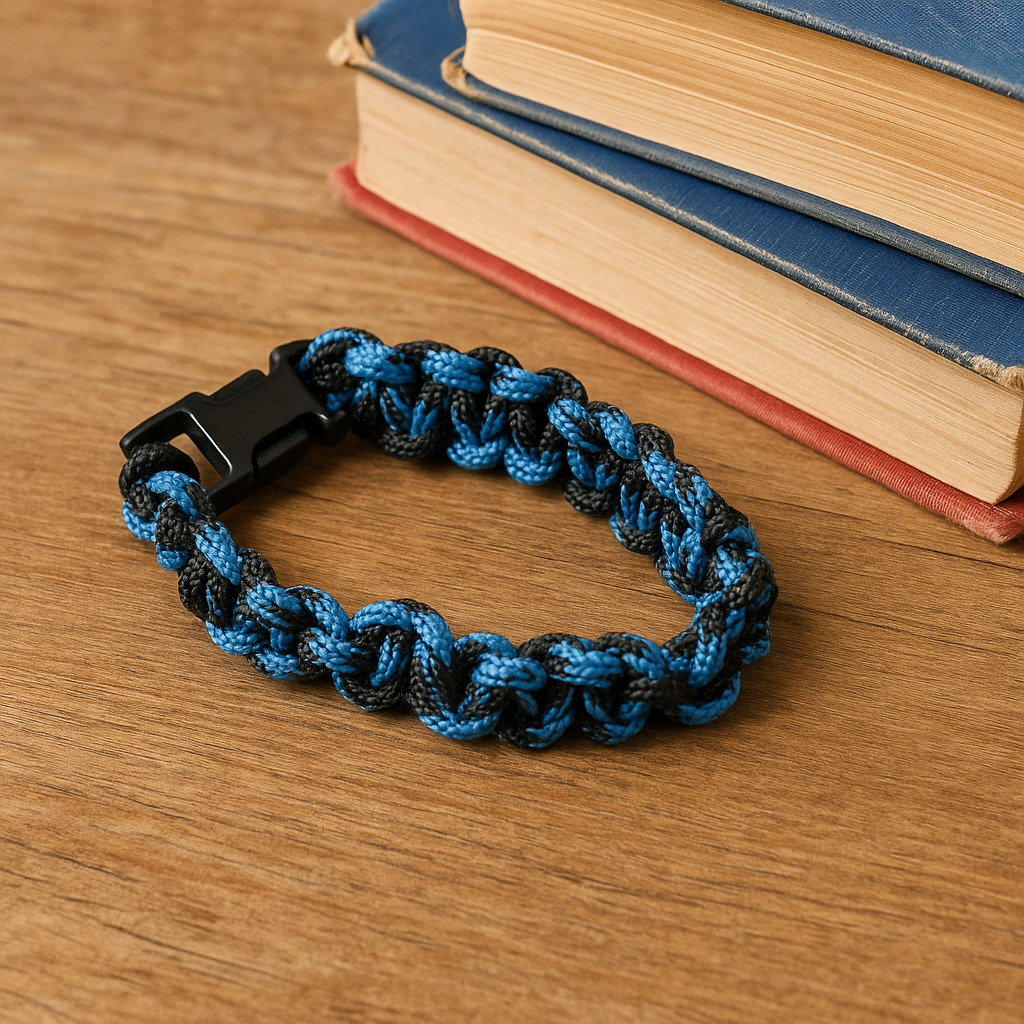
The first paracord bracelet I ever made without a paracord bracelet jig was a complete disaster. I didn’t even know such a tool existed, so I got “creative” and pinned the buckle under a pile of old textbooks, thinking heavy meant stable. Wrong. Every time I pulled on the cord, the buckle slipped just enough to throw everything off. The weave started okay, then became wavy, and finally flat-out crooked. By the end, it looked like something I’d fished out of a junk drawer — but I kept it anyway because it still makes me laugh.
Then someone let me try their paracord bracelet jig. Different story. Clip the buckle in, set the length, and suddenly you’re not wrestling the project into submission. Both hands are free, the tension stays even, and you can focus on the knots instead of chasing them around. That first jig-made bracelet came out so straight and tight I couldn’t stop looking at it.
That’s really what this guide is about — the stuff that makes the difference. Which jigs are worth your money, how to set one up so you’re not wasting cord, and a couple of patterns that are simple but don’t look it. I’ll throw in some tricks I’ve picked up from making more bracelets than I care to admit — the kind of small things that keep you from repeating my “stack of textbooks” disaster.
What Is a Paracord Bracelet Jig?
A paracord bracelet jig is one of those tools you don’t think you need until you try one. Its whole job is to hold the buckle or clasp in place and keep the paracord tight while you work. Without it, you’re constantly stopping to readjust — and that’s how you end up with a lopsided weave. With it, you clip the ends in, set the length, and both hands are free to just… knot. It’s a third hand, only steadier and less likely to cramp up.
The basics are pretty much the same no matter which jig you buy or build:
Adjustable base or track – Lets you size your bracelet exactly, whether it’s for a kid, an adult, or a big survival wrap.
Buckle holders or hooks – These grab both ends so nothing slips.
A solid base – Wood, plastic, or metal — doesn’t matter, as long as it’s heavy or stable enough to stay put.
Extras – Measurement marks, clamps, or swap-out buckle mounts if you like options.
I’ve seen folks make them out of scrap wood, old cutting boards, even metal bar stock. The materials don’t matter nearly as much as how well they hold your work steady. Once you’ve used one, going back to “holding it with your knees” just feels wrong.
Why Use a Paracord Bracelet Jig?
I’ve made paracord bracelets both ways — wrestling with the cord in my lap and using a jig — and the difference is huge. Once you’ve tried a jig, you don’t want to go back. Here’s what makes it worth using:
Consistency you can see – Every knot lines up, the tension stays even, and the bracelet looks sharp from one end to the other. Without a jig, I’ve had bracelets start neat and slowly get wonky halfway through.
Faster weaving – When the cord and buckle are locked in place, you don’t waste time stopping to fix slips or tangles. You just keep trying.
Perfect sizing – You can adjust the jig to the exact length you want, whether it’s for a kid’s wrist or a large survival band.
Beginner-friendly setup – If you’re new to paracord work, a jig removes a lot of the “fighting with the project” part, so you can focus on learning the knots.
Versatility – Most jigs work with a variety of buckles, shackles, and closures, so you’re not locked into one style.
Once you see how much cleaner your bracelets come out with a jig, it’s hard to imagine making them any other way.
Types of Paracord Bracelet Jigs
Not all jigs are created equal. Here are the main types:
1. Wooden Jigs
Honestly, these are my go-tos. They’ve got a bit of heft, so when you’re yanking the paracord tight, the whole thing doesn’t slide across the table. Most of the ones I’ve seen — and built — have a simple sliding track, so you can go from making a kid-sized bracelet to something that’ll fit a guy with forearms like fence posts without swapping tools.
You don’t need to be a master woodworker to make one, either. My first jig was just a scrap of 2×4 with a couple of screws and a rough set of holders for the buckle. Ugly as sin, but it worked. Over time, I got fancier: sanded edges so I didn’t catch my sleeves, a quick coat of linseed oil, even burned in inch marks with an old soldering iron. Wood’s forgiving — you can drill into it, clamp onto it, or tweak it as you figure out what you like. For a home workshop, it’s cheap, reliable, and will probably outlast you.
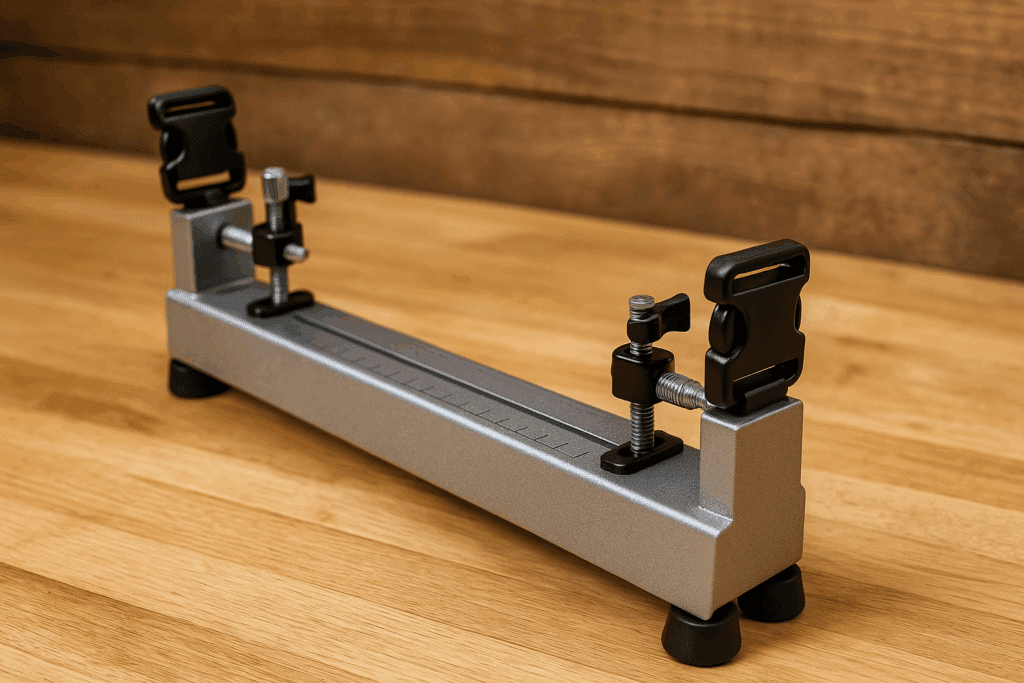
If you’re planning to crank out a lot of bracelets — think selling at craft fairs, stocking an online store, or just making them for half your extended family — a metal jig is worth considering. These things are built like tanks. They don’t warp, they don’t crack, and they can handle hours of pulling, tightening, and general abuse without flinching. I’ve seen some with powder-coated finishes that still look brand-new after years of use.
A lot of metal jigs swap out the usual buckle holders for clamps, which grip the cord or buckle ends more firmly. That’s handy if you’re using different closure styles or heavy-duty shackles that won’t fit a standard slot. They’re also less likely to move around on your work surface — some even come with rubber feet or bolt-down options.
The downside? They’re heavier and usually cost more than wood or plastic versions. But if you need a tool that’ll stand up to constant use and stay rock-solid for every bracelet, a metal jig earns its keep.
3. Portable Jigs
Portable Jigs – These are my “throw it in the bag and go” tools. They’re small, light, and usually plastic or aluminum. I’ve had one rattling around in my truck for months, and it’s saved me more than once when I got the itch to make something away from my bench. I’ve used it at a buddy’s kitchen table, at a campsite, even on a folding chair at a flea market.
They’re not perfect. Smaller jigs can wobble a bit if you’re pulling hard on the cord, and you don’t get quite as many adjustment options as the big ones. But if you just want to sit down and knock out a cobra weave while the coffee’s brewing, they’re great. Some even fold in half, which is neat — mine fits in a tackle box alongside fishing lures. If space is tight, or you like making bracelets wherever you end up, a portable jig is hard to beat.
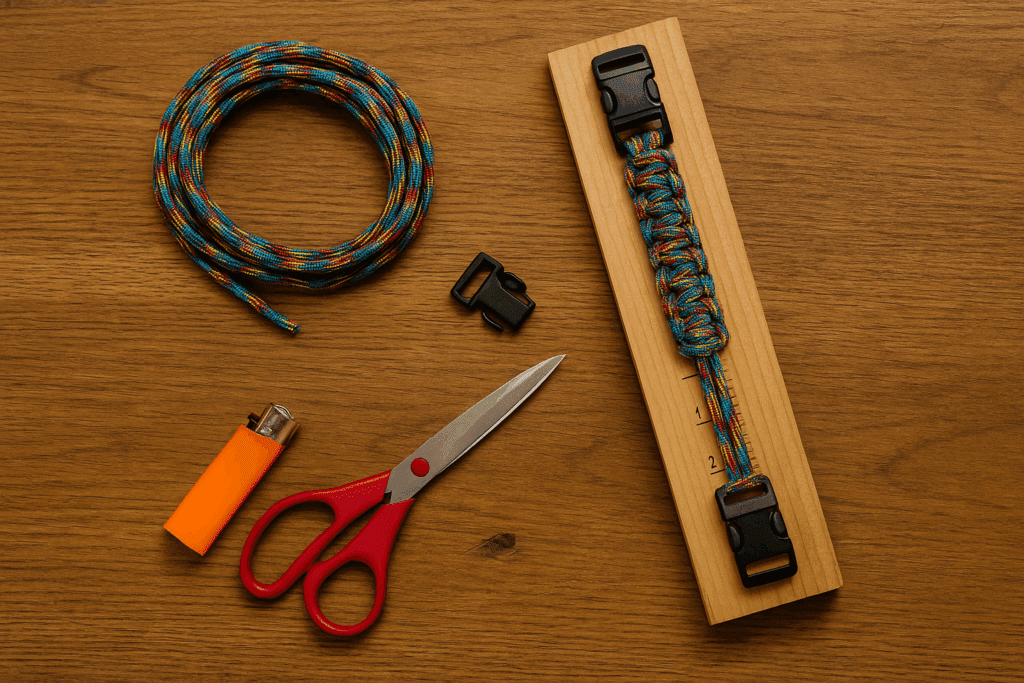
Tools & Materials Needed for Paracord Bracelet Making
Adjust the jig so it matches the wrist measurement you’re aiming for, then add about an inch for comfort. I usually double-check by wrapping the cord loosely around my wrist before locking in the size — it’s easier to get it right now than to redo the whole thing later.
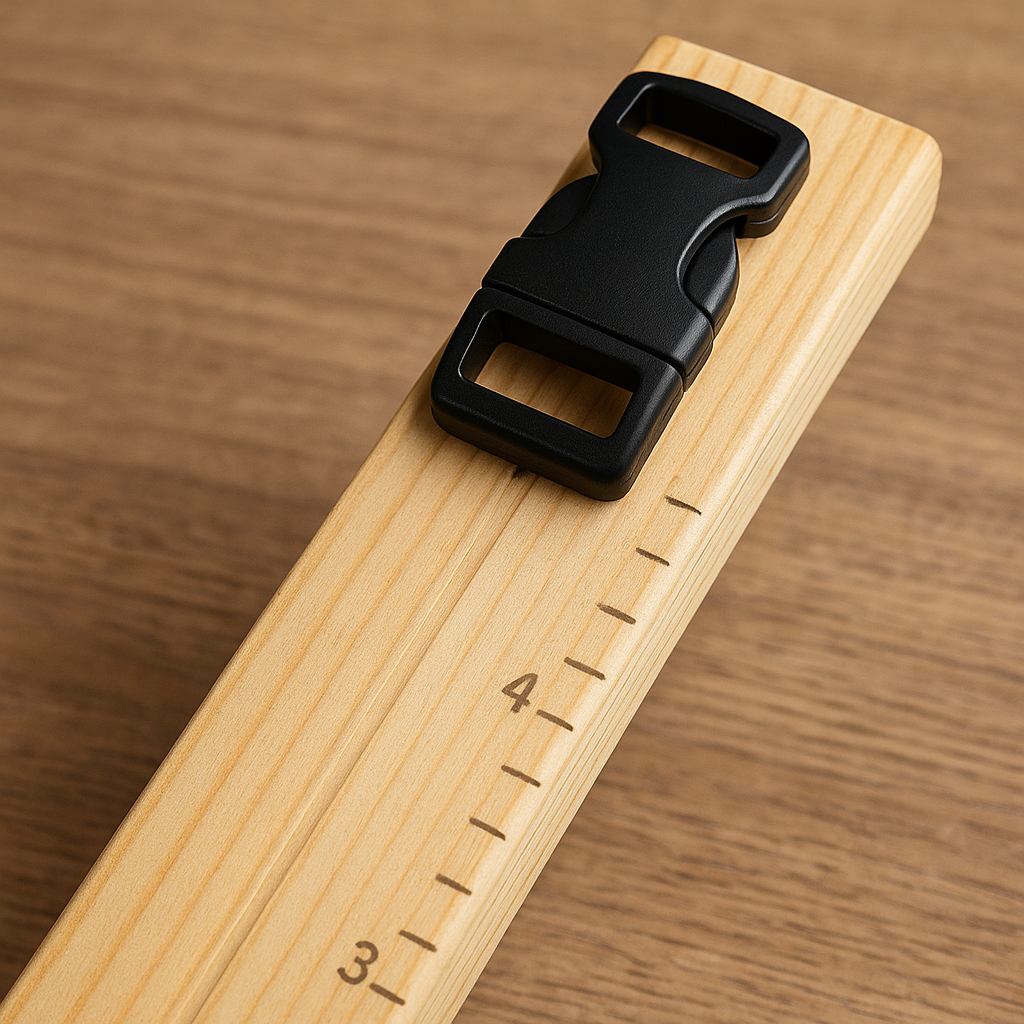
Clip one half of the buckle into the holder on each end of the jig. Make sure they’re facing the right way so your bracelet closes correctly when you’re done.
Step 3 – Thread the Paracord
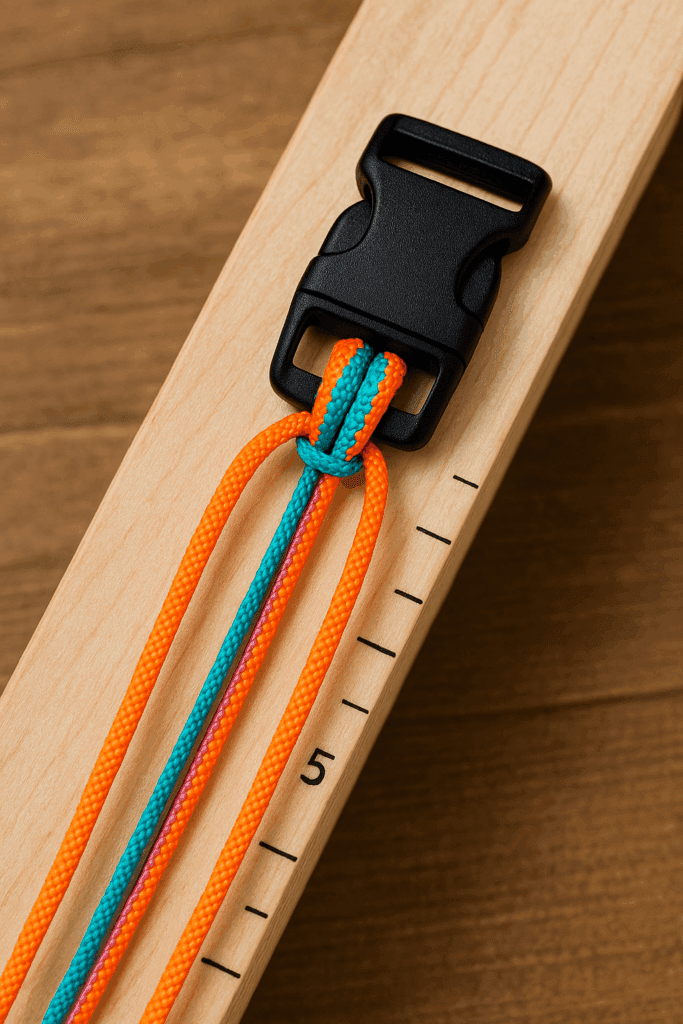
Find the center of your cord by folding it in half. Attach it to the first buckle using a simple lark’s head knot — this keeps both strands even and ready for weaving.
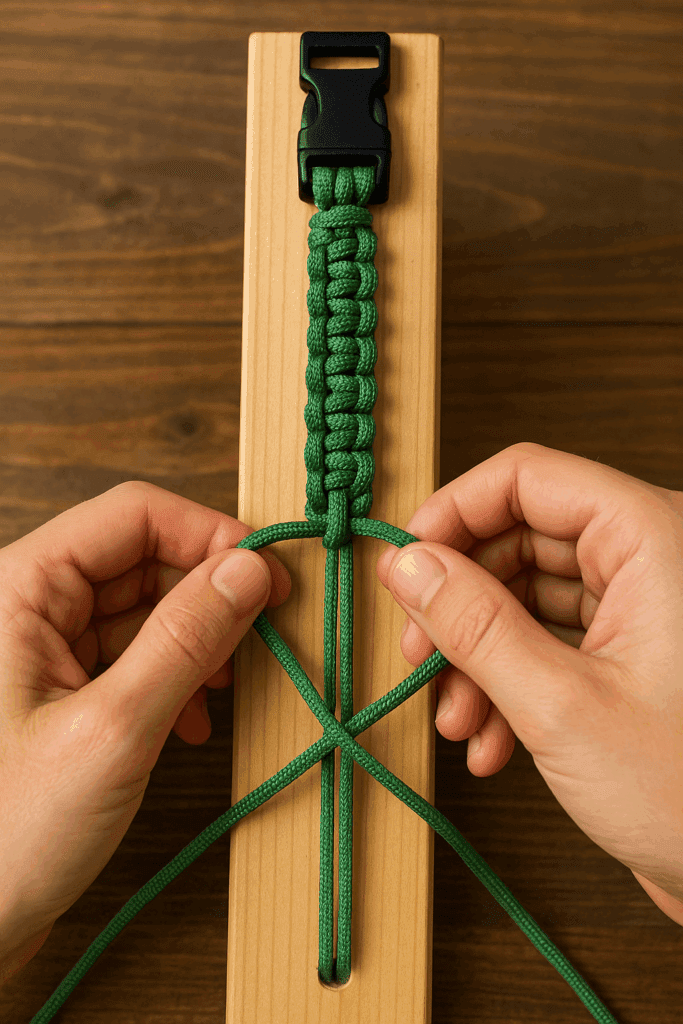
Step 4 – Start Knotting
Pick your weave pattern — cobra, fishtail, king cobra, or whatever you like — and start knotting toward the other buckle. The jig will keep everything aligned so your knots sit straight.
Step 5 – Keep It Tight After each knot, give it a firm pull. Consistent tension is what makes the bracelet look clean and professional.
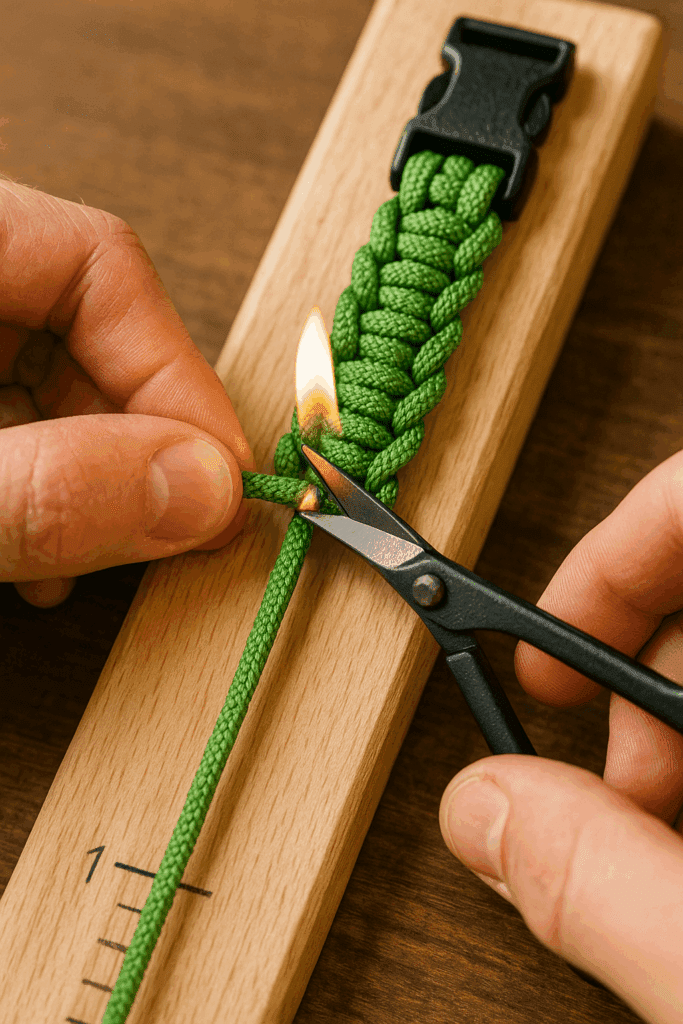
Step 6 – Finish and Seal
When you reach the end, trim off any extra cord. Use a lighter to carefully melt the ends so they don’t fray — just don’t scorch the weave.
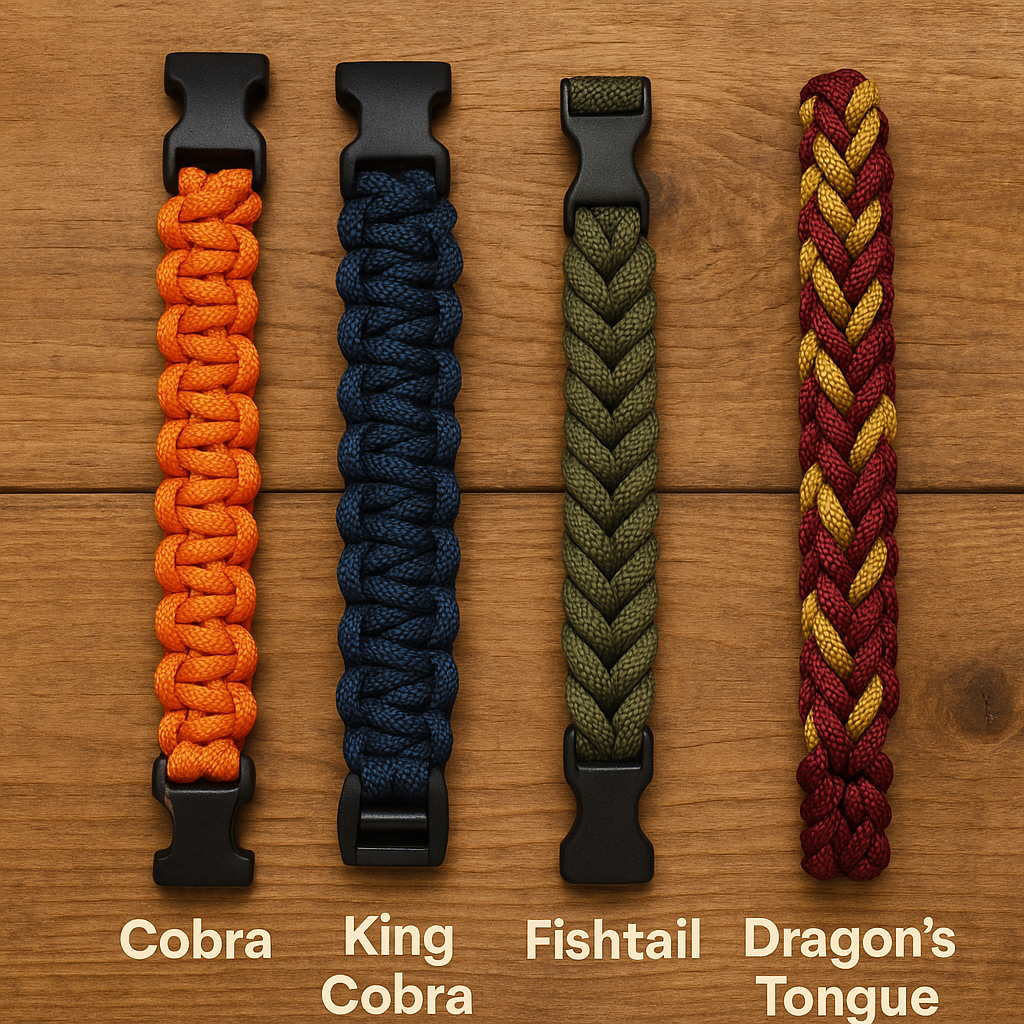
Popular Paracord Bracelet Weaves You Can Try
Cobra Weave – Classic beginner-friendly design.
King Cobra – A Wider version of the cobra.
Fishtail – Sleek and flat.
Solomon Bar – Decorative, symmetrical knots.
Dragon’s Tongue – Advanced, unique style.
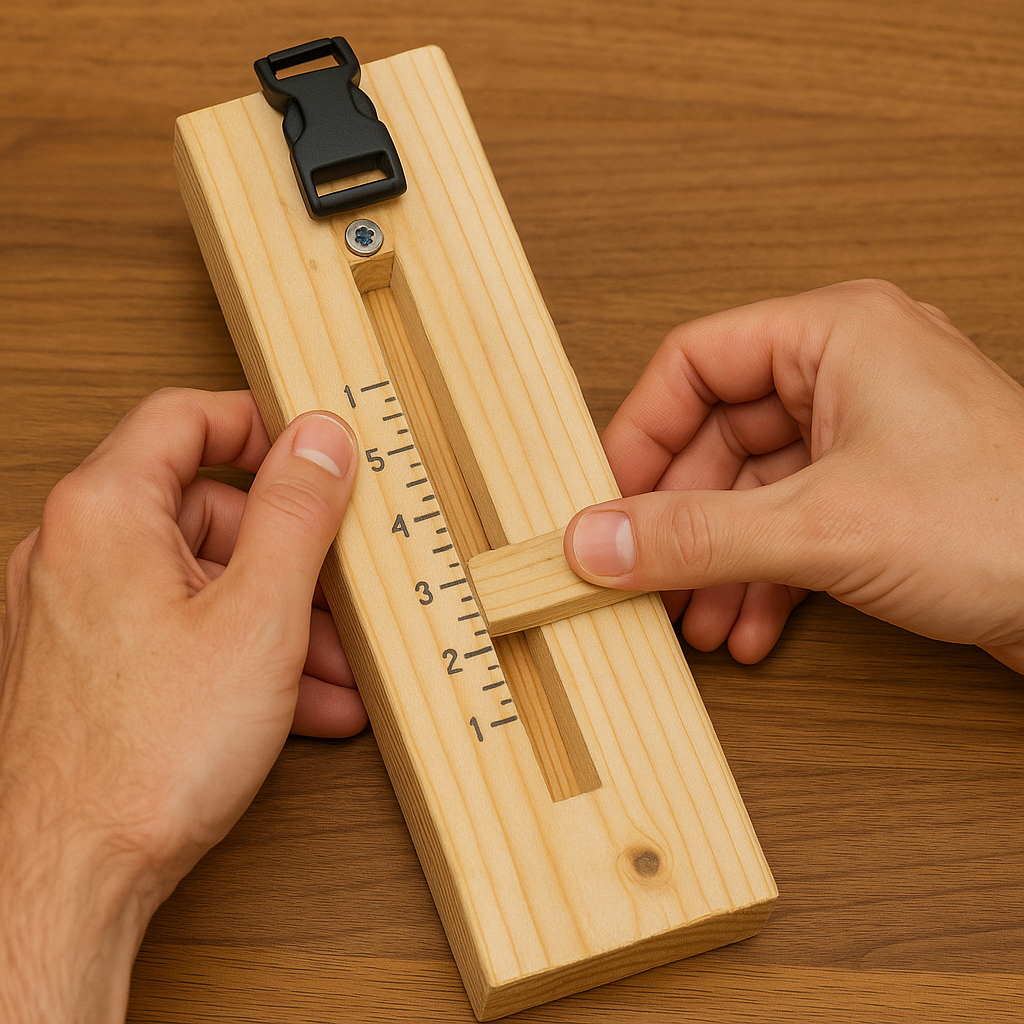
DIY Paracord Bracelet Jig – Build Your Own
If you’re handy, you can make a jig with basic tools:
Materials:
2×4 board or plywood base
2 wooden dowels or metal hooks
Measuring tape
Wood screws
Steps:
Cut your base to about 18 inches.
Drill holes for the dowels/hooks at each end.
Add measuring marks along the base.
Optionally, add an adjustable slider for length changes.
Maintenance Tips for Your Jig
Wipe down after use to remove dust and cord fibers.
Tighten screws or clamps regularly.
Store in a dry place to prevent warping (for wooden jigs).
Advanced Tips for Better Bracelets
Pre-stretch your paracord before weaving.
Experiment with color patterns — two-tone or triple-color designs.
Add charms or beads between knots for personalization.
Use glow-in-the-dark paracord for night visibility.
Q: What’s the best length for a paracord bracelet? Measure your wrist and add about 1 inch for comfort.
Q: Is 550 paracord the only option? No, but it’s the most common for strength and versatility.
Final Thoughts
Whether you buy a ready-made jig or build your own, a paracord bracelet jig is one of the best tools you can add to your DIY gear collection. It saves time, improves quality, and opens the door to more complex designs. For anyone serious about paracord crafting — from hobbyists to survivalists — it’s worth every penny.
Kreg Jig Cabinet Doors: Step-by-Step DIY Guide by Admin February 12, 2026 DIY A Complete Professional Guide to Building Strong, Clean, and Long-Lasting Cabinet Doors Building Kreg jig cabinet doors is one of the fastest and most reliable…