One of the first lessons every woodworker learns is that miter clamps turn good corners into great ones. These specialized tools squeeze freshly cut angles together so precisely that glue can do its job without daylight showing through the seam. Whether you’re framing photos, installing crown molding, or building a full‑size cabinet, mastering the use of miter clamps is the shortest path to professional‑looking joinery.
Why Miter Clamps Matter More Than You Think
Cutting a clean 45‑degree angle is only half the battle. As soon as glue wets the surfaces, the joint becomes slick and the parts want to skate out of alignment. Miter clamps deliver balanced, inward pressure exactly where the bevels meet, locking the pieces together while the adhesive cures.
Without that targeted squeeze you risk:
Visible gaps that ruin the visual flow of the frame or trim
Weak glue bonds caused by starved end grain
Corners that rack out of square under even light stress
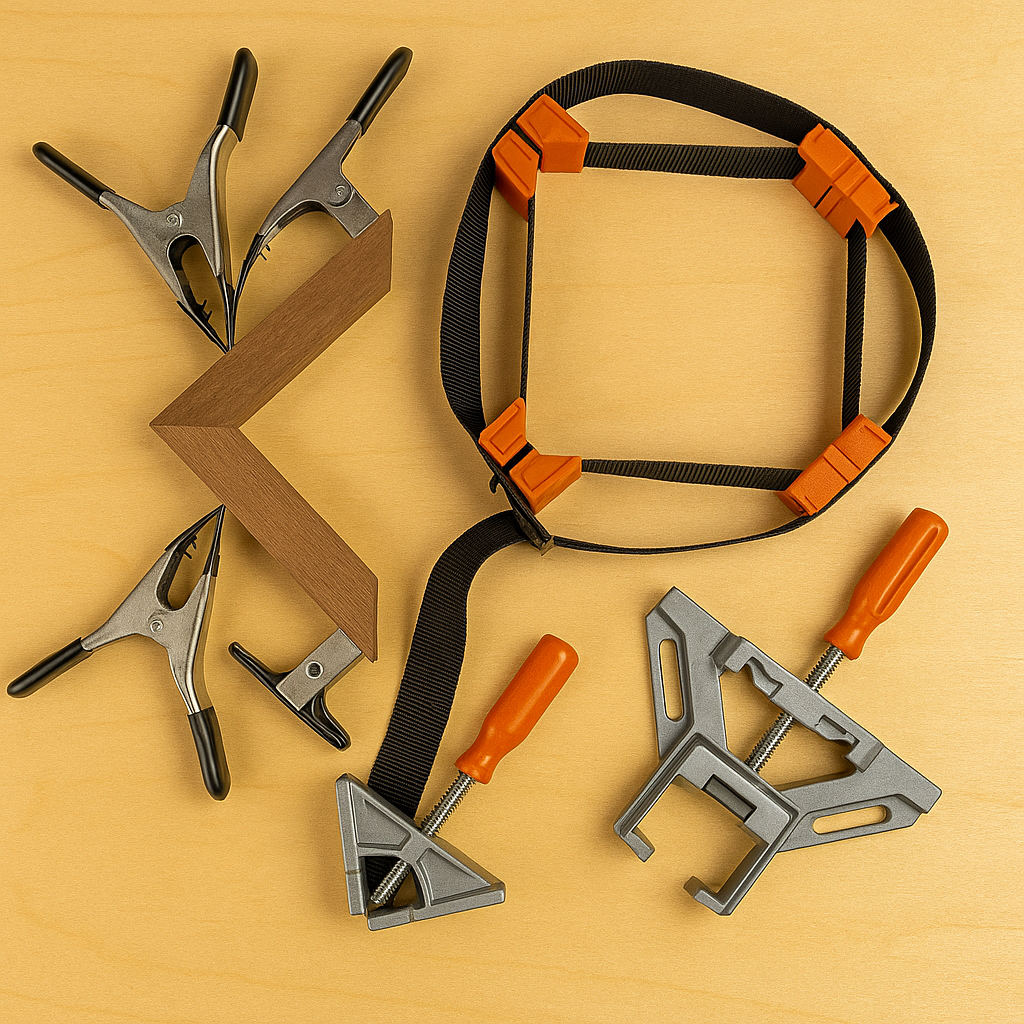
Spring‑Steel Corner Clamps – Tiny, V‑shaped springs you squeeze open with special pliers. Ideal for lightweight frames, small boxes, and molding returns.
Band (Strap) Clamps – A nylon or canvas strap tightened by a ratchet. Perfect for larger frames, drawer bodies, and anything with more than four corners.
Adjustable Screw Corner Blocks – Cast-aluminum or steel right-angle blocks with threaded screws that pull the miters tightly. Great for furniture panels and cabinet faces where you want infinite pressure control.
Combination Bar‑and‑Miter Clamps – Hybrid bar clamps with swiveling corner pads that can span several feet. Best choice for carcasses and wide picture frames.
How to Choose the Right Miter Clamp for Your Project
Not all miter clamps are created equal—and picking the wrong type can throw off your results. Think about the size of your workpiece, the number of corners, and how much pressure you need. For delicate work like small trim or picture frames, spring-steel clamps are ideal because they’re fast, light, and easy on thin stock. But when you’re gluing up something heavier like cabinet parts or large panels, screw-driven clamps give you the control and torque to hold tight joints under stress. It’s also worth checking whether your clamps leave enough clearance for reinforcement—some styles block access to the corner, while others leave space for pocket screws or biscuits.
The best approach is to keep a few types of miter clamps in your shop. That way, you’re never stuck improvising with bar clamps and scrap blocks when you really need precision. A basic set of spring clamps, one or two strap clamps, and a pair of adjustable screw blocks will cover 90% of woodworking joinery tasks. If you build a lot of large furniture, consider investing in a combination bar‑and‑miter clamp system for speed and scale.
Step‑by‑Step: Using Miter Clamps for Flawless Corners
Dry‑Fit First – Test the angles against a trusted square. A half-degree error becomes glaring once the pieces are glued together.
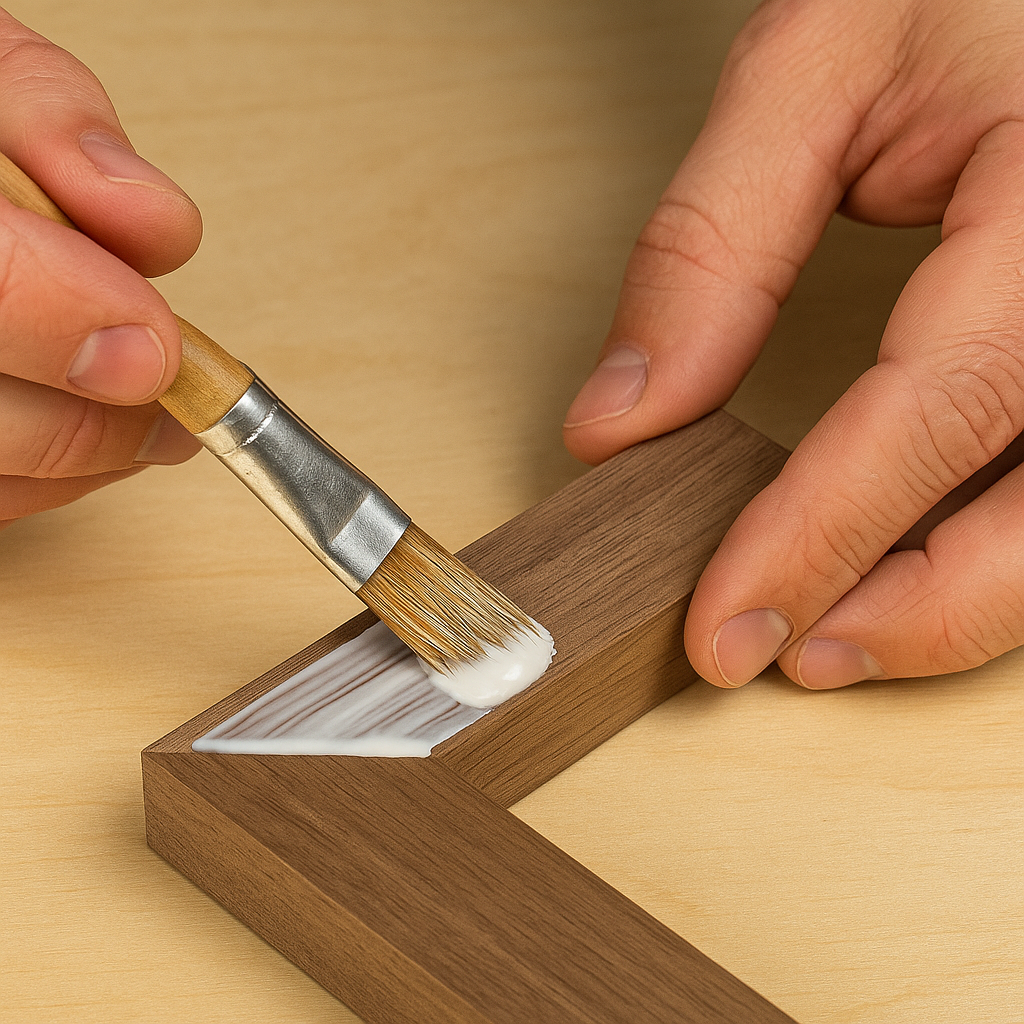
Prep the Glue Faces – Brush a liberal coat of PVA glue on both bevels and let it soak for 30 seconds. If the grain drinks it all, add a second pass.
Position and Clamp – Place the first miter clamp on the show side so any microscopic shift happens on the back. Apply secondary clamps or wedges if your stock is wider than the clamp’s reach.
Add Reinforcement (Optional) – While the miter clamp holds alignment, fire in two brads, drive angled pocket screws, or slip a biscuit into its slot.
Let It Cure – Leave the pressure on for the full manufacturer’s cure window, which is usually 30 to 60 minutes for popular woodworking glues.
Why Tight Miters Matter in Professional Woodworking
Clean, gap-free miters aren’t just about looks—they reflect your accuracy and attention to detail. In furniture or trim work, those corners are the first thing people see. Even a tiny gap where two beveled edges meet can distract from the craftsmanship of the whole piece. And structurally, a tight miter gives glue more surface area to bond, especially important when working with end grain that tends to soak up adhesive like a sponge.
Beyond cosmetics, a perfect miter joint helps keep your entire assembly square. Whether you’re building a door frame, face frame, or decorative box, one crooked corner can throw off everything else. That’s why most professionals won’t glue up a miter joint without a clamp. The clamp’s steady pressure gives the glue time to cure without the pieces shifting—even if the shop’s a bit humid or you’re working on a tight timeline.
Picture Frames – Thin profiles mean there’s no room for nails; clamp pressure keeps the edges flush while glue cures.
Crown Molding – Long, compound miters benefit from spring clamps at each end to prevent the pieces from slipping on the ceiling.
Keepsake Boxes – Four small clamps can square up a jewelry box faster than a strap clamp ever could.
Cabinet Face Frames – Screw‑adjust corner blocks hold bulky maple or oak parts steady during pocket‑screw installation.
Do you need a materials list for any of the above builds? Our 2025 plywood pricing guide helps budget every sheet.
Beyond 90 Degrees: Compound Miters and Decorative Splines
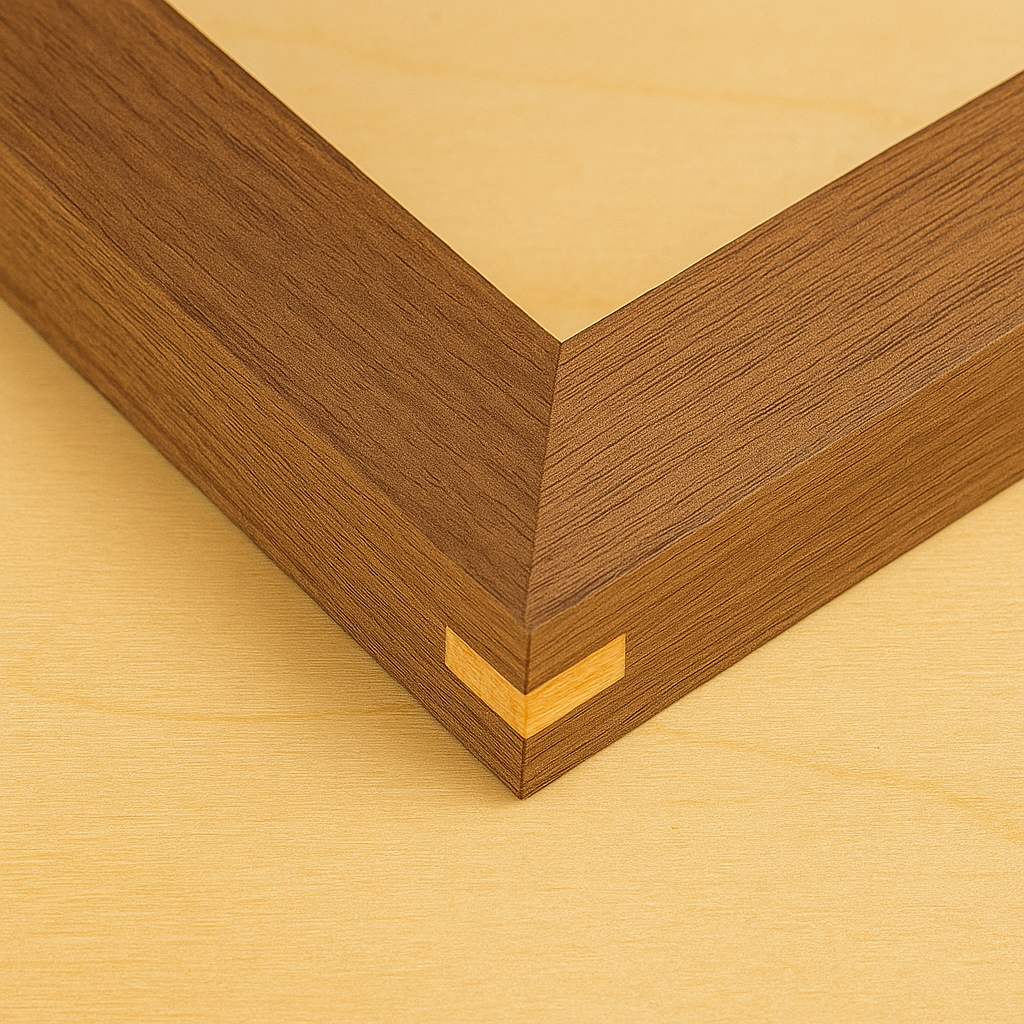
Once you’re comfortable with basic corners, step up to crown molding or tapered legs that meet at compound angles. The rule remains the same: cut precisely and secure everything together with miter clamps before driving fasteners. For frames that need extra muscle—or extra flair—try cutting a shallow kerf across the corner after glue‑up and inserting a contrasting hardwood spline.
Purchasing through our link helps support the free tutorials on ThePlywood.com at no additional cost to you.
Key Takeaways
Miter clamps are indispensable for tight, professional‑grade corners.
Apply glue liberally and let it soak before tightening the clamps.
Reinforce with brads, biscuits, or pocket screws while the clamps hold alignment.
Maintain your clamps—clean, oil, and store them properly—to ensure decades of service.
Practice makes perfect: test cuts on scrap, verify with a square, then commit to your project pieces.
Ready for the next skill? Learn to balance beauty and brute strength with our step‑by‑step tutorial on cutting hand‑cut dovetails.
Do you have a corner-clamping tip or a favorite brand that we didn’t mention? Drop a comment below and join the conversation—because the more we share, the better everyone’s woodworking becomes.


")

")

