Looking to bring more light into your home? If you’re thinking about removing a wall to open up your space, you need to be 100% sure it’s not load-bearing. I’ve done this myself—and I can tell you it’s a project that requires real planning. Getting it wrong can cause lasting damage.
In this honest guide, I’ll show you exactly how I tackled removing a load-bearing wall in my home. From spotting the signs to lifting in the beam, this breakdown includes what went right, what surprised me, and what I’d do differently.
What Is a Load-Bearing Wall?
These walls don’t just divide rooms—they hold up your house. They carry weight from the roof or second story down to the foundation. Knock one out without a solid replacement, and you could be in serious trouble.
How I Spotted a Structural Wall in My House
Before I started tearing anything out, I looked for these clues:
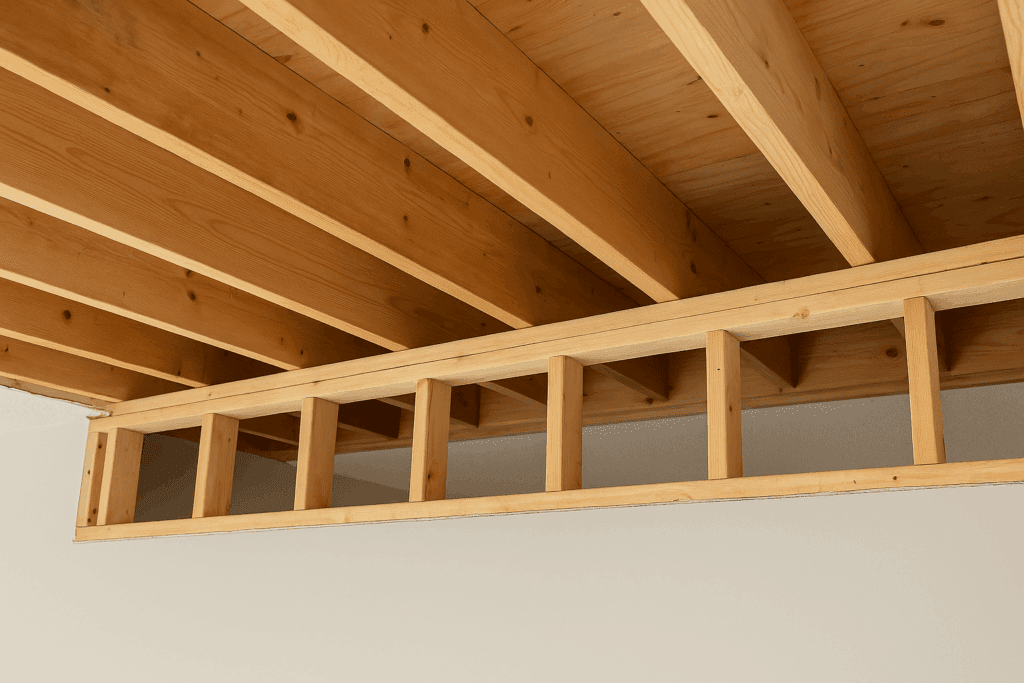
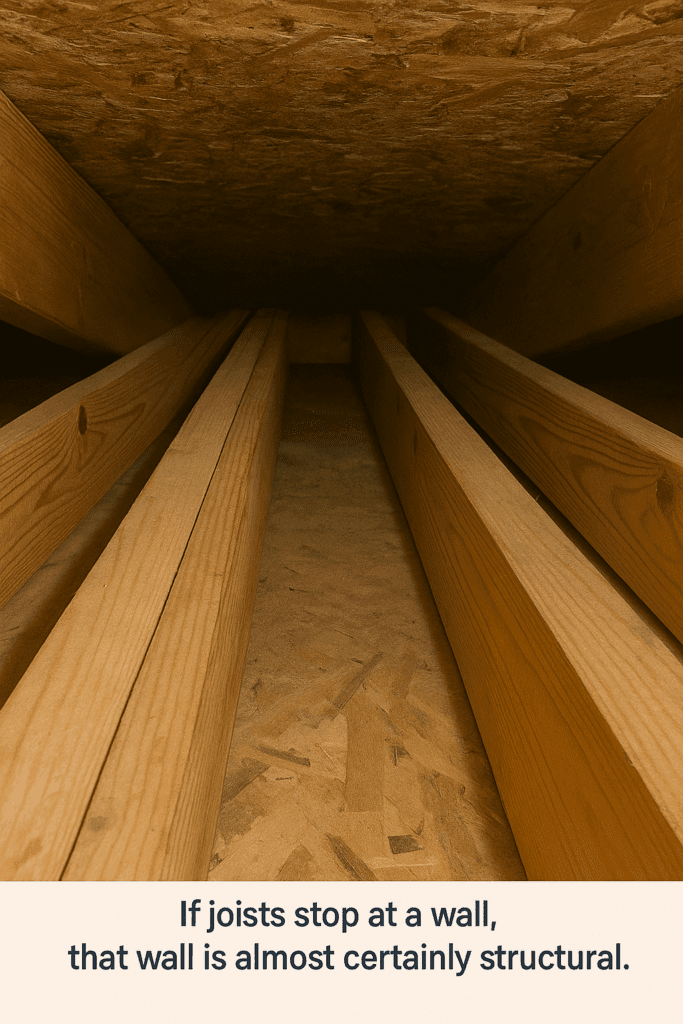
Joist Direction: Joists in my attic ran perpendicular to the wall.
Stacked Wall Positions: The wall existed in the same place on multiple floors.
Center of the Home: It splits the house evenly, left and right.
Joists Landing on It: Several beams stopped directly on the top.
When I still wasn’t sure, I had a structural engineer take a look. Best money I spent on this whole job.
Helped me locate studs, pipes, and joists before I cut a thing.
Can You Remove a Load-Bearing Wall?
Yes, but you have to replace the support. That’s where a beam comes in. In my case, I used a 14-foot laminated veneer lumber (LVL) beam and support posts. Here’s what else was needed:
Structural engineer drawings
Building permit approval
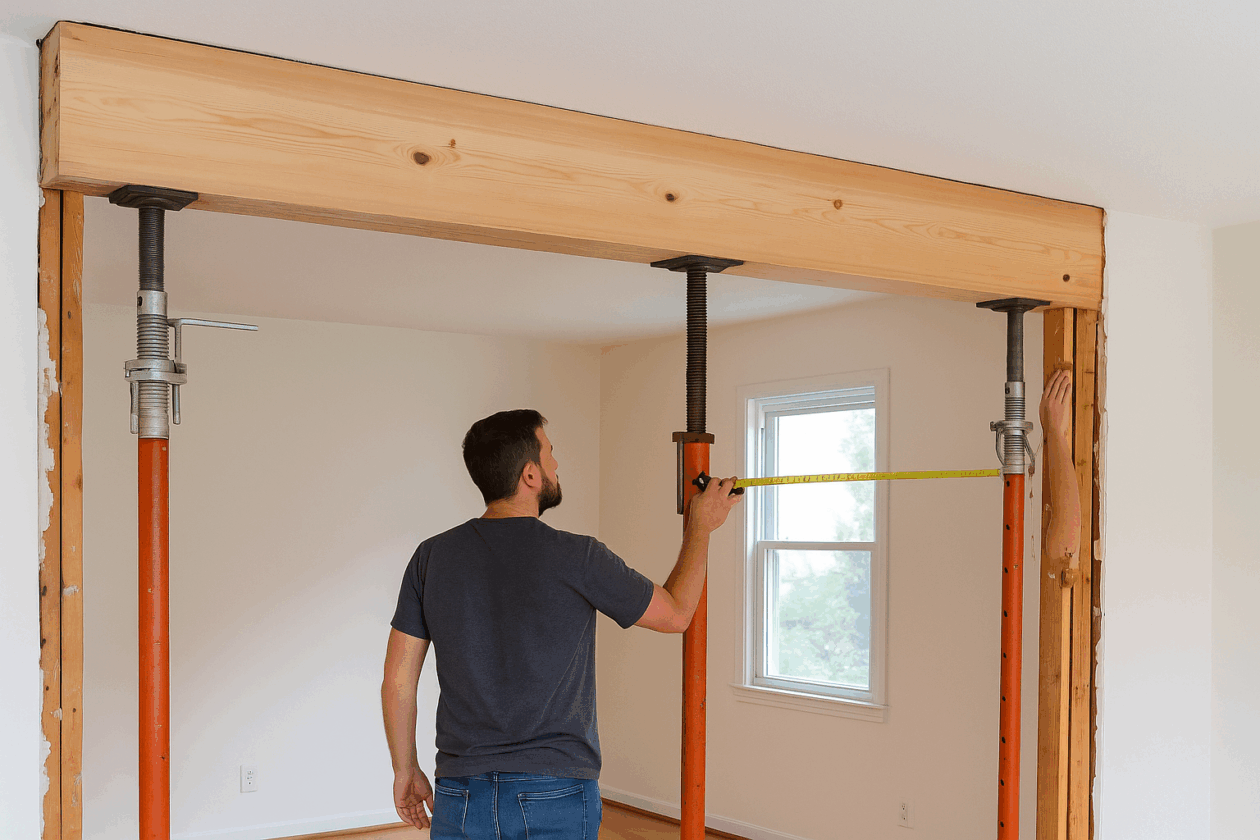
Temporary wall supports
LVL beam
Beam connectors and fasteners
Plus, I had to reroute a heat duct and a few wires.
My Step-by-Step Demo and Beam Install
Confirmed the wall carried weight
Hired a structural engineer
Filed for and received a permit
Marked electrical and plumbing lines
Built temporary support walls
Removed drywall and framing
Lifted and installed the beam
Secured the beam to the posts and sealed everything up
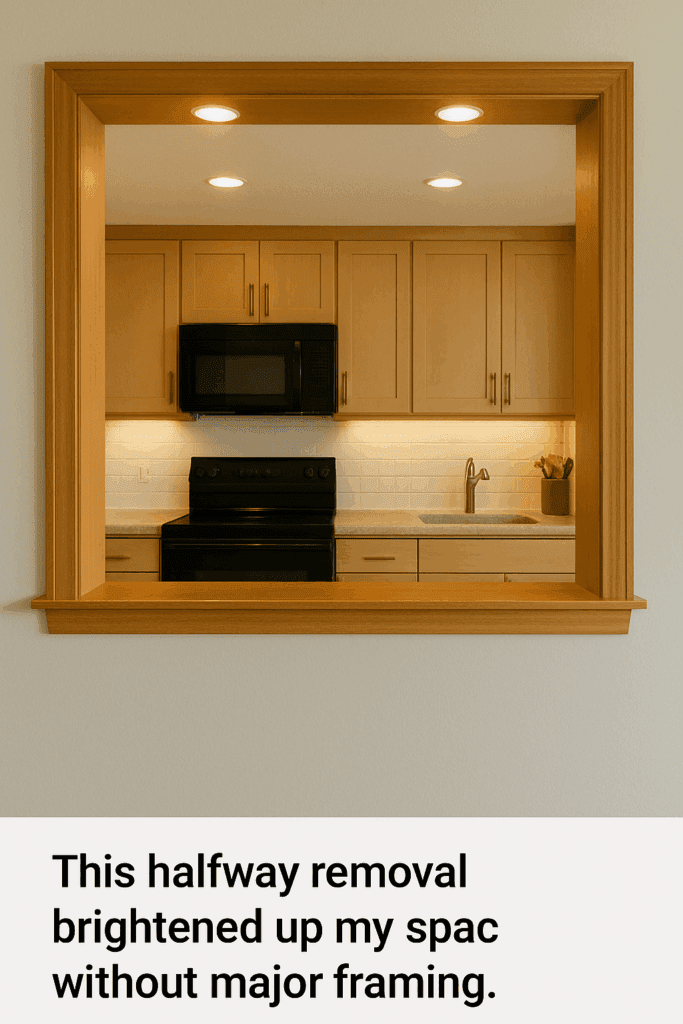
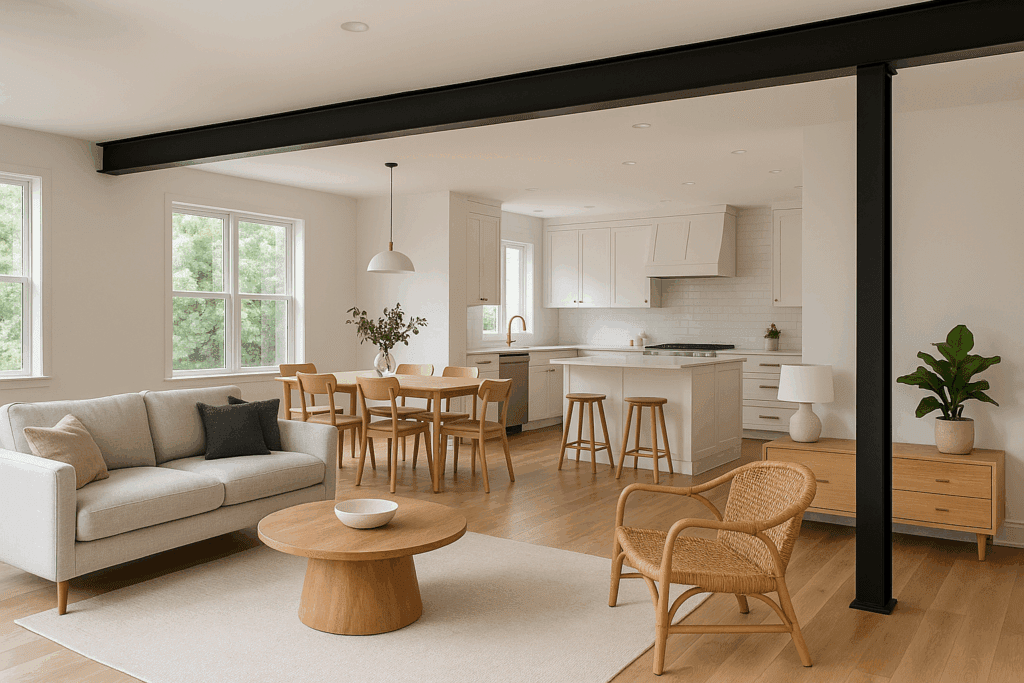
The wall I removed separated my kitchen and dining area. After swapping it for a beam and patching the drywall, the result was stunning. Sunlight reached deeper into the house and my kitchen felt twice as big.
What It All Cost Me
Item
Cost
Engineer
$450
Permit
$180
Beam
$380
Jack Posts & Lumber
$350
Helper Labor
$2,400
Reroute HVAC & Electrical
$850
Finishing Materials
$800
Total: $6,760
Personal Tips That Made a Big Difference
Don’t skip on fasteners—go for rated lag bolts
Take extra photos before closing the walls
Wait for the final electrical and patching until the inspection passes
Wrap the beam in matching trim—it ties the look together
Common Mistakes to Avoid When Removing a Load-Bearing Wall
Mistakes in structural remodeling can be expensive and dangerous. One common misstep is skipping professional input. I’ve seen folks go full DIY, only to end up with cracked drywall, sagging ceilings, or floors that slope. Another big mistake? Not using adequate temporary support during demo.
Here’s what I learned to steer clear of:
Skipping the Permit: Don’t assume you can avoid red tape. Skipping the permit process may save time short term, but it will cost you during inspections—or worse, resale.
Using Undersized Beams: Always follow your engineer’s specs. Guessing or using leftover materials puts your house at risk.
Improper Load Transfers: Just putting up a beam doesn’t guarantee load is distributed properly. The weight must be transferred to the foundation.
Wrong Fasteners: I used structural lag bolts, not drywall screws or nails.
Ignoring Building Codes: Each municipality is different. I called my local office to double-check before starting.
Avoiding these errors saved me from extra costs and kept the structure solid.
Design Tips for Finishing Your New Open Space
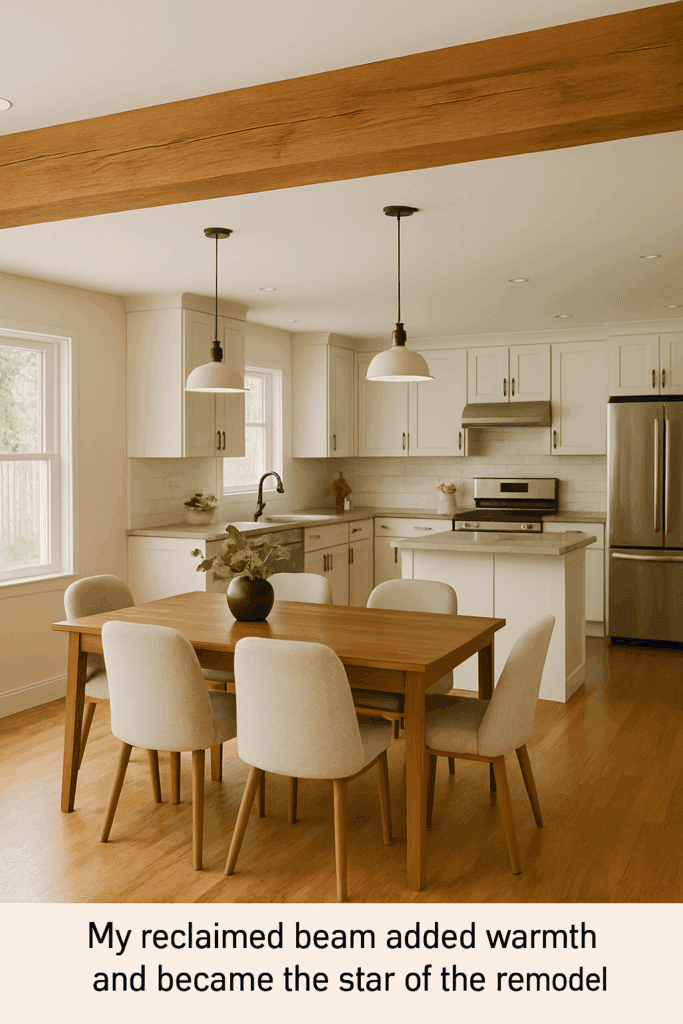
Once the wall is gone and the beams’s in place, it’s time to style your space. I didn’t just leave the beam raw—I wrapped it in reclaimed wood and matched it to my floors. That one choice pulled the whole room together.
Here are a few ideas I used or considered:
Wrap the Beam in Wood: Stained pine, oak, or even salvaged barnwood can make your new beam a centerpiece.
Paint It Out: If you prefer a clean, modern look, use paint to match the ceiling color and blend the beam in.
Install Recessed Lights: With the ceiling open, now’s a perfect time to install can lights or wiring for pendant fixtures.
Use the Opening Wisely: I added an island in the new space between the kitchen and dining. It turned into our favorite hangout.
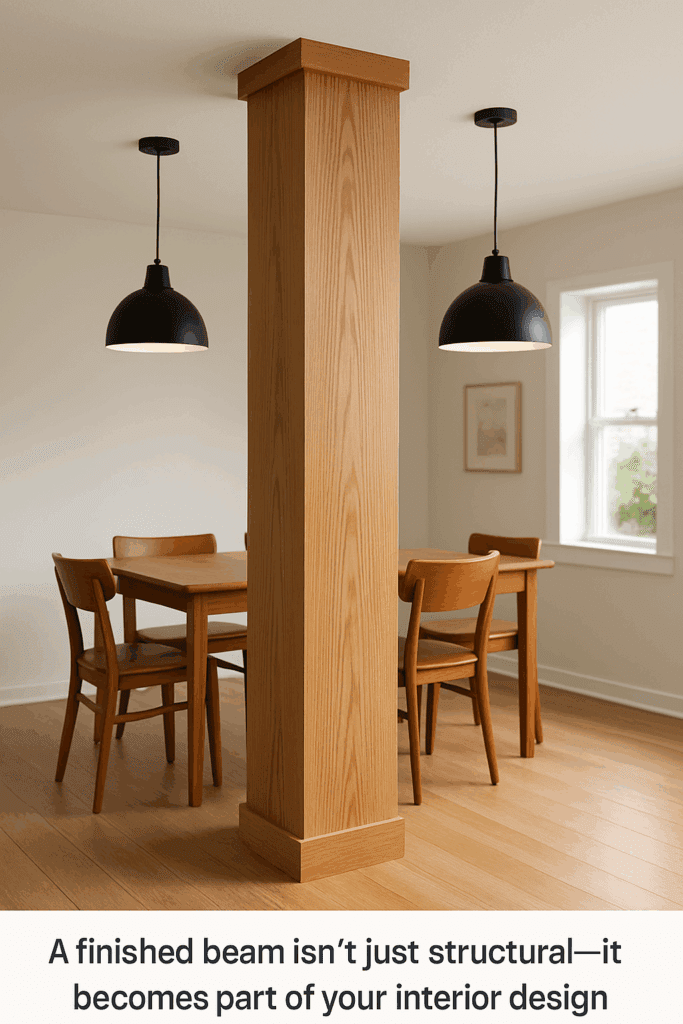
Trim and Finish: To make new posts look intentional, add crown molding, drywall returns, or built-in shelving around them.
Opening a space is only half the story—finishing it with style turns it into a true transformation.
FAQs
Can I do this project solo? Yes, but only if you’re confident in your skills. Always get engineering advice.
Will this help resale? Absolutely—open concepts are a top feature buyers look for.
How long does it take? Mine spanned two weekends, plus a few evenings for finishing.
Which beam is best? LVLs are great for most spans. Steel works better for very long distances or heavy loads.
Wrap-Up
Taking out a structural wall is a major move, but it made my house feel brand new. Planning carefully and doing it right is one of the most rewarding DIY projects you can take on.
This article includes Amazon affiliate links. As an Amazon Associate, I earn from qualifying purchases.
Related Posts:
How to Tell If a Wall is Load Bearing by Amy Reed February 28, 2023 DIY Structural walls hold buildings upright and prevent the walls, flooring, and roof from collapsing in on themselves. Determining which walls in your property are load…
Deck Stairs: DIY Guide to Building Safe Outdoor Steps by Admin July 30, 2025 Installing The first summer after I finished building my backyard deck, I realized something was missing—deck stairs. Every time I wanted to get to the garden…
The Ultimate Guide to Attic Flooring: Expert Tips and Advice by Admin June 27, 2024 Installing Transforming your attic into a functional space begins with strategic flooring choices that balance practicality and safety. Whether you're aiming to create additional storage, a…