Shiplap has exploded in popularity thanks to its timeless look and farmhouse charm. Whether aiming for rustic warmth or clean modern lines, installing shiplap walls can transform an ordinary room into a Pinterest-worthy space. The good news? You don’t need to be a professional carpenter to do it.
In this hands-on guide, I’ll walk you through everything you need to know—from choosing materials to installing your first panel. I’ll also share the exact tools I used, a few tricks that saved me hours, and how to avoid the mistakes I made on my first try.
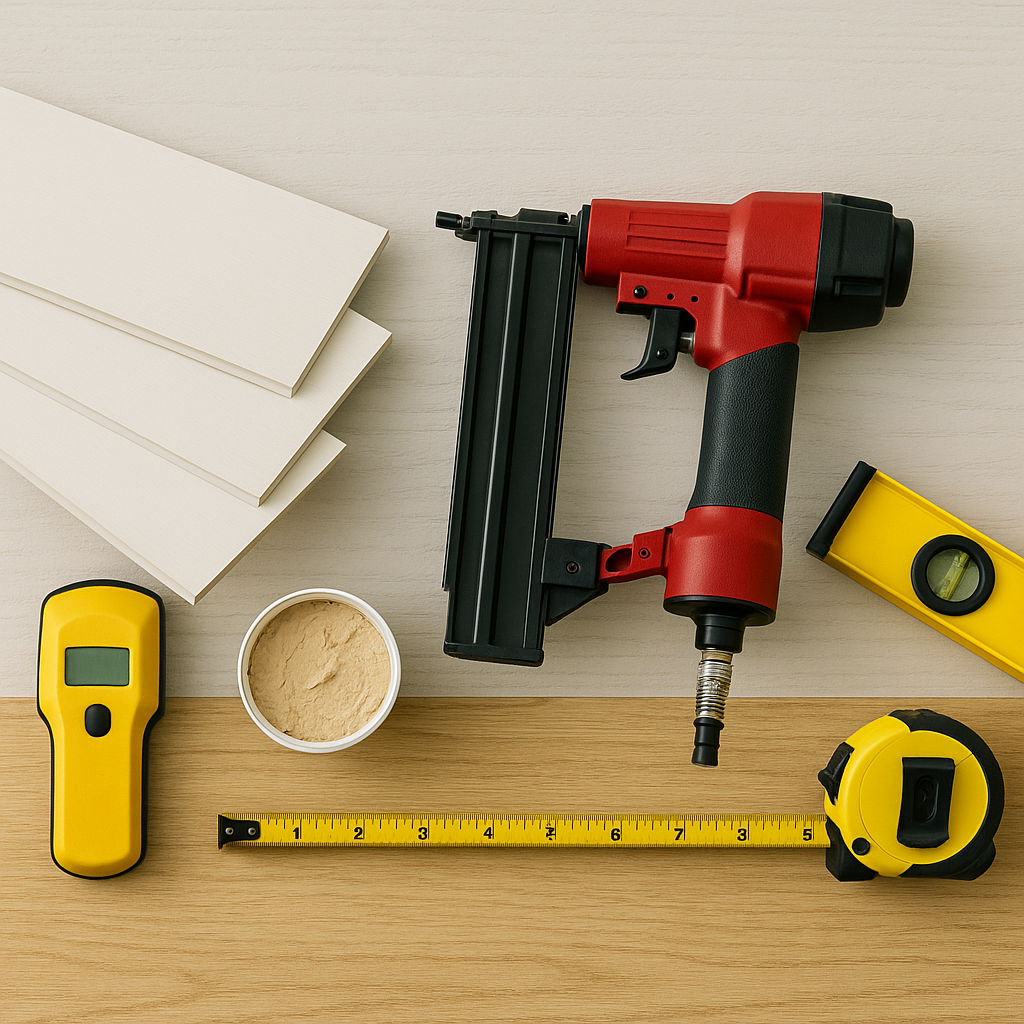
🧰 What You’ll Need to Install Shiplap
Before diving in, gather your tools and materials. Here’s what I used:
Shiplap comes in various styles—some have pre-cut grooves, while others are simple boards you space manually. I went with pre-primed MDF shiplap for my laundry room wall, but pine is great if you want to stain it.
👉 Pro Tip: For humid areas like bathrooms, use moisture-resistant MDF or PVC shiplap to avoid warping.
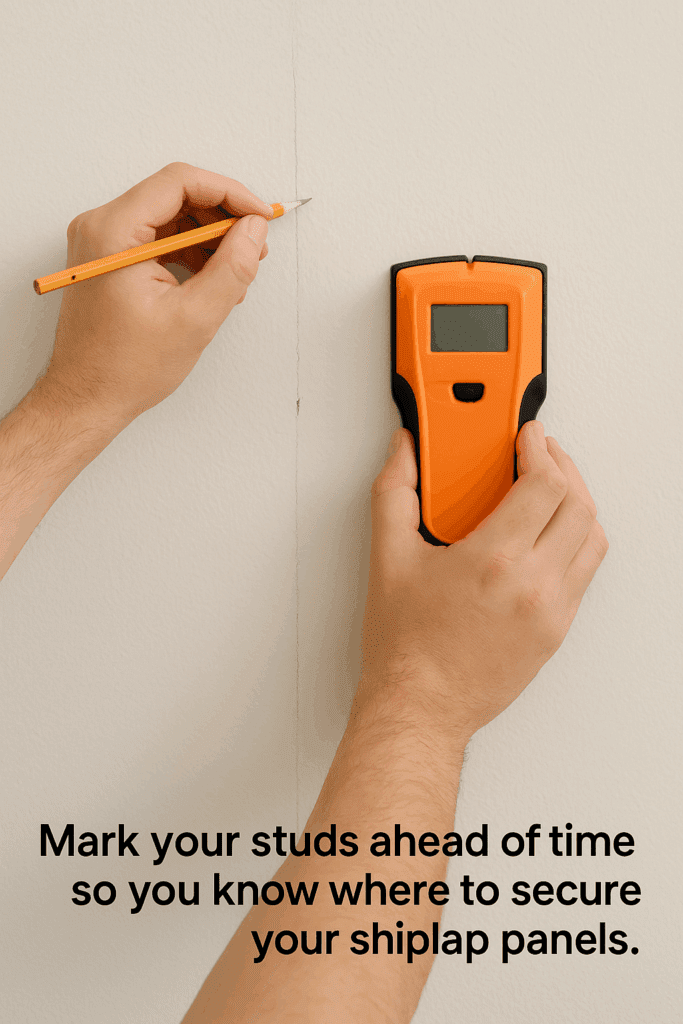
📏 Step 2: Measure and Mark
Use your tape measure to find the width and height of your wall. Then mark the studs using a stud finder. This is where you’ll want to nail your boards for the most secure hold.
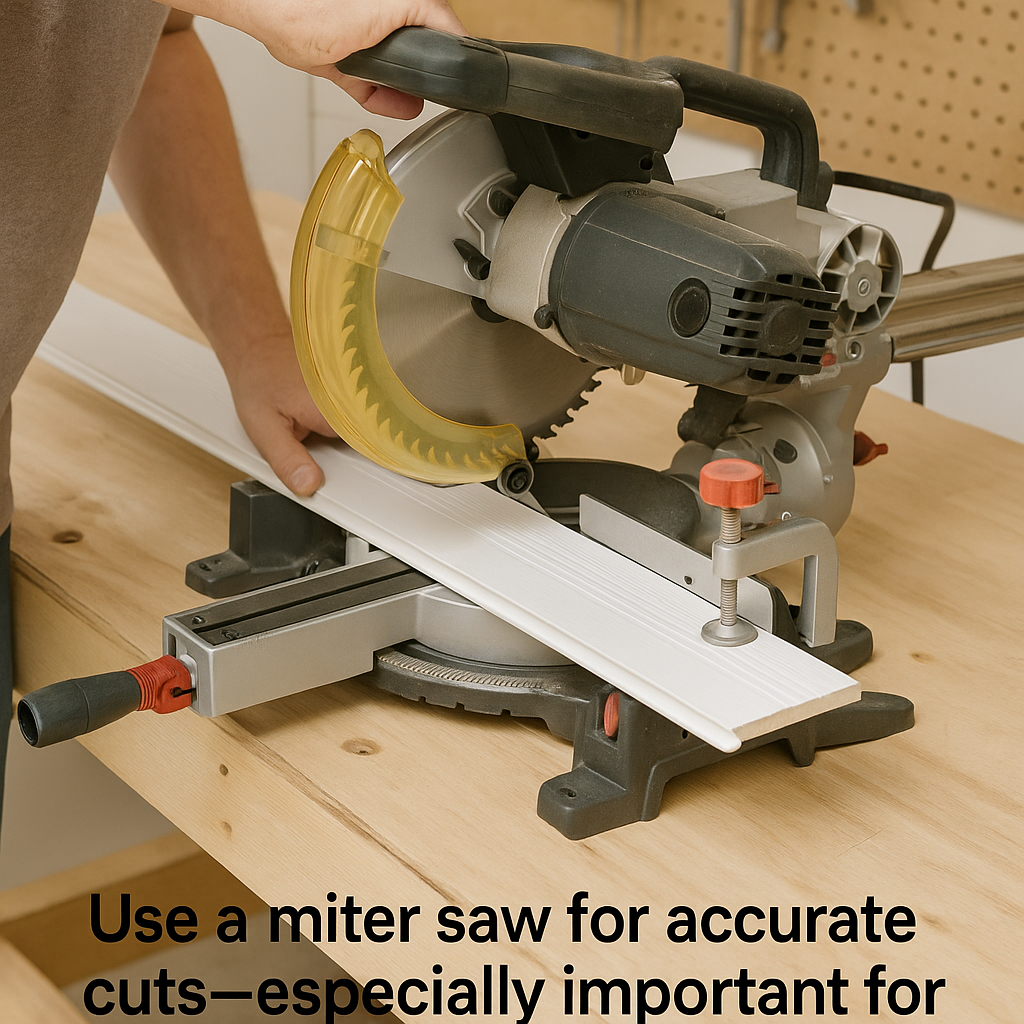
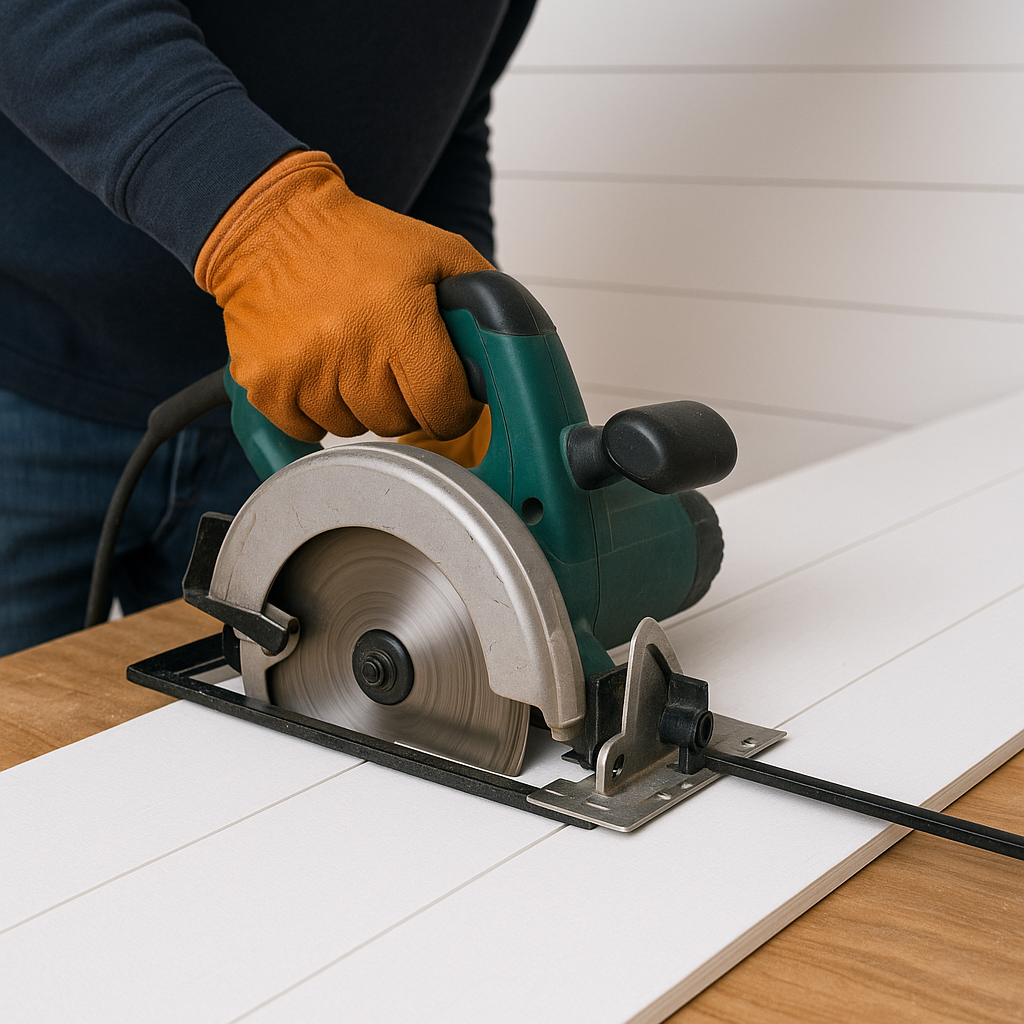
🧱 Step 3: Cut the First Row
Measure your first board. If the wall is slightly uneven (and most are), measure at both ends. Cut your first piece using a miter saw or circular saw.
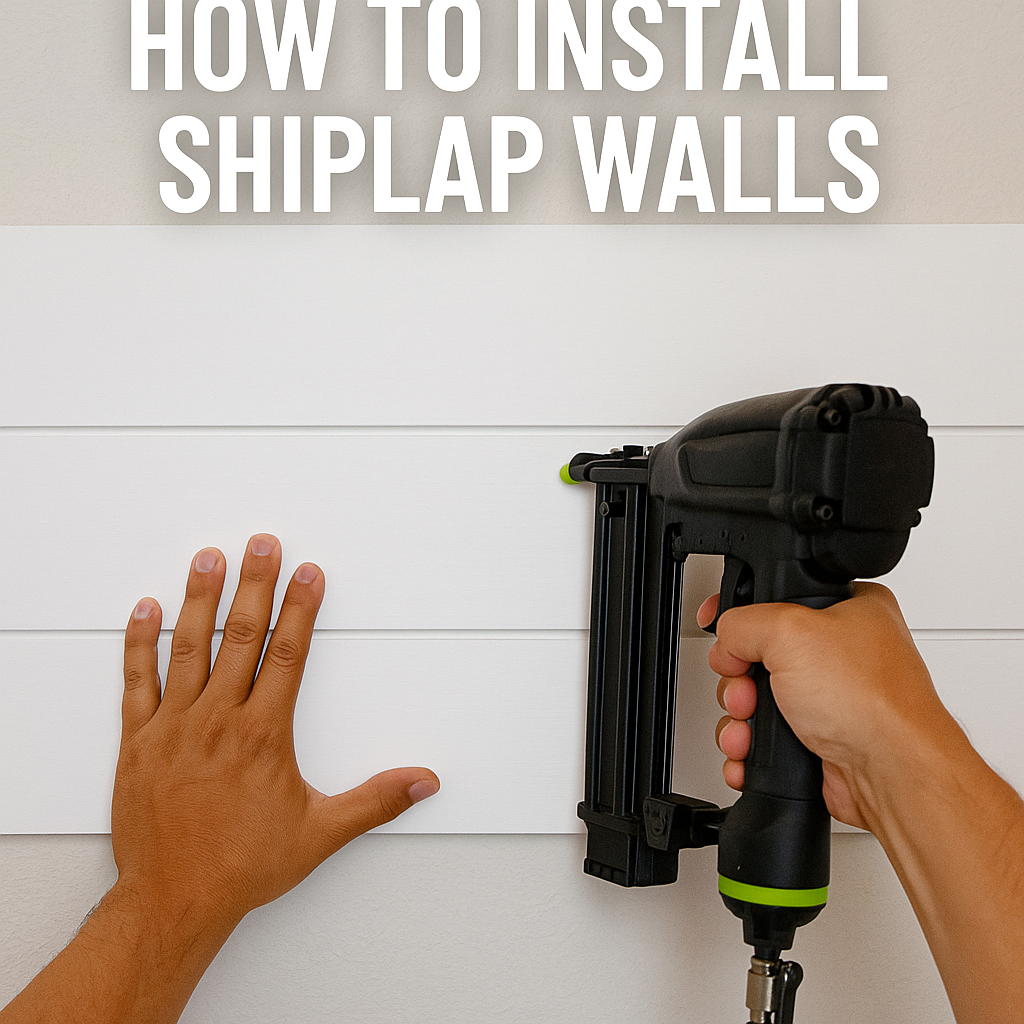
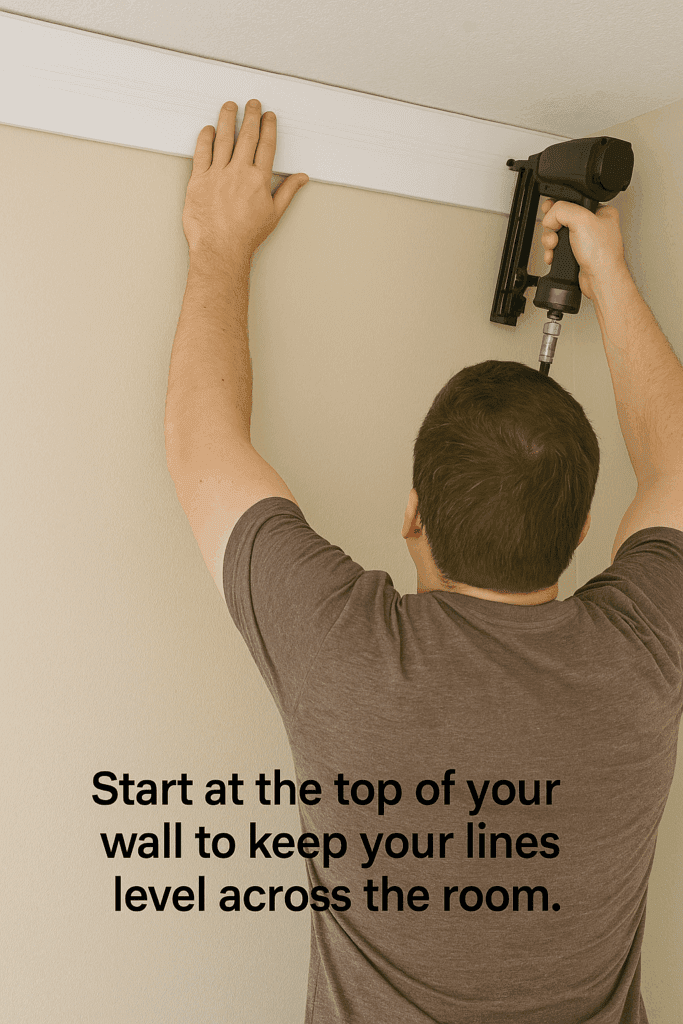
🔨 Step 4: Nail (or Glue) the First Row
Start from the bottom or top, depending on your preference. I prefer starting at the top to line up with the ceiling and work down.
Nail the board into studs with a brad nailer.
Use a level to make sure it’s perfectly straight.
If you’re worried about wall damage, apply adhesive and use fewer nails.
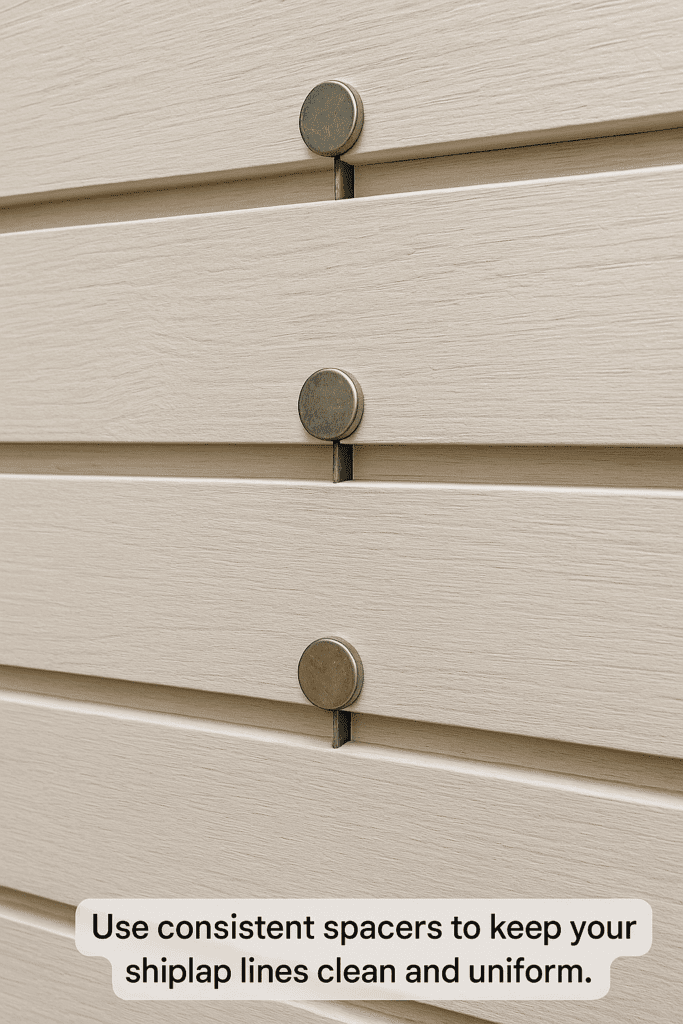
🔄 Step 5: Keep It Even—Use Spacers
To create that signature shiplap gap, use nickels, tile spacers, or a carpenter’s pencil between each board. I used nickels taped to a popsicle stick—cheap and easy.
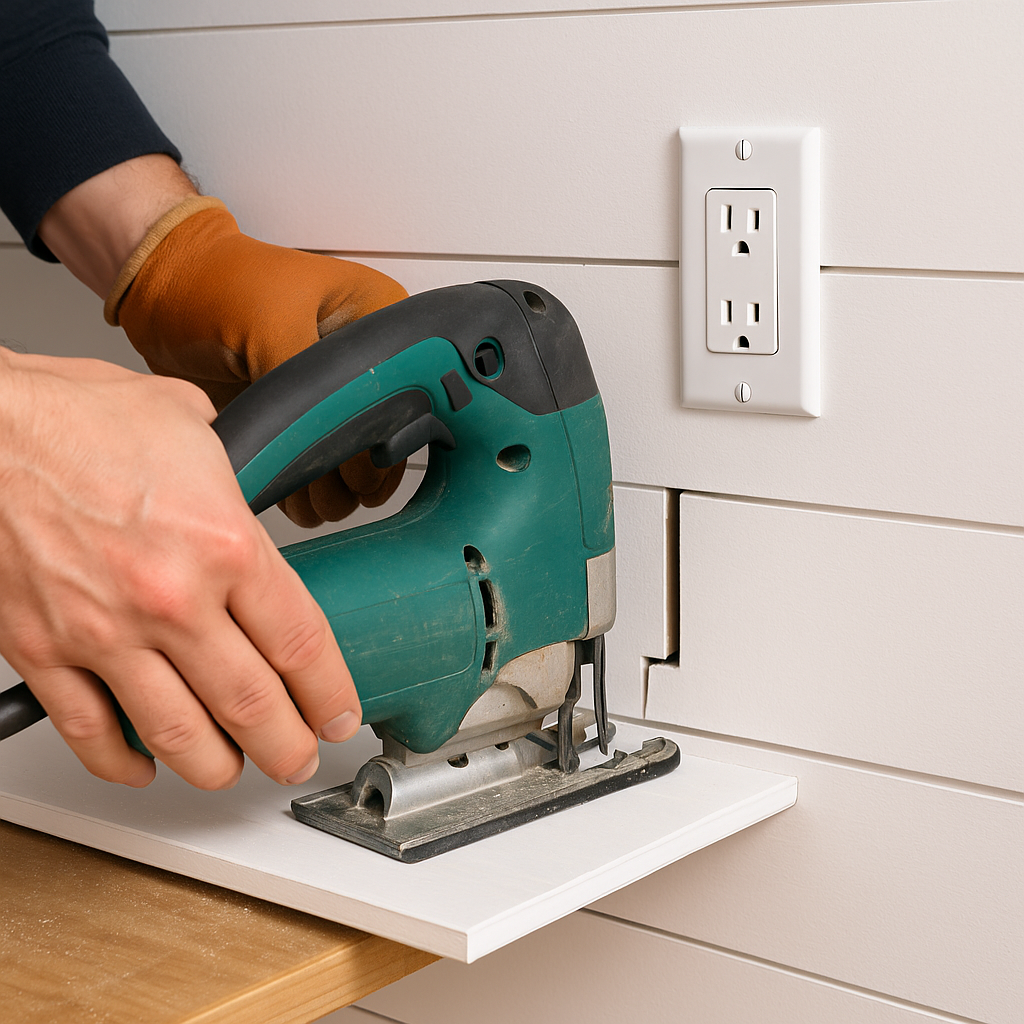
🔌 Step 6: Cut Around Outlets and Switches
This part is a little tricky, but doable with patience. Measure carefully and use a jigsaw to cut around outlets. Be sure to turn off the power!
🛠️ Step 7: Finish the Final Row
The last row might need to be ripped down (cut lengthwise) to fit. A circular saw or table saw works well here. Measure twice, cut once.
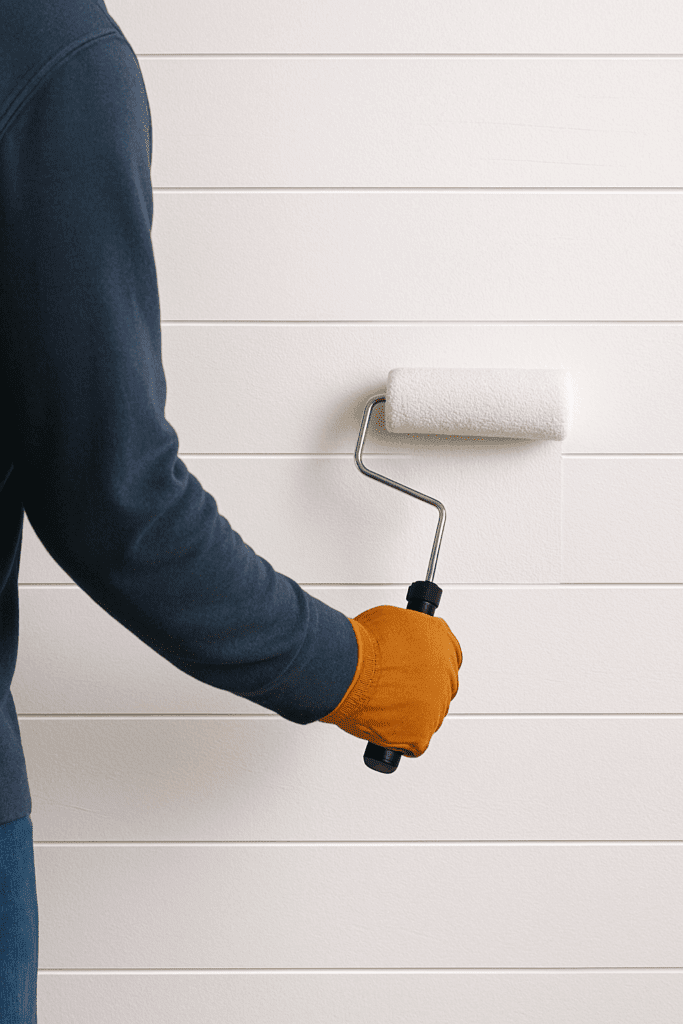
🪵 Step 8: Fill, Caulk, and Paint (Optional)
If you want a clean finish, fill the nail holes with wood filler and sand them flush. Caulk the corners and edges for a polished look. Then either paint or stain.
Paint Tips:
Use a high-quality trim brush or paint sprayer 🛒 for an even coat
Satin or semi-gloss finishes are easiest to clean
White, beige, or charcoal are timeless choices
🖼️ Design Ideas: Unexpected Ways to Use Shiplap in Your Home
When I first heard about shiplap, I pictured a cozy farmhouse living room with white walls and rustic charm. But after experimenting with it in several rooms, I realized it’s way more versatile than I thought. Shiplap can be modern, dramatic, subtle, or bold—it all depends on how and where you use it.
One of the first things I tried was turning the boards vertically instead of horizontally. I had this narrow hallway that felt a little too short, and running the planks vertically instantly made the ceiling feel taller. It gave the space a clean, architectural look that didn’t feel overly rustic.
Another unexpected place? The ceiling. Yep, we added painted shiplap across the ceiling in our dining room. It took a weekend to install, but it completely changed the vibe of the space—suddenly it felt warm and finished. We paired it with a black iron chandelier, and guests always comment on it when they walk in.
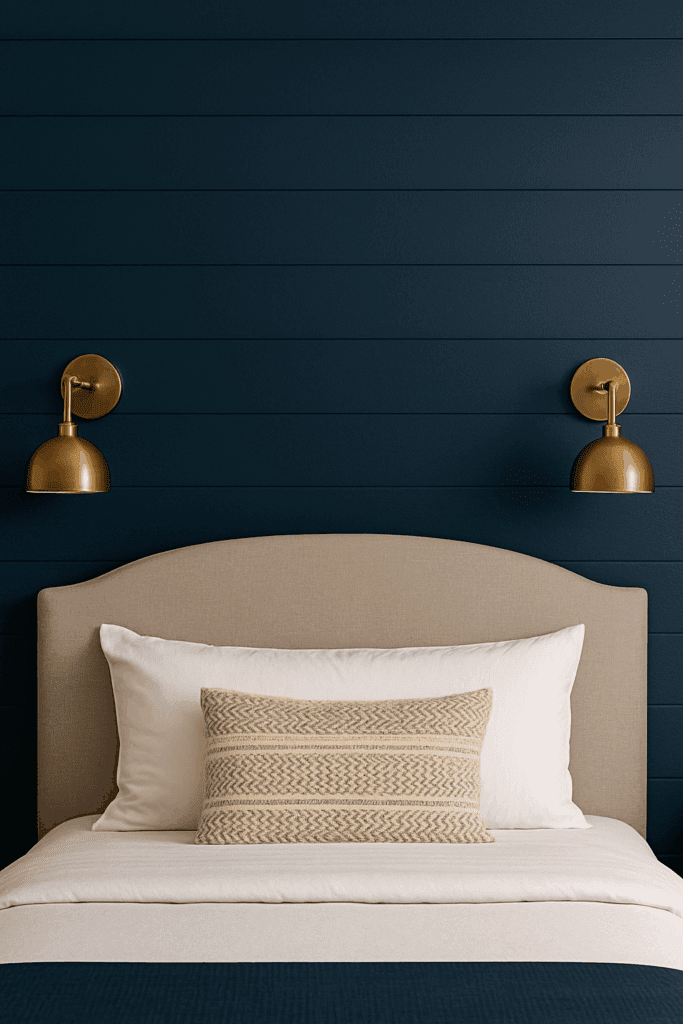
I also discovered that color plays a huge role. While classic white will always have its place, painting shiplap in deeper tones like charcoal gray or deep blue adds real drama. I used a rich navy behind our bedroom headboard, and it created this cozy, moody retreat that feels nothing like the typical white-on-white look.
Mixing textures is another trick that works really well. In our mudroom, I combined vertical shiplap below a peg rail and standard drywall above. The mix gave it some structure without making it feel too busy. Plus, with the right hooks and baskets, it became one of the most functional spots in the house.
If you’re short on space or just want to dip your toes in, try a small area like a laundry room or even a nook behind some open shelves. You’d be surprised how a few rows of shiplap can make a plain wall feel intentional and custom-built.
🧼 How to Maintain Shiplap So It Always Looks Fresh
After all the work you put into installing shiplap, the last thing you want is for it to start looking dingy or worn out. Luckily, keeping it clean and sharp-looking is easier than you might think. Over the years, I’ve picked up a few tricks to keep mine looking as good as the day we put it up.
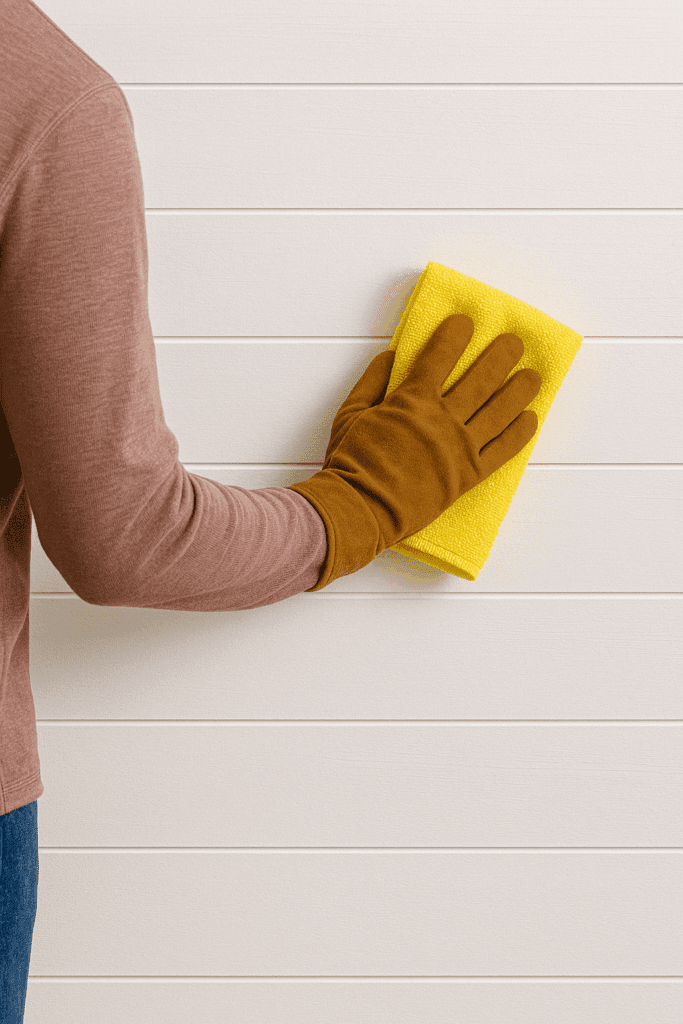
First off, dust is sneaky. It loves to settle into those little grooves between the boards. I keep a microfiber duster handy and give the walls a quick swipe every couple of weeks. It takes less than five minutes and makes a big difference, especially if your shiplap is painted white.
For fingerprints or smudges—especially near light switches or in high-traffic areas—I use a damp cloth with a drop of mild dish soap. Just don’t scrub too hard or use anything abrasive, especially on painted boards. A gentle wipe-down now and then keeps everything looking crisp.
Touch-ups are part of the deal, especially if you have kids, pets, or a busy household. I always keep a little leftover paint or stain in a jar tucked in the closet. That way, when someone bumps the wall with a vacuum or drops their backpack a little too hard, I can fix it without much fuss.
Now and then, especially in older homes, I’ve noticed tiny gaps or hairline cracks appear between the boards or in corners. It’s usually just the house settling or seasonal changes. A little dab of paintable caulk smooths it out quickly and brings those clean lines back.
If you’re installing shiplap in a bathroom or laundry room, just make sure you’ve sealed the boards properly during installation. Good ventilation is key. I learned that lesson the hard way after skipping the exhaust fan for a while—humidity can cause swelling if you’re not careful.
Shiplap isn’t just for farmhouse fans anymore. Here’s where it shines:
Room
Style Ideas
Living Room
Accent wall behind the sofa or TV
Bathroom
Moisture-resistant shiplap around the vanity
Bedroom
Horizontal shiplap behind the headboard
Entryway
Floor-to-ceiling for a bold first impression
❌ Common Mistakes to Avoid
Skipping the Level – Even small uneven rows can become glaring by the end.
Over-nailing – You don’t need to shoot a nail into every stud; every 12–16” is fine.
Skipping Wall Prep – Make sure your wall is clean and flat before installing.
Not Painting First (Optional) – Some people paint the edges before nailing up, especially if using nickel gaps to avoid white cracks later.
Final Thoughts: Shiplap Without the Stress
Shiplap is one of those rare DIY projects that makes a huge impact for relatively little cost. Whether you’re going for a rustic feel or a modern twist, it can upgrade a space in a weekend—and you’ll be proud every time someone compliments your work.
Installing shiplap for the first time was easier than I expected, and the hardest part wasn’t the nailing—it was choosing the right paint color afterward! If you take your time, plan your cuts, and follow the steps above, you’ll have a wall that looks like a pro installed it.
Related Posts:
Why Install Window Well Covers? by Amy Reed February 28, 2023 More About Window well covers are sheets of material that cover the entrance to a basement door or window. Usually transparent with a latch that enables you…
How to Install Mobile Home Skirting: A Simple DIY Guide by Admin March 17, 2025 DIY Skirting is an essential feature for mobile homes, offering protection, insulation, and a polished appearance. Skirting is a valuable investment whether you're looking for an…


")


")