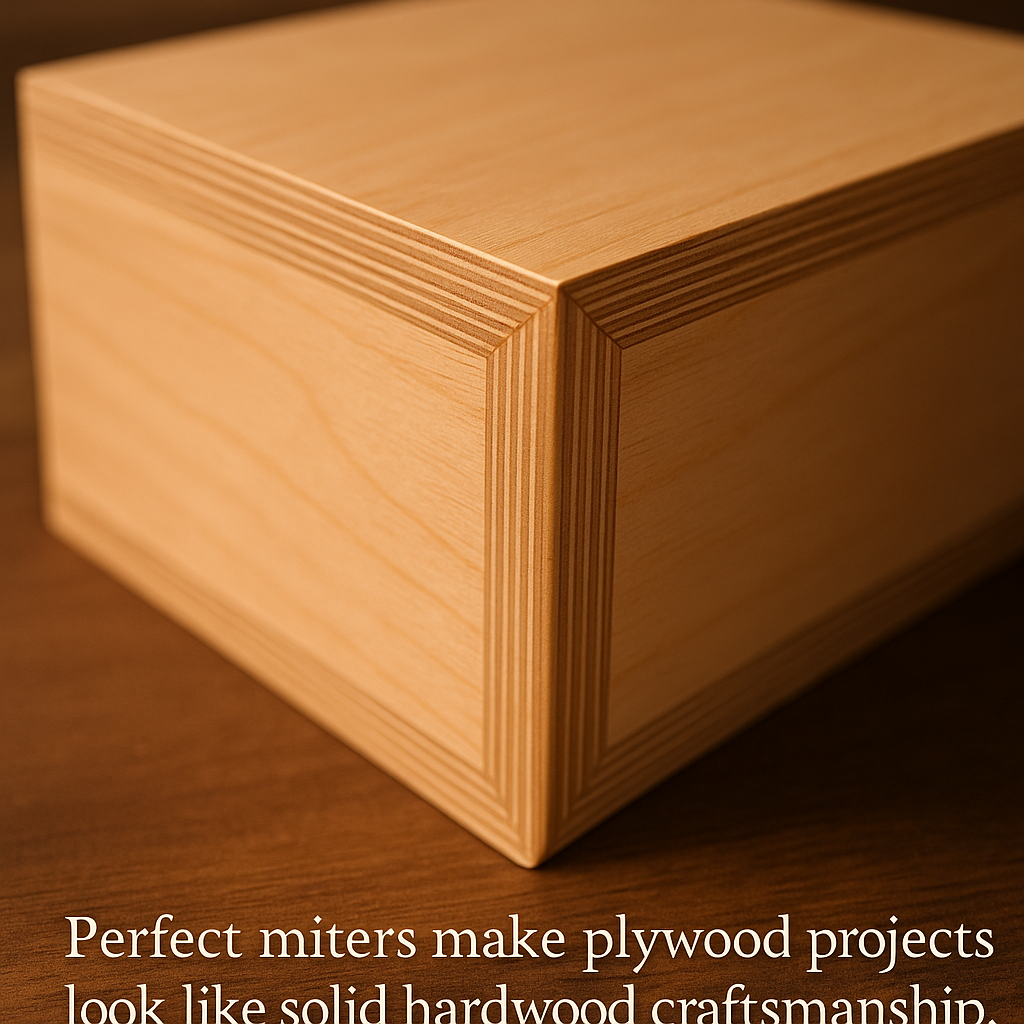
When I first started working with plywood, my miter joints looked great from a few feet away—but the moment I leaned in, I saw every flaw. Plywood’s thin top veneers and layered core make those crisp 45-degree corners harder than they look. Tiny chips, uneven glue lines, and mismatched angles can ruin an otherwise beautiful project.
Over the years, I’ve learned that perfect plywood miter joints come down to setup, technique, and patience. Once you know how to cut, clamp, and reinforce properly, you can make corners so clean they look as if they were carved from a single solid board.
This step-by-step guide shows you exactly how to do it—from cutting and gluing to reinforcing and finishing. Whether you’re building a cabinet, picture frame, or furniture edge, these techniques will make your plywood projects look truly professional.
Why Plywood Miter Joints Are Harder Than They Look
When I first started building with plywood, I thought miter joints would be simple—after all, it’s just two 45-degree angles meeting up. But plywood doesn’t behave like solid wood, and that’s the first thing most DIYers learn the hard way. Solid lumber gives you one continuous grain pattern, so if your blade drifts a little, the mistake is often hidden. Plywood, on the other hand, exposes every tiny imperfection. You’ve got the razor-thin veneer on the outside, softer inner plies in the middle, and a glue core that sometimes pushes the blade off-course if it’s even slightly dull.
Another challenge is that plywood is rarely perfectly flat. Even high-quality cabinet-grade sheets can have a subtle bow or twist, which can cause the cut to wander unless the sheet is fully supported. Add in the fact that veneer tear-out happens in a millisecond if you rush the cut, and suddenly a simple miter becomes the kind of task you want to slow down for. The funny thing is that once you understand these quirks, plywood actually becomes predictable—you have to think a few steps ahead.
That’s why I always check my saw angle twice, tape my cut lines, and support the sheet from start to finish. When you treat plywood with that level of precision, the results look dramatically different. Clean corners. Invisible seams. No veneer blowout. And that’s the point where your projects stop looking “DIY” and start looking like something you’d see in a boutique furniture shop. Once you master these differences, plywood miters go from frustrating to genuinely satisfying to make.
The Secret to Perfect Miters: Setup, Technique, and Slow, Steady Workflow
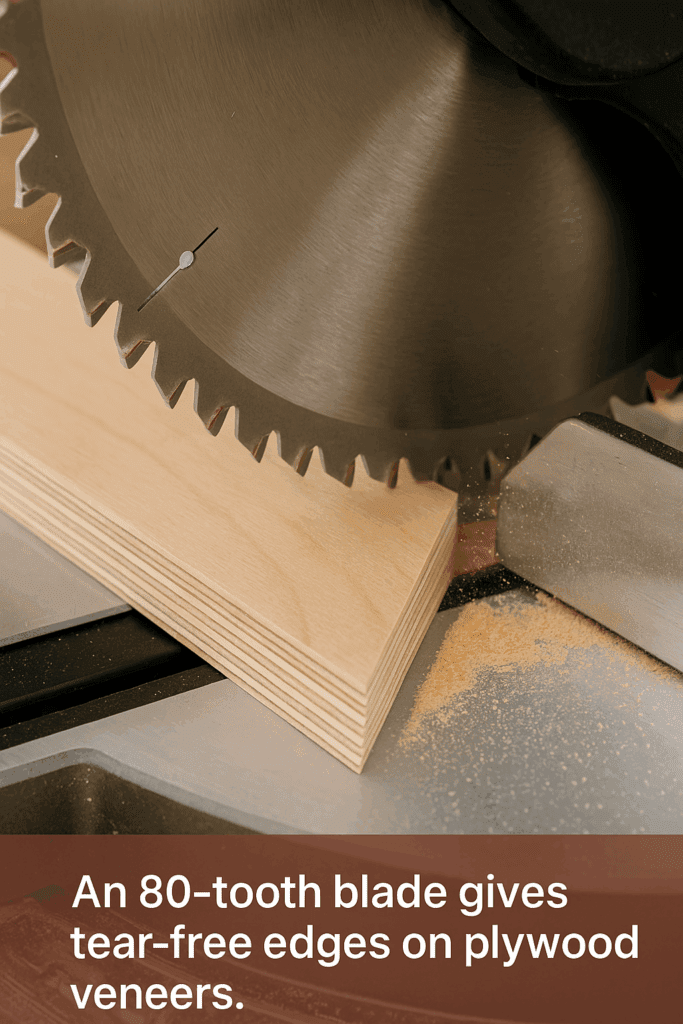
If there’s one lesson that finally transformed my miter joints, it’s this: slow down and set up correctly. Most of the mistakes I made early on—gaps, uneven corners, splintered veneers—were caused before the blade even touched the plywood. The entire process begins with a tuned, accurate saw. A cheap blade or a fence that’s even slightly out of alignment will ruin a miter instantly. Upgrading to an 80-tooth crosscut blade alone made my cuts cleaner than I ever thought possible, and pairing that with a digital angle gauge took the guesswork out completely.
But setup is just the start. Technique matters as much. I learned to cut slightly proud of the line so I can sand down to perfection instead of relying on a single pass to be flawless. I also started cutting both sides of the joint back-to-back. That way, even if the angle is a hair off, the two cuts are off in the same direction—which means they still fit together perfectly. Once the pieces are cut, the dry fit is where the magic happens. Lay everything out flat, put the pieces together, and check the joint under intense light. If you see even the tiniest bit of daylight coming through, fix it now.
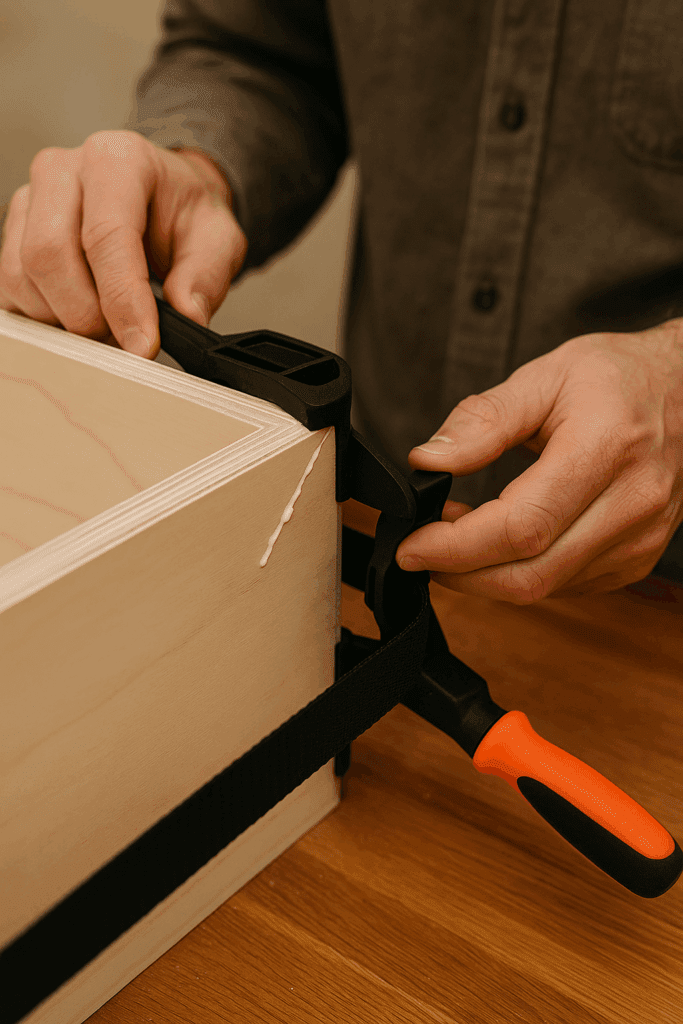
Finally, clamping and glue control can make or break your corners. Plywood doesn’t absorb glue like solid wood, so you only need a thin layer. Too much glue makes pieces slide around and creates gaps. For small projects, blue painter’s tape provides surprisingly intense clamping pressure; for larger ones, band clamps apply even force across the entire corner. When you combine accurate angles, careful dry fitting, and steady glue pressure, the joint almost “locks” together. That’s when you know your setup worked—and that clean, seamless corner is worth every minute of prep.
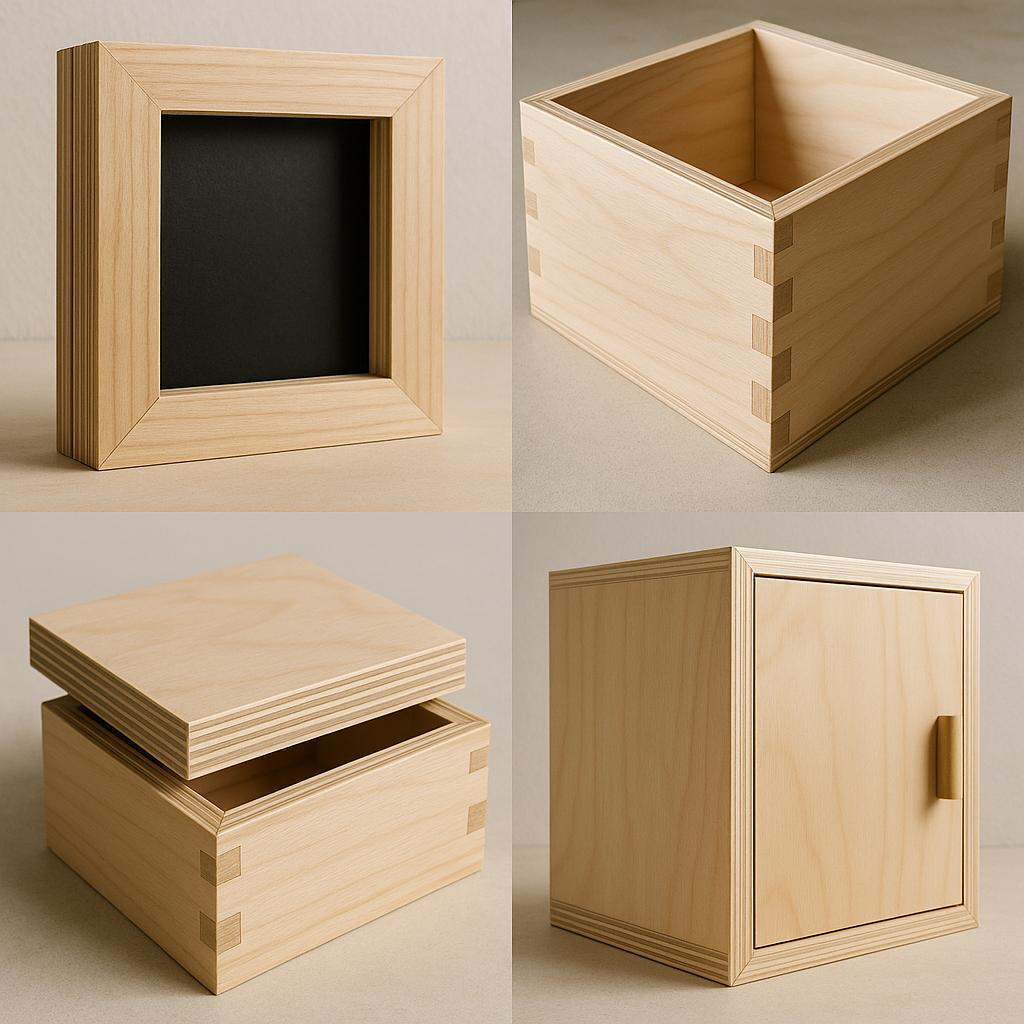
🪚 What Is a Miter Joint (and Why It Matters on Plywood)
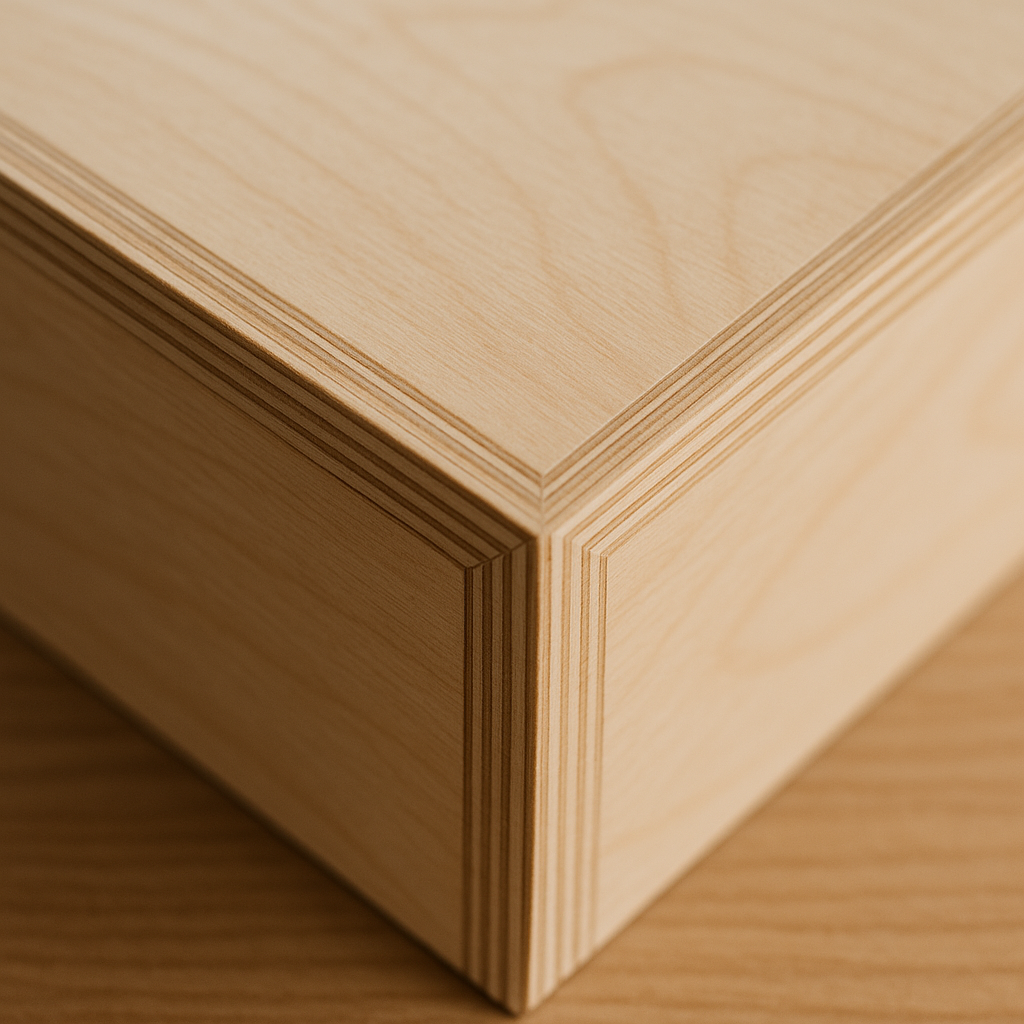
A miter joint connects two boards cut at matching angles—most often 45° each—to form a seamless 90° corner. It’s one of woodworking’s oldest and most elegant joints.
On plywood, miters hide the raw, striped edge grain of the layers. Instead of seeing the plies, you get a solid, continuous wood grain running around the corner.
However, plywood doesn’t behave like solid lumber. The thin outer veneer can splinter if cut too fast, and the inner layers can cause the saw blade to drift slightly. The key is to slow down, support the sheet, and use the right blade.
⚙️ Tools and Materials You’ll Need
Miter saw or table saw with a fine-tooth (80-tooth+) crosscut blade
Digital angle finder (for checking non-square walls)
Sandpaper (180- and 220-grit)
Optional: biscuits, splines, or dowels for reinforcement
✂️ Step-by-Step: How to Make a Miter Joint on Plywood
Step 1: Measure and Mark Carefully
Use a sharp pencil or marking knife for thin, visible lines. Mark both pieces and label your sides (A, B, C, D) if making a box—this avoids confusion during assembly.
Pro tip: Use blue painter’s tape over your cut line before marking; it prevents veneer tear-out when cutting.
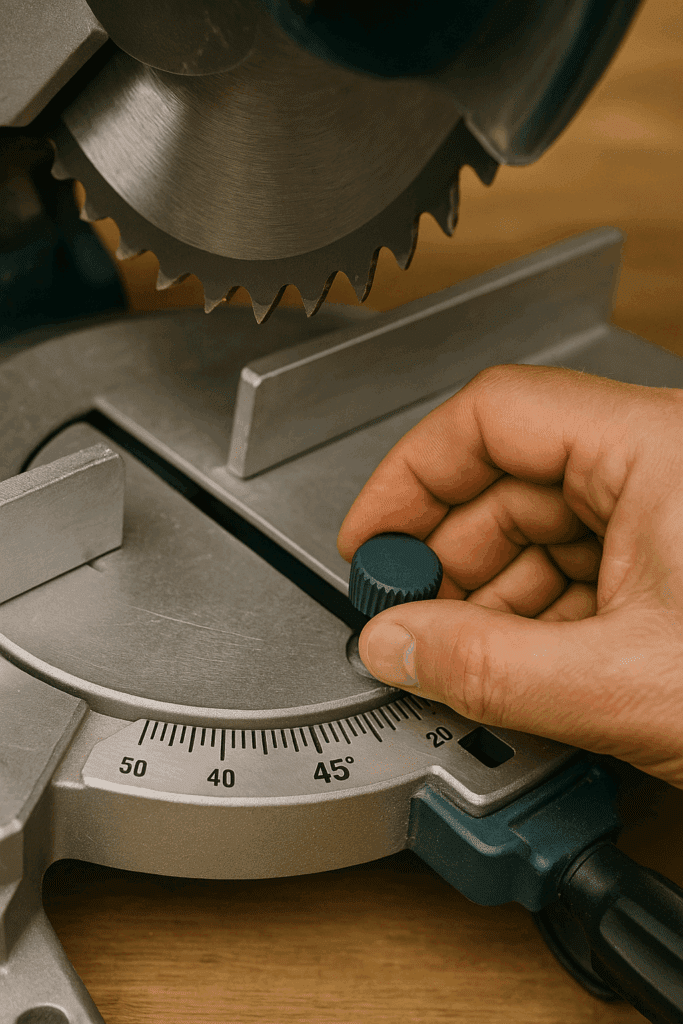
Step 2: Set the Perfect Saw Angle
Even a 0.5° error will leave a gap. Use a digital angle finder to check if your project corner is exactly 90°. If it’s 91°, divide by two—set the saw to 45.5°.
Step 3: Support and Cut the Plywood
Use a workbench or a roller stand to fully support the sheet. Cut slowly using a fine-tooth blade, and always cut slightly outside the line—you can sand down later.
Pro tip: Cut both sides of the corner back-to-back. This ensures both miters are mirror images, so the angles meet perfectly.
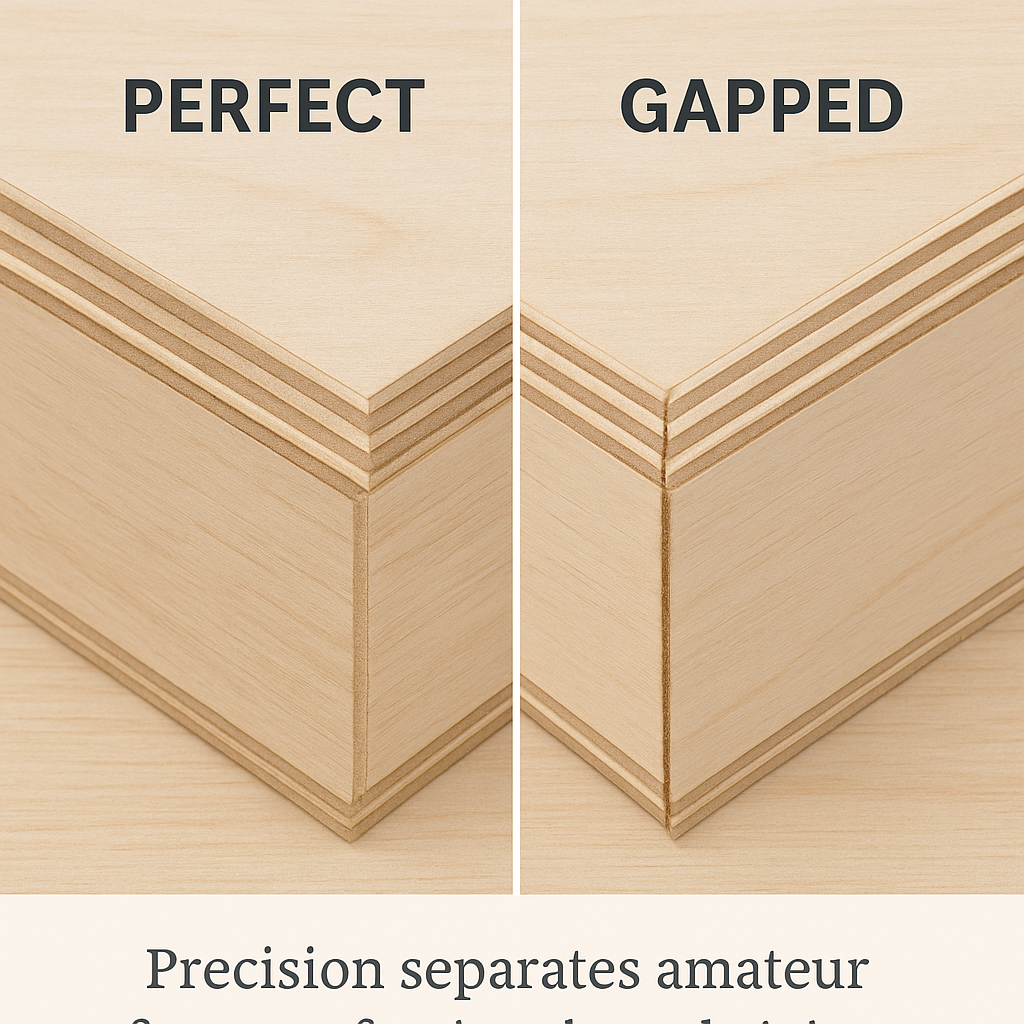
Place both pieces together on a flat surface. Check the joint under a bright light—if you can see daylight through the seam, it needs adjusting. Sand lightly with a block until the joint closes tightly.
Never skip this step; it’s your only chance to perfect the fit before glue complicates things.
Step 5: Glue and Clamp
Apply a thin layer of wood glue on both edges. Plywood doesn’t absorb as much glue as solid wood, so less is more. Align the corners carefully and clamp.
For small projects, painter’s tape works as a temporary clamp—pull it tightly across the corner. For boxes or panels, band clamps or corner clamps give consistent pressure.
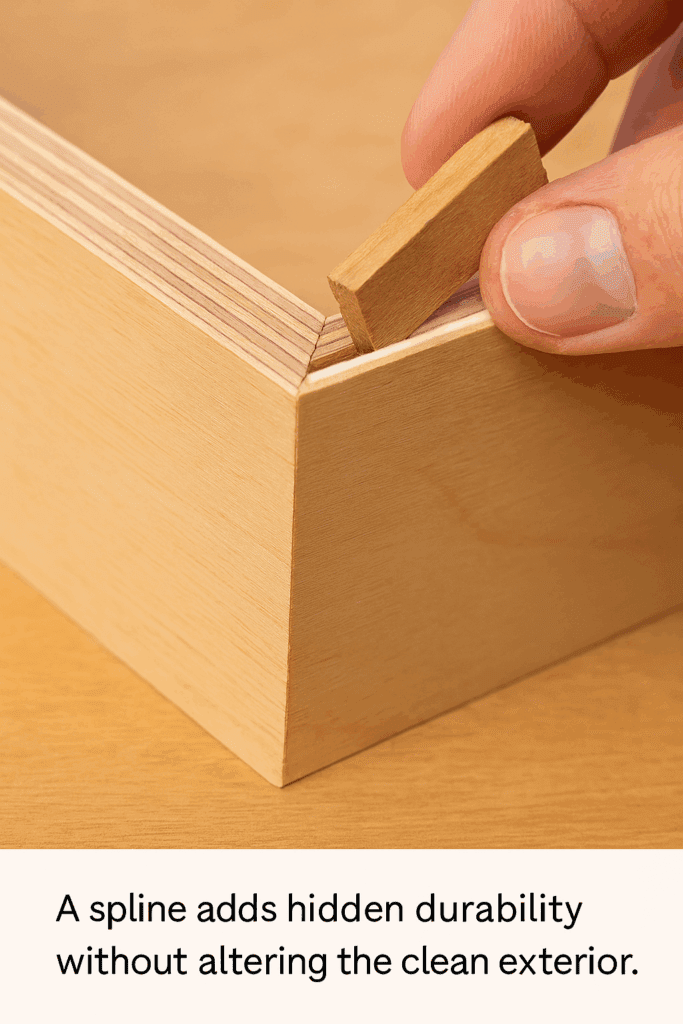
Step 6: Reinforce the Joint (Optional but Recommended)
Miter joints rely mostly on glue—so for anything load-bearing, add reinforcement:
Splines: thin strips inserted across the joint.
Biscuits: oval disks glued into slots.
Dowels: round pins drilled into the corners.
Glue blocks: added on the inside for extra support.
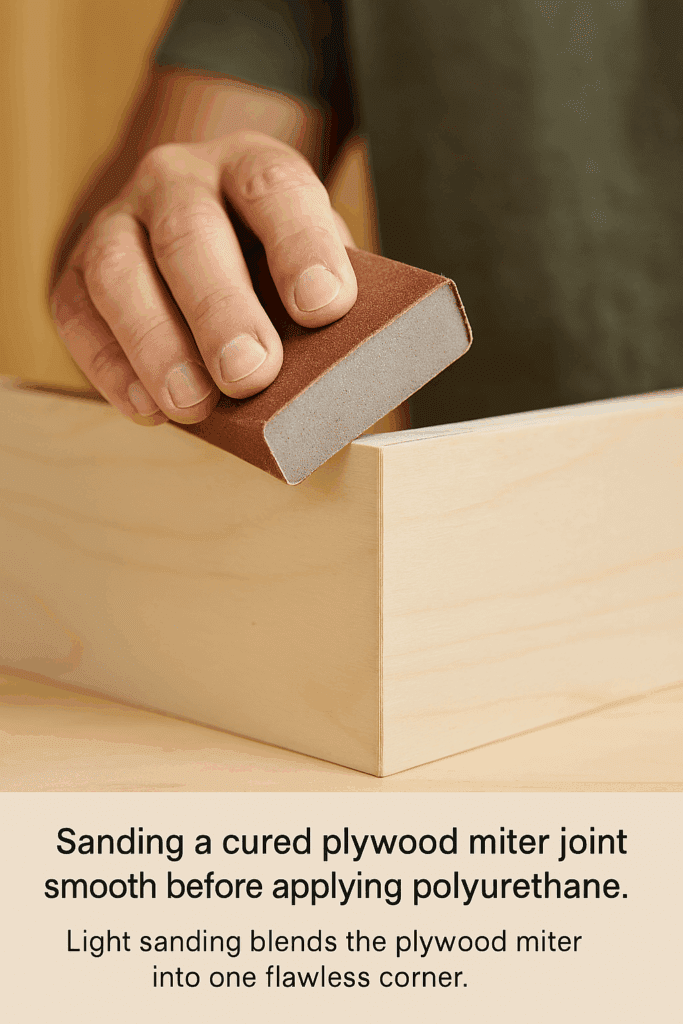
Step 7: Sand and Finish
Let the glue cure for 12–24 hours. Then sand the edges lightly with 220-grit until the seam feels like one continuous surface. Apply your preferred finish—polyurethane, Danish oil, or paint.
🪵 Advanced Techniques for Stronger and Cleaner Miters
1. Miter Sled for Table Saw
If you’re using a table saw, build a miter sled—a sliding jig that holds plywood steady while cutting both pieces at complementary angles. This guarantees perfect symmetry.
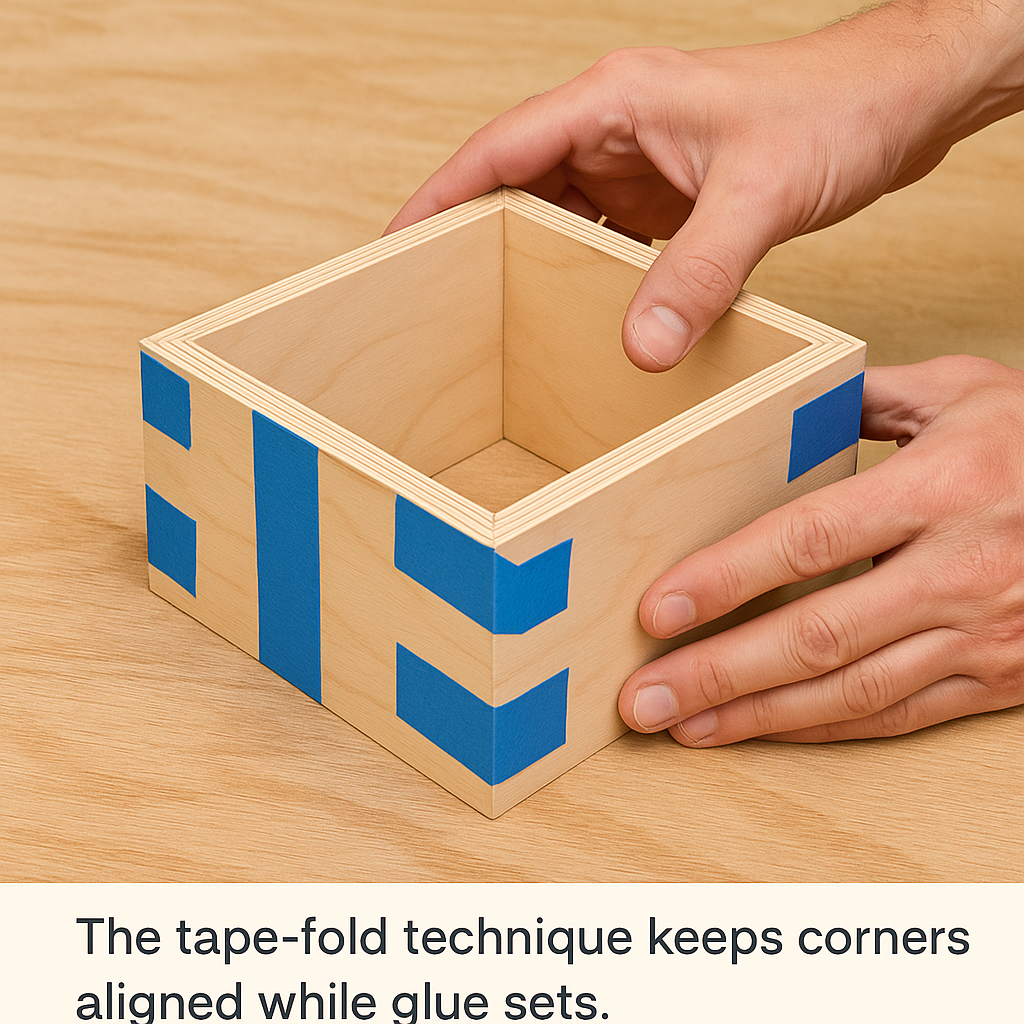
2. Blue Tape Method for Box Assembly
Lay all your sides flat, face down, and tape the seams together edge-to-edge. Then fold them up like a gift box, apply glue, and re-tape. This ensures consistent pressure and alignment without the need for traditional clamps.
3. Using Edge Banding or Veneer Strips
If you do get small gaps, apply a thin veneer strip or matching edge banding. It hides imperfections and creates a clean visual line.
🧰 Troubleshooting Real-World Issues
Uneven cuts: Check the alignment of your fence. A 1/32” deviation over a long cut ruins the angle.
Joint slips during gluing: Use tape or wedge blocks to hold alignment.
Plywood delamination: If outer veneers peel, use wood filler or CA glue to repair before finishing.
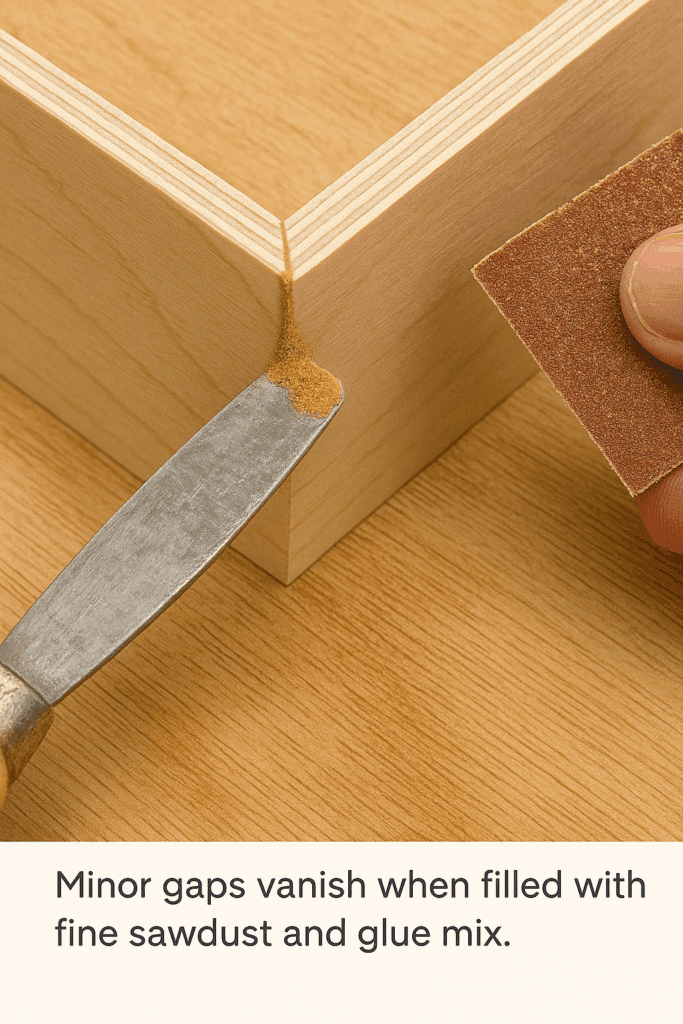
Visible gaps after finishing: Rub matching wood dust into the gap with a bit of glue; sand smooth after drying.
🧠 FAQs
Q: Can I make a miter joint without a miter saw? Yes. Use a circular saw with a guide rail, or a handsaw with a miter box, for small pieces.
Q: How can I avoid veneer splintering? Cut with the good side facing down on a miter saw and with the good side facing up on a table saw. Always use a fine-tooth blade.
Q: Should I glue before or after finishing? Pre-finish visible surfaces with a light coat. It prevents glue from staining the veneer later.
Q: What’s stronger—miter or butt joint? A butt joint is stronger mechanically, but a reinforced miter joint (with a spline or biscuit) combines beauty and strength.
Perfect miter joints on plywood come from one thing: care at every step. From a tuned-up saw and clean cuts to proper glue pressure and patient sanding, every detail counts.
Start small—practice on scrap plywood, test your angles, and adjust. Once you get the hang of it, those crisp corners will elevate every build—from furniture edges to decorative frames—into something that looks handcrafted, professional, and timeless.
Miter Clamps: Perfect Corners Made Easy by Admin March 3, 2025 Joints One of the first lessons every woodworker learns is that miter clamps turn good corners into great ones. These specialized tools squeeze freshly cut angles…
Can Plywood Get Wet? How to Dry Wet Plywood by Amy Reed March 30, 2023 Repairs Plywood is one of the most universal building materials on the market. It can be used for all kinds of construction – from roof building…