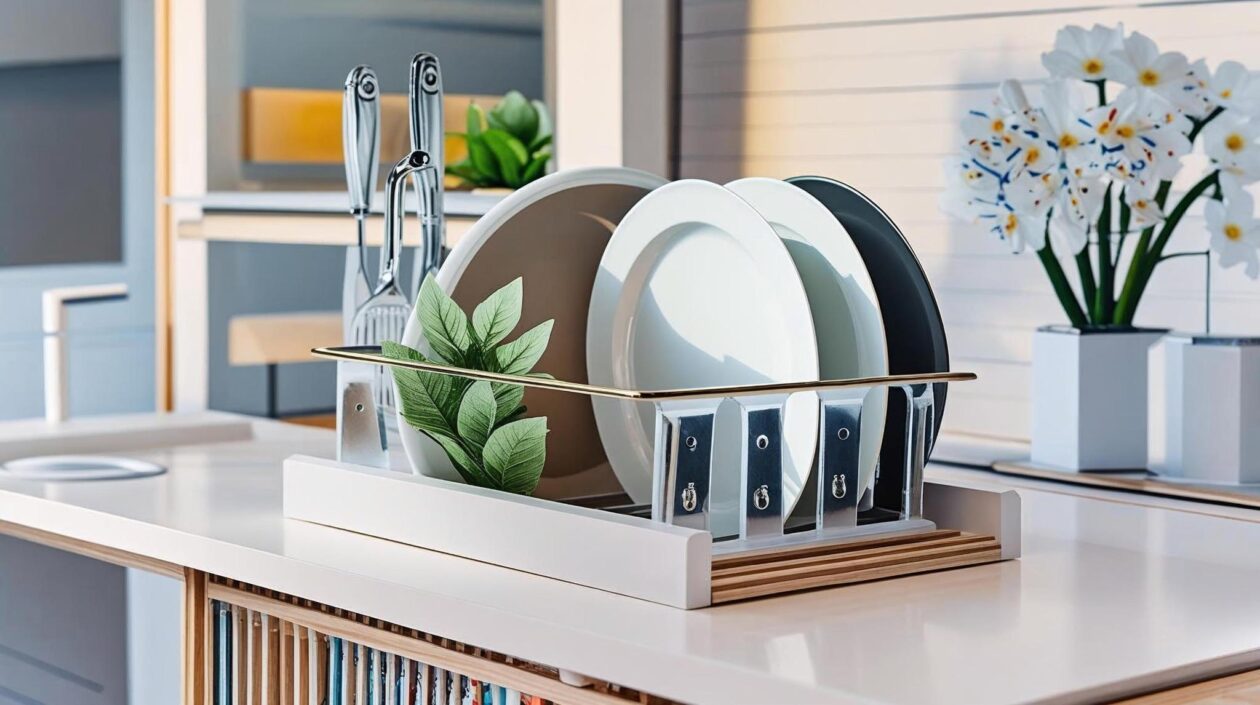
I made a dish drainer because the one I had kept bothering me. It didn’t really break; it just stopped doing what it was supposed to do. Plates leaned. Water stayed on the counter. I kept moving things around instead of just letting them dry.
I didn’t want to keep buying new ones. The last few I had all did the same thing after a while. At first, they were fine, then they weren’t. Nothing major, just small problems that added up. After a while, you notice it every time you wash dishes.
I didn’t try to design anything special. I just wanted something flat that didn’t move and didn’t need adjusting. The one I made sits there, holding plates. Water runs off instead of sitting underneath. I don’t really think about it anymore.
This is just how I put it together. The size and spacing can change depending on where you put it.
Why Build a Dish Drainer Instead of Buying One?
I didn’t really think much about whether making one was “better” at first. It came from using a few different dish racks over time and noticing the same problems recurring. Plastic ones bend or crack. Metal ones start rusting in the same spots. The rubber feet don’t stay on. Water always seems to sit underneath longer than it should.
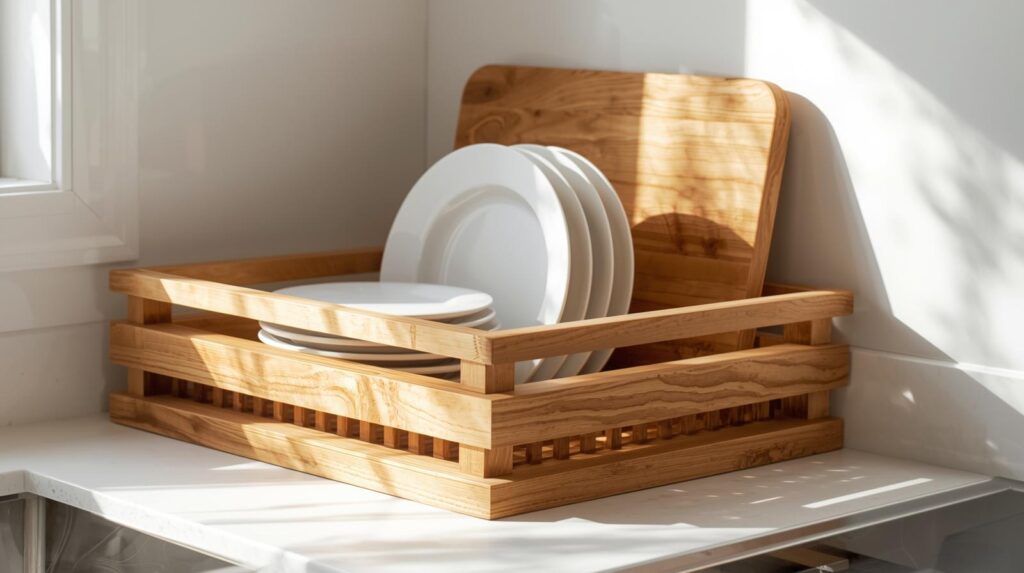
The wooden one doesn’t have those issues, at least not the way I built it. Plates sit without wobbling. Water doesn’t collect in one place. If the surface ever gets worn, it can be sanded and refinished instead of being tossed. It also doesn’t feel temporary, unlike most store-bought ones, which eventually do.
If you already enjoy making small wooden things, this is the kind of project you use every day without much thought.
Choosing the Right Style of Dish Drainer
There are several ways to build a dish drainer. This guide focuses on the slot-style countertop drainer because it works best for plates, cutting boards, and lids.
I didn’t lock in measurements right away. I stood at the counter and looked at the space next to the sink, then moved the old rack around until it felt like it was always in the way. Most store-bought drainers are sized for shelves, not kitchens, which is why they never quite fit. I measured the open area instead of copying another rack. Width turned out to be more important than depth for me, since plates stack faster than anything else. I landed somewhere around a foot wide and a bit longer front-to-back, but that was based on my counter, not a rule. If your sink area is different, your numbers probably will be too.
Step 2: Cut the Base
The base is just a rectangle, but it’s the part on which everything else depends. I cut it, then set it directly on the counter to see how it behaved. If it rocked at all, I fixed that before moving on. Even a small wobble appears once the plates are loaded. I checked the edges and cleaned them up so nothing felt twisted or off. This step doesn’t look like much when you’re done, but if the base isn’t flat and square, the rack will never feel right later, no matter how careful you are with the rest.
Step 3: Layout the Slots
This part took longer than I expected. I marked the slots once, stepped back, then changed them before committing. When slots are too close, plates stick and feel cramped. Too far apart, and they lean too much. I spaced them so the plates slid in easily without rattling. I also stopped the slots short of the back edge instead of running them all the way through. That lets the plates rest slightly back, making the whole rack feel more stable in use. It’s one of those details you don’t appreciate until you load it up.
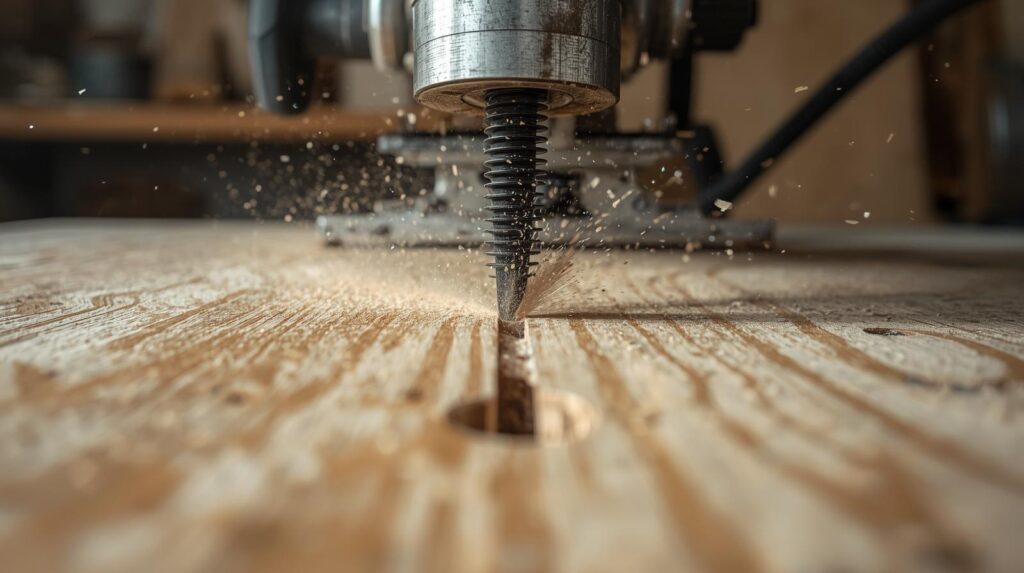
Step 4: Cut the Slots
I didn’t cut all the slots at once. I cut a few, tested a plate, then kept going. Depth mattered more than anything else here. Shallow slots let plates wobble, and deeper ones held water longer than I liked. I adjusted as I went instead of trying to be perfect on the first pass. Whether you’re using a jigsaw or a table saw, consistency helps, but checking with an actual plate tells you more than a ruler ever will. Taking it slow here saved me from making mistakes later.
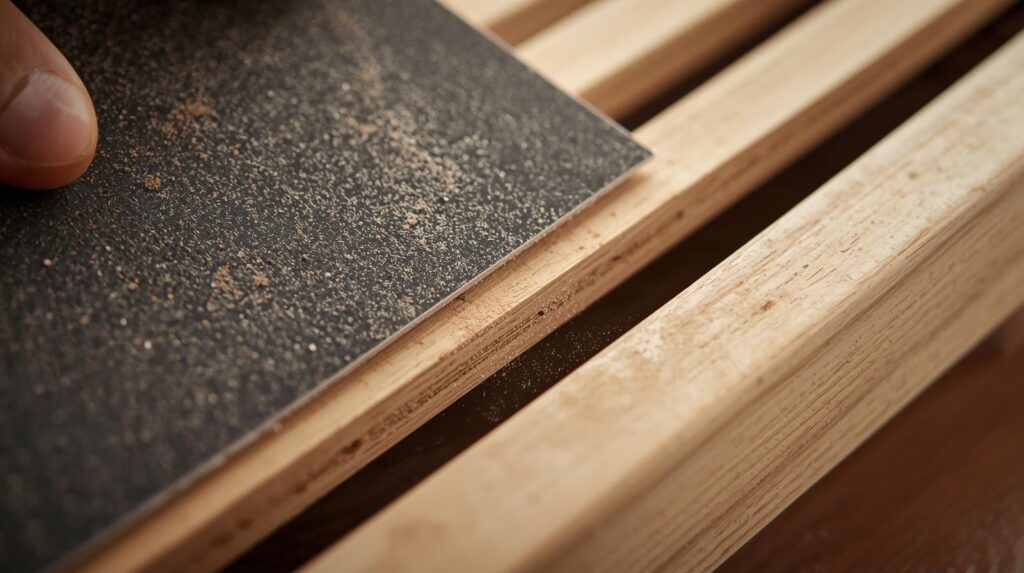
Step 5: Sand Everything
Sanding took longer than cutting. Especially inside the slots. Sharp edges don’t look like a problem until plates start clinking or your hand catches on something. I sanded the surface, slots, edges, and bottom, working through the grits without rushing it. I wasn’t trying to make it fancy, just comfortable to use and easy on dishes. Once everything felt smooth without looking closely, I stopped. That was enough.
Step 6: Add a Back Support
I hadn’t planned on adding a back piece, but once I set a few plates in place, it was obvious they needed something to lean against. Without it, they tipped forward too easily. The back support doesn’t look much, but it changes how the rack feels when it’s full. I attached it carefully and checked the angle before fixing it in place. A slight lean made loading easier and kept the plates from shifting. It’s a simple piece, but it made a big difference.
Step 7: Optional Drain Channel or Feet
I didn’t add anything complicated underneath. I just made sure water wasn’t getting trapped there. Depending on your counter, raising the rack slightly helps. Rubber feet work. A shallow tray works too. Some people cut grooves underneath, but I didn’t bother. As long as air can get under it and moisture doesn’t sit all day, it does what it needs to do. After that, I stopped thinking about it.
Finishing the Dish Drainer (This Matters More Than Looks)
Water destroys unfinished wood. Finish is non-negotiable.
Many of these builds follow the same principles as other kitchen storage projects on ThePlywood.com (internal link).
Cost Breakdown
Approximate cost:
Plywood: $10–20
Finish: $5–10
Total: under $30
Comparable store racks often cost more and last less.
Frequently Asked Questions (From Real Use)
Is a wooden dish drainer okay to use around water? Yes, as long as it’s allowed to dry out. Wood becomes a problem only when moisture remains trapped for long periods. A dish drainer that sits flat, gets air underneath, and isn’t left in standing water holds up well. The finish matters more than the type of wood. If the surface ever looks dry or worn, it can be refreshed rather than replaced.
How long does something like this usually last? Longer than most store-bought racks. There’s nothing to bend, rust, or peel over time. As long as water isn’t constantly sitting underneath, there’s very little wear. If something does change after years of use, it’s usually something that can be fixed rather than thrown away.
Does wood absorb smells or bacteria? Not under normal use. When a wooden rack smells, it’s almost always because moisture stayed trapped underneath or food wasn’t rinsed off before drying. Letting it dry fully solves most issues. If it ever does pick up an odor, light sanding removes it.
Can this be used over a sink instead of on the counter? It can, but stability is important. Over-sink setups must span the opening securely and not flex under load. For most kitchens, a countertop version is more practical. If you do want to bridge a sink, thicker material helps.
How often does it need maintenance? Not often. With an oil finish, once or twice a year is usually enough. With a more durable finish, it may go much longer without needing attention. You can usually tell by feel rather than appearance.
Will heavy plates or cutting boards damage it? No. Plates rest vertically, so the weight is distributed rather than concentrated in one spot. Cutting boards are heavier, which is why spacing and a back support matter. If the rack feels stable when loaded, it’s working as intended.
Is plywood really okay for something like this? Yes, as long as it’s decent-quality plywood and the edges are sealed. Stable plywood often moves less than solid wood. Most problems come from low-grade panels or unfinished edges, not plywood itself.
What’s the most common mistake people make? Rushing the layout. Slot spacing and depth affect how the rack feels every single time it’s used. Getting those right matters more than making it look perfect.
After using it for a while, it just became part of the counter. That’s probably the best way to describe it. It doesn’t get moved around, it doesn’t need adjusting, and it doesn’t turn into something you notice every time you wash dishes. Plates go in, water runs off, and that’s about it.
If it ever gets scratched or worn, it can be sanded and finished again. If the layout ever needs changing, it’s easy enough to make another one. Nothing about it feels temporary, which is what pushed me to build it in the first place.
It’s not a project you show off. It’s just something that does what it’s supposed to do and then gets out of the way. That’s really all I wanted from it.


")


")

