I’ve done a lot of DIY home improvements over the years, but one of the biggest game-changers was when I learned how to install a prehung door myself. The first time, I was nervous—framing, leveling, shimming? It sounded complicated. But once I walked through the process step by step, it turned out to be a surprisingly manageable weekend project.
In this guide, I’ll break down exactly how I install a prehung door every time, now, from tools and measuring to leveling and sealing—based on real experience, not theory.
📦 What Is a Prehung Door, Anyway?
Before I ever installed one, I assumed a door was just a door. But a prehung door is a door and its frame, already attached by the manufacturer. You get the slab, hinges, jamb, and sometimes even the threshold all in one unit. This makes it easier for homeowners like us to install without needing advanced carpentry skills.
Why I Use Prehung Doors: I switched to prehung units after trying to replace a door slab inside an old, warped frame—it was a nightmare to align. Prehung solved all of that in one go.
🧰 Tools I Always Use for Prehung Door Installation
These are the must-haves I keep on hand every time I install one of these:
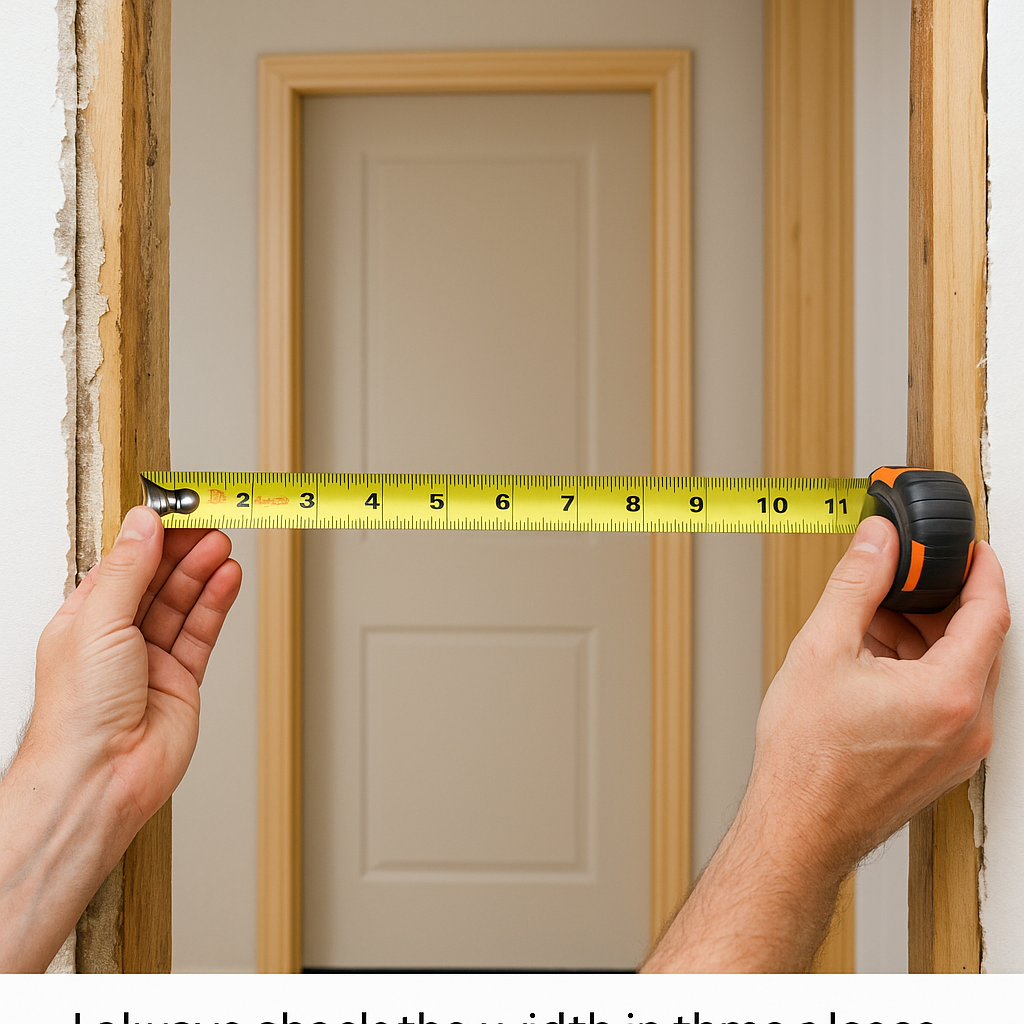
The first thing I do—before buying the door—is measure the rough opening where it’s going. You want the opening to be about 2 inches wider and 1 inch taller than your door.
This space gives you enough room to slide the door in and fine-tune its position with shims.
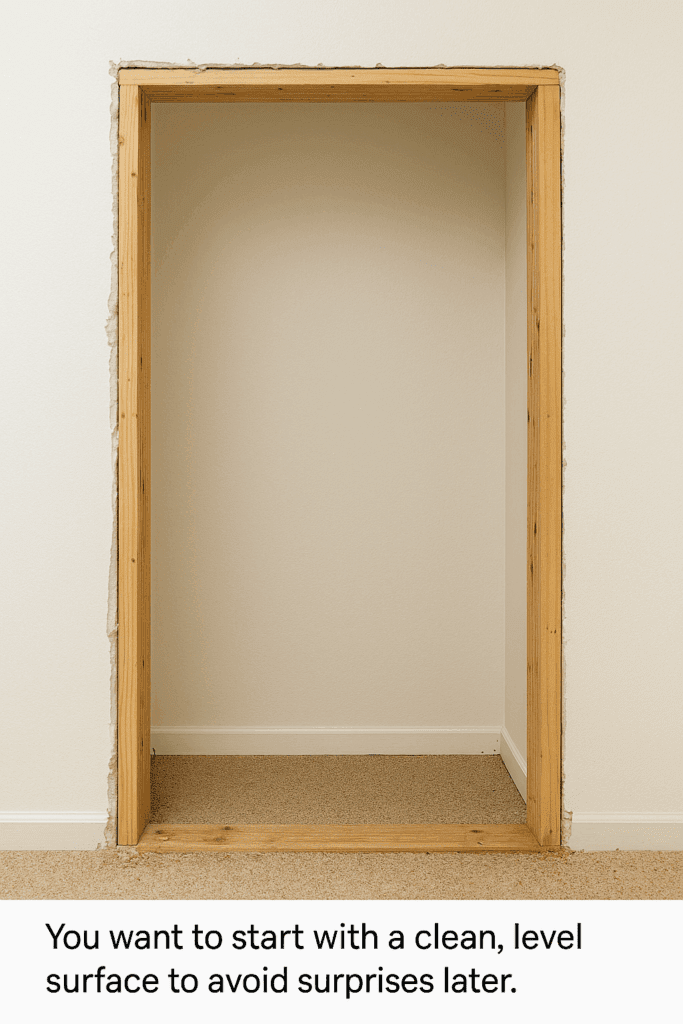
🧹 Step 2: Remove the Old Door and Clean the Area
If you’re replacing a door, you’ll need to take everything out—including the old frame and trim. I use a pry bar to pop off the casing and a reciprocating saw to cut the nails between the old jamb and the framing.
Tip: Vacuum up dust and leftover caulk before you insert the new unit. A clean space = a smooth install.
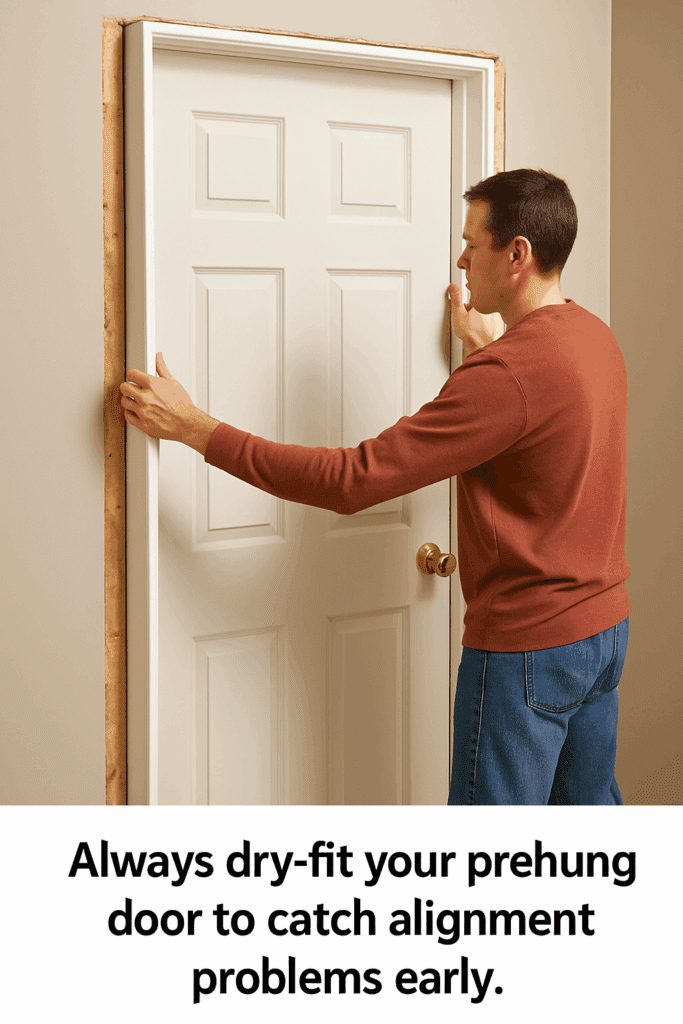
🚪 Step 3: Dry-Fit the New Door
Set the prehung door into the rough opening before securing anything. This gives you a chance to check the floor level, wall plumb, and how the door sits naturally.
What happened to me: On my first try, I found my subfloor dipped 1/4″ on one side, which threw off the whole frame. I corrected it by shimming under the jamb.
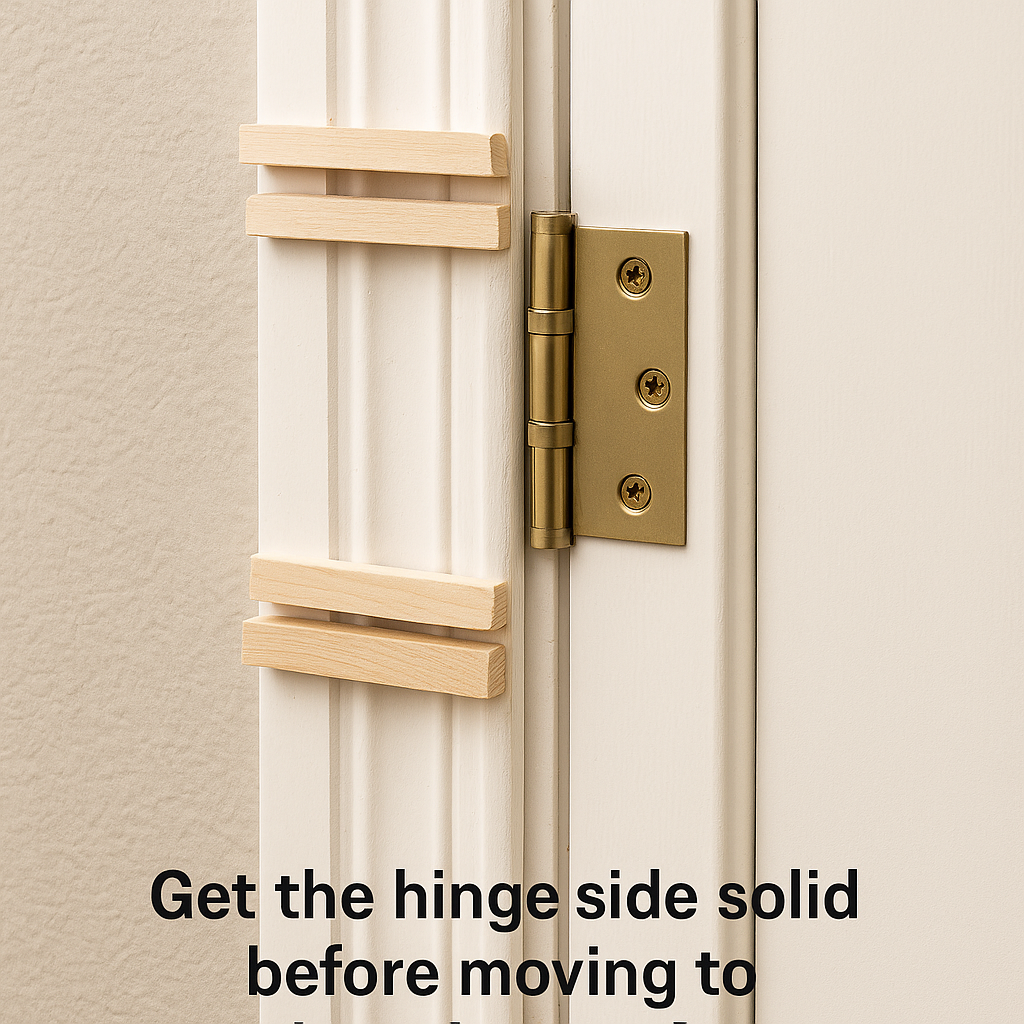
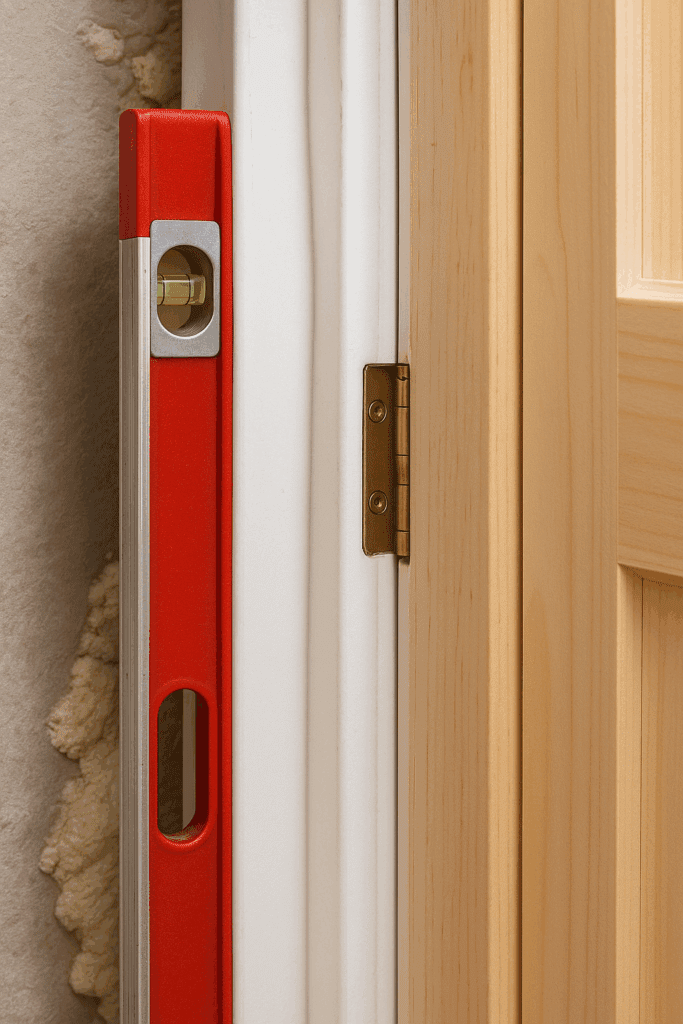
🪚 Step 4: Shim and Level the Hinge Side First
This part matters most. I always start on the hinge side of the jamb. Use your level to get that side perfectly plumb. Then add shims behind each hinge—this supports the door’s weight long-term.
💡 Tip: I remove a factory screw from each hinge and drive a long 3″ screw into the framing for added strength.
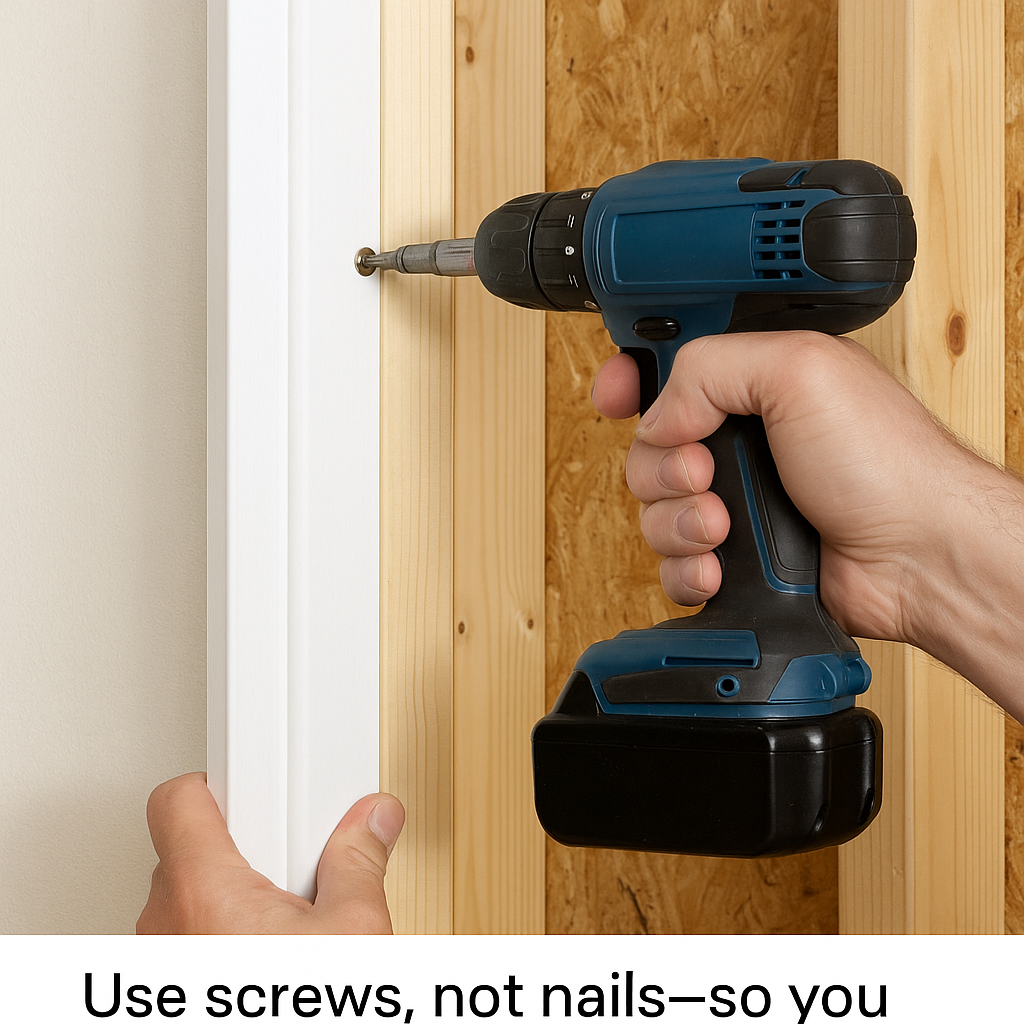
🔩 Step 5: Secure the Frame
Once you’re happy with the position:
Drill pilot holes through the jamb and shims.
Drive screws through the jamb into framing (not just drywall).
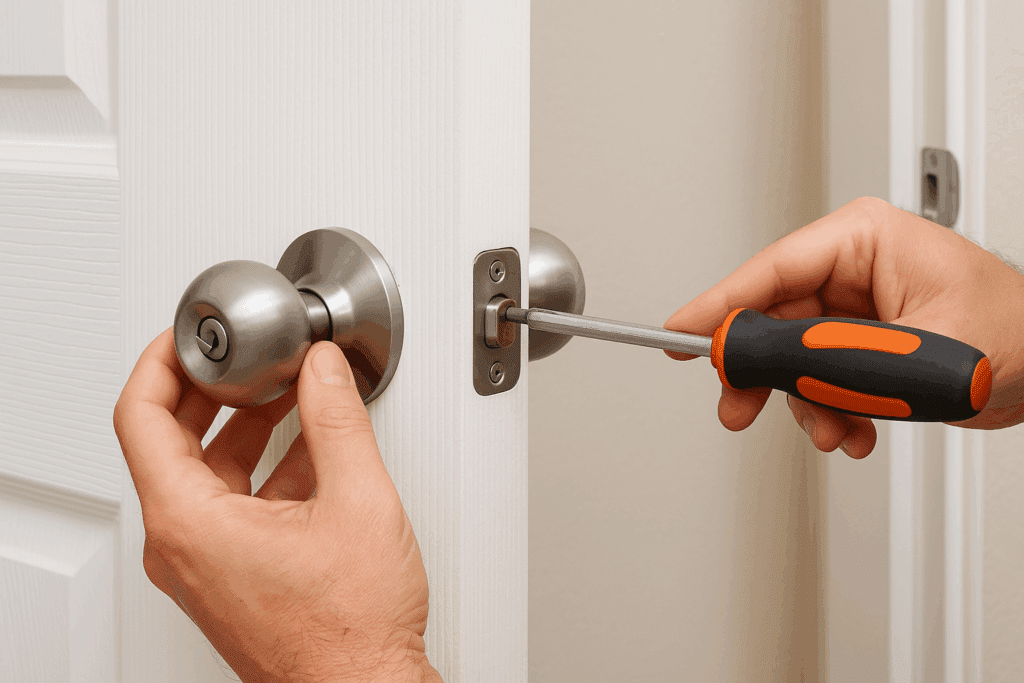
Check that the door still swings freely and closes properly.
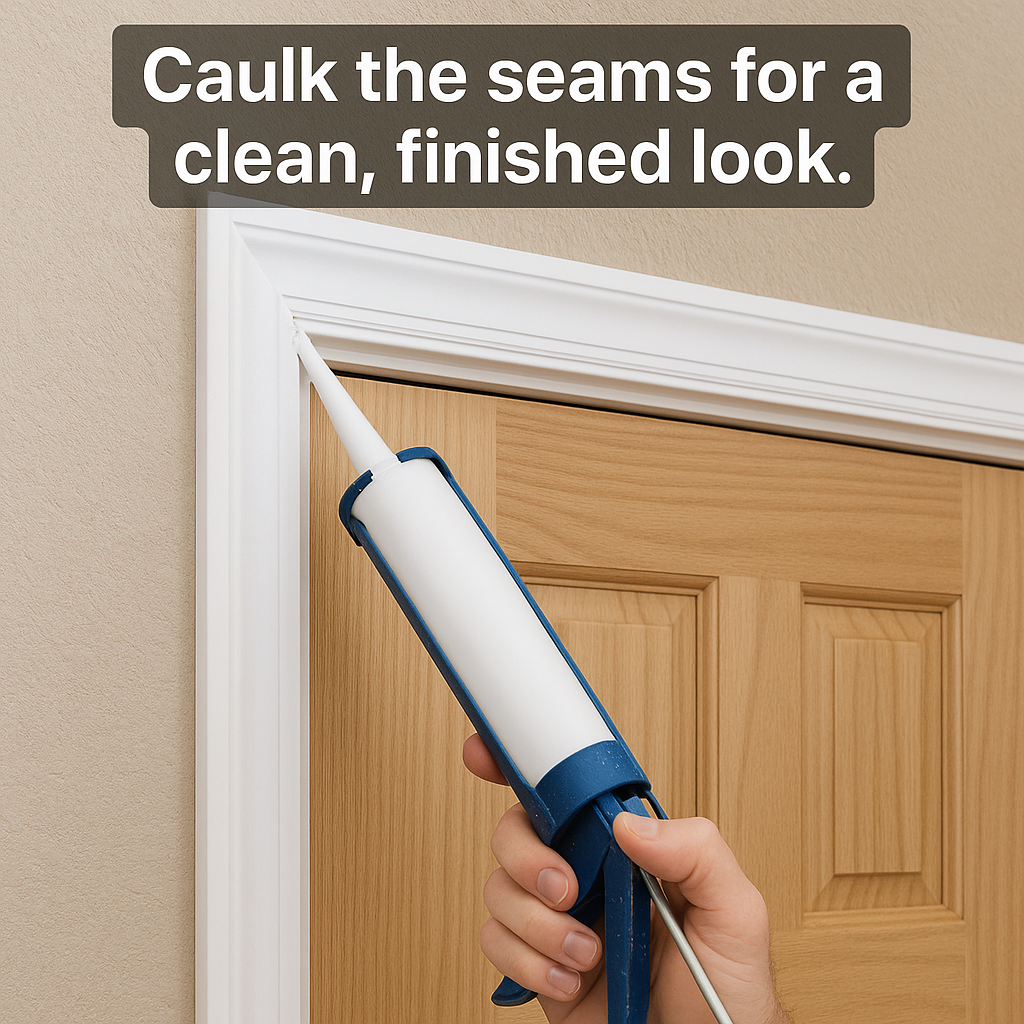
🧯 Step 6: Foam and Insulate the Gaps
Don’t forget this! I’ve skipped it once, and regretted it every winter. Fill gaps between the framing and the jamb with low-expansion foam or backer rod + caulk.
Run a bead of caulk where the casing meets the wall
Touch up paint or stain as needed
Pro Tip: If the door rubs or doesn’t stay closed, it’s almost always a shim or screw that needs tweaking. Don’t force it—just fine-tune.
Common Problems During Prehung Door Installation (And How I Fix Them)
Even though installing a prehung door is far easier than hanging a slab, things can still go sideways. One of the most common issues I’ve run into is a frame that looks square but isn’t plumb. If the wall leans slightly or the floor isn’t level, the door won’t close correctly, or it might swing open on its own. My fix? I always check with a long level before securing anything, and I shim generously on the low side of the subfloor before locking the hinge side in place.
Another headache is overdoing it with spray foam. I made this mistake on one of my first installs and watched in horror as the jamb bowed inward. That slight pressure warped the door’s swing enough that it rubbed against the stop. Since then, I only use low-expansion foam made specifically for windows and doors, applying a light bead and walking away until it cures.
Loose hinges are another culprit. If the door starts to sag after a few months, check the screws. I now replace at least one screw in each hinge with a longer one that bites into the framing, not just the jamb. That tiny detail makes a huge difference in long-term performance.
❌ Mistakes I Learned From
Mistake
What to Do Instead
Nailing before leveling
Shim and plumb first—then screw it
Using too much foam
Go light, or the jam will bow inward
Go light, or the jamb will bow inward
Always dry-fit and test before screwing
🧠 FAQs (Stuff I Wish I Knew Earlier)
Q: Do I need to remove the door from the frame to install it? Nope. Leave it attached—it helps you spot swing issues during the install.
Q: Can I do this alone? Yes—but an extra set of hands makes it way easier to hold the unit steady while shimming.
Q: What’s better: prehung or slab? For older homes or beginners, prehung doors win every time. Less work, better results.
Why Prehung Doors Are Ideal for DIY Door Replacement Projects
If you’re replacing a door and don’t want to mess around with aligning a new slab in an old frame, a prehung unit is your best bet. I used to think I’d save time and money by just buying a door slab. But aligning hinges, chiseling mortises, and adjusting the latch strike took way more time, and I still wasn’t happy with the result.
With prehung doors, everything comes ready to install. The hinges are factory-aligned, the spacing is dialed in, and the frame is square (as long as your opening is). That makes them perfect for older homes, where existing frames may be warped or out of plumb. I’ve even used them in new construction when I want a clean install without a lot of on-site adjustments.
They also make it easier to improve energy efficiency. You can insulate around the frame and seal everything before installing the trim, something that’s hard to do well with slab-only replacements. Plus, most modern prehung doors are available in dozens of styles and finishes, so you don’t have to sacrifice looks to get convenience.
🪛 Final Thoughts: Installing a Prehung Door Is 90% Setup
Installing a prehung door isn’t rocket science—it’s all about prep, patience, and constantly checking the level. Once you’ve done one, you’ll want to replace every door in the house.
If you’ve got a rough opening, a tape measure, and a little free time, this is the perfect weekend project to take on.
How to Install Door Trim (Step-by-Step DIY Guide) by Admin November 18, 2025 DIY Beginner-friendly instructions, real-world tips, and the tools I actually use. Installing door trim looks simple from a distance—just a little molding around the doorway, right?…


")

")

")