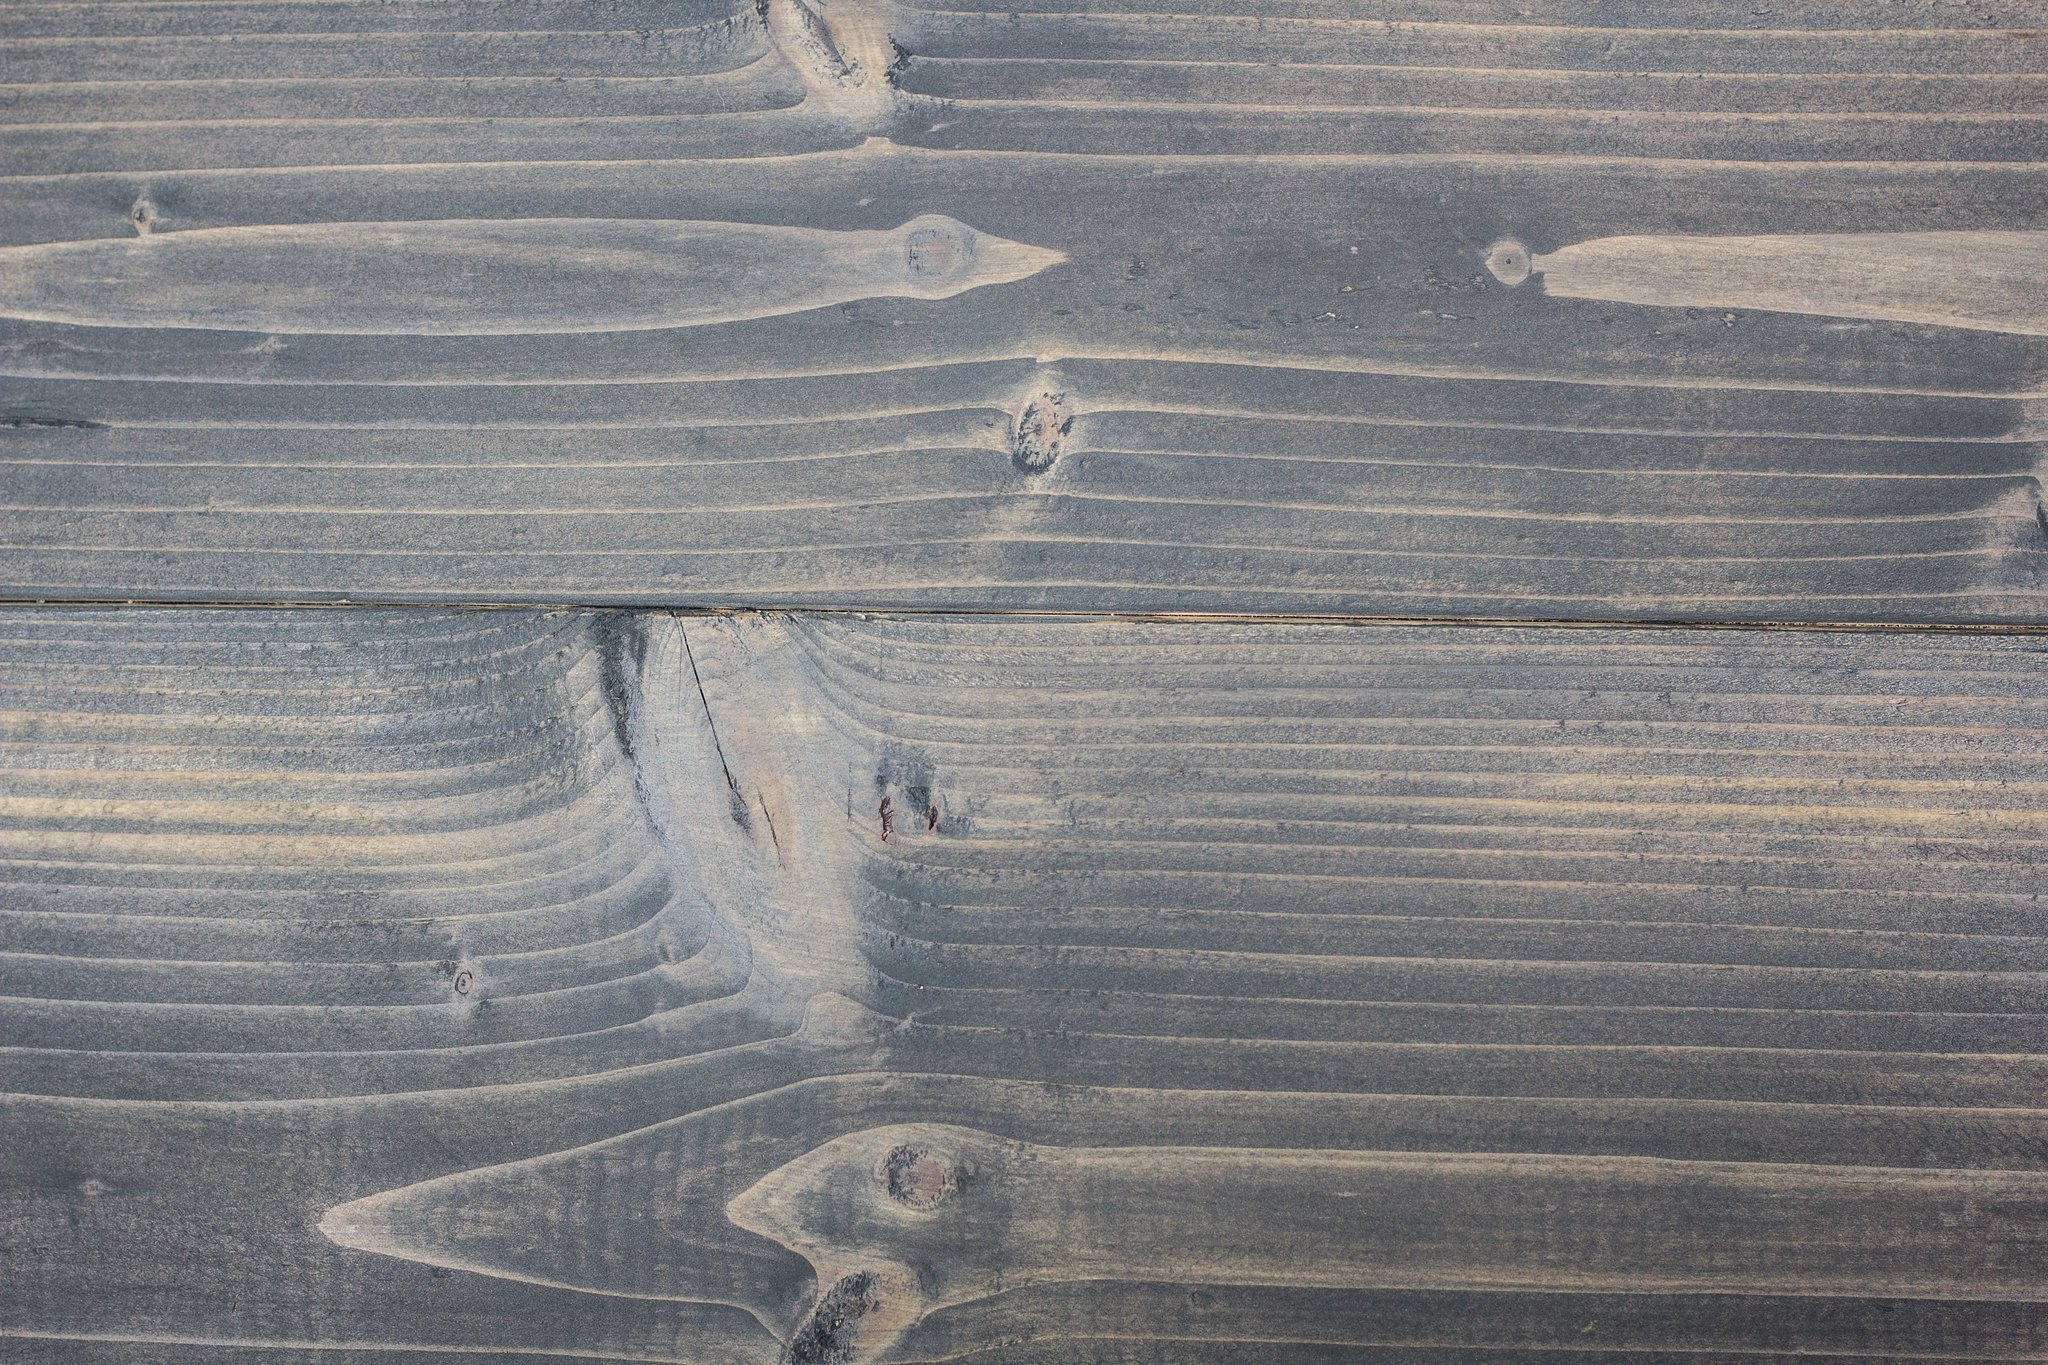
Selecting a grey wood stain need not be daunting. Dive into our straightforward guide highlighting five stellar grey stains – from the trendy Driftwood Grey to the timeless Silver Mist – and learn how to apply them for a flawless, enduring finish.
Key Takeaways
Grey wood stain selection is crucial for both aesthetic appeal and the longevity of woodwork. It involves factors such as wood age, condition, and desired visual effect.
Various top grey wood stain options offer unique characteristics, including Elegant Ash by WoodShield for a soft, light grey finish and Driftwood Grey by TimberPro for a natural, weathered look with UV protection.
Proper wood preparation, stain color testing, and applying the appropriate sealer or topcoat are essential to ensure optimal results and woodwork longevity when using grey wood stains.
Choosing the Perfect Grey Wood Stain
Regarding home aesthetics, every detail matters, and the choice of a wood stain is no exception. Understanding the array of grey wood stain options is the first step to achieving a visually pleasing and durable finish. Here are some options to consider:
Elegant Ash by WoodShield: a soft, light grey finish
Driftwood Grey by TimberPro: a natural, weathered look with UV protection
Silver Mist by General Finishes: a versatile option suitable for various wood types
With these options, you can find a gray wood stain that suits your diverse aesthetic and functional requirements.
The choice of white or grey wood stain significantly impacts your home’s woodwork’s desired appearance and longevity. Let’s investigate why selecting the right stain is paramount and what factors should be considered when making this choice.
Importance of Choosing the Right Stain
The selection of the right grey wood stain extends beyond simple color preference – it’s about amplifying the natural allure of your woodwork and crafting an aesthetic style that aligns with your taste. But there’s more to the story – the right of wood stain color serves a protective role, too. It acts as a shield, helping to protect the wood surface from environmental damage and wear and tear, thus preserving its value over time.
Think of it as a two-in-one solution—with the right grey wood stain, you’re increasing the visual appeal of your woodwork and ensuring its longevity. Acting like a protective coat, it shields against scratches and other forms of damage, thereby maintaining the wood’s value over time. So, what’s the process to select the perfect used wood stain?
Factors to Consider When Choosing a Stain
Selecting a grey wood stain is not just about favoring a color; it entails contemplating factors like the wood’s age and condition, which can substantially affect stain absorption and the ultimate appearance. Do you want a dramatic effect or a subtler look? The shade of grey you opt for influences the entire atmosphere of your space. A lighter grey wood stain might create a softer, more subdued look, while a darker grey could add a touch of drama, highlighting the visibility of the wood’s natural grain.
Whether it’s to amplify the wood’s natural allure or to change its appearance completely, the objectives of staining your work are varied, and comprehending them is a critical step in the selection process. Having acquired insights into choosing the ideal grey wood stain, let’s examine the top five options that make your home woodwork distinct.
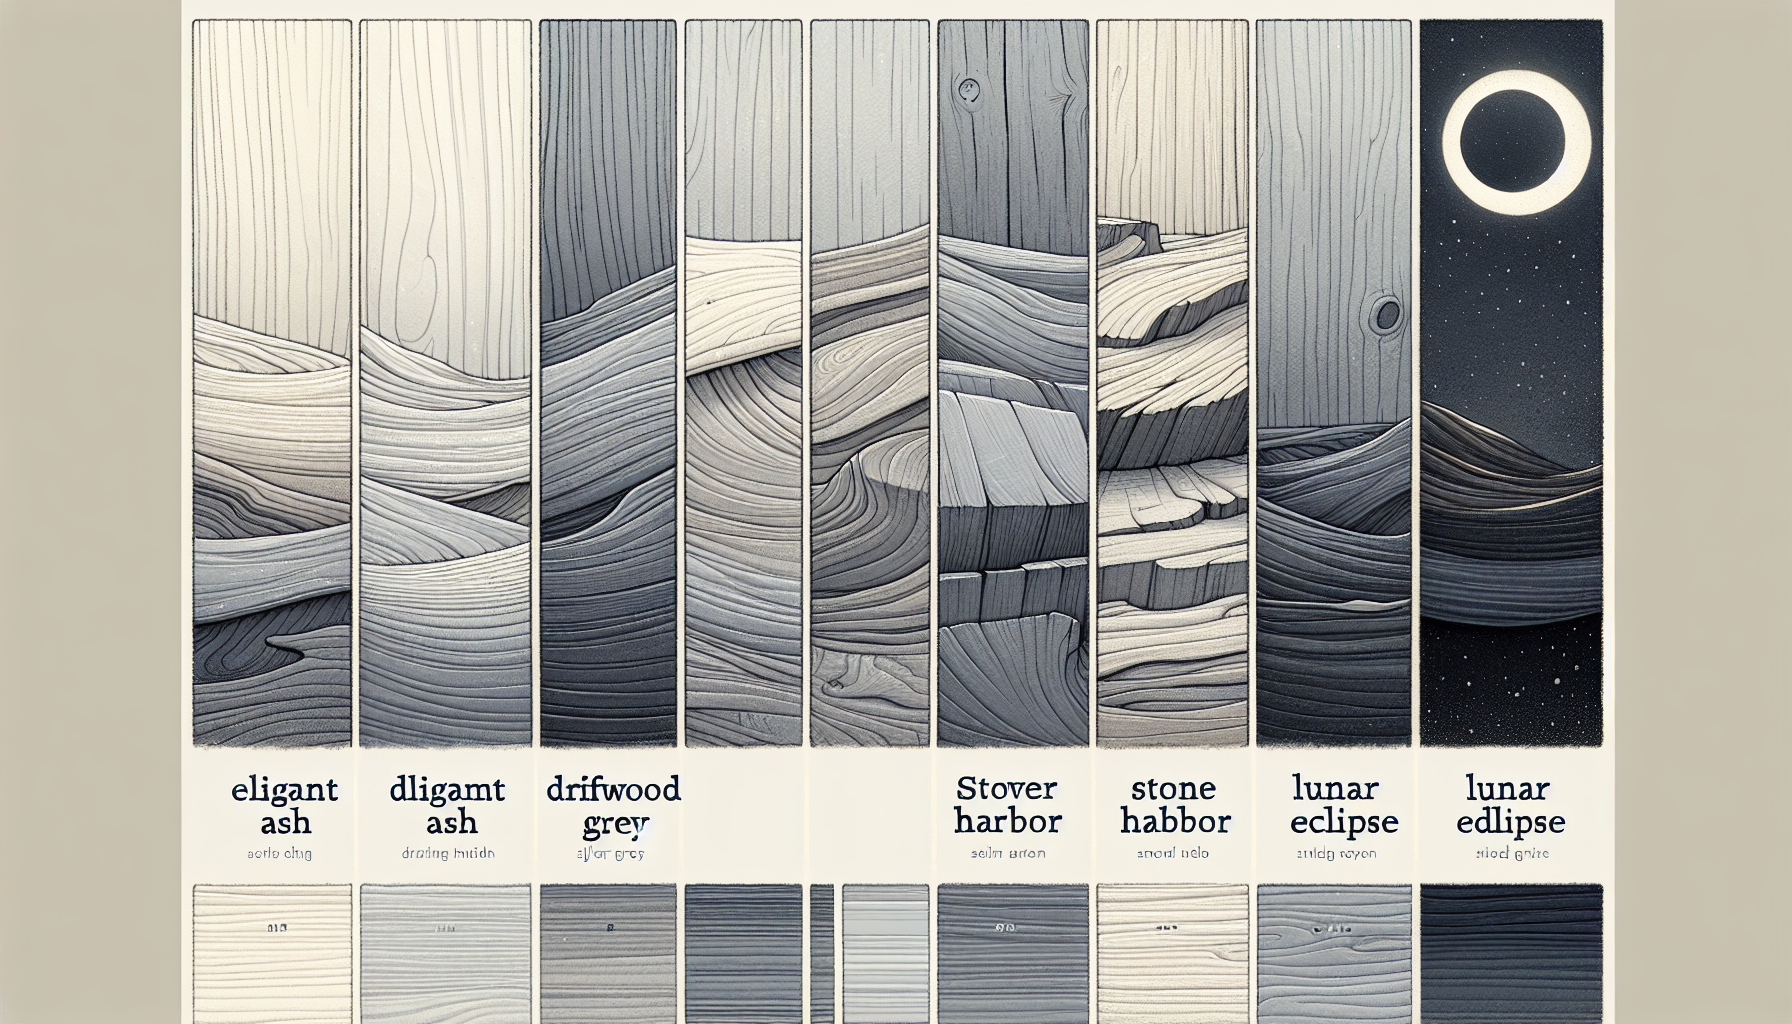
Top 5 Grey Wood Stain Options
The realm of grey wood stains is abundant with options. Each stain has distinct characteristics, aesthetic allure, and protective attributes such as UV protection and customizable appearance. Whether you’re leaning towards a soft, light grey finish, a natural weathered look, or a rich, dark grey with brown undertones, there’s a perfect stain out there. So, what are these top-notch options? Let’s dive in and explore each one of them in detail.
From Elegant Ash by WoodShield to Lunar Eclipse by Sherwin-Williams, these top five grey wood stain options offer unique characteristics and benefits that cater to different tastes and functional needs. Each is distinguished by its unique qualities, versatility, and the ability to offer a customized finish. Let’s embark on a journey through these top picks.
Elegant Ash by WoodShield
If you’re looking for a soft, light grey finish, Elegant Ash by WoodShield might be your perfect match. This oil-based wood stain imparts a delicate grey tone that can transform your woodwork into an elegant masterpiece. While its light color is captivating, what’s more appealing is that achieving this perfect shade only requires a single coat application.
But it’s not just about the color. Elegant Ash’s oil-based formula provides excellent durability and enhanced protection for the wood surfaces it is applied to. Furthermore, the stain is designed for easy application, going on smoothly for even coverage. All these features make Elegant Ash by WoodShield an easy and excellent choice for those seeking a soft, light grey finish with excellent durability and protection against oil-based stains.
Driftwood Grey by TimberPro
For those who prefer a natural, weathered look, Driftwood Grey by TimberPro is a worthy contender. This water-based stain provides a weathered grey look that exudes natural charm. As part of TimberPro’s Transparent series, Driftwood Grey maintains the visibility of the wood’s natural grain, blending subtly with the original wood color to create a harmonious look.
In addition to its aesthetic appeal, Driftwood Grey goes the extra mile by offering protection. The stain includes properties that offer added UV protection to further coat the wood, safeguarding your woodwork from the harsh effects of sunlight. This combination of natural aesthetics and protection makes Driftwood Grey by TimberPro a worthwhile choice.
Silver Mist by General Finishes
Silver Mist by General Finishes should be on your radar if you’re looking for a versatile grey wood stain. This stain stands out because it can be applied in layers, creating a customized grey shade to suit your taste. Its medium viscosity makes it suitable for various wood surfaces, ensuring an even application and finish.
The stain also boasts a solids weight of 22%, supporting an even application and finish, making it an excellent choice for those seeking versatility and customization. With Silver Mist by General Finishes, you can personalize your woodwork exactly as you envision it.
Stone Harbor by Old Masters
Are you a fan of rich, dark hues with a touch of warmth? If yes, Stone Harbor by Old Masters could be the perfect color fit for you. This unique stain is known for:
Its rich, dark grey hue
Beautifully complemented by warm brown undertones
Designed to enhance the wood’s natural grain, lending a sense of depth to the finished piece.
To achieve the best appearance and performance with Stone Harbor, it is recommended that the stain be applied with a high-quality brush or cloth and that adequate drying time be allowed. With its rich color and ability to enhance the wood’s natural grain, Stone Harbor by Old Masters offers a unique blend of aesthetics and quality.
Lunar Eclipse by Sherwin-Williams
For those seeking a modern and sophisticated grey wood stain, Lunar Eclipse by Sherwin-Williams is an excellent choice. Characterized by its cool gray undertones, this stain is a distinct choice for a cool-toned decor theme. Complement it with white or other light-colored furnishings, creating a chic atmosphere that exudes modernity.
The Lunar Eclipse stain:
Imparts a velvety texture to the wood
Enhances the grain patterns with its rich pigmentation
Offers a cool-tone grey color
It is versatile across various design styles
It is ideal for those seeking a serene and elegant wood finish in their space.
Tips for Applying Grey Wood Stain
Having acquainted yourself with the top grey wood stain options, let’s delve into some advice for applying these stains to your woodwork. Whether you’re a DIY enthusiast or a professional, these tips will ensure you get the best results. From preparing the wood surface to testing stain colors and using proper application techniques, here’s everything you need to know.
Remember that staining isn’t just about brushing it onto the wood. It necessitates meticulous preparation, precise color selection, and appropriate application techniques. Let’s delve into these aspects in more detail.
Preparing the Wood Surface
Preparing the wood surface is critical before you even unseal your can of grey wood stain. This involves:
Removing previous coatings, mold, mildew, dirt, and grime from the wood surfaces
Use a wood stripper to eliminate old or peeling stains, especially if the existing coating is unsound or contains wax
Scrubbing the wood surface with a bleach solution if it has mildew, followed by a thorough rinse
After cleaning, sanding along the grain is recommended to remove any remaining residue. Choosing the right grit sandpaper is essential, and it should be based on the condition of the wood and the presence of old coatings. Once you’ve prepared the surface, you can move on to the next step—testing your chosen stain color.
The adage “Never judge a book by its cover” also applies to wood stains. The color you see on the label might not be the exact color you get when you apply the stain to your woodwork. This is why testing a small area with the chosen stain before full application is crucial.
Try out different stain opacities on the wood to see how they interact with its natural color and texture. You can also use scrap wood to test how individual stains react, which can help inform your decision on starting points for mixing and layering stains to achieve a custom look. You’re ready for the real deal once you’re satisfied with the test results.
Proper Application Techniques
The application of the stain demands patience and precision. For an evenly distributed finish and the option of a customized shade, Silver Mist stain can be layered and then wiped away with an absorbent cloth. This technique ensures an even application, resulting in a beautiful and uniform finish.
Sealers and Topcoats
You’ve selected your grey wood stain, conducted a color check and test, and applied it carefully. However, the process isn’t complete yet. The next critical step is applying a sealer or topcoat. These products not only add a protective layer to your woodwork but also enhance the durability and longevity of the stain.
From polyurethane sealers to wax finishes, there are various options. The choice depends on your desired appearance, the level of protection needed, and the ease of application and future repairs. Let’s dive deeper into these options.
Polyurethane Sealers
Regarding sealers, polyurethane is among the preferred choices. These sealers:
Penetrate the wood, providing a durable shield against rot, decay, mold, and mildew
Bond at a cellular level with the wood, mitigating problems such as warping and cupping
Improve wood stability and lifespan
There’s also a range of sheen levels, so you can select a finish that suits your project’s aesthetic preferences. Plus, with environmentally friendly options, you can ensure your product is safer for use in residential areas and sensitive environments.
Wax Finishes
Consider wax finishes if you want a finish that preserves the wood’s natural appearance. These finishes do not form a film on the surface, helping to protect and maintain the wood’s natural feel. Additionally, the matte sheen provided by wax finishes can subtly conceal light scratches, offering protection while enhancing aesthetic appeal.
Choosing the Right Topcoat
Selecting the appropriate topcoat is as critical as choosing the ideal grey wood stain. The topcoat affects the aesthetic of your woodwork and its longevity. When selecting a topcoat, consider the following factors:
The desired appearance
The level of protection needed
The ease of application
The ease of future repairs
Remember, the right topcoat ensures that your desired finish is achieved and maintained effectively over time. Now that you know how to apply grey wood stain and sealers, let’s explore how to mix grey and brown stain colors for a unique finish.
Mixing Grey and Brown Stain Colors
You might contemplate blending grey and brown stain colors to achieve a unique and personalized wood finish. This technique allows for a personalized wood finish that stands out from standard pre-mixed options. You can achieve a grey-wash wood finish with the right combination that gives your woodwork a unique touch of elegance.
But how do you mix and layer these stains, and what are the benefits of doing so? Let’s delve into the exciting world of color mixing and layering.
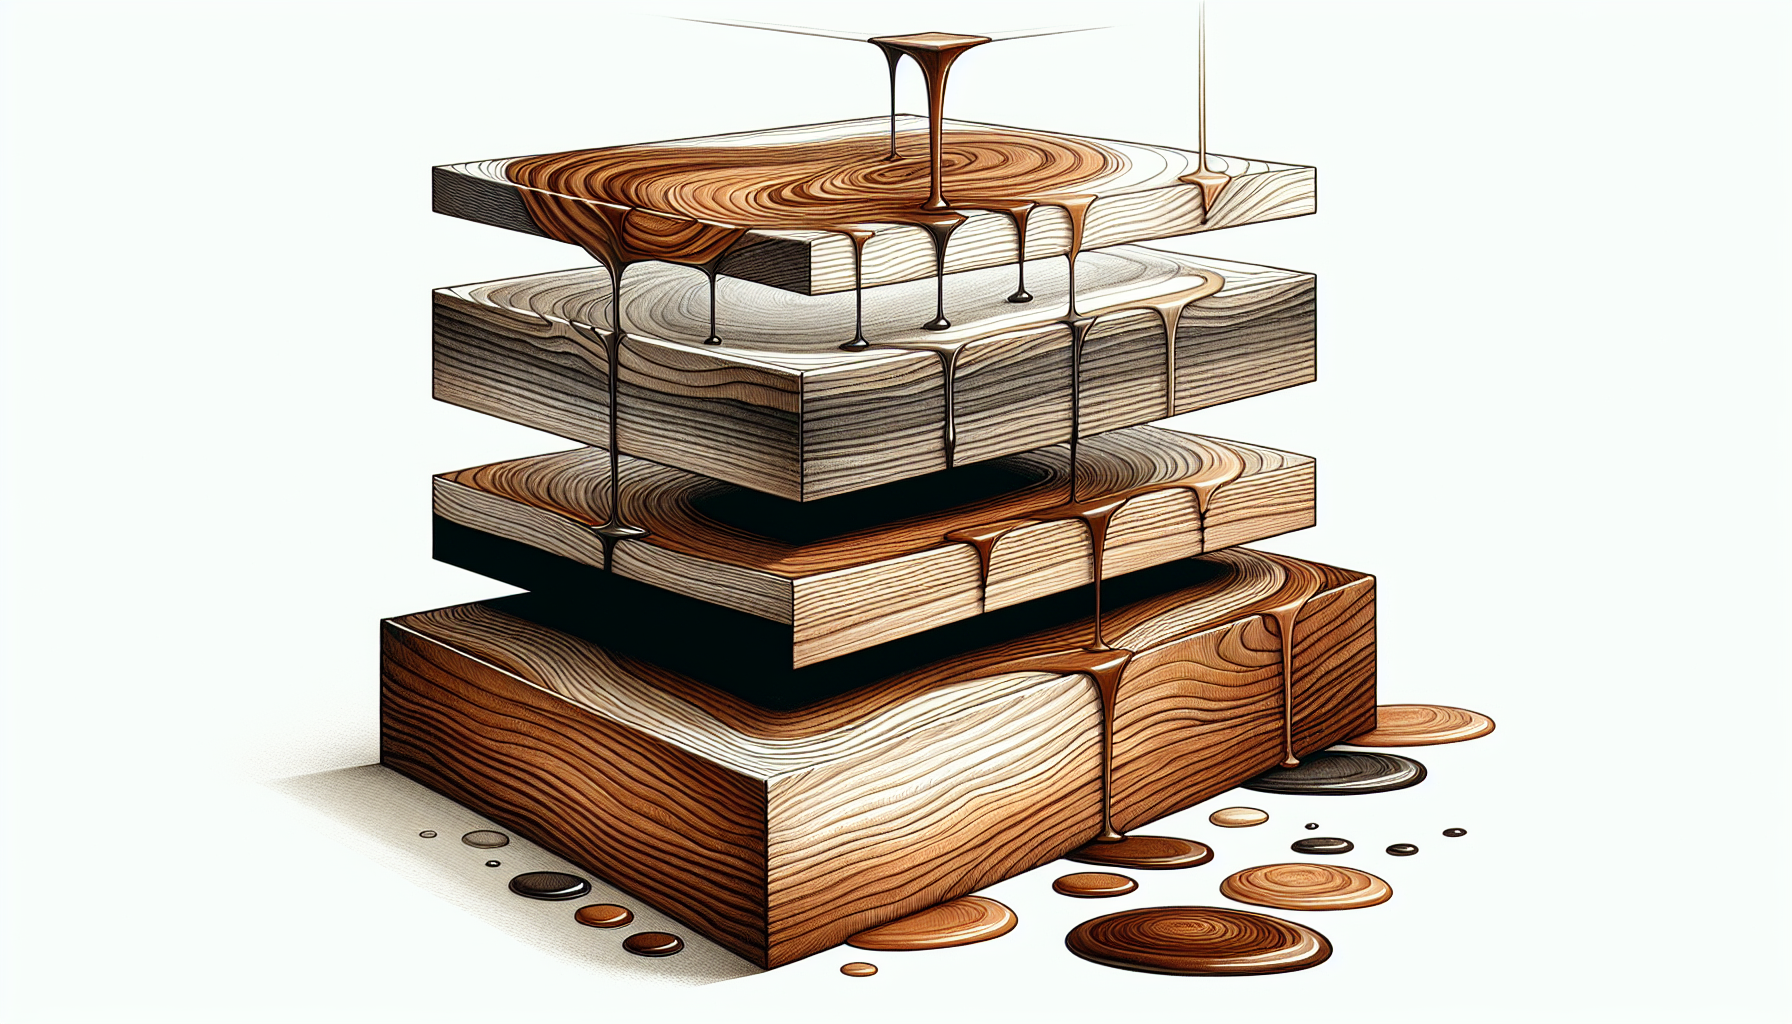
Benefits of Layering Stains
The layering of stains can result in a more intricate and rich finish. By adding various layers of stain, the wood’s richness and visual depth are enhanced, as the translucency of stains allows underlying colors to show through. This technique can enhance the wood’s natural grain, creating a more complex and rich finish.
Layering stains can also conceal differences in wood colors, making mismatched pieces appear uniform. Additionally, applying multiple layers of stain can imitate the appearance of different wood varieties, such as transforming the look of alder to resemble cherry wood.
But how do you successfully mix and layer these stains to achieve a one-coat finish?
Tips for Successful Mixing
The mixing of stains necessitates a degree of knowledge and experimentation. To ensure compatibility, match the undertones of the wood; warm undertones should be paired with warm and cool with cool. Here’s how to mix stains effectively:
Start with small increments of the mixing stain.
Thoroughly mix it with the base stain.
Test the mixture on scrap wood.
Gradually adjust the ratio until the desired color is achieved.
When mixing wood stains, it’s important to consider the following:
The dominant wood color
The undertones of the wood
Selecting pieces with similar finishes for a cohesive look
Grain consistency: Fine grains should be matched with other fine grains, and larger grains should be matched with similar ones to maintain a cohesive design style.
Summary
Choosing the perfect grey wood stain can transform your woodwork from ordinary to extraordinary, enhancing its natural beauty and longevity. This guide has covered everything from understanding the importance of choosing the right stain to exploring the top options, preparing the wood surface, and learning how to apply the stain and sealer. Remember, the key to achieving a beautiful and durable finish is careful preparation, accurate color selection, proper application, and the right topcoat.
Frequently Asked Questions
How do I choose the right grey wood stain?
To choose the right grey wood stain, consider the wood’s age and condition, desired appearance, and project goals. Test the stain color on a small, hidden area before full application.
You have several great options for grey wood stains, including Elegant Ash by WoodShield and Driftwood Grey by TimberPro, to name a few. These stains offer different tones and finishes for your project.
How do I prepare the wood surface before staining?
First, to prepare the wood surface before staining, remove previous coatings, mold, mildew, dirt, and grime using a wood stripper or bleach solution. Then, sand the surface along the grain to remove any remaining residue.
What is the importance of a topcoat?
A topcoat is important as it adds a protective layer to woodwork and enhances the stain’s durability and longevity.
How do I mix grey and brown stain colors?
To mix grey and brown stain colors, start with small increments of the mixing stain, thoroughly mix it with the base stain, and test on scrap wood. Gradually adjust the ratio until the desired color is achieved.


")