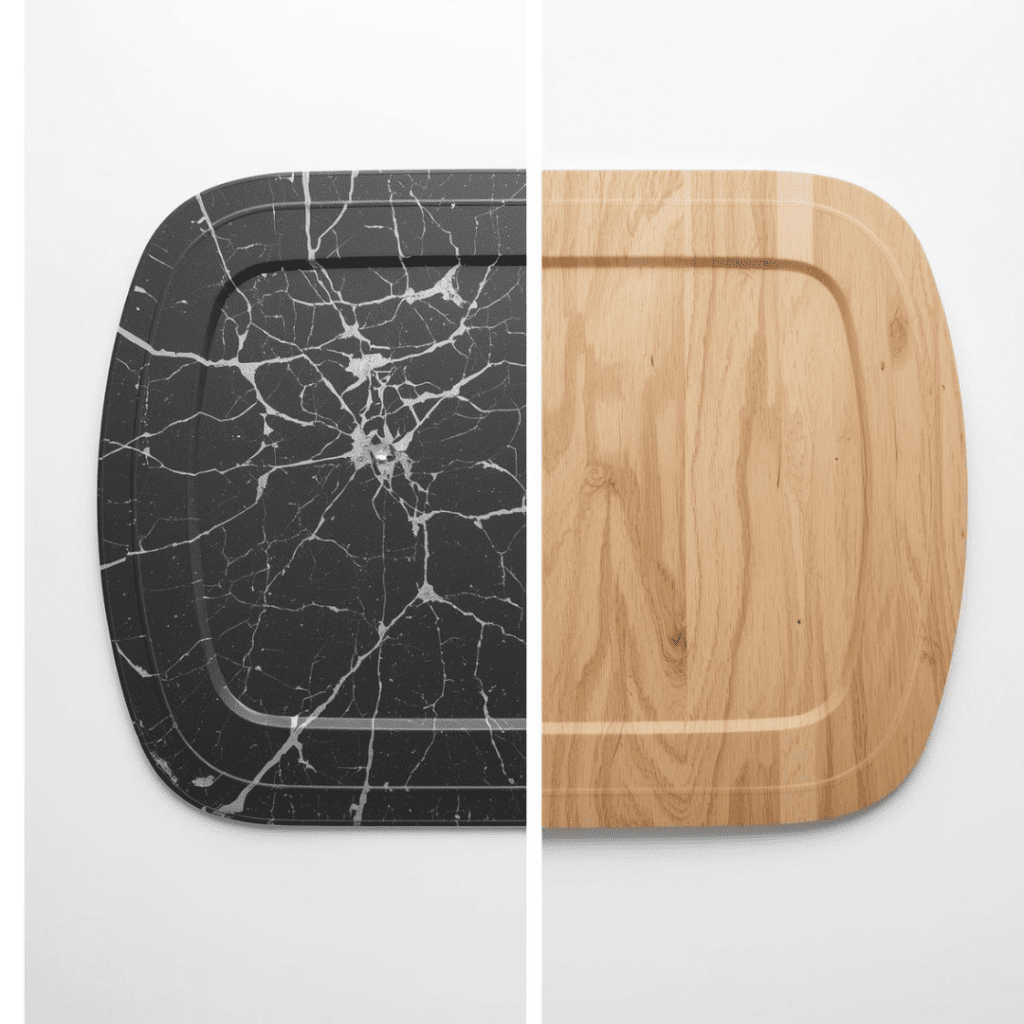
Plywood chair mats are more durable than plastic mats. Plastic mats crack and curl over time. Glass mats last longer but cost more and are harder to live with. A plywood mat stays flat and handles repeated use better. That is why plywood is used here.
A chair mat can be made from plywood instead of plastic or glass. The size depends on the desk and how the chair moves during the day. Thickness and surface finish affect how the chair rolls and how the floor underneath wears. The setup is slightly different on carpet than on hard flooring.
Why Build a Chair Mat from Plywood?
Plastic chair mats usually don’t last. They bend, crack, or move around once they’ve been used for a while. Replacing them often leads to the same result.
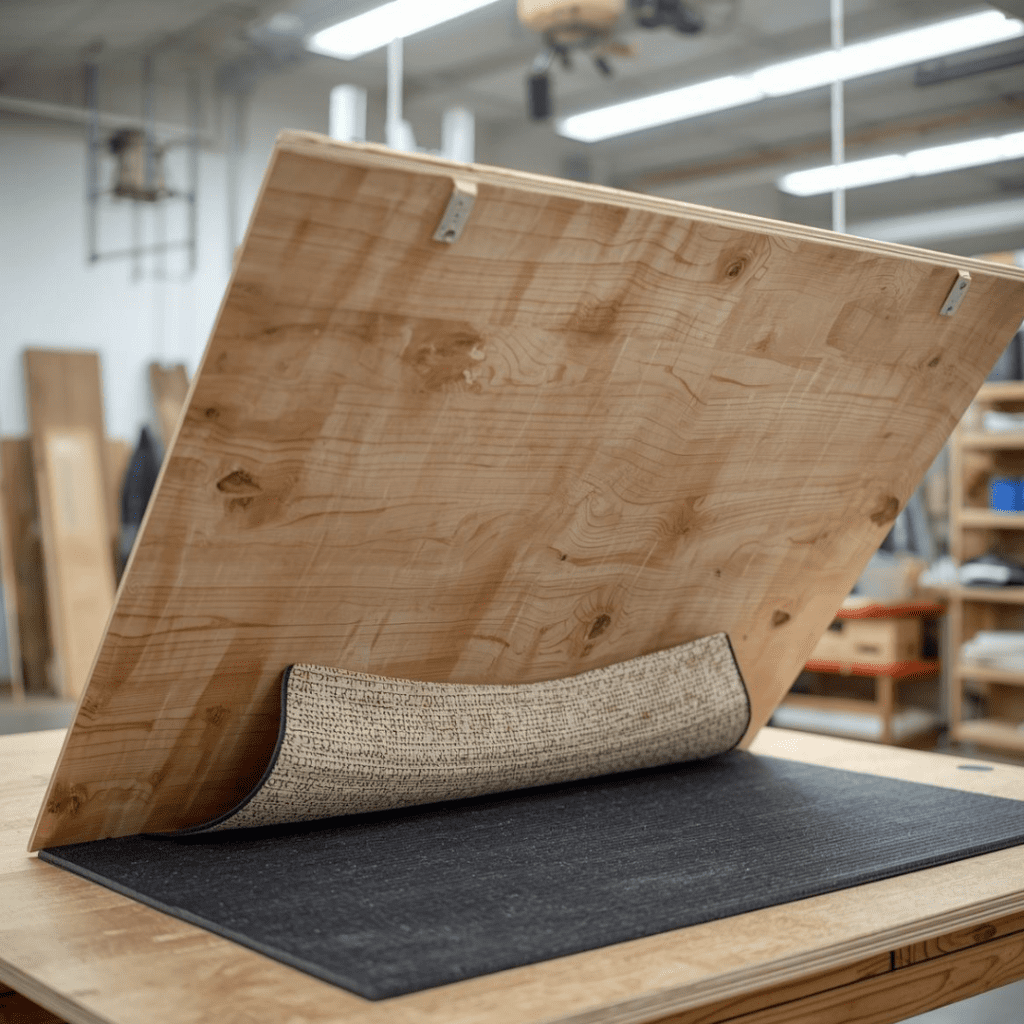
Plywood doesn’t flex the same way. When it’s cut to size and finished, it remains flat and withstands repeated rolling. It can be made to fit the space where the chair is used, and the surface can be refinished later if needed.
That’s the reason plywood was used.
Where a Plywood Chair Mat Works Best
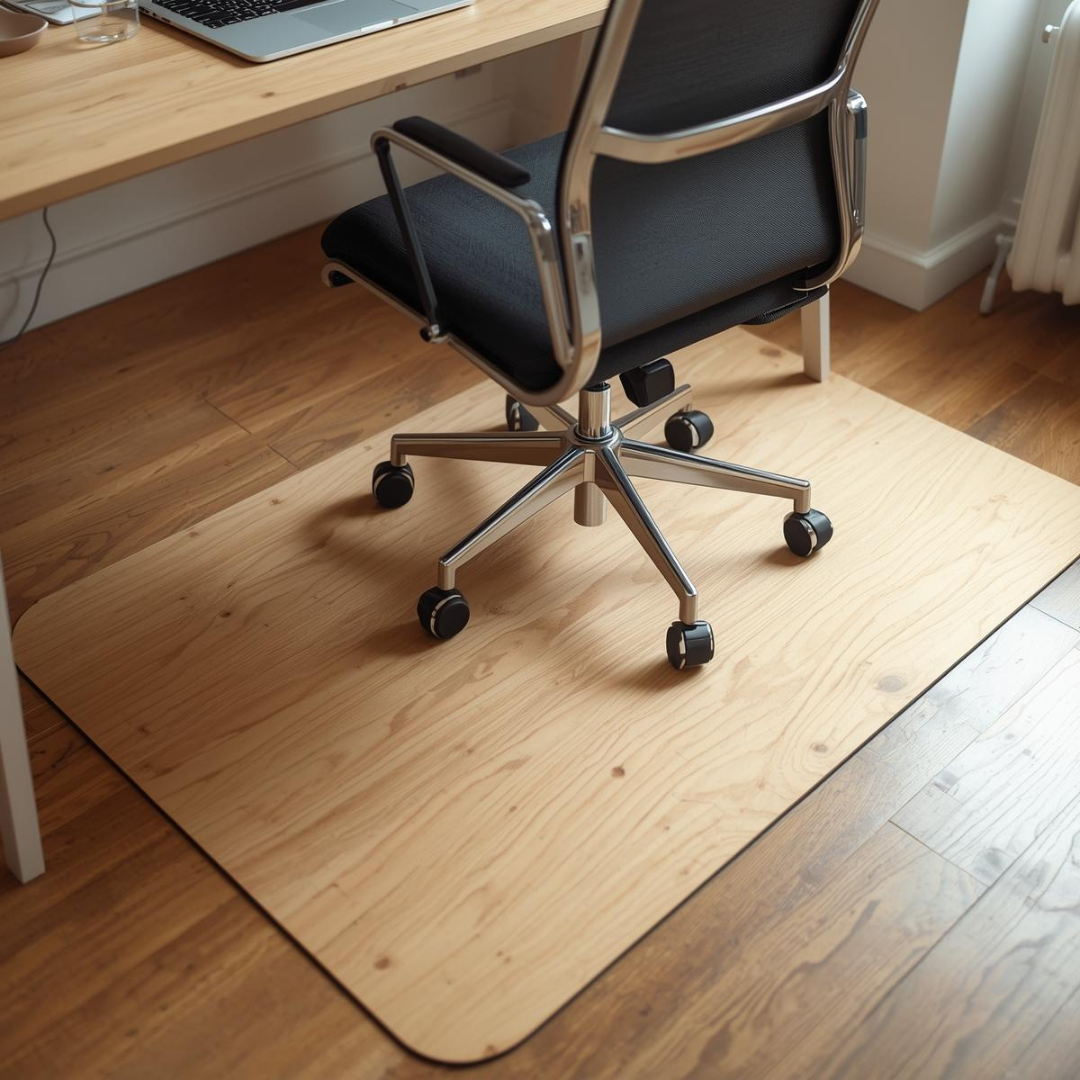
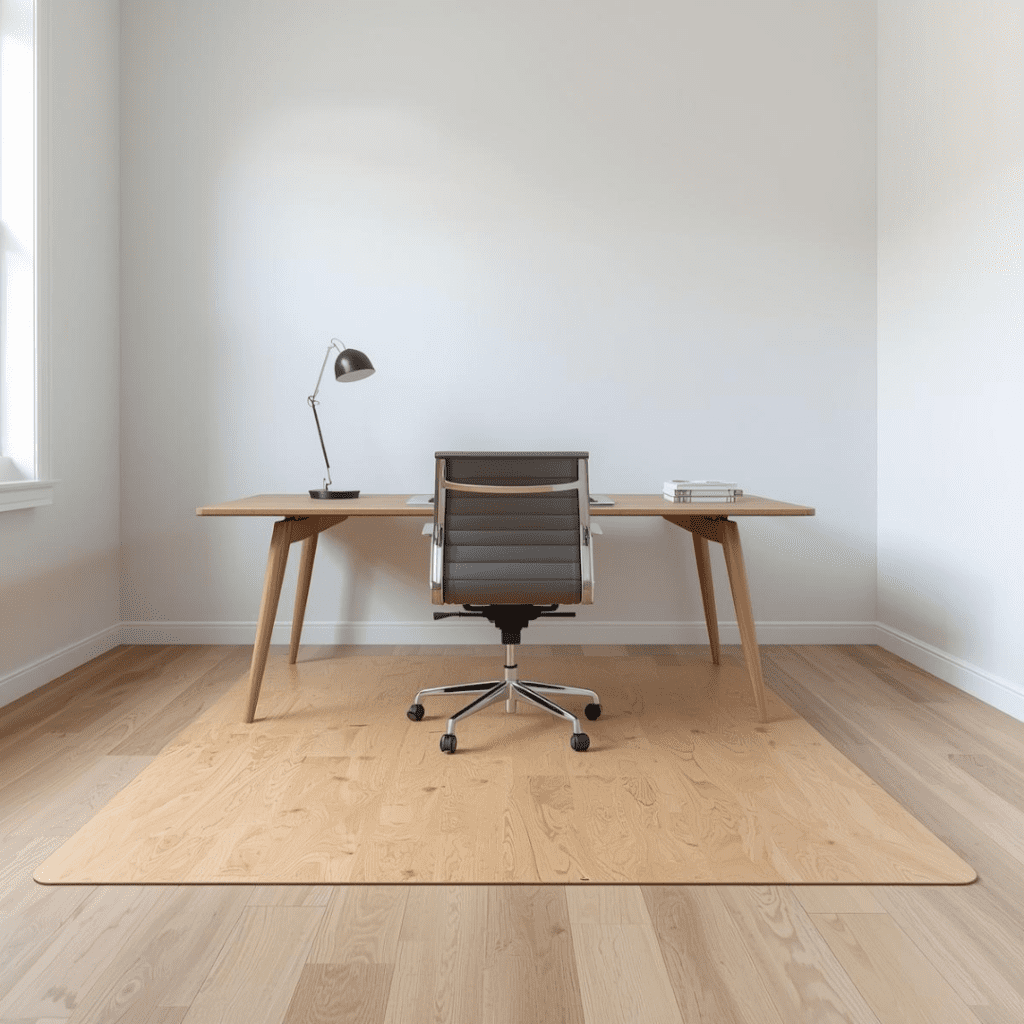
Plywood chair mats are usually placed under desks or tables where a chair moves back and forth in a small area. They’re also used in rooms with rolling stools or chairs that stay in one spot for long periods. In spaces like study areas or work rooms, plywood tends to hold up better than lighter floor protectors.
They’re most useful on floors built over a plywood subfloor, where spreading weight helps reduce wear in one location.
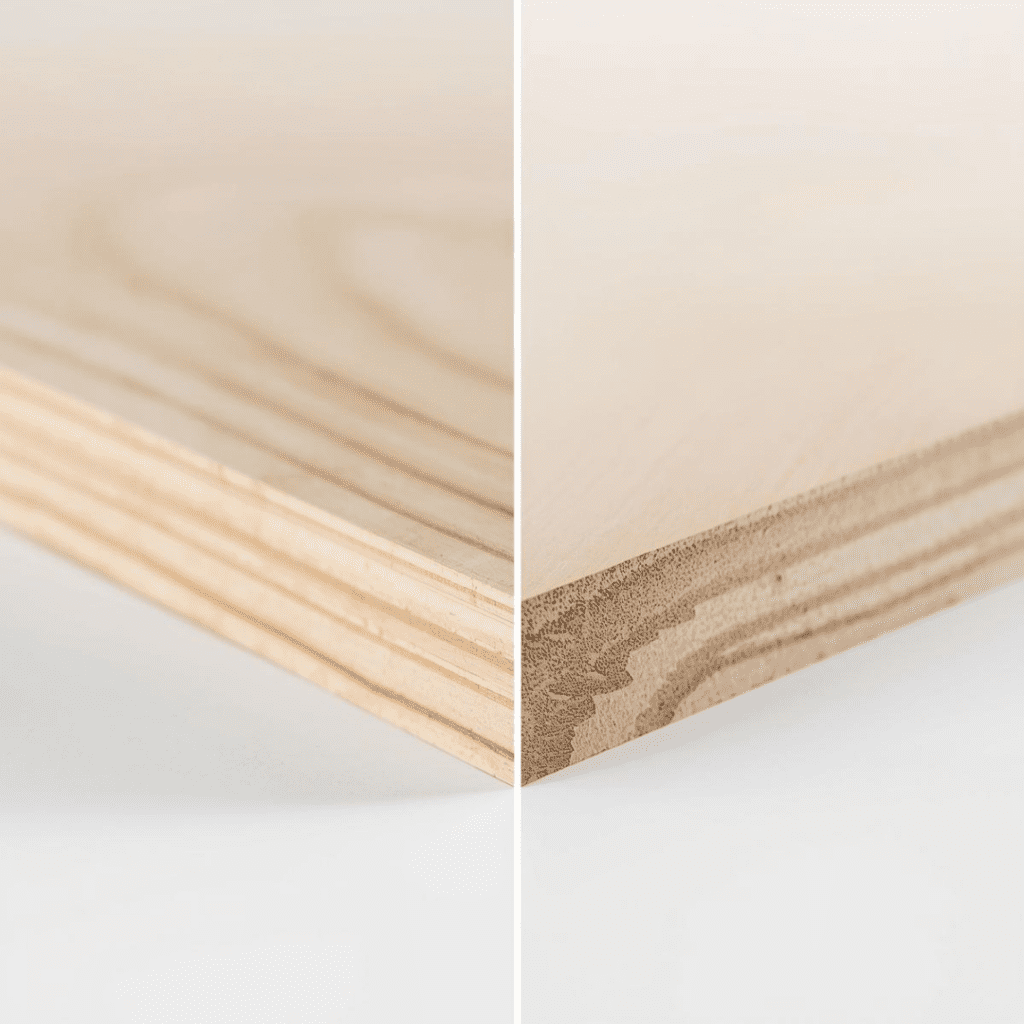
Best Plywood for a Chair Mat (This Matters)
Not all plywood is equal. The wrong sheet will warp, dent, or telegraph voids through the surface.
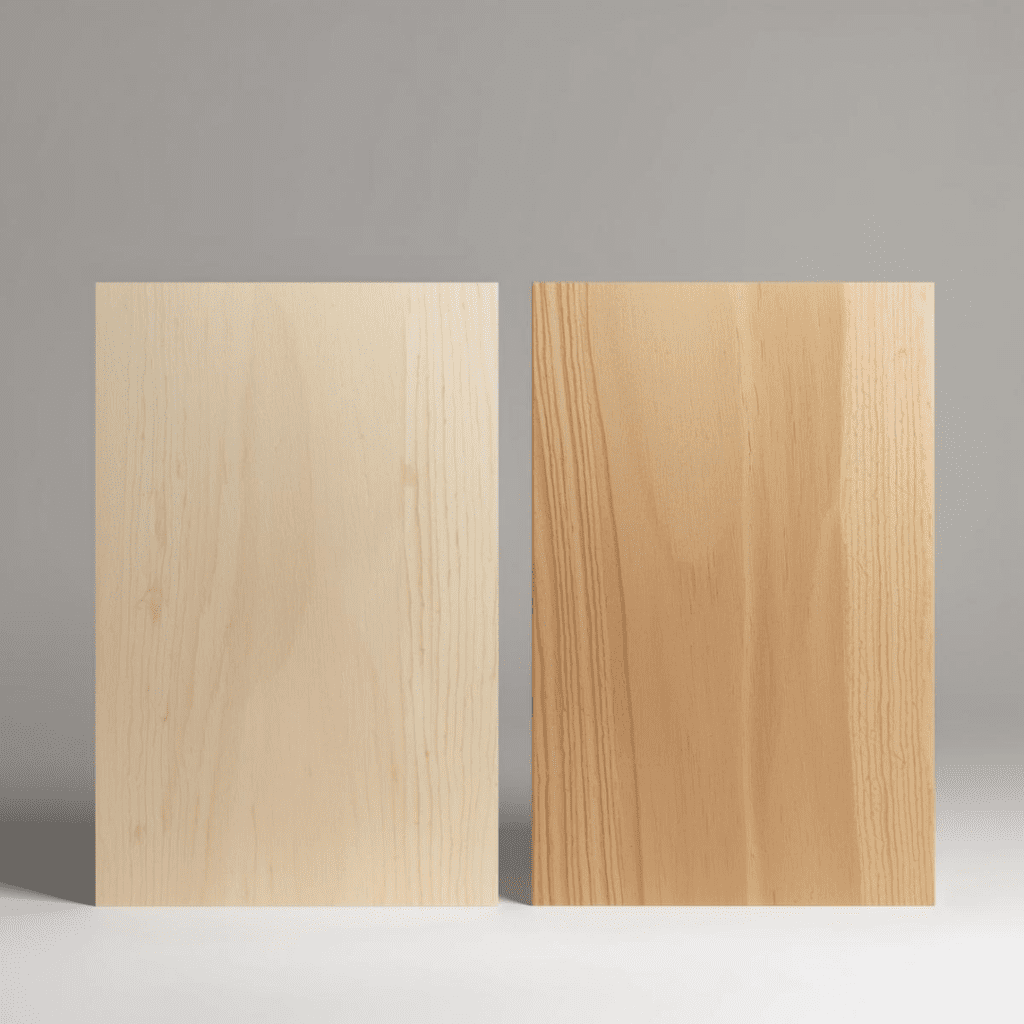
Best plywood options
Birch plywood (cabinet-grade) Smooth face, tight cores, strong plies. This is the best all-around choice.
Maple plywood Harder than birch, great if you want maximum dent resistance.
Those are fine for subfloors, not finished surfaces.
Best Thickness for a DIY Chair Mat
I didn’t think about thickness much until the mat had been under my desk for a bit. The first one I cut was thinner, and nothing was wrong with it exactly, but when I pushed my chair back to stand up, there was just enough flex to notice. Once I noticed it, I couldn’t stop noticing it. I replaced it with a thicker sheet from the same plywood stack I already had, and that solved it. It stayed flat, didn’t drift forward, and felt settled in a way the first one never quite did. Since then, I haven’t given it another thought.
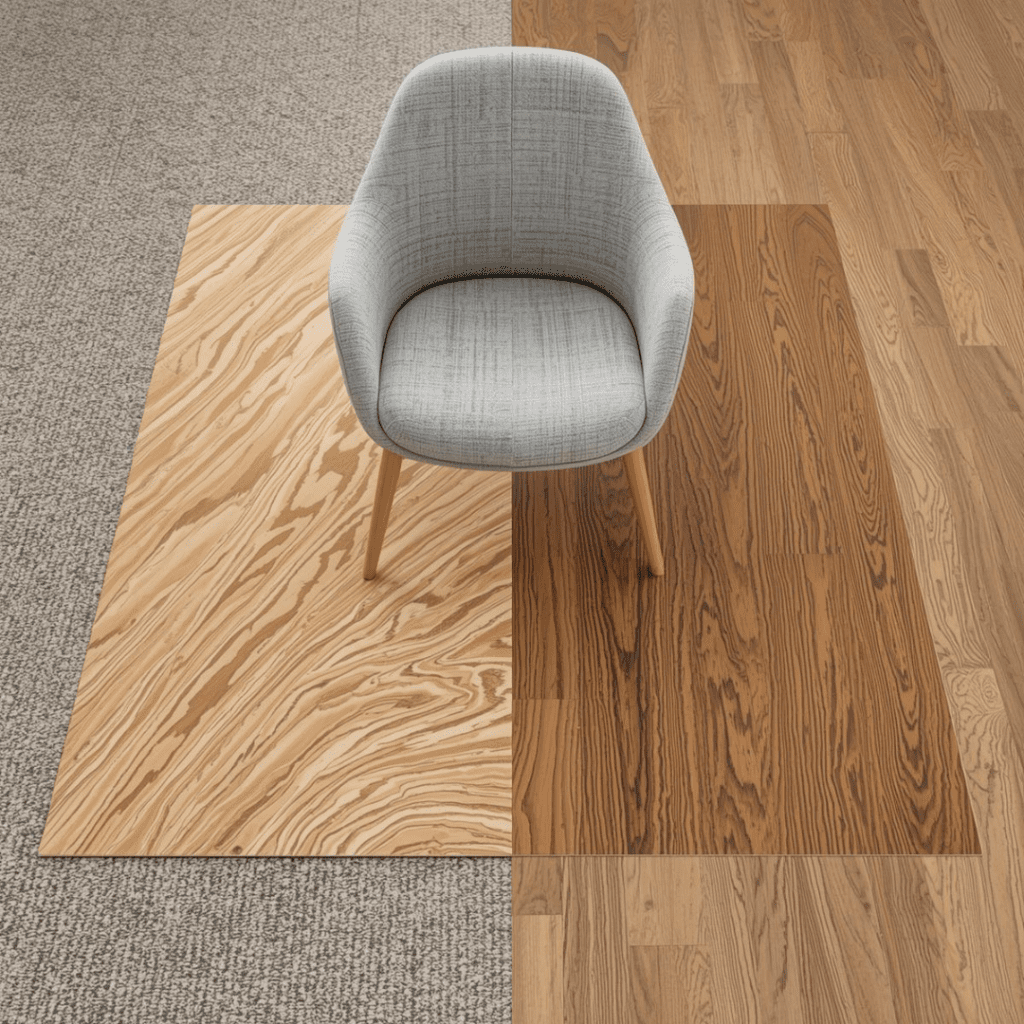
Chair Mat Size: How Big Should It Be?
Don’t undersize this project.
Minimum recommendation:
• Width: desk width + 24 inches • Depth: from desk edge to 12 inches behind chair at full roll
Common sizes:
• 36″ × 48″ • 40″ × 60″ • 48″ × 60″
If you move a lot while working, go for a larger size.
Didn’t start with measurements. Rolled the chair around instead. Watched where it went. Good thing it gave me the size.
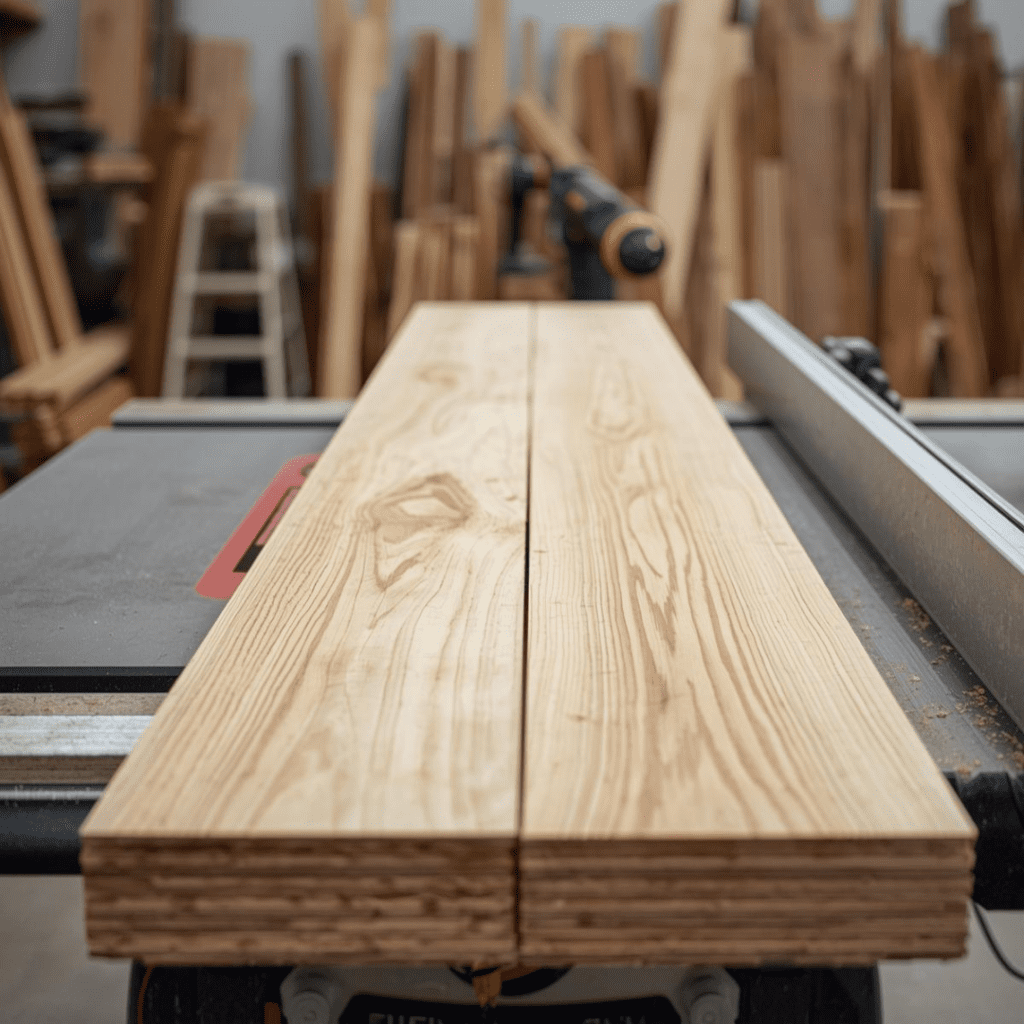
I cut the plywood to that size and leave it as is afterward. No extra. No plan to trim later. Once it’s finished, cutting it again is a hassle.
Had the lumber yard make the cuts. They were already set up. Their cuts come out straighter than mine anyway.
Kept the factory edges where possible. They’re smoother. If one side gets rolled over more than the others, that’s the edge worth keeping clean.
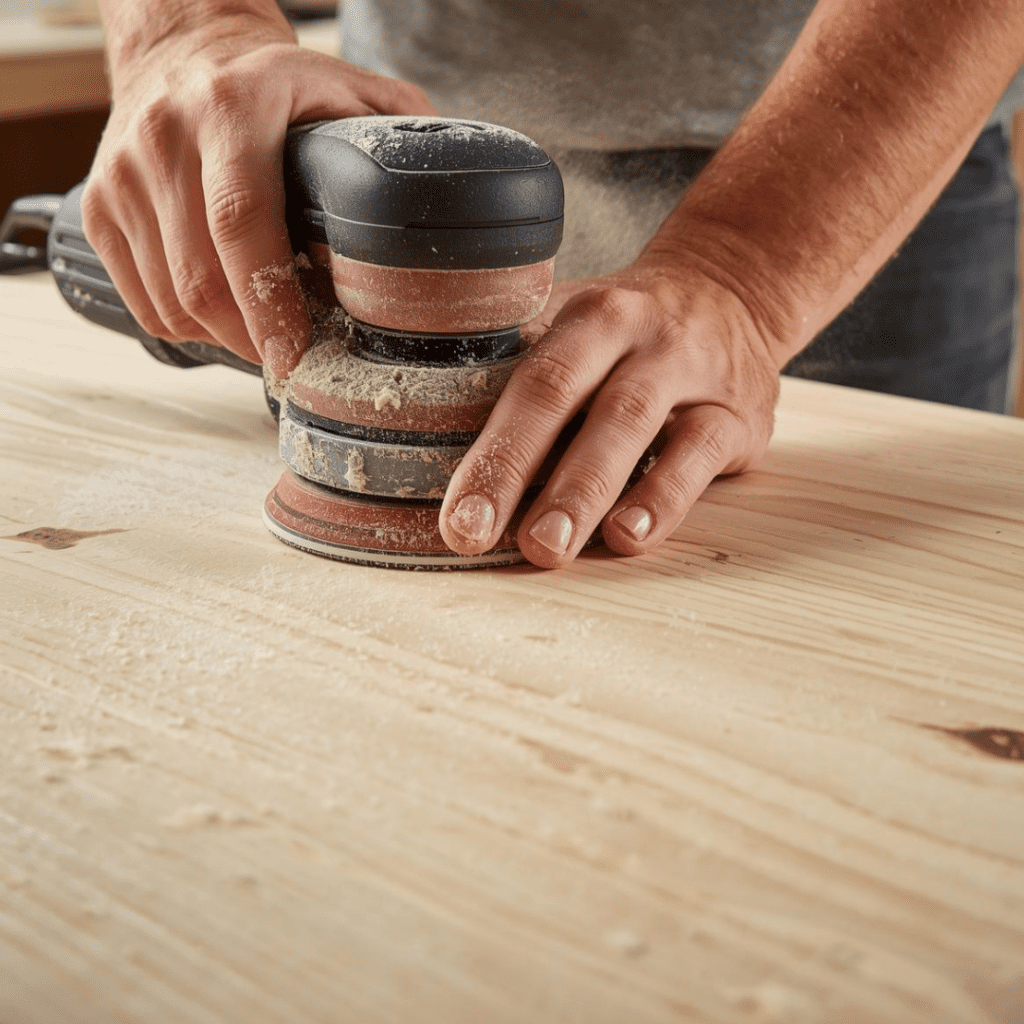
Step 2: Sand the Surface
After cutting it, I sanded it next. Just grabbed paper and started knocking down the rough spots.
I used 120, then switched to 180, and finished with 220. It just happened that way because it started feeling smoother; it wasn’t planned. I stopped when my hand stopped noticing it.
The edges needed more work, since wheels don’t roll straight all the time, and they hit corners harder than the flat areas. Make a note, sharp edges show up fast. I kept sanding until my hand didn’t catch anymore. I had spent more time on the edges than on the surface, which felt backward at the time but turned out to be right.
Step 3: Round Over the Edges (Optional but Recommended)
After sanding, the edges were still not right. Some spots still felt sharp, especially where the plywood layers show. That’s usually where things start to chip.
I ran a small round-over bit along the edges. Just once. Didn’t slow down. Didn’t try to shape anything. I only wanted the corner gone so it wouldn’t be a problem later.
Right away, it felt different. The chair didn’t catch rolling on or off. Feet didn’t notice the edge anymore. If I didn’t have a router, I would’ve kept sanding until it felt the same. The only goal was to make the edge stop standing out.
Step 4: Stain or Leave Natural
You have two solid options:
Natural plywood look Seal directly with polyurethane.
Stained finish Apply wood conditioner first, then stain lightly. Birch stains best with gel stain.
Avoid dark stains unless you test first.
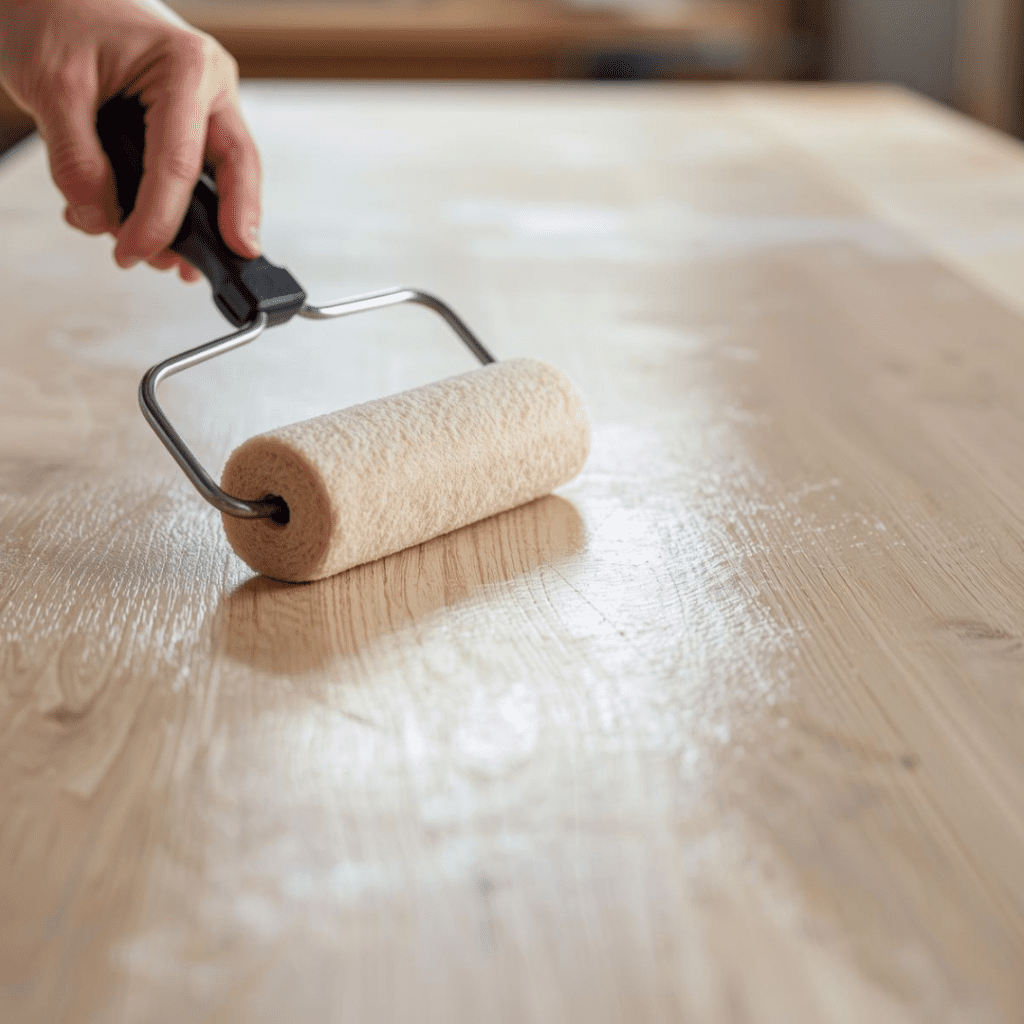
Step 5: Seal with a Durable Finish
I used a finish meant for floors, not furniture. Water-based polyurethane worked well. Hardwax oil also works, but it needs more upkeep, and I didn’t want to mess with that later.
Then, applied thin coats and didn’t rush it. Three coats felt like the minimum from my experience. Four wasn’t a bad idea. I lightly sanded between coats just to knock down rough spots, nothing aggressive. When it was done, the surface felt slick under the chair but didn’t feel thick or plastic. And that was what I was aiming for.
Step 6: Add a Non-Slip Backing
A plywood chair mat must not slide.
Options:
• Rubber shelf liner glued underneath • Thin rug pad trimmed to size • Rubber feet at corners
Use contact cement or spray adhesive, and allow it to cure fully.
Step 7: Let It Cure (Don’t Rush This)
Polyurethane needs time.
• Light use: 48 hours • Full cure: 5–7 days
Rolling too early can leave permanent wheel marks.
Using a Plywood Chair Mat on Carpet
Using a Plywood Chair Mat on Carpet
Carpet is completely different. Thin plywood would not work well at all since it flexes and then dents.
So, I used three-quarter-inch plywood. It stayed flat and didn’t feel soft when rolling around. Bigger helped too. A larger area meant the weight was spread out rather than sinking into one spot.
From my experience, hard finishes held up better. Poly was fine too. Oil felt nice at first but didn’t last once the chair started moving every day.
On plush carpet, I added strips of thin plastic underneath. Then, screwed them on. Nothing fancy. It just helped keep the mat from sinking as much. Not required, but noticeable.
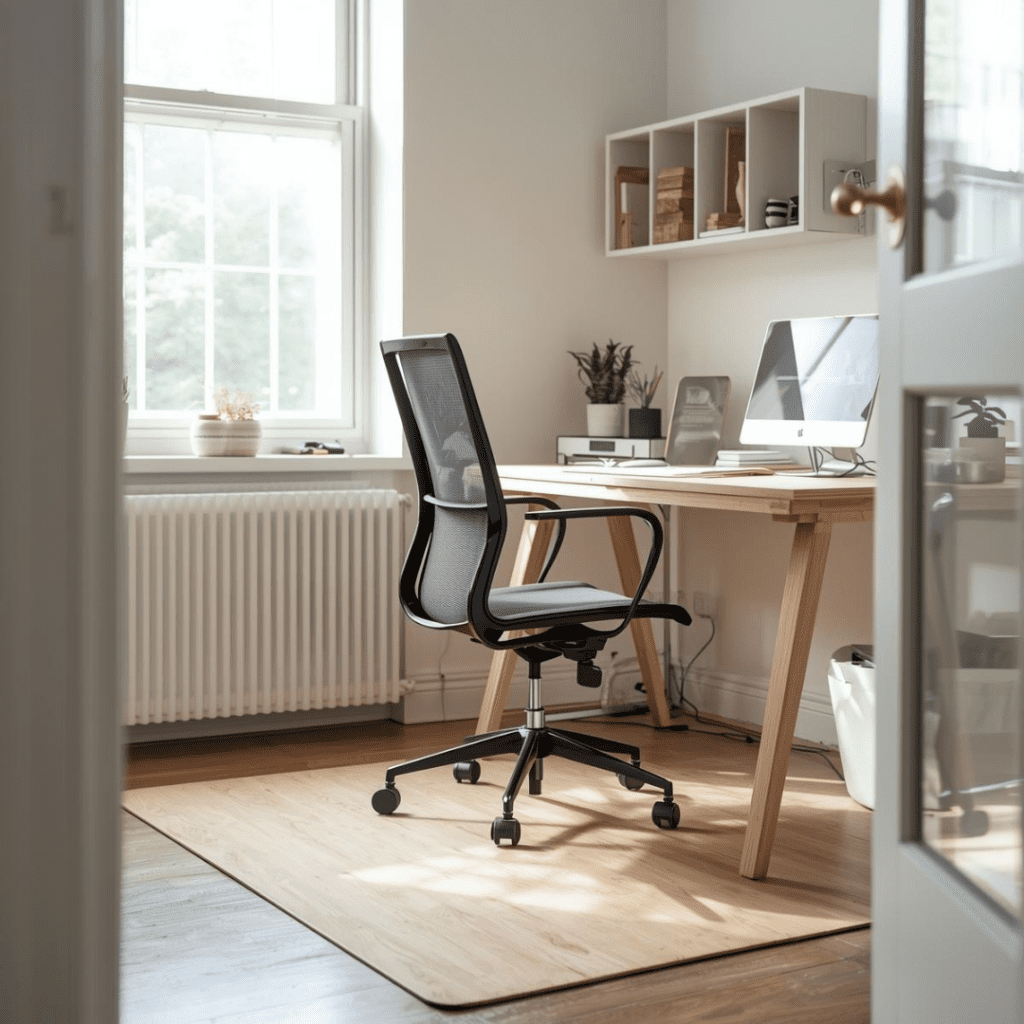
Using a Plywood Chair Mat on Hardwood or Vinyl
• Always use a non-slip backing • Avoid rubber that can discolor finishes—test first • Keep the mat clean underneath
This protects both the mat and your floor.
Design Upgrades
• Inlay a contrasting plywood border • Paint a subtle edge stripe • Match stain to desk or flooring • Add chamfered edges instead of round-over
A chair mat doesn’t have to look like a shop project.
Common Mistakes to Avoid
Using cheap plywood
Cheap plywood dents and chips much faster once the chair starts rolling on it every day. It may look fine at first, but wear shows up quickly and shortens the life of the mat.
Skipping edge treatment
Sharp edges splinter, chip, and get damaged faster than the surface. They also catch chair wheels and feet, which makes the mat feel rough even when the top looks fine.
Applying thick finish coats
Thick coats take longer to cure and stay softer under pressure. Once the chair rolls on them, they dent more easily and never fully harden the way thin coats do.
Forgetting non-slip backing
Without backing, the mat slowly slides every time you move the chair. That constant shifting becomes annoying fast and can damage both the mat and the floor.
Rolling before full cure
Finish can feel dry but still be soft underneath. Rolling too early leaves wheel marks that don’t completely go away, even after the finish hardens.
Each one shortens lifespan.
How Long Does a DIY Plywood Chair Mat Last?
With proper finish:
• 5–10 years of daily use • Recoat every few years if needed • Light sanding restores the surface easily
I didn’t keep track of every receipt, but this is about where it ended up. The plywood was the main cost, usually somewhere between $45 and $75, depending on what sheet I bought and where I picked it up. Finis,h and a few supplies added another thirty dollars or so. The non-slip backing barely moved the total.
Altogether, it came out around $85 to $130. That varies a bit depending on size and what you already have on hand. The store-bought mats I looked at were priced about the same or higher, and none of them felt like something that would hold up long-term.
DIY Plywood Desk: How to Build One at Home by Admin October 8, 2025 DIY I built my first plywood desk because I was tired of working hunched over the kitchen counter. It wasn’t some grand plan — I just…
Plywood vs Hardboard: Which One Is Right for Your Project? by Amy Reed September 8, 2025 More About Whether you're building a cabinet, designing wall panels, or installing subflooring, choosing the right type of wood product is essential. Two popular options, plywood and…