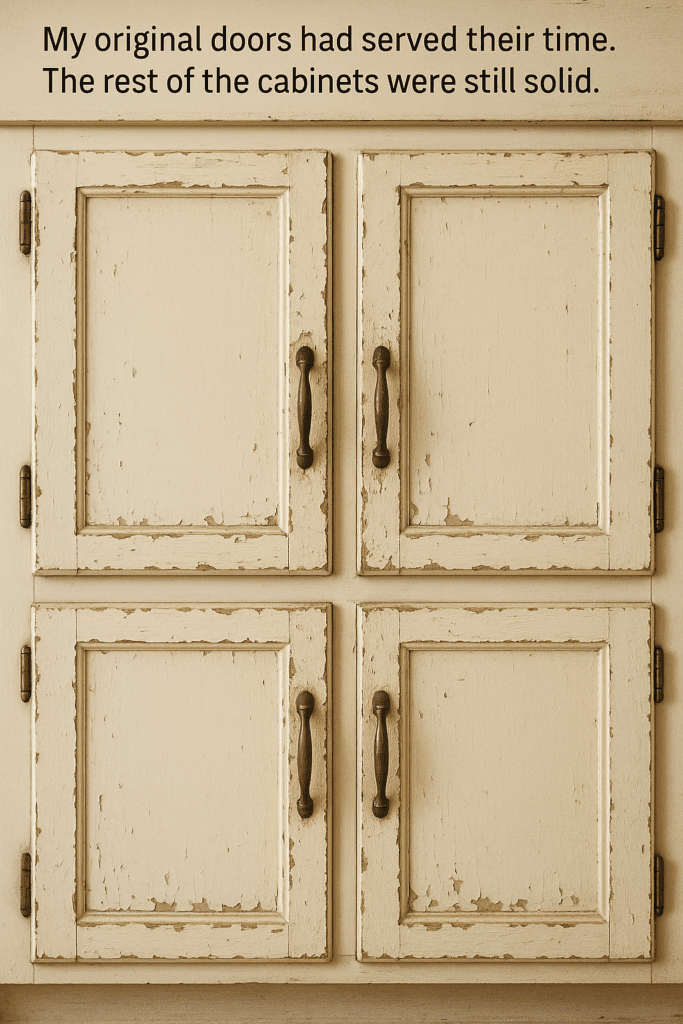
I used to think a kitchen remodel meant tearing everything out—new cabinets, new layout, maybe even knocking down a wall. But after getting a few quotes (and nearly choking on the price), I realized that wouldn’t happen. My cabinet boxes were still in great shape. The real issue? The doors. They were scratched, yellowed, and hanging crookedly. That’s when it hit me: just replace the doors.
Here’s how I completely transformed my kitchen by upgrading only the cabinet doors. Spoiler: it cost me under $600 and took just a weekend.
Why I Replaced the Doors, Not the Cabinets
I thought my cabinets were beyond saving, but turns out the frames (or boxes) were still rock solid. It was just the fronts that had seen better days. So instead of ripping everything out, I focused on replacing the cabinet doors.
What I got:
A modern, clean kitchen look
No demolition
A budget-friendly upgrade that didn’t leave me eating takeout for weeks
Step 1: Picking a Door Style That Works
At first, I had no idea what style I wanted. Raised panel? Slab? Beaded? After looking at way too many Pinterest boards, I chose simple Shaker doors. They’re clean, timeless, and easy to keep clean.
But here’s the real decision: slab (smooth, flat front) vs. framed (like Shaker or raised panel).
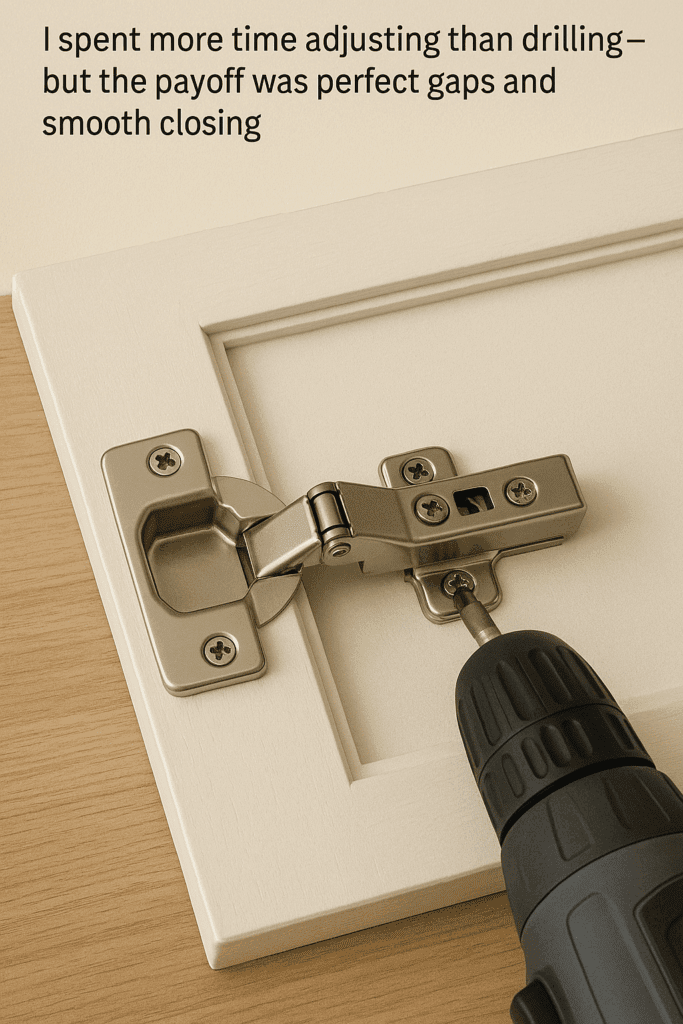
🔧Step 4: Installing New Hinges Without Losing Your Mind
Once my cabinet doors arrived, I thought the hard part was over—until I realized how tricky hinge installation can be. Especially with European-style concealed hinges, there’s zero room for error. A slight misalignment can make the doors sag, rub, or sit unevenly.
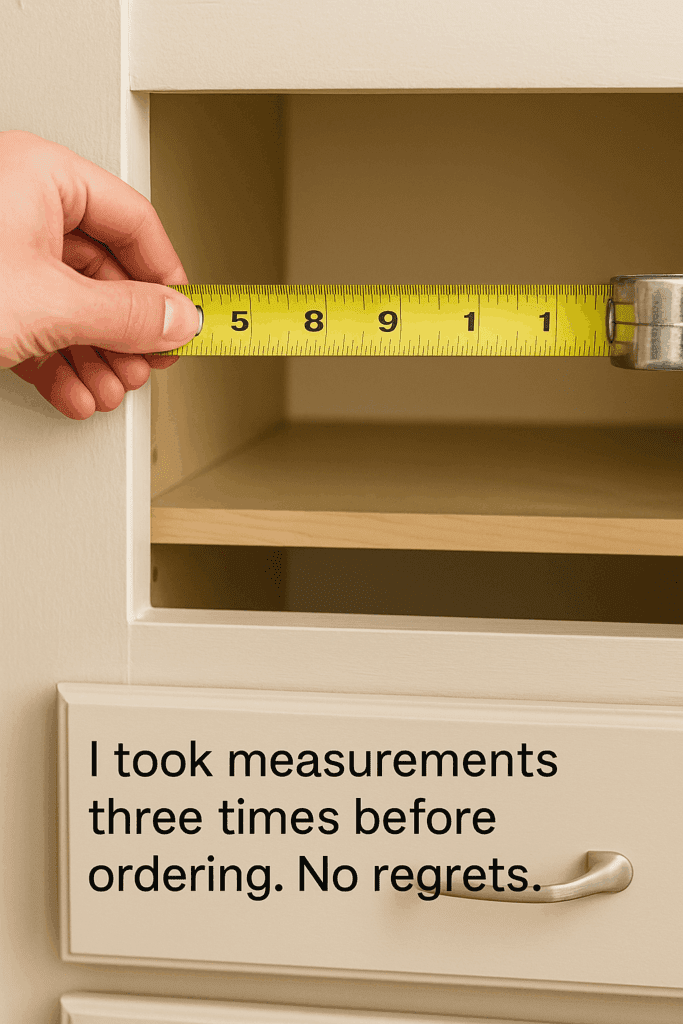
The key? Planning your hinge placement carefully and using a drilling jig. I marked each door precisely using the old ones as templates. If you’re starting fresh, measure about 3 inches from the top and bottom of each door for hinge placement. I highly recommend a concealed hinge jig for accuracy—it saved me a ton of frustration.
Another tip: pre-drill pilot holes for the screws to prevent the wood from splitting. And when it’s time to attach the doors to the cabinet boxes, don’t overtighten the screws. Leave them slightly loose until all your adjustments are dialed in. Most concealed hinges have three different screws: one for depth, one for height, and one for side-to-side movement. It took some trial and error, but the doors eventually lined up perfectly.
Once the doors were aligned, they opened smoothly and closed with a satisfying click. It completely changed the way my kitchen looked—and felt.
Step 5: Prepping and Painting
This part took the most time, but it was worth every second. I set up a paint station in the garage and went step by step:
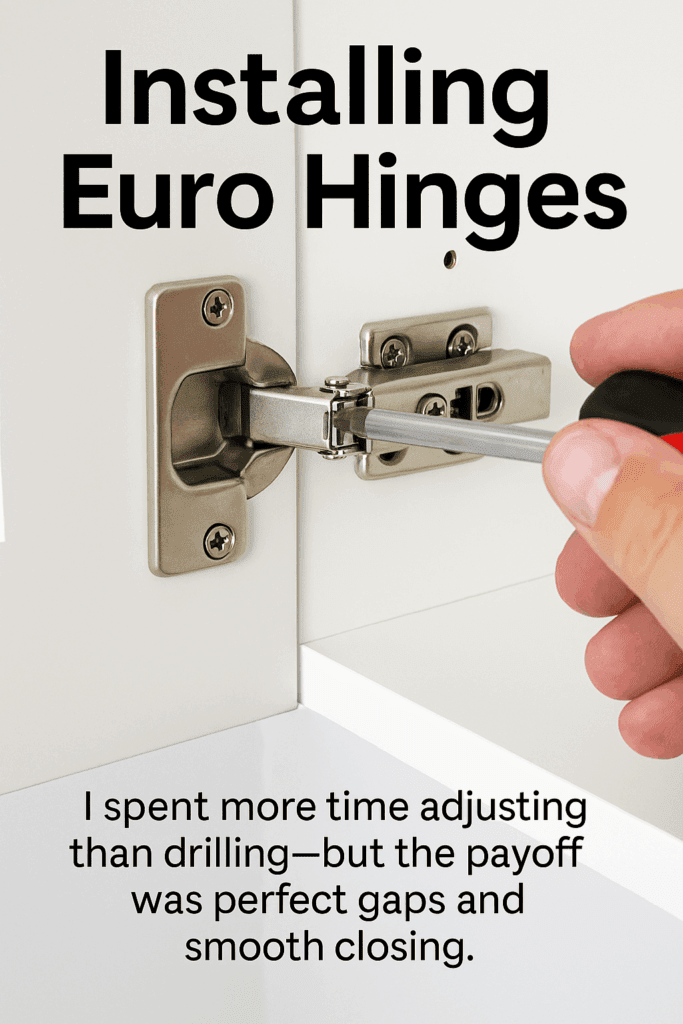
Use a hinge jig or template to make things easier. Then it’s just a matter of:
Attaching hinges to the doors first
Holding doors in place and screwing hinges to the boxes
Adjusting for height, depth, and side-to-side alignment
Step 7: Add New Hardware
The fun part. I bought brushed brass pulls that gave the whole kitchen a modern look. Use a hardware jig to drill holes in the right place, or make your own out of cardboard like I did.
🎨 Painting and Finishing for a Factory-Smooth Look
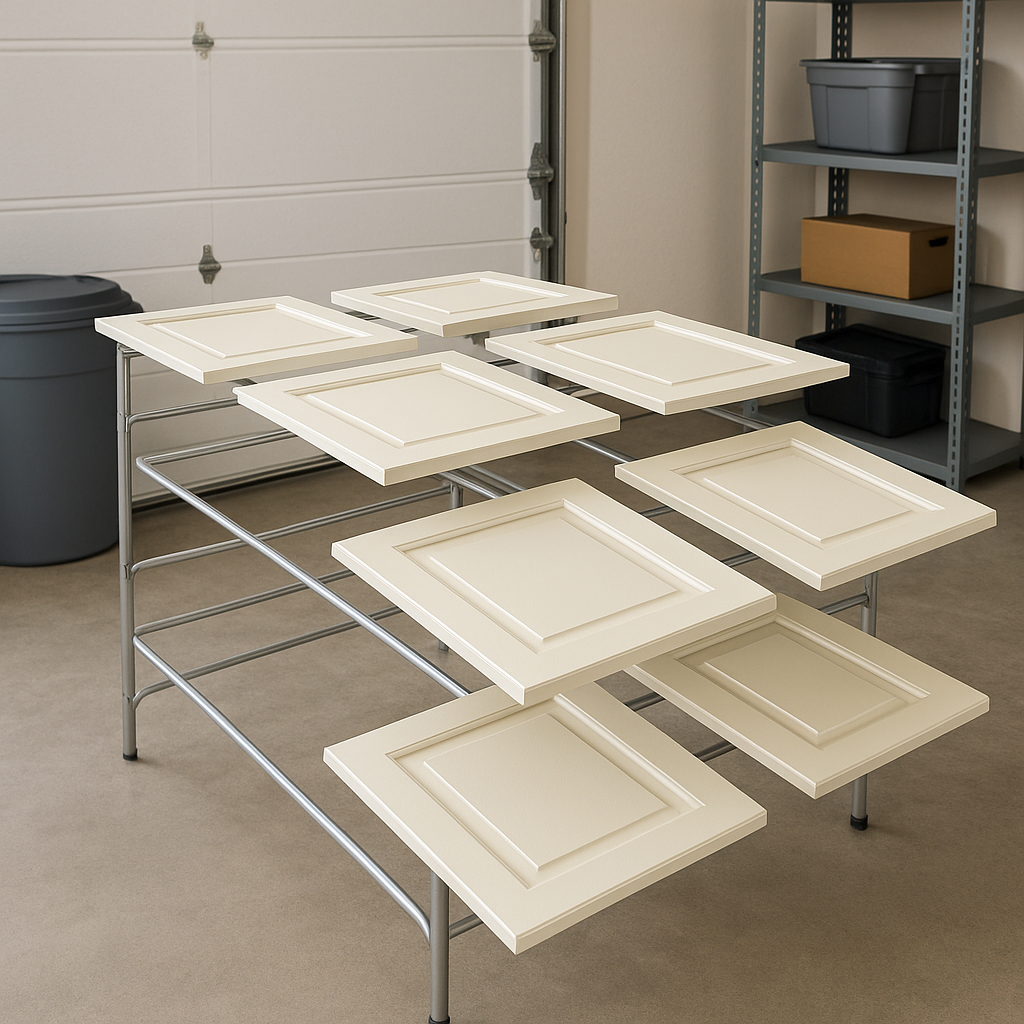
The last step in my cabinet door makeover was also the most satisfying—painting. I went with a satin white finish to brighten up the kitchen and make everything feel clean and modern. But achieving that factory-smooth finish took a little patience and the right tools.
First, I set up a clean, dust-free area in my garage with plenty of ventilation. I lightly sanded each door with 220-grit sandpaper and wiped it down with a tack cloth. Then I applied two coats of high-adhesion primer, sanding lightly between each one.
For paint, I used a high-quality enamel formulated for cabinets. I sprayed it on with a handheld sprayer, which gave me a buttery smooth finish without brush marks. If you don’t have a sprayer, a fine foam roller works too—just be sure to apply thin, even coats.
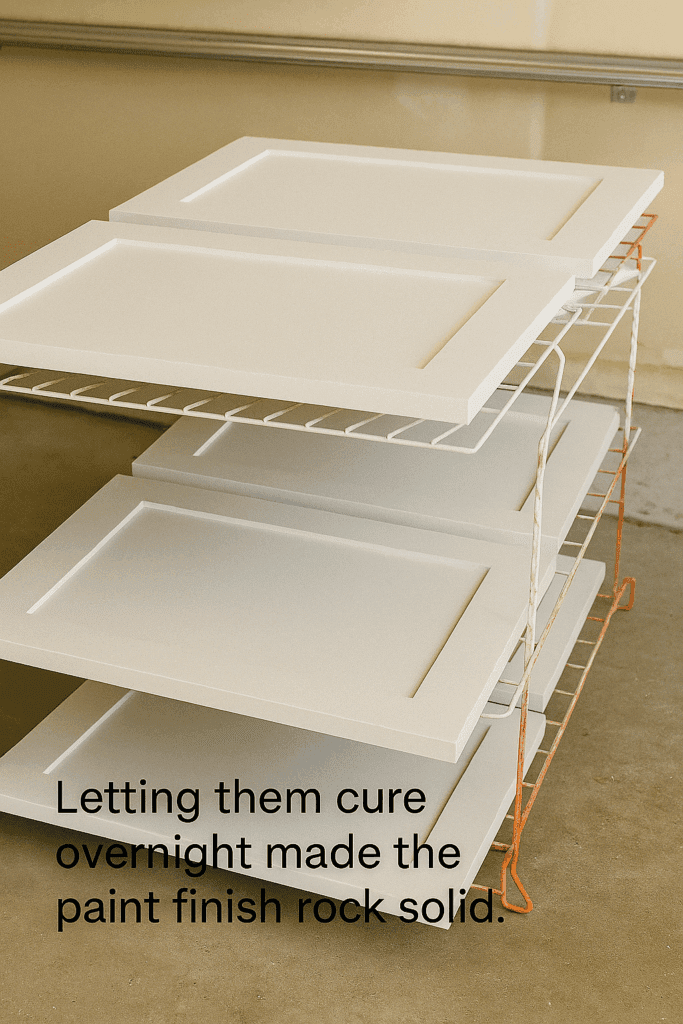
I let the doors cure overnight on drying racks before handling. It made all the difference in durability.
Is Replacing Cabinet Doors Worth It?
Absolutely. For under $600, I upgraded the heart of my home without touching the layout. If your cabinet frames are still solid, cabinet door replacement is one of the best kitchen upgrades you can make.
It’s affordable, fast, and best of all, you can do it yourself.
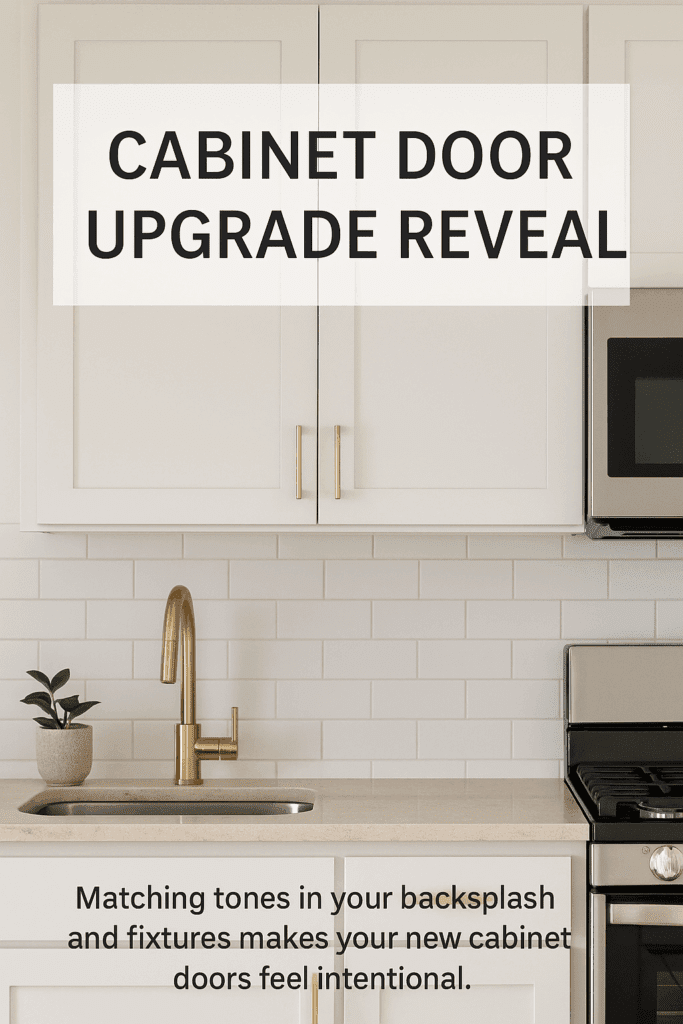
How to Match Your New Cabinet Doors with Existing Decor
Once the new doors are in, it’s time to think about the bigger picture: how they fit with your counters, backsplash, and flooring. I made the mistake of not thinking ahead, and my new doors clashed with my old tile. Here’s what helped me tie it all together:
Paint or refinish your toe kicks and visible cabinet sides to match your new doors.
Add peel-and-stick backsplash tiles if your current ones feel outdated.
Swap out outlet covers and light fixtures to better complement your updated hardware.
Add accent decor like a wood cutting board, metal bowls, or open shelving to create continuity.
Even small changes in decor can make your cabinet doors look like part of a full remodel.
Budget Breakdown
Here’s what I spent:
Item
Cost
12 Shaker Cabinet Doors
$360
Hinges + Screws
$85
Primer + Paint + Poly
$60
Hardware + Jig
$40
Total
$545
This felt like a steal compared to the $7,000+ quote I got for new cabinets.
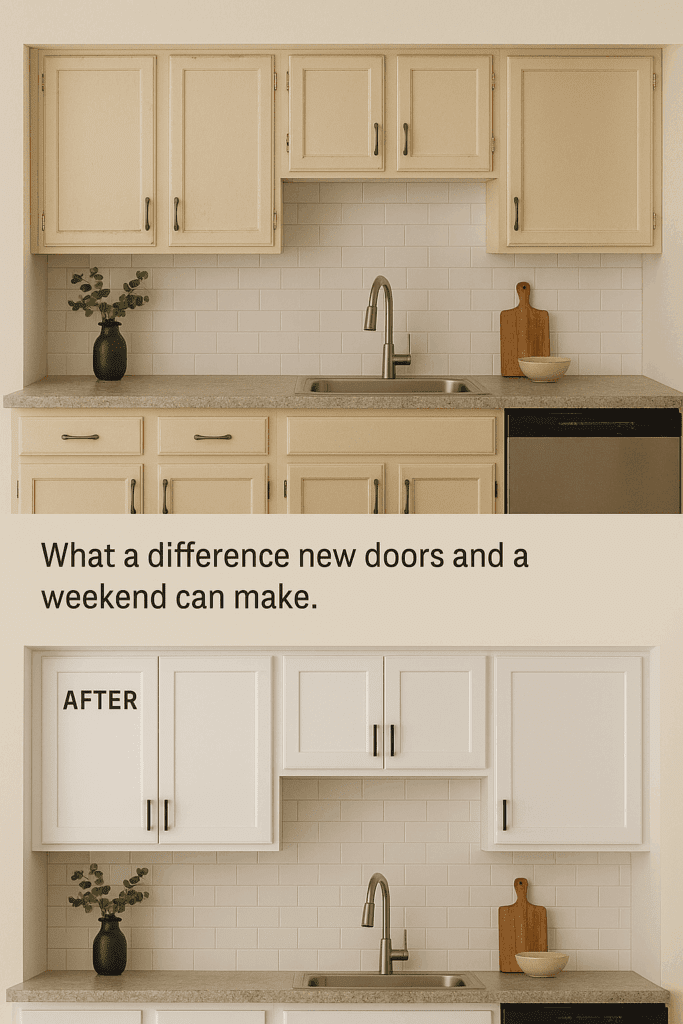
My Results: Before & After
The photos speak for themselves. The kitchen went from yellowed and tired to bright and modern. No demo, no contractors, no dumpster.
Common Mistakes to Avoid When Replacing Cabinet Doors
Nobody wants to redo a project. I made a few errors the first time that cost me time and money. Here’s what I learned:
Paint takes time to cure. Give it at least 24 hours before handling.
Drill pilot holes for all hardware. Don’t let the wood split.
Match hinge types to your old boxes if you’re not drilling new ones.
Keep a few extra screws on hand. I lost more than I want to admit.
Is Replacing Cabinet Doors Worth It?
Absolutely. For under $600, I upgraded the heart of my home without touching the layout. If your cabinet frames are still solid, cabinet door replacement is one of the best kitchen upgrades you can make.
It’s affordable, fast, and best of all, you can do it yourself.
Sliding Cabinet Doors, Easy Guide by Admin June 7, 2023 DIY Sliding cabinet doors aren't used much in modern cabinetry, but they were a big part of mid-century modern furniture and cabinetry. With the resurgence of…
RV Paneling: Repair, Replacement, and Maintenance Guide by Admin September 14, 2025 Installing Owning a recreational vehicle brings freedom and adventure, but it also comes with upkeep. One of the biggest hidden problems RV owners encounter is RV…