When I first started cutting curved pieces in plywood, I didn’t realize how much control a simple jigsaw could give me
Cutting curved shapes in plywood might seem like a skill reserved for seasoned woodworkers, but with the right tools and techniques, anyone can do it. Whether you’re building custom furniture, curved trim, or creative wood art, this guide will walk you through how to cut curves in plywood cleanly and accurately—without wasting expensive sheets or damaging your blades.
I’ve worked with plywood for years in all types of projects, and learning to cut curves was a total game changer. Let’s break it all down.
🪚 Why Cut Curved Shapes in Plywood?
Plywood isn’t just for square furniture or straight paneling. Adding curves gives your projects a professional, custom look.
Common uses for curved plywood cuts:
Decorative headboards or back panels
Curved shelving or cabinetry
Arched doorways or cutouts
Circular tabletops or lazy Susans
Wooden signs or artwork
Outdoor furniture with rounded edges
Curves can soften a design and make it look far more high-end—without a high-end budget.
🧰 Tools You’ll Need to Cut Curves in Plywood
You don’t need a fancy workshop. Just a few common tools (and the right blades) will get the job done.
✅ Best Tools for Cutting Curves:
Jigsaw – Best for freehand curves and gentle arcs. Choose a variable speed model.
🏛️Cutting Curved Pieces in Plywood for Archways: DIY Radius Tips
Cutting a clean arch in plywood may sound intimidating, but it’s actually one of the most satisfying cuts you can make once you get the hang of it. Archways add elegance to entryways, bookcases, furniture pieces, and custom headboards. Whether you’re going for a wide Roman arch or a tight Gothic radius, the process begins with an accurate layout and the right tools.
The easiest method for sketching an arch is to create a DIY compass with a string and pencil. Anchor the string with a screw or nail at the pivot point, tie the other end to a pencil, and stretch it to your desired radius. This method works great for larger radius cuts or semi-circular archways.
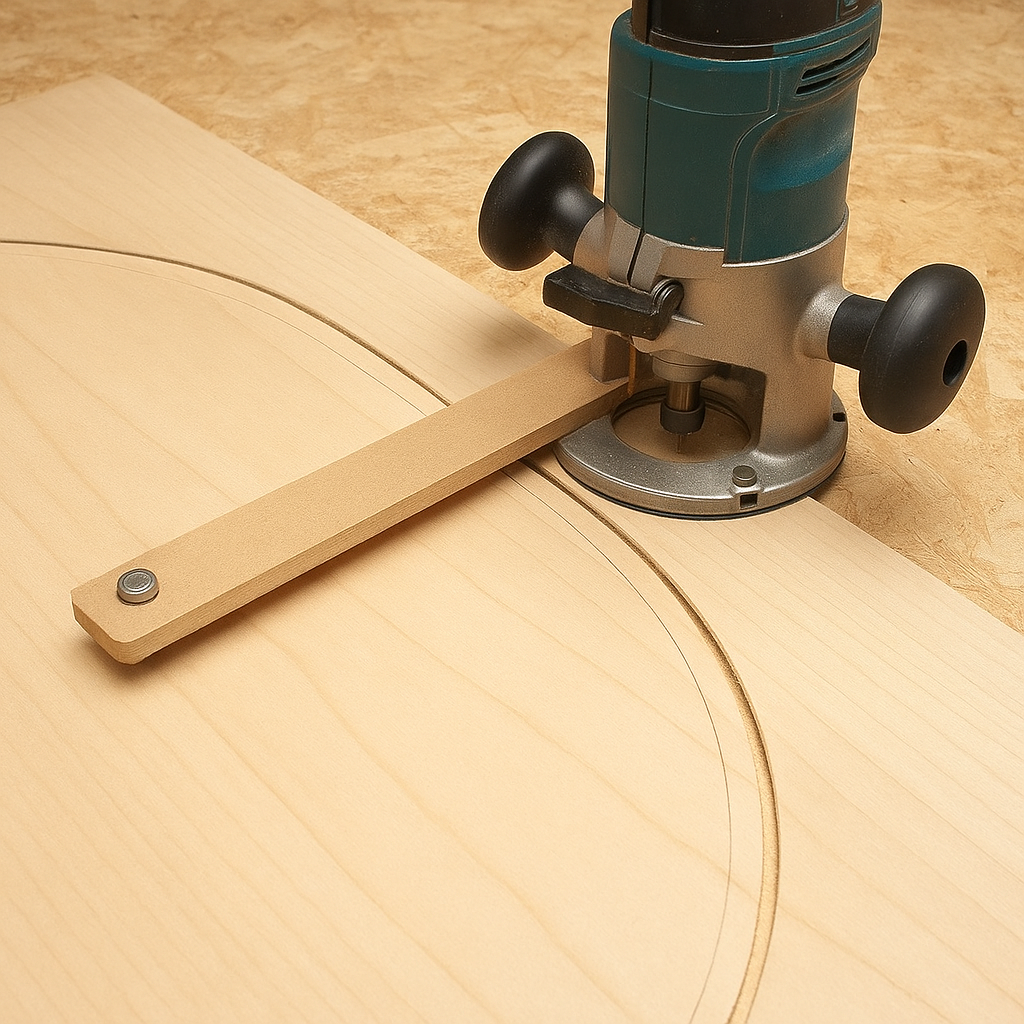
If you’re looking for extreme accuracy or a smoother cut—especially on thicker plywood—a router with a trammel attachment is a must-have. A router trammel is like a compass that mounts your router to a center pivot and allows it to swing around in a perfect arc.
Always clamp your plywood securely to a sawhorse or workbench.
For plywood thicker than ½”, make two or more shallow router passes instead of one deep one.
If using a jigsaw instead of a router, opt for a fine-tooth blade and go slow to avoid splintering.
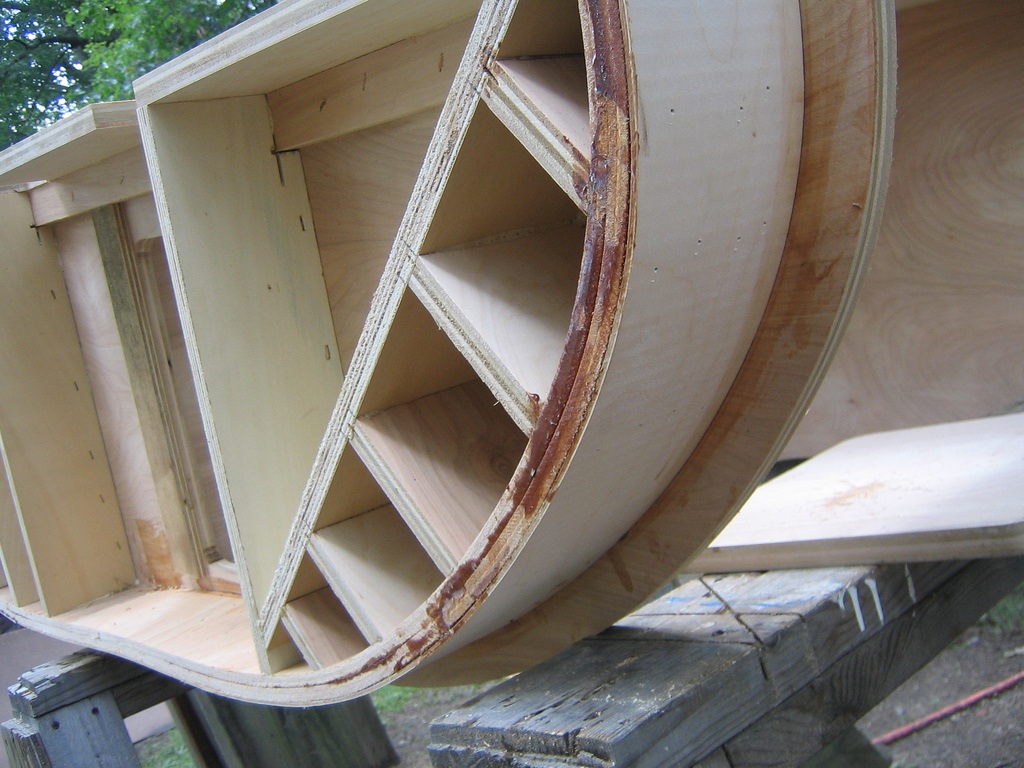
Internal framing inside the arch should also be reinforced. Consider cutting matching curved plywood strips to sandwich the drywall or trim layer, creating a strong and symmetrical structure.
If you’re working on a doorway, book nook, or wall opening, don’t forget to finish the cut edges of your arch with either edge banding or smooth filler and primer if you plan to paint.
📏 Planning Your Curve: Templates and Layout Tips
Before you touch a saw, plan your curve.
🔹 Use a Template:
Trace a bowl, bucket, or compass arc.
Or use flexible curve rulers, or a piece of ¼” PVC pipe to draw smooth freehand arcs.
For larger circles, use a nail and string method to create a compass.
🪵 How to Cut Curved Pieces in Plywood with a Jigsaw
This is the go-to method for most DIYers and hobbyists.
🔧 Step-by-Step Instructions:
Mark the curve clearly with a pencil.
Clamp the plywood securely to a workbench.
Drill a starter hole (if cutting inside a piece).
Use a fine-tooth blade made for plywood or laminate.
Set the jigsaw speed to medium for clean control.
Follow the line slowly, letting the blade do the work—don’t force it.
🌀 Bandsaw Curves: For Precision and Repetition
If you’re cutting multiple curves or tighter radii, a bandsaw will give cleaner results.
Use a narrow blade (1/8″ to 1/4″) for tighter curves.
Use relief cuts to avoid binding in tight turns.
Go slowly and keep your hands away from the blade.
If you build often, consider investing in a benchtop bandsaw.
🛠️ Using a Router for Clean Edges and Repeats
Cut your curve rough with a jigsaw or bandsaw, then clamp a template and run a router with a flush-trim bit along the edge.
This creates smooth, repeatable results for furniture parts or decorative panels.
🧽 Smoothing the Curve: Sanding Techniques
Curved edges need sanding more than straight ones. Rough cuts and splinters are common, especially with plywood’s layered grain.
✅ Best Tools:
Spindle sander
Drum sander attachment for drill
Flexible hand sanding sponge
Sanding in small, circular motions helps blend jagged edges and remove saw marks. If the cut edge is visible, work your way from 80-grit to 220-grit.
🔄 Bending and Cutting Curved Pieces in Plywood with Kerf Cuts
Sometimes you don’t want to cut a curve—you want to bend one. But plywood isn’t as flexible as you might think. It resists bending due to its layered, cross-grain construction. So, how do you make it curve? Enter the kerf cut technique—a classic method that lets you bend plywood without steaming it.
Kerf cuts are a series of partial cuts made along the back side of a plywood strip. These cuts relieve tension in the wood fibers, allowing the panel to flex. This method works best for narrow strips and lets you shape plywood into gentle curves or even tight bends if done right.
How to Make Kerf Cuts:
Use a circular saw, table saw, or even a hand saw.
Set your blade depth to remove about ⅔ of the plywood thickness.
Space your cuts ½” to 1” apart.
The more extreme the curve, the closer and deeper the cuts.
Just be careful—cut too deep or too wide, and the plywood could lose its strength or even snap. Once your kerf cuts are made, gently bend the plywood into place and secure it with wood glue and clamps.
Cutting a Long Curve with a Bending Guide
If you’re not bending plywood but want to cut a long, shallow arc, you can use a flexible strip of wood (¼” thick or less) as a bending guide. Clamp the strip to the plywood edges, forming a graceful curve, and trace it with a pencil. This trick is great for creating long, gentle curves, like boat hull edges or decorative fascia.
Cutting long curves with a jigsaw takes patience. Make sure your workpiece is fully supported, especially if you’re working solo. If available, use a long straightedge jigsaw guide to keep your cut clean and on track.
This technique works especially well for DIY projects like:
Surfboard racks
Curved desk panels
Garden arbors
Exterior decorative trim
Whether you’re bending plywood with kerf cuts or cutting graceful long curves, both methods allow you to bring fluid design into any project, without expensive equipment or steaming setups.
💡 Pro Tips for Cleaner Curves in Plywood
Tape over your cutting line with painter’s tape to reduce splintering.
Use new blades—a dull jigsaw blade tears plywood layers.
Cut slowly to prevent burning or tearing.
Support both sides of your plywood to avoid vibration.
Mark both faces if accuracy is critical—what looks like a perfect line from the top may not match on the underside.
🪑 Project Ideas That Use Curved Plywood Cuts
If you’re cutting curved pieces in plywood for wall art or curved furniture, sanding is critical for that finished, professional look. Curves aren’t just decorative—they’re functional, too.
Each project above makes a perfect Pinterest post or blog tutorial on your DIY site!
📌 Final Thoughts: Don’t Fear the Curve
Cutting curved pieces in plywood may seem intimidating, but once you try it, you’ll wonder why you didn’t start sooner. With a jigsaw, a steady hand, and a few sanding tools, you can create stunning pieces with smooth arcs, circles, and waves.
And if you plan with templates or use a router for finishing, your curved plywood work will look sharp, custom, and professional.


")


")
