I still remember cutting trim for my first window frame. I figured a quick 45° would do it, made both cuts, and felt pretty proud—until I tried to fit them together. The gap was huge, and no amount of sanding would hide it. That’s when I learned that cutting wood angles isn’t about guessing; it’s about patience, minor adjustments, and measuring the real corner instead of the one you think you have.
Whether you’re framing a doorway, building furniture, or adding paneling, knowing how to figure angles for cutting wood will save you hours of frustration. Here’s how to do it the right way, step by step.
🔹 Understanding the Two Types of Angles in Woodworking
Before you start cutting, it helps to understand which type of angle you’re dealing with.
Standard Angles: Angles cut directly on a flat piece of plywood or lumber. These are used for shapes, trims, and geometric designs.
Miter Angles: Angles cut so that two boards fit together at a corner, like frames, crown molding, or furniture joints.
Once you know which one you’re working with, you can pick the right measuring tool and cutting technique.
🧰 What You’ll Need
Here are five common tools used to measure and transfer angles accurately:
You don’t need every tool to start—just the one that fits your project.
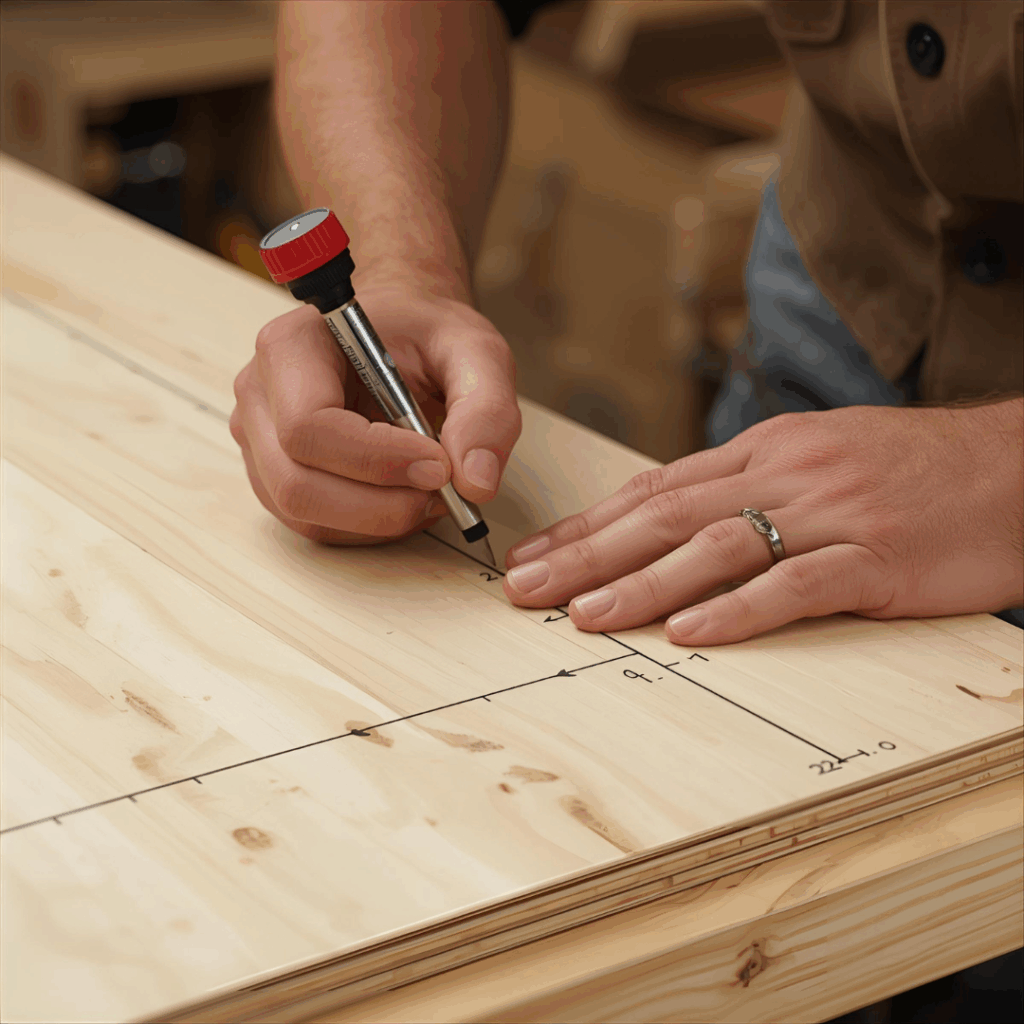
✏️ Step 1: Measuring Standard Angles
Standard angles are used when cutting single sheets of wood. You’ll often need these when shaping plywood panels or trimming boards. Let’s go over the most reliable tools for getting these right.
Using a T-Bevel (Bevel Gauge)
A T-bevel, sometimes called an angle finder, has a flat handle and a rotating blade that locks in place. It’s perfect for copying an existing angle or transferring one from a wall to your plywood.
How to use it:
Loosen the wing nut so the blade can move.
Place the bevel in or against the corner you’re measuring.
Rotate the blade until it matches the angle perfectly.
Tighten the nut to lock the blade.
Trace the angle onto your wood and cut along your line.
A speed square is one of the most popular tools in any workshop. It’s shaped like a triangle and can quickly mark 90° and 45° angles—but it also measures other degrees using pivot points.
Steps:
Place the lipped edge against your board.
Mark your first straight line for reference.
Rotate the square until your desired angle aligns with the pivot marking.
Even a basic math-class protractor works for woodworking in a pinch. It’s not as big or precise as other tools, but it’ll help you find or verify small angles.
To find a new angle:
Mark your center point on the board.
Align the protractor’s base with the edge.
Mark the degree you need.
Use a ruler to connect the points and draw your cut line.
To measure an existing angle:
Place the protractor in the corner of the cut.
Match the edges to the protractor scale.
Read and record the angle.
🧮 How to Calculate Angles Without Fancy Tools
You don’t really need gadgets for this stuff. Half the time, I grab a scrap, shove it into the corner, and trace the lines. Done. Cheap and quick. The mark tells me everything I need.
If I’m feeling nerdy, I’ll pull out the phone. Ten inches on one side, eight on the other—eight divided by ten gives point-eight. Hit the little “tan-1” key, and you get about thirty-eight and a half degrees. That’s close enough for any trim in my house.
Old walls are never square anyway. You measure, you guess a little, and you trim again till it fits. That’s woodworking. Not math class—just a mix of patience, sawdust, and a few good guesses that work out fine.
Using a Digital Angle Ruler
For perfect precision, especially in furniture-making, a digital angle ruler is a game-changer. It has two arms joined by a hinge and a digital display showing your exact measurement.
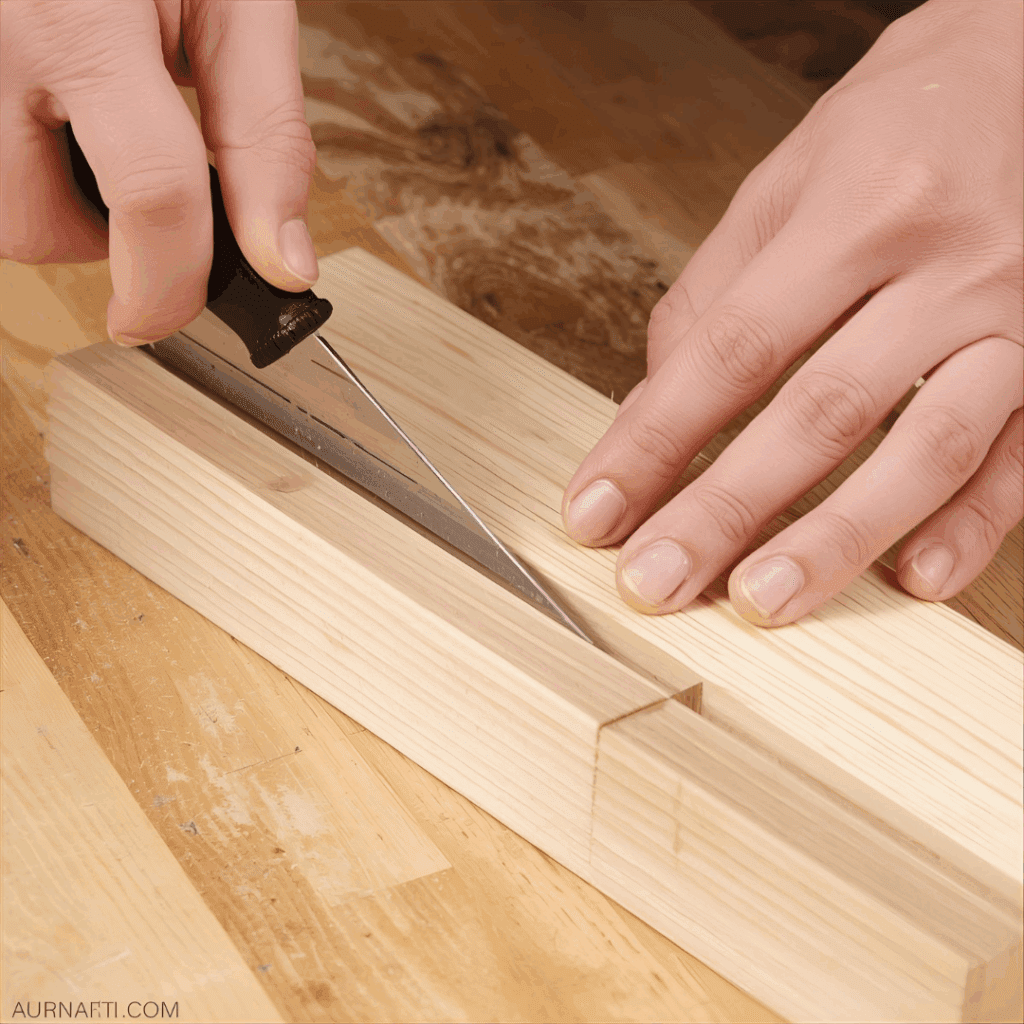
A miter cut happens when two boards meet at a corner—each cut at half the total corner angle. For example, if a corner measures 90°, you’ll cut each board at 45°.
Using a Miter Saw Protractor (Site Protractor)
A miter saw protractor, sometimes called a site protractor, is explicitly designed for this. It shows you the exact cut angle for each board so your joints fit perfectly.
How to use it:
Place the protractor inside the corner you want to measure.
Make sure both arms sit flat against each wall or board.
Carefully remove it while keeping the angle intact.
Read the outer and miter scales to find both cut angles.
Set your miter saw accordingly and cut both pieces.
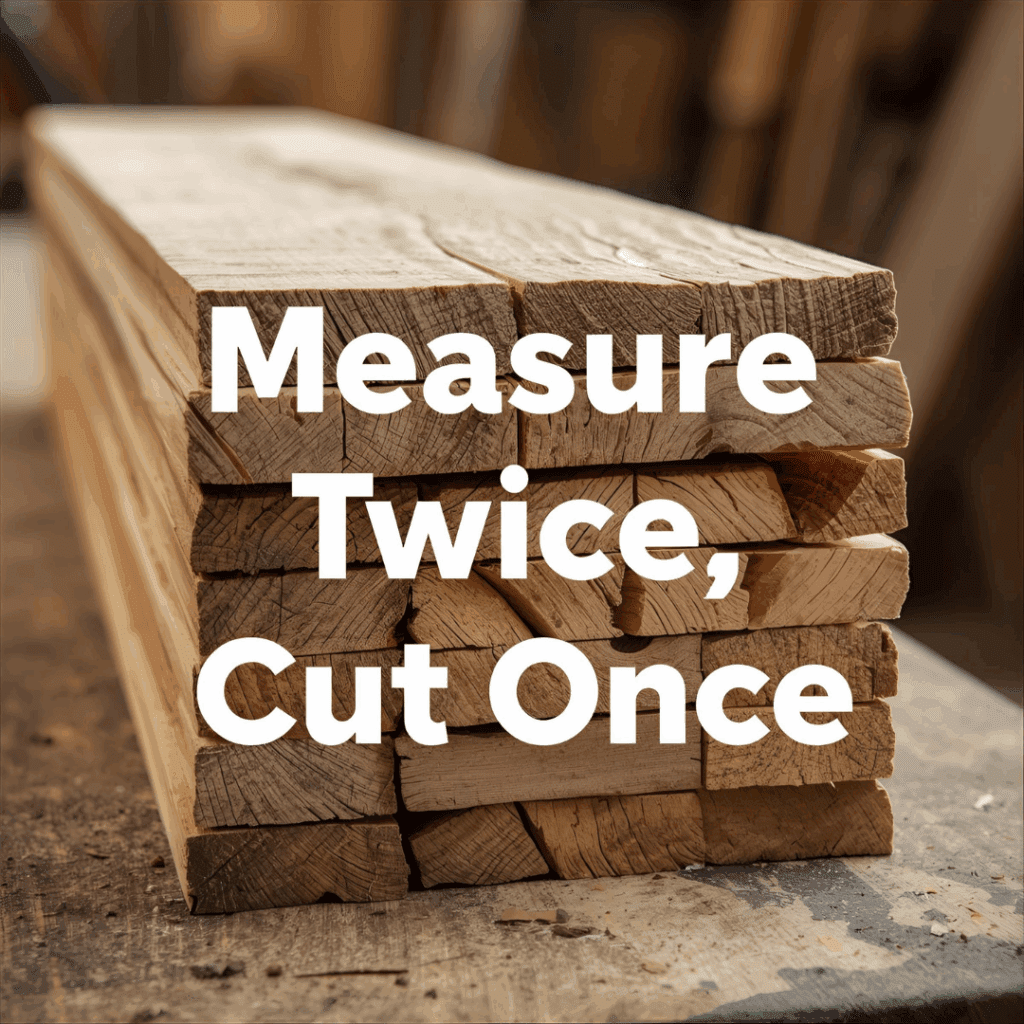
Always test your angle on scrap wood first. Join the two scraps to see if the joint is tight. If you spot a gap, adjust your saw by 0.5° and test again. Remember the golden rule: measure twice, cut once.
⚙️ Quick Tip: Label Your Angles
When cutting several pieces, label them “A,” “B,” “C,” and “D” to remember which corners meet. It keeps your cuts consistent and saves time during assembly
🧰 Real-World Projects That Use Accurate Angle Cutting
Once you start cutting angles right, you see them everywhere. The first picture frame I built—tight 45s, no gap—yeah, I stared at it longer than I should’ve. After that, every project had a corner worth fussing over. Crown molding, hex tables, shelves that hug a wall that’s never square—it’s all the same game.
Outside jobs? Same story. Deck rails, pergola braces, planter boxes—if the cuts are off, everything looks like it’s leaning. I scribble marks on every board, make one test cut, check the fit, then go again if it’s off. When a joint slides together without a fight, you feel it. You don’t even have to look.
If you’re new, start simple. Knock out a little plywood planter box. Miss an angle, fix it, do it again. You’ll see how fast you pick it up. After a while, the boards click together, no gaps, no guessing. That’s the moment you grin a little and think, Alright, that worked.
🪚 Troubleshooting Bad Angle Cuts
Even when you measure carefully, cuts don’t always line up. It happens to everyone — even pros. The good news? You can usually tell what went wrong by how the pieces meet.
If the top edge touches but the bottom leaves a gap, your saw blade’s tilt is off — it’s not square to the base. Recheck the bevel setting with a square before cutting again. If the gap’s on one end but not the other, the angle itself is wrong. Move the saw arm a hair—maybe half a degree—and try again on scrap wood.
Also, watch out for blade flex or a dull edge; both can cause the cut to be slightly off. Keep your blade clean and sharp. For hand-saw users, let the saw do the work — don’t force it. The weight of the tool and steady strokes give a straighter result than muscle ever will.
When you fix a mistake, save that “bad” piece. I keep mine stacked near the saw as a reminder that close enough usually isn’t.
📐 Advanced Angle Cuts – Compound and Bevel Techniques
Once you’ve mastered simple miters, you’ll eventually run into compound angles — those tricky cuts where the saw tilts one way and swivels another. You’ll use them on crown molding, chair legs, or anything that joins at two angles.
To figure these out, start with a digital protractor or an online calculator. Measure both the wall or edge angle and the tilt you need, then plug them into a crown-molding calculator (Blocklayer.com has a great free one). It’ll tell you exactly what bevel and miter settings to use.
Always cut a test piece first — don’t assume your saw scale is perfect. Wood moves, walls bow, and sometimes you’ll have to adjust half a degree on the fly. Keep a notebook with those “real-world” settings; they’ll save you time later.
Compound angles feel intimidating at first, but once you make a few, it starts to make sense — it’s all geometry, just in 3D. And when two tricky cuts snap together perfectly, it’s one of the most satisfying moments in woodworking.
🪵 Summary
When I’m cutting a pile of boards, I don’t overthink it. I grab a pencil and throw letters on the ends—A, B, C, D. Whatever helps me remember which piece meets which. It’s quick, it’s messy, but it saves headaches when I start fitting things together later.
Angles? They stop being scary once you mess up a few. You learn to slow down. Measure, check, cut, then check again. Sometimes I miss by a hair, so I shave it off with the saw until the joint feels right. That’s the trick: a cheap T-bevel, a steady hand, a little patience. Before long, the corners slide together like they’re meant to.