So, I was halfway through building a couple of floating shelves when I stopped, looked at the plywood I was using, and thought — “Ugh. This just looks like plywood.” Not exactly the rich, oak look I had pictured in my head.
Instead of scrapping the project or shelling out for hardwood, I started playing around with what I had — some stain, a wire brush, sandpaper. And hey, it actually worked. I figured out how to make plain ol’ plywood look pretty darn close to oak. Thought I’d share the process in case it saves you from the same moment of doubt.
Can You Actually Stain Plywood to Look Like Oak?
Yep, you can. But — and this is important — only if you put in the prep work. I learned this the hard way after one too many splotchy finishes.
You’ve got options for finishing plywood (paint, oil, even wax), but if you want that oak-style grain and warm tone, staining is your best bet. It’s forgiving, affordable, and surprisingly easy once you get the hang of it.
Let’s Talk Plywood Grades (And Why They Matter More Than You Think)
Here’s the deal: not all plywood is created equal. Some of it’s smooth and easy to work with. Some of it looks like it’s been through a war.
Grade
What It Looks Like
What It Needs
A
Super smooth, no knots
A light sanding and you’re good to go
B
A few small knots or flaws
Some filler and a bit of sanding
C
Bigger knots, rougher spots
More filler, a lot more sanding
D
Knotholes, splits, kind of a mess
Be ready for a project — but not impossible
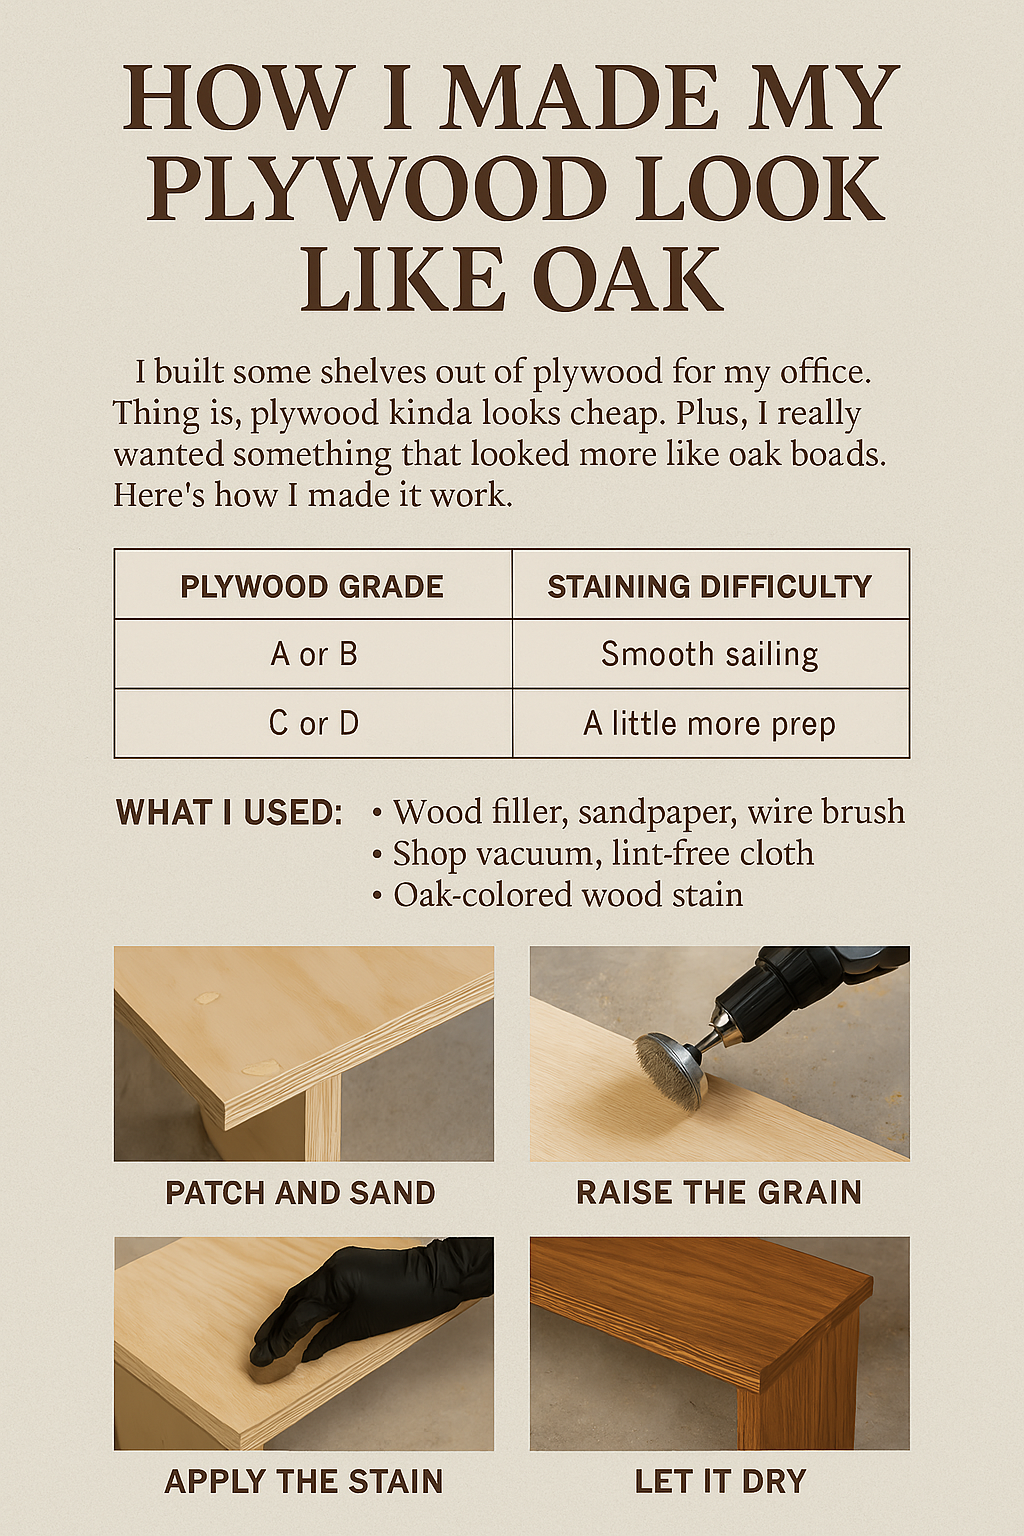
For this shelf build, I used some B-grade plywood. It had a few imperfections, nothing major. A little wood putty and sanding fixed it up nicely.
Here’s What I Used (Mostly Stuff I Already Had Lying Around)
Wood putty (make sure it’s stainable)
180-grit and 220-grit sandpaper
Drill with a wire brush attachment
Clean, lint-free rags
A basic paintbrush
Vacuum or shop brush
Wood stain (I went with golden oak — subtle and warm)
Danish oil (totally optional, but I love the finish it gives)
How I Got That Oak Look (Step-by-Step, No Nonsense)
1. Filled the Flaws
First things first, I filled in the dents, small knots, and little holes with stainable wood putty. You want to overfill just a hair — it shrinks a bit when it dries. Once it was fully dry (I left it overnight), I sanded the spots smooth.
Pro tip: Test your stain over the dried putty on a scrap piece. Some fillers take stain differently.
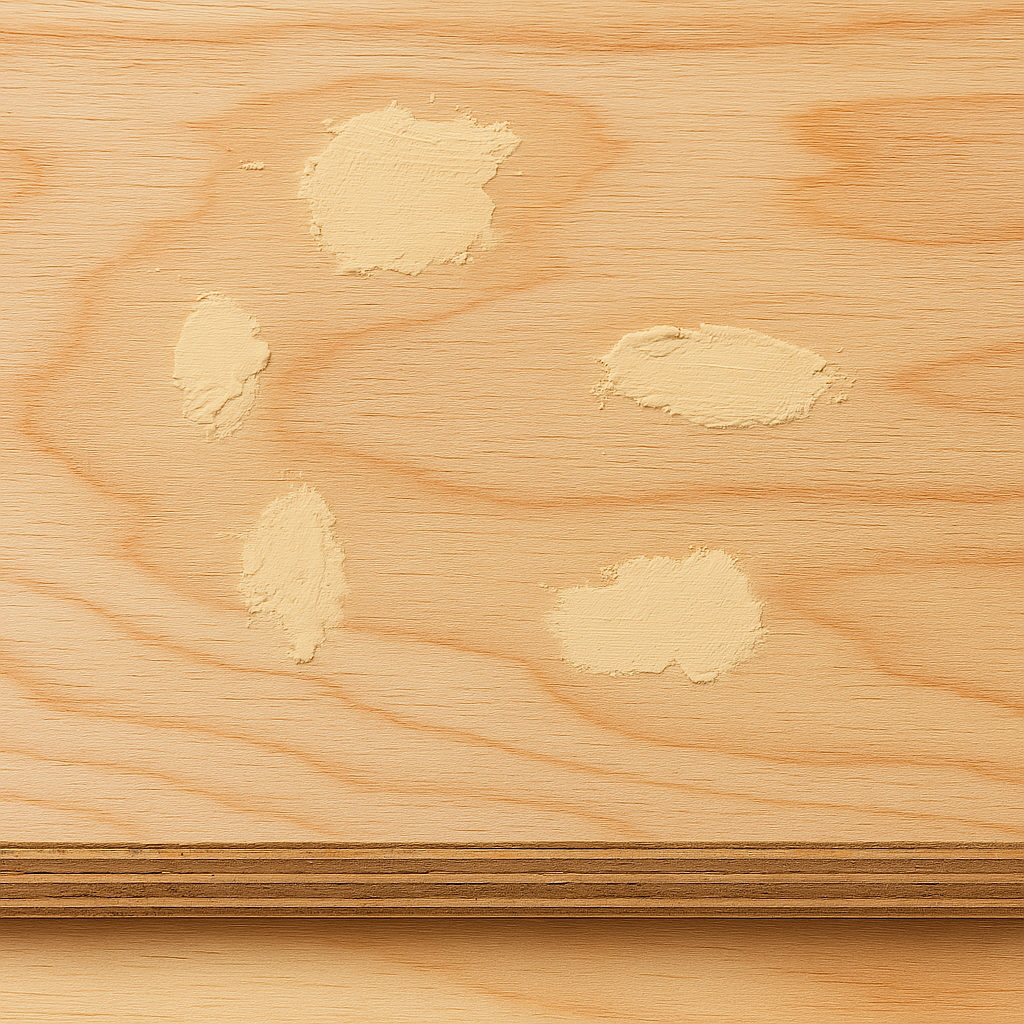
2. Faked Some Grain
My plywood didn’t really have much visible grain, so I made some. I used a wire brush on my drill and lightly dragged it across the surface in the direction of the wood grain.
It gives the plywood a bit of texture, kind of like what oak naturally has. Just go easy — you’re not trying to gouge it.
3. Sanded Everything Smooth
There’s nothing fancy here. I used 180-grit sandpaper and gave the whole surface a quick but even sanding, enough to smooth out the putty spots and open up the surface for stain.
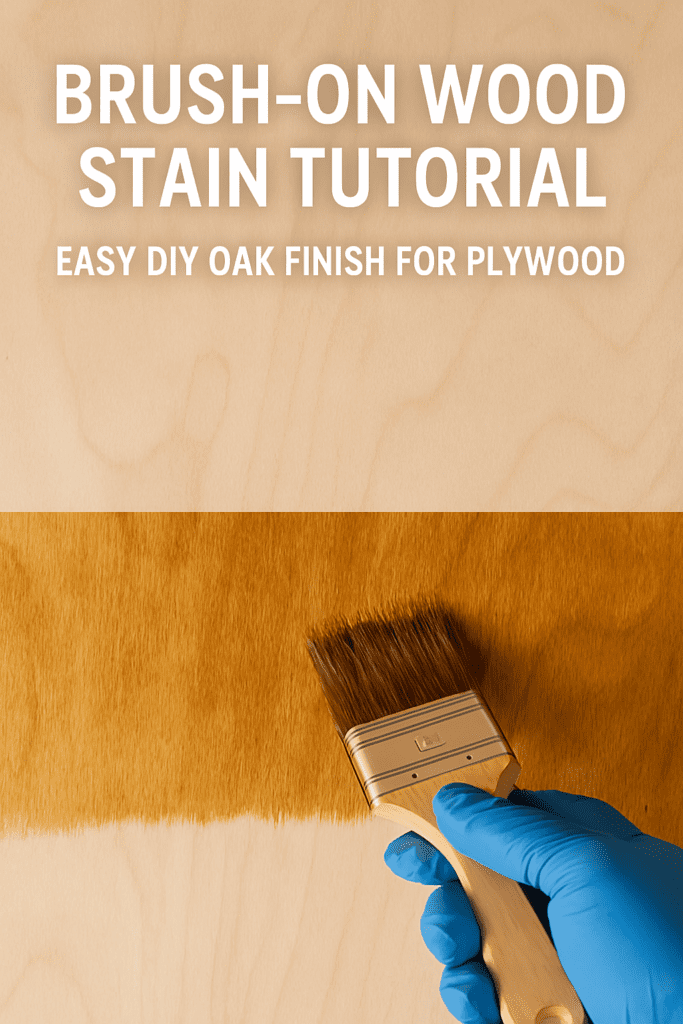
Using long, even strokes, I dipped my brush in the stain and brushed it on with the grain. I didn’t overload it—just enough to tint the wood.
After a few minutes, I wiped the excess with a clean rag. At this point, the grain (real or fake) started to pop a little, which was kind of exciting.
5. Gave It a Light Sand (If Needed)
Once the stain dried, I checked the surface. If it felt a little rough or looked uneven, I lightly sanded it with 220-grit sandpaper.
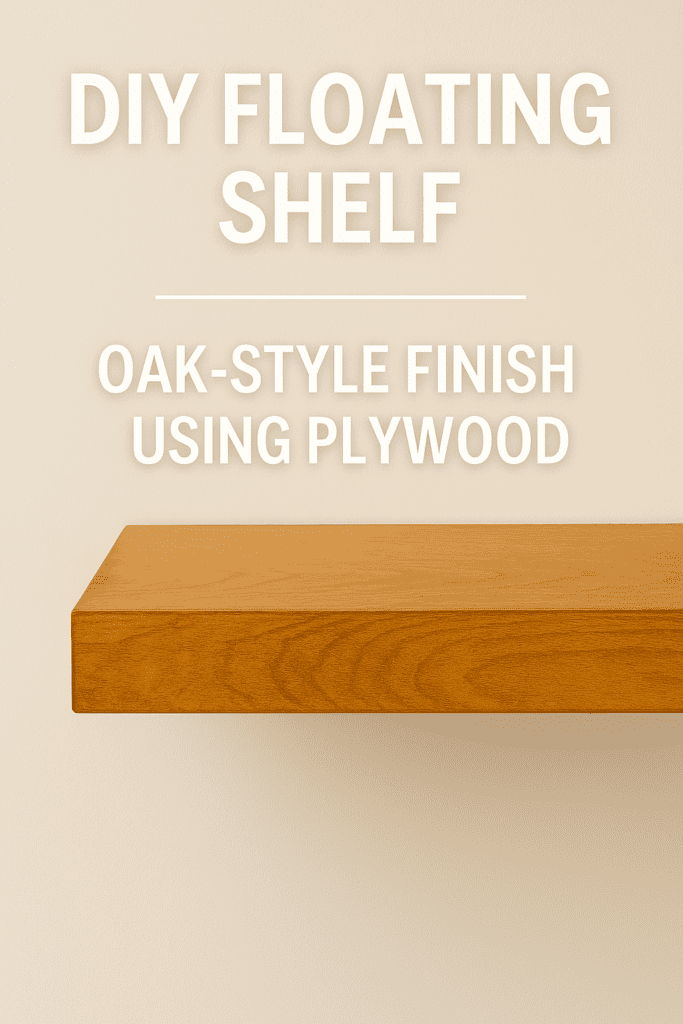
If the color felt too light, I added another thin coat. One coat gave me a soft oak look, and two coats made it richer and deeper.
6. Sealed the Deal
To finish it off, I wiped on a bit of Danish oil. I’ve used polyurethane before too — it works great — but I like the look and feel of oil for furniture. It’s warm, a little soft to the touch, and just makes it feel finished.
Let it sit for a day or so and it was ready to hang.
A Few Lessons I Picked Up
You don’t need high-grade plywood, just patience
Always test your finish on scrap — every piece stains a little different
Less stain is better than too much
Don’t skip sanding. It’s boring, but it makes or breaks the final look
Final Thoughts
This little trick has saved me so many times. Any time I need something that looks like it came from a high-end lumber yard — but came from the local big-box store — this method delivers.
It’s not magic. It’s just a little prep, a little stain, and a finish that makes people go, “Wait… that’s plywood?”
Related Posts:
How to Make Plywood Look Nice: 6 DIY Finishes by Admin March 31, 2025 Finish Most people think of plywood as just cheap, utility-grade wood. For years, I thought the same—until I started working on weekend furniture builds in my…


: Prices, Grades & Mistakes")


: Prices, Grades & Mistakes")
