If you’ve ever walked through a lumber aisle and been drawn to the warm, natural look of pine, you’re not alone. Pine plywood is one of the most popular sheet materials for both professionals and DIYers — and for good reason. It’s affordable, easy to work with, and has a beautiful grain that fits just as well in a rustic cabin as it does in a modern home.
Over the years, I’ve used pine plywood for everything from built-in bookshelves to wall paneling and even a few quick garage storage fixes. It’s one of those materials that always delivers a clean, workable surface without breaking the budget.
In this guide, I’ll break down everything you need to know about pine plywood — from grades and finishes to durability, cost, and project ideas.
What Is Pine Plywood?
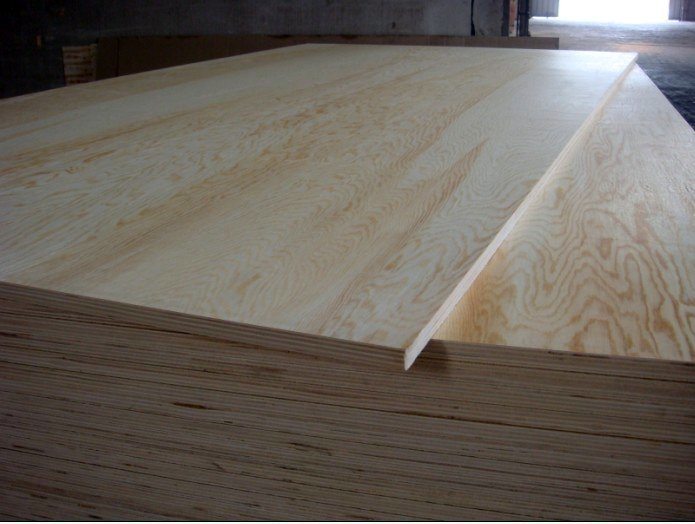
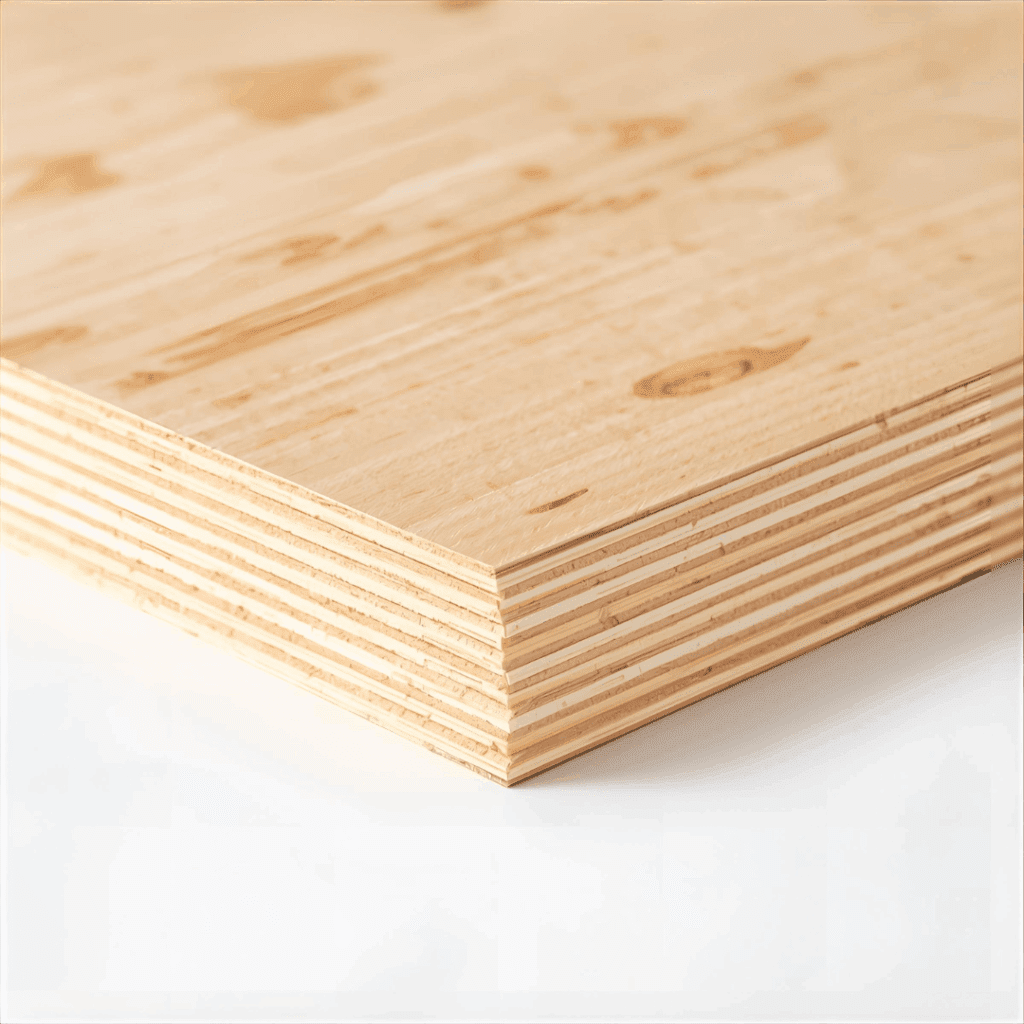
Pine plywood is a manufactured wood panel made by gluing together thin sheets (veneers) of pine wood in alternating grain directions. This cross-lamination makes the board stronger, more stable, and less prone to warping than solid pine boards.
While hardwood plywoods like birch or oak are denser, pine plywood strikes a balance — strong enough for most furniture or home projects but still lightweight and easy to cut.
👉 Quick Fact: Most pine plywood sold in the U.S. is made from Southern Yellow Pine, Radiata Pine, or White Pine, each offering slightly different strength and appearance characteristics.
Why Builders and DIYers Love Pine Plywood
Why Builders and DIYers Love Pine Plywood
I’ve tried a lot of sheet goods in my builds — oak, birch, maple, MDF, you name it — but I keep coming back to pine plywood. It’s not just because it’s cheap. It’s easy. Familiar. You can cut it, sand it, glue it, mess it up, and still end up with something that looks good. It’s the one material that never seems to get fussy on me.
1. Affordable and Easy to Find
When you’re working on a tight budget, pine plywood feels like a small gift. Hardwood sheets keep getting more expensive, but pine hasn’t jumped as much. Most of the time it’s half the price, sometimes even less. I use it for big jobs — built-ins, shelving walls, garage storage — the kind of stuff that eats up whole sheets.
You can walk into Home Depot or Lowe’s and grab a few without having to special order anything. They’ll usually have the standard 4×8s stacked near the front, no hunting required. Prices bounce around, but lately I’ve seen:
½-inch sheets around $30
¾-inch sheets close to $45
Sanded cabinet-grade versions near $60
That’s not bad when you remember one board can become a desk, two shelves, or half a wall of paneling.
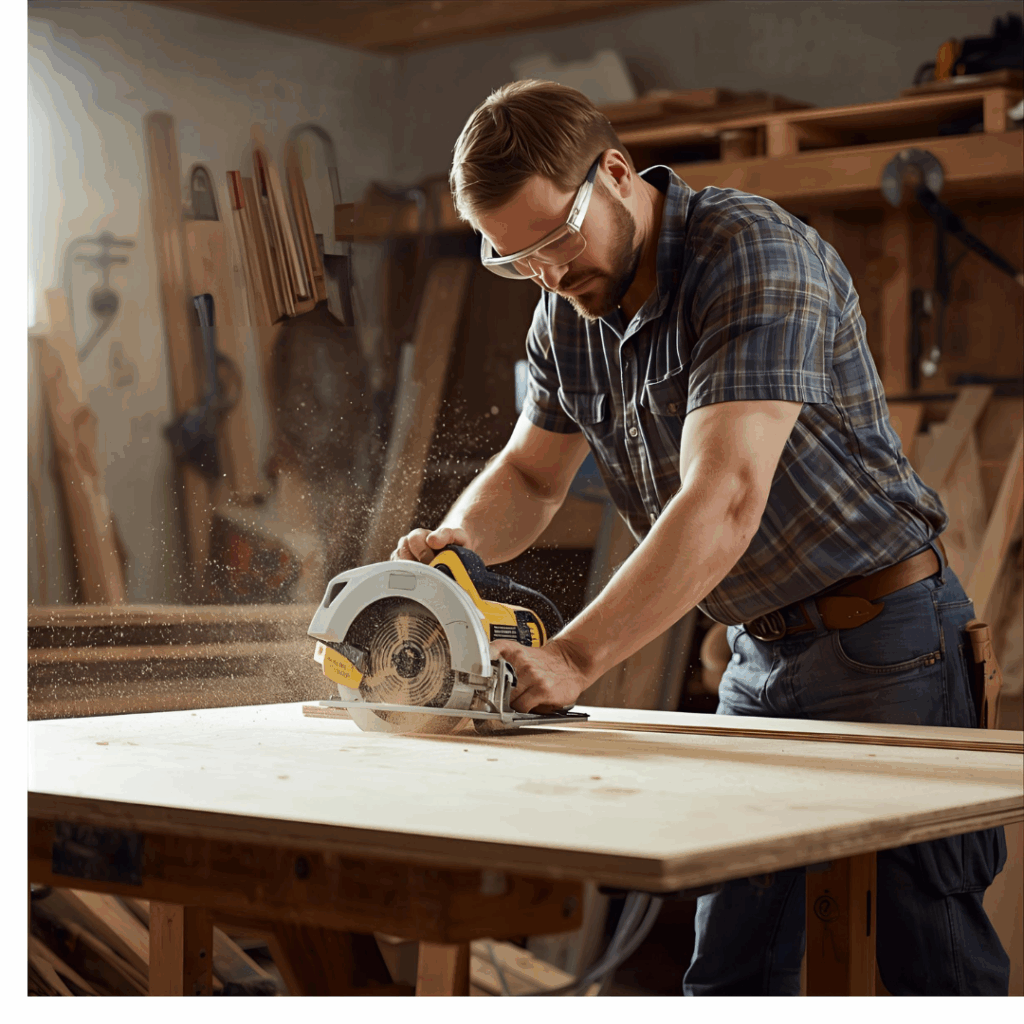
2. Lightweight and Easy to Cut
Some woods make you fight for every cut. Pine plywood isn’t one of them. It’s light enough to carry alone, even if you’re just dragging it from your truck to the garage. A circular saw with a fine-tooth blade handles it perfectly. I’ve used the Diablo 60-tooth plywood blade for years — never fails to give me clean edges.
Grab a jigsaw if you need a curve. That’s what makes pine so forgiving — it lets you focus on the build, not on protecting your tools or your nerves.
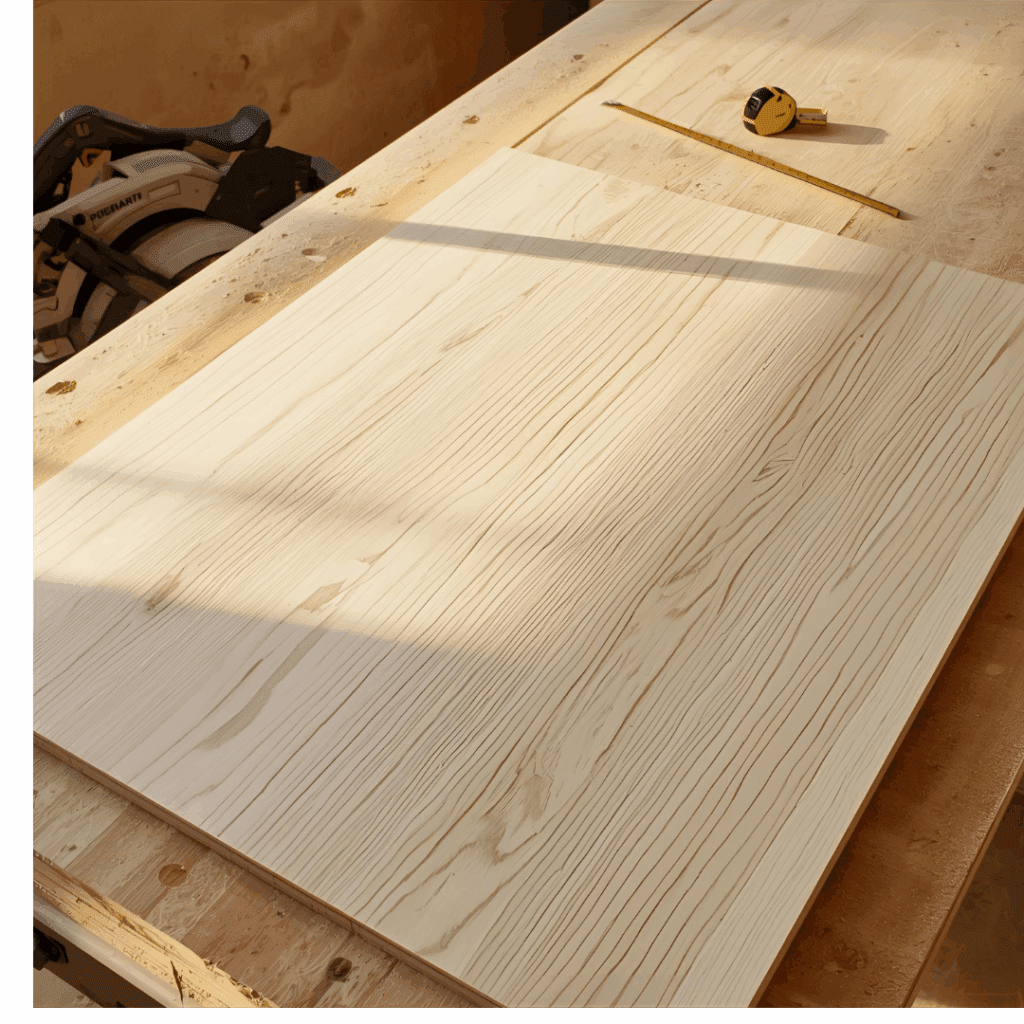
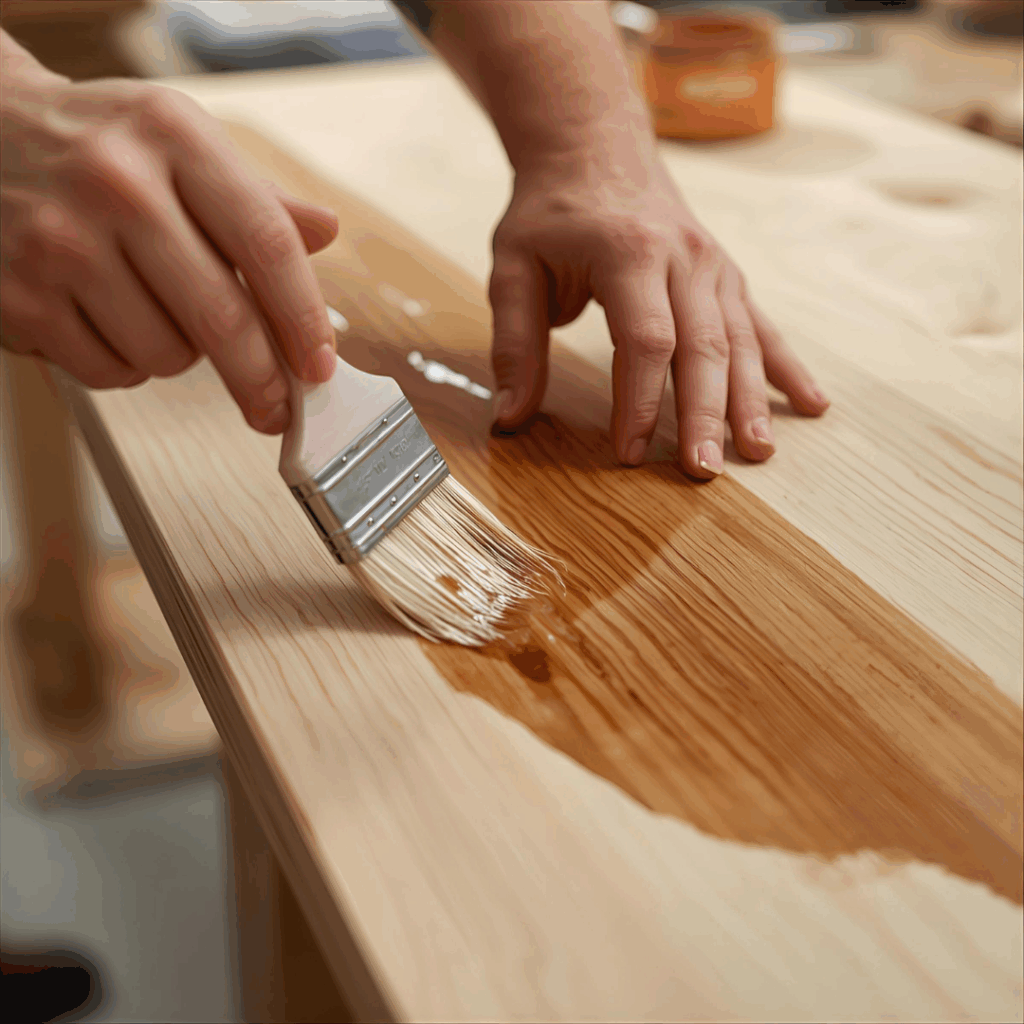
3. Easy to Stain or Paint
Finishing pine plywood is where people either fall in love or start over. The wood likes to soak stain unevenly, which can look rough if you’re new to it. The fix is simple — use a pre-stain conditioner first. I like Minwax Pre-Stain Wood Conditioner; it evens things out and helps the grain show through.
Depending on your project, here’s what works best:
Clear satin poly if you want the natural look
Whitewash or light gray for that coastal or farmhouse style
Dark walnut when you want warmth and contrast
Paint when durability matters more than grain
Pine might be simple, but when it’s finished right, it holds its own next to woods twice the price.
Grades of Pine Plywood Explained
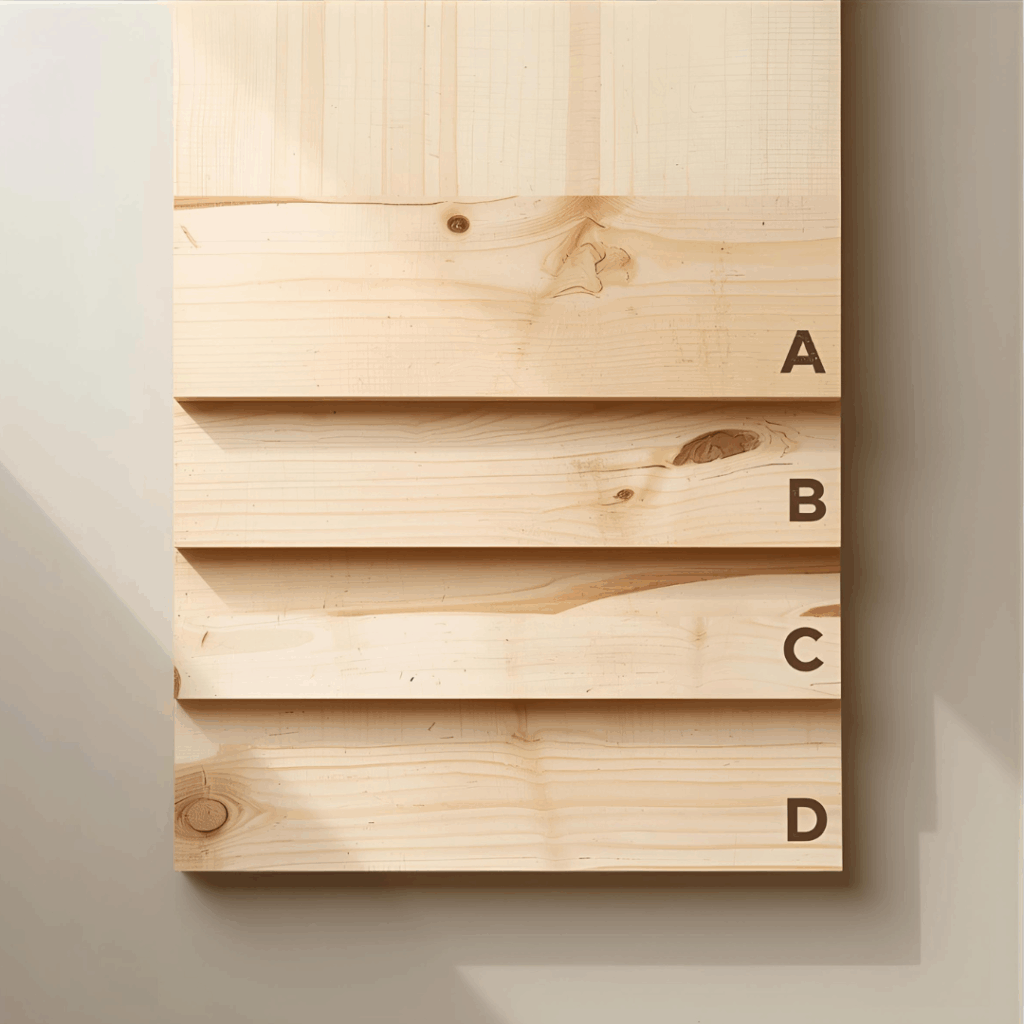
If you’ve ever sorted through a plywood stack, you know no two sheets look alike. Some feel smooth and clean, others look like they’ve lived a rough life. That’s what those letters on the edge mean — A, B, C, and D. They tell you how “pretty” or rough each face is. You’ll also see mixes like A-C or B-B, which just means one side looks nicer than the other.
When I’m at the yard, I flip through the pile like I’m picking fruit. You learn fast that what’s on top isn’t always the best piece underneath.
Here’s how I think of the grades after years of sawdust and coffee breaks:
A-Grade – Smooth as a kitchen table. Hardly any knots, already sanded, ready for stain or clear coat. I use it where people will see it — cabinet fronts, shelves in the living room, that sort of thing.
B-Grade – Still good-looking but more down-to-earth. You’ll spot a knot here or there, maybe a small patch. Works great for painted projects or built-ins that need to look tidy without being museum-perfect.
C-Grade – The blue-collar sheet. Rougher surface, bigger knots, a few filled spots. It’s what I grab for shop benches, garage storage, or anything that’s going to get beat up anyway.
D-Grade – This is the “get it done” plywood. Open knots, rough grain, sometimes a bit of bark edge left on the veneer. It’s strong but not pretty — perfect for subfloors, shed walls, or any hidden spot where only you’ll know it’s there.
If I’m building something that’ll show, I usually reach for A-C or B-B sheets — nice face up front, cheaper face in back. For floors or wall backing, C-D (CDX) does the trick and saves a few bucks for coffee on the way home.
Common Thicknesses and Their Uses
Pine plywood is available in several standard thicknesses, each suited to different projects:
Thickness
Best For
Notes
¼ inch
Drawer bottoms, cabinet backs
Lightweight and flexible
½ inch
Wall paneling, shelving, crafts
Good balance of strength
¾ inch
Furniture, flooring, countertops
Most versatile thickness
1 inch+
Heavy furniture or structural builds
Strong but less common
How Strong Is Pine Plywood?
Pine plywood isn’t as dense as birch or maple, but it’s surprisingly strong for its weight. A typical ¾-inch pine plywood sheet can support 150–200 lbs when properly supported as a shelf.
It performs well in furniture, wall cladding, or interior construction but isn’t ideal for areas with constant moisture — unless treated or sealed.
If you’re using it in a basement, bathroom, or shed, take extra care to elevate it off the floor and seal every edge, especially cut ends.
Pine Plywood vs. Birch Plywood
Feature
Pine Plywood
Birch Plywood
Cost
Affordable
More expensive
Weight
Light
Heavier
Grain
Warm, rustic
Tight, uniform
Durability
Softer
Harder and denser
Best For
DIY, crafts, rustic furniture
Cabinets, fine furniture
If you’re building something that’ll get banged around — like a kitchen cabinet or workbench — birch plywood holds up better. But if you’re doing home décor or furniture on a budget, pine is hard to beat.
I’ve used pine plywood so many times it’s practically a default setting in my shop. There’s always a piece leaning somewhere, half-cut, waiting for its moment. It’s not fancy wood, but that’s what makes it fun — you can experiment without worrying about wasting money. These are the projects that stuck with me because they just worked.
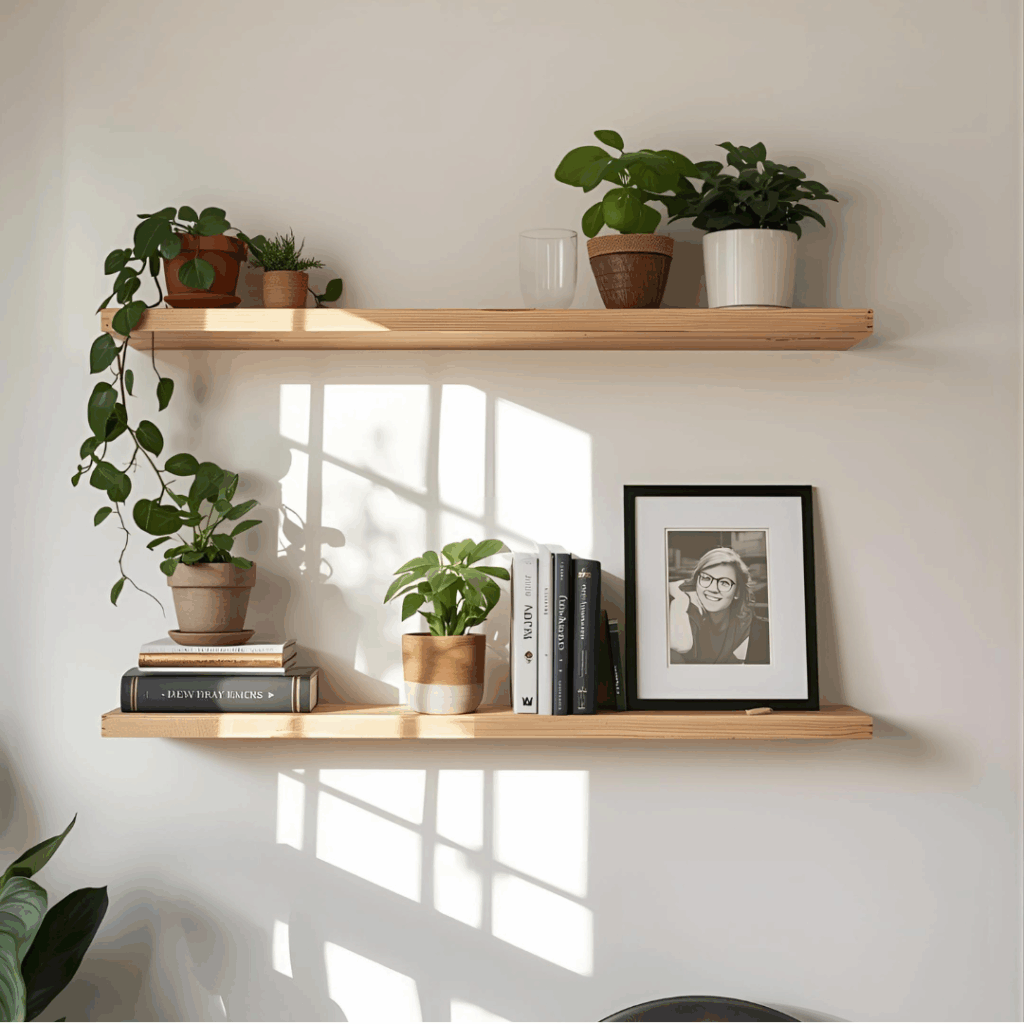
1. Floating Shelves
I made my first set when I ran out of wall space for books. Cut a few strips from a ¾-inch sheet, sanded them smooth, brushed on a warm stain, and called it good. They’re still hanging — a little uneven if you look close — but they’ve held plants, picture frames, even a small speaker. That’s all I need from the shelves.
2. Built-In Desks or Workbenches
The desk I’m typing on right now? Pine plywood. Nothing fancy — one sheet across two cabinets, sealed with polyurethane. It’s been scratched, coffee-stained, and wiped down a hundred times. Somehow, the more I beat it up, the better it looks.
3. Wall Paneling or Wainscoting
One winter, I got tired of staring at bare drywall and decided to fake wainscoting with thin pine panels. Cut, nail, paint — that’s it. By Sunday night, the hallway looked warmer, like an old farmhouse.
I built a pair of shop cabinets from leftover pine plywood. No fancy joinery, just glue and screws. They’ve been loaded with paint cans and tools ever since. MDF would’ve sagged by now, but pine holds up. Light, strong, and forgiving when you miss a screw by half an inch.
5. DIY Furniture Projects
My favorite weekend build was a small toy chest for my kid. Pine plywood, edge banding, a dark stain, and a satin finish. It still creaks when you open it, but I kind of like that—proof it’s real wood and not something that came flat-packed in a box.
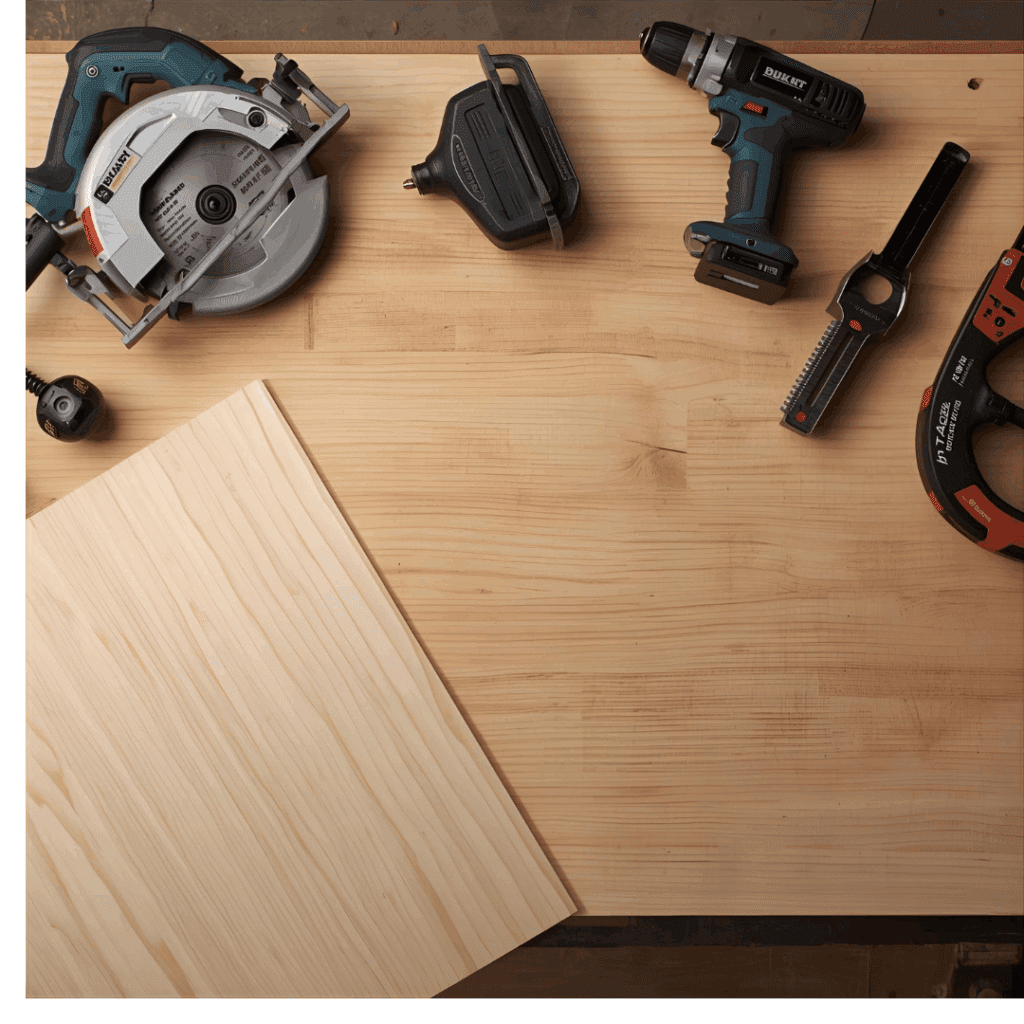
Working With Pine Plywood: Tools and Tips
You don’t need a full shop or fancy tools to get good results with pine plywood. Most of what you need probably fits in a single toolbox. I’ve built furniture, shelves, and even wall panels with just a circular saw and a palm sander.
When you’re working with pine, the trick isn’t expensive gear — it’s patience. Cut straight, sand carefully, and don’t rush your finish.
Edge banding trimmer (if you care about clean edges)
And if you want to make cutting large sheets easier, grab a Kreg Rip-Cut Guide — it’s one of those small upgrades that saves a lot of frustration. For sanding, myDeWalt Orbital Sander has outlasted every project I’ve thrown at it.
Shop Notes: A Few Things I’ve Learned
Always cut with the good face down if you’re using a circular saw — the teeth spin upward, and that’s where tear-out happens.
Clamp the sheet before cutting, even if it feels steady. Pine shifts easily.
Sand the edges before you do anything else. Pine splinters faster than you expect.
If you’re painting, fill screw holes with wood filler and sand smooth — it makes a big difference in the final look.
Little habits like these separate a weekend project from something that looks store-bought.
Sustainability and Sourcing
If you care where your wood comes from, pine plywood’s a decent choice. Most of it in the U.S. is harvested from fast-growing pine farms — renewable and replanted regularly. Many suppliers now sell FSC-certified sheets, which means the lumber came from forests that are responsibly managed.
When I can, I buy local. The plywood at my nearby yard often has fewer transport miles than what comes from big retailers, and sometimes it’s even cheaper. Look for:
FSC or SFI labels — proof it’s certified
Low-VOC adhesives — safer for indoor projects
Regional mills — less trucking, smaller carbon footprint
If you want to dig deeper into what those certifications mean, check the Forest Stewardship Council’s site. They explain how every certified batch is tracked from the forest to the factory.
Finishing Touches: Making Pine Plywood Look Premium
A lot of folks think pine plywood can’t look “high-end.” They’re wrong. It just needs time and care. Here’s what works for me:
Start sanding at 120 grit, then move up through 180 and 220. Don’t rush it — that last pass makes all the difference.
Lightly round the corners with sandpaper so the edges don’t catch light awkwardly.
Wipe on a wood conditioner before you stain — it helps keep the color even.
Finish with two or three coats of polyurethane for a soft sheen and a bit of protection.
If you want to take it a step further, edge banding is your secret weapon. A thin strip of solid pine or iron-on veneer hides the layered plywood edge completely. I’ve used it on desks and cabinets, and you’d never know they weren’t made from solid wood.
Final Thoughts
I’ve lost track of how many projects I’ve built with pine plywood. Desks, shelves, wall panels — even a few pieces that started as experiments and somehow turned out better than I expected. It’s not fancy, but that’s the charm. You can cut it, stain it, paint it, and it just works.
What I like most is how forgiving it is. Miss a measurement? Sand it down. Drive a screw too deeply? A bit of filler and it’s fine. Pine plywood doesn’t punish you for learning — it sort of grows with you as a builder.
If you seal the edges, pick the right grade, and take your time with the finish, it’ll last for years. Some of my earliest plywood builds are still holding strong. For me, that’s what makes it a keeper — simple, reliable, and always ready for the next idea that hits you on a Saturday morning.