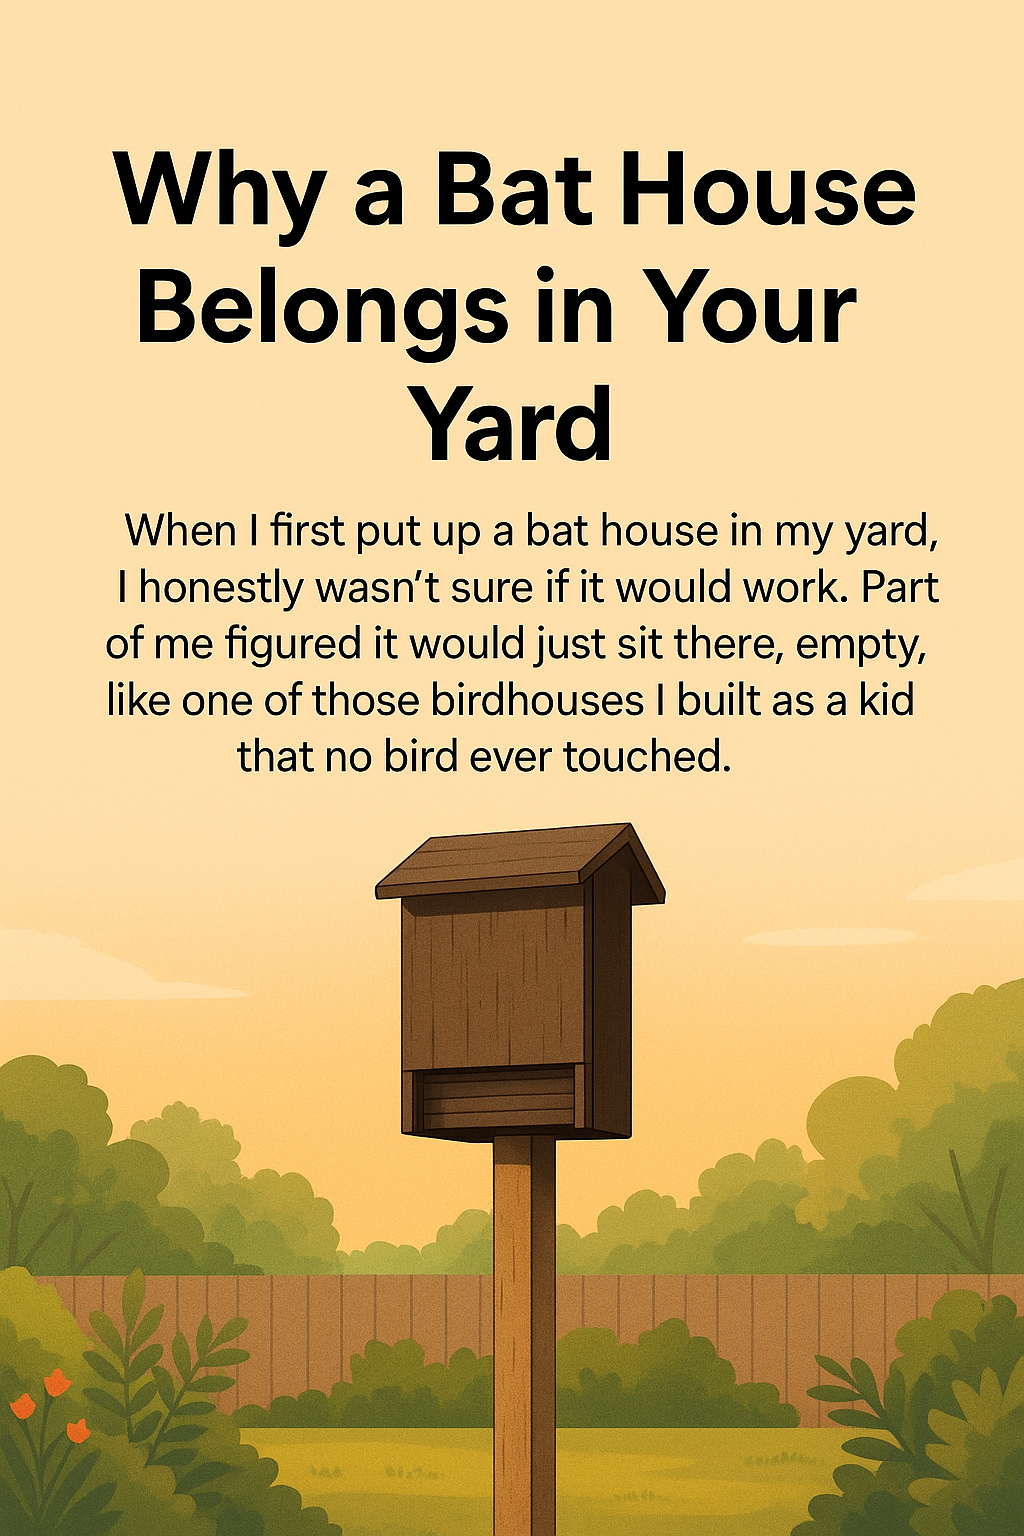
Introduction: Why a Bat House Belongs in Your Yard
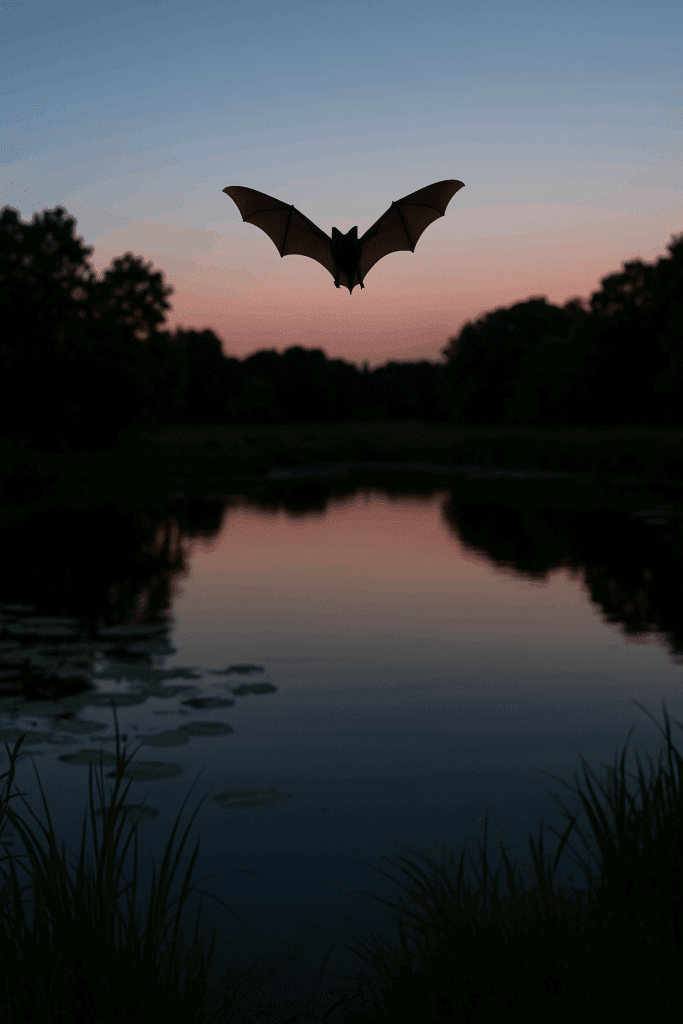
When I first put up a bat house in my yard, I honestly wasn’t sure if it would work. Part of me figured it would just sit there, empty, like one of those birdhouses I built as a kid that no bird ever touched. But a few summer nights later, I noticed something different—fewer mosquitoes buzzing around when I sat outside. That’s when I realized the bats had moved in, and they were doing a better job than any bug spray I’d ever bought.
Bats get a bad reputation, but they’re incredible little creatures. Not only do they eat thousands of insects each night, but they also help keep nature balanced. Giving them a bat house is a simple way to provide a safe roost and, in return, enjoy a more comfortable backyard. In this guide, I’ll share what I’ve learned about bat houses: what they are, how to build one, the best spots to hang them, and a few pre-made options if you’d rather skip the tools.
What Is a Bat House?
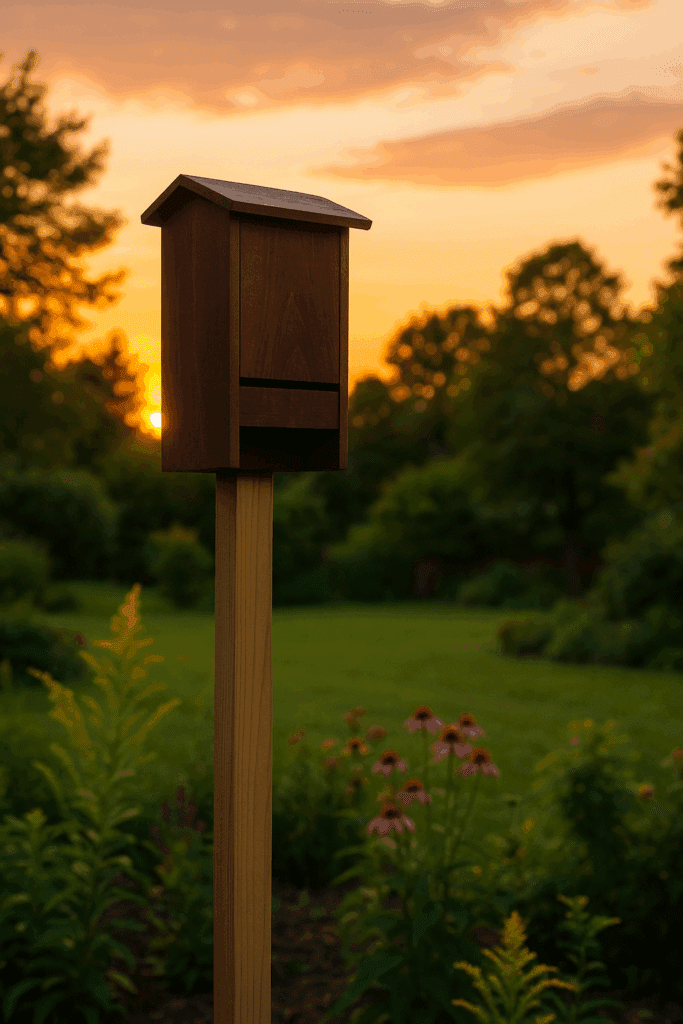
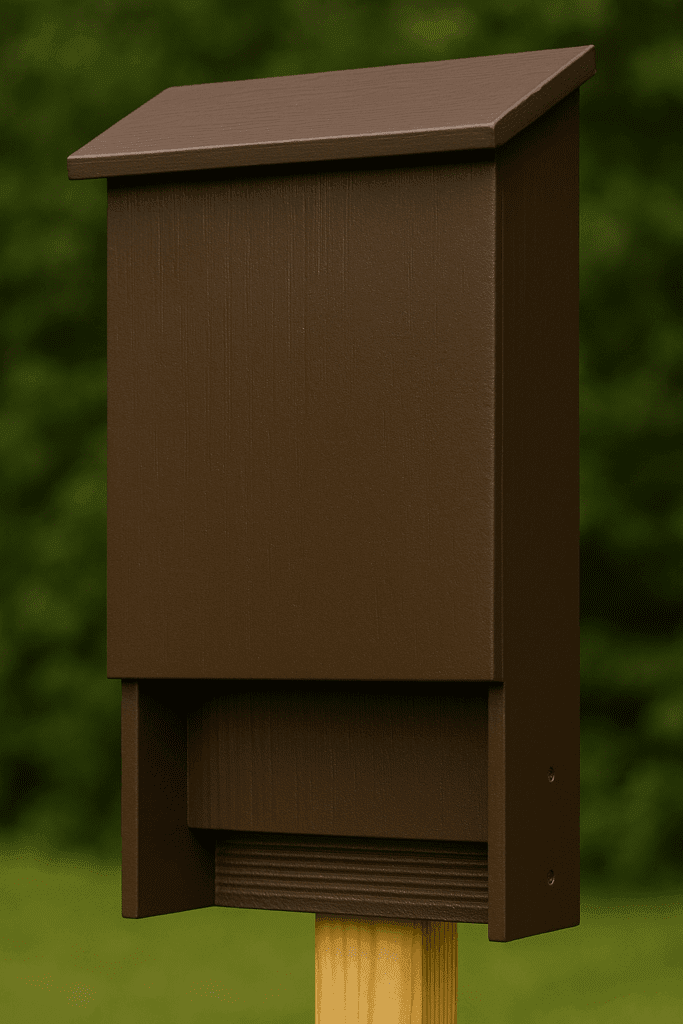
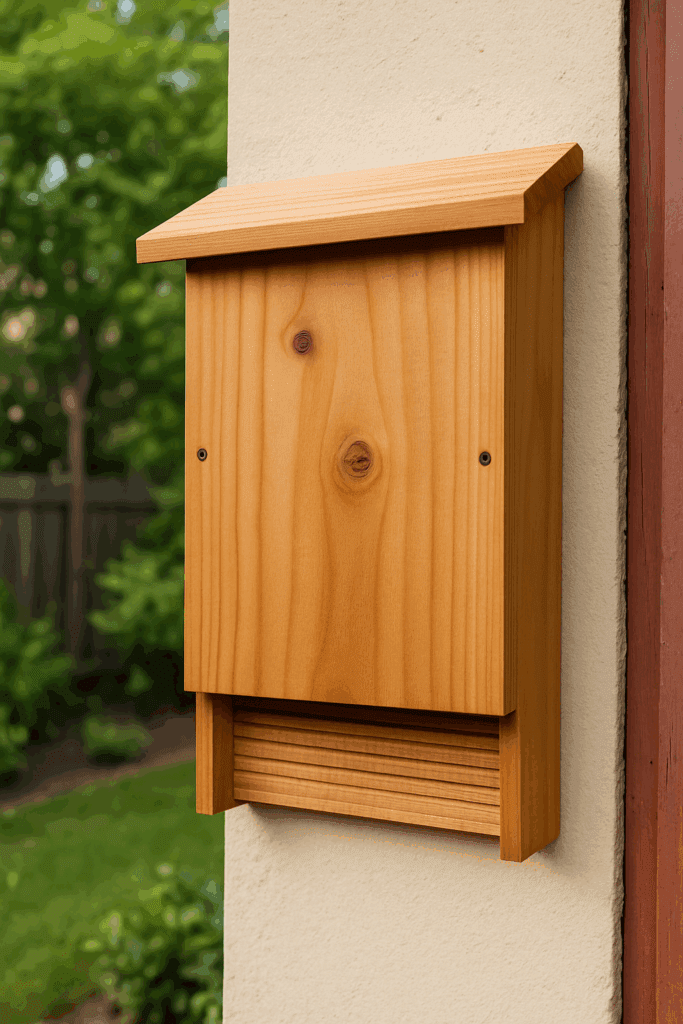
A bat house is an outdoor wooden structure designed to mimic the narrow crevices where bats naturally roost, like under loose bark or in caves. Unlike birdhouses, which have wide openings, a bat house features tall, narrow chambers that keep bats warm and secure.
Typical features include:
Multiple chambers for colonies to cluster.
Grooved interiors so bats can grip.
Dark finishes absorb warmth.
Ventilation slots for air circulation.
Think of it as a micro-apartment complex for bats—safe, warm, and efficient.
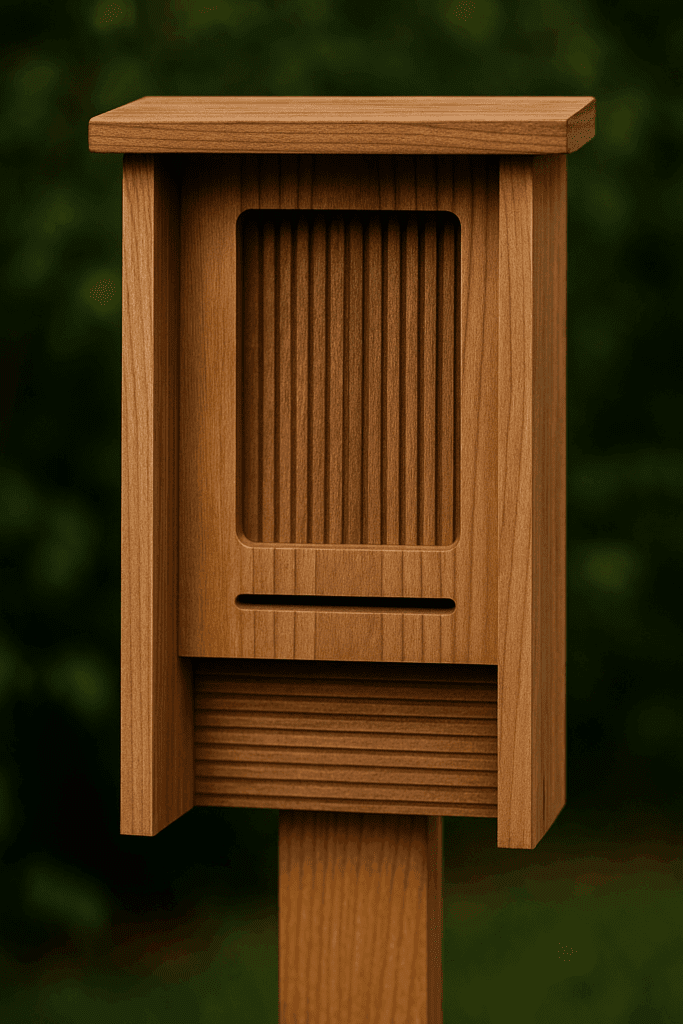
Why I Ended Up Putting a Bat House in My Yard
I never planned on having bats as “neighbors.” A couple of summers back, though, mosquitoes were driving me nuts. Every evening I’d step outside, and within minutes I was swatting like crazy. Citronella candles? Useless. Bug spray? Sticky and gross. I even bought one of those zappers that crackle all night—sounded like a bug war zone and still didn’t help.
A friend casually said, “You should put up a bat house.” I laughed. Thought he was joking. But the idea stuck, and eventually I slapped one together out of leftover plywood. Screwed it onto a tall post near the garden. Honestly, I didn’t expect much.
Did It Work?
Not right away. For the first week or two, nothing. I figured I built it wrong. Then one night, I noticed fewer bites. Another week later, I sat outside for over an hour and only got one. That was new. Turns out bats do eat a crazy number of bugs. Maybe not the exact “1,000 a night” people throw around, but enough that I could tell.
Side Bonus: Helping the Bats
After I put it up, I started reading about bat habitats. They’ve lost a ton of them—old barns, big hollow trees, that sort of thing. Mine isn’t some giant conservation effort, but at least it gives a handful of bats a dry place to crash. Makes me feel good when I look at it while mowing the lawn.
The Family Part
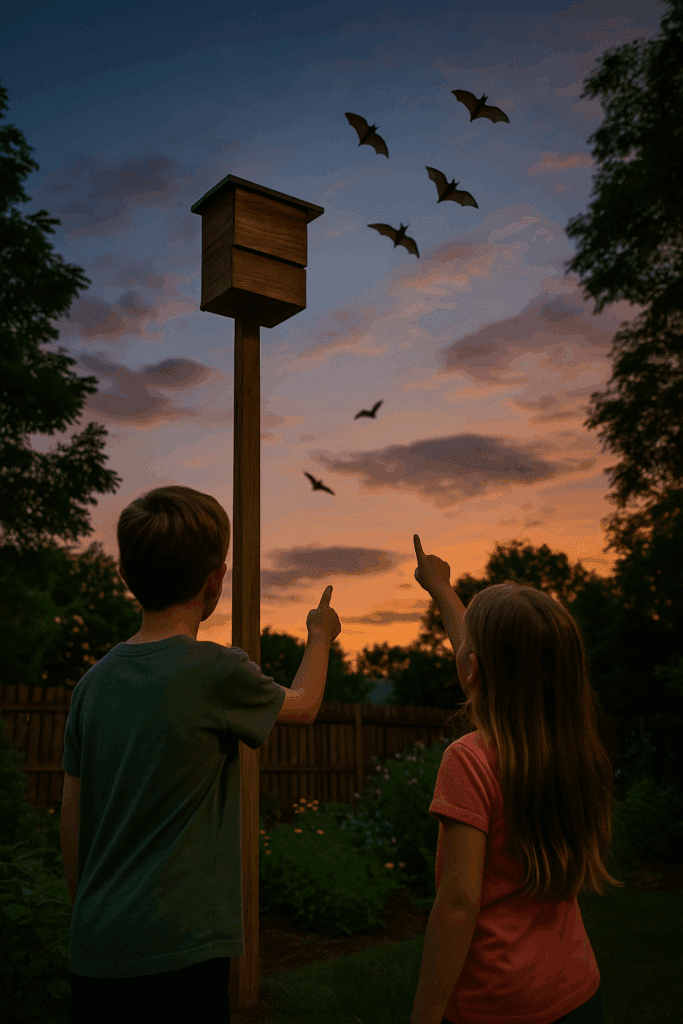
The best surprise? My kids. The first night they saw the bats swooping out, they screamed like it was fireworks. Now they run outside at dusk just to count them. We call it “the bat parade.” They usually lose track after ten or so, but it’s become a little tradition. Way more fun than watching TV.
Final Thought
All in, the bat house took me maybe a Saturday afternoon to build. Nothing fancy. And now it just… works. Fewer mosquitoes, happier evenings, a cool little wildlife show at dusk. For something that cost me scrap wood and a few hours, I’d do it again in a heartbeat.
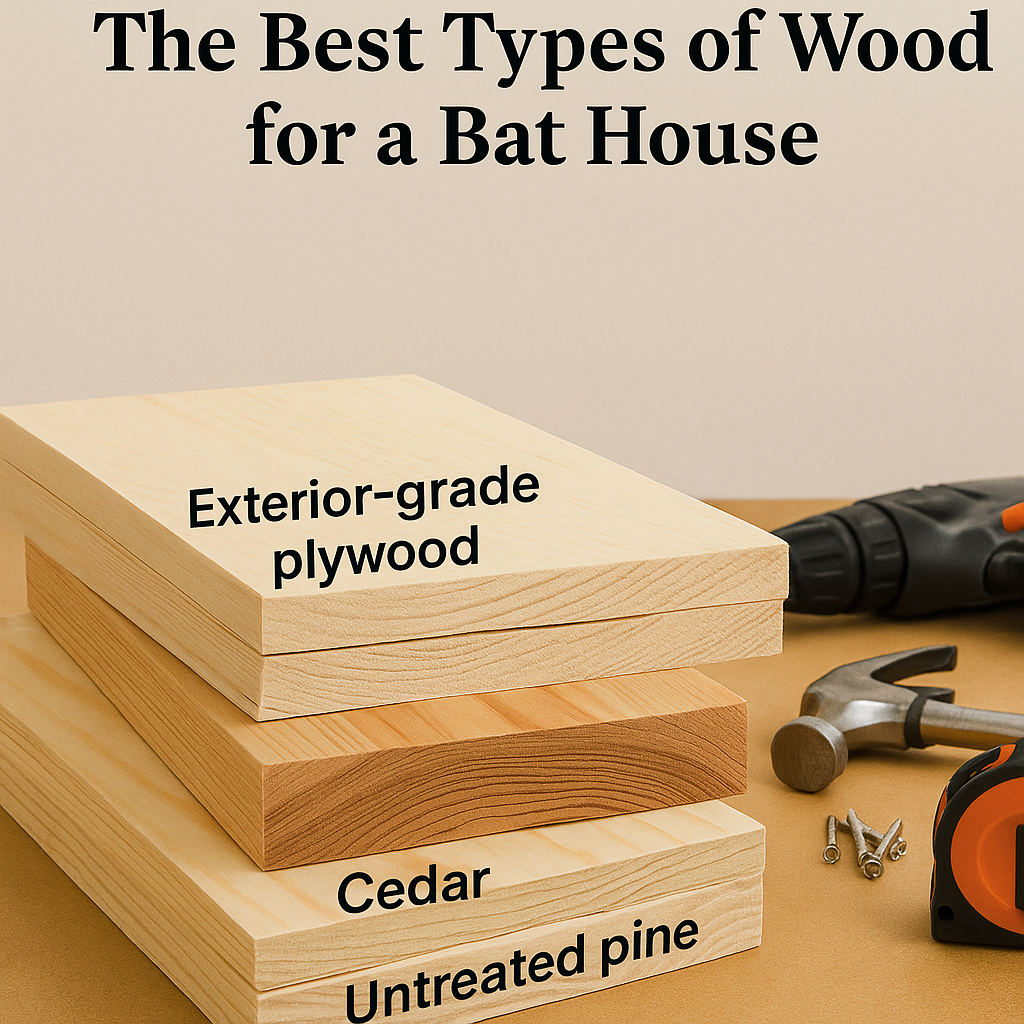
The Best Types of Wood for a Bat House
Bats are sensitive to toxins, so your choice of wood matters a lot more than you might think. The wrong material can drive them away or, worse, make them sick. Stick with natural, untreated woods whenever possible, and avoid pressure-treated lumber completely—it contains chemicals that are unsafe for wildlife.
Exterior-grade plywood is one of the most common choices. It’s affordable, sturdy, and easy to cut into panels, which makes it a good pick if you’re building your first bat house. Just make sure the edges are smooth so bats don’t injure their wings while climbing.
Cedar is another favorite because it naturally resists rot and insects. It lasts for years without much maintenance and holds up well to rain and humidity.
Untreated pine can also work, but it needs a safe, water-based outdoor paint or stain to withstand the weather. When sealed properly, pine bat houses can last for several seasons and give bats a cozy, toxin-free roost.
⚠️ Avoid pressure-treated lumber—it contains chemicals unsafe for bats.
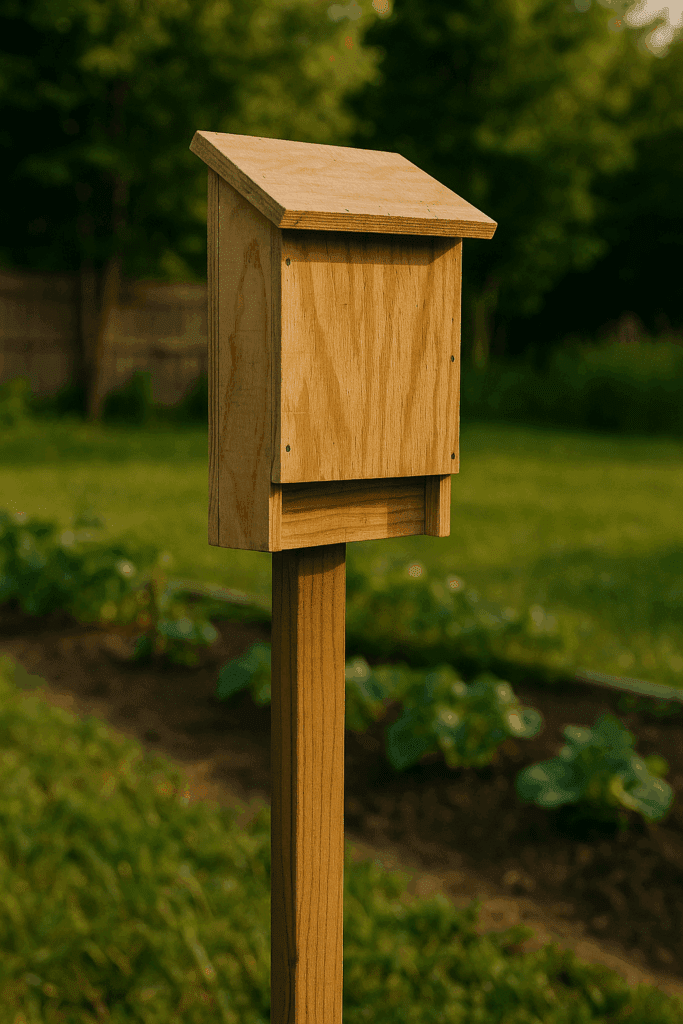
Build a Two-Chamber Bat House (Step-by-Step, with the Real Stuff I Learned)
Before I built mine, I’d never cut more than a birdhouse. I had leftover plywood, a Saturday, and a mosquito problem. This is exactly what I did—plus a couple of “wish I’d known” notes so you don’t repeat my mistakes.
Materials (what I used)
Exterior-grade plywood or cedar (avoid pressure-treated)
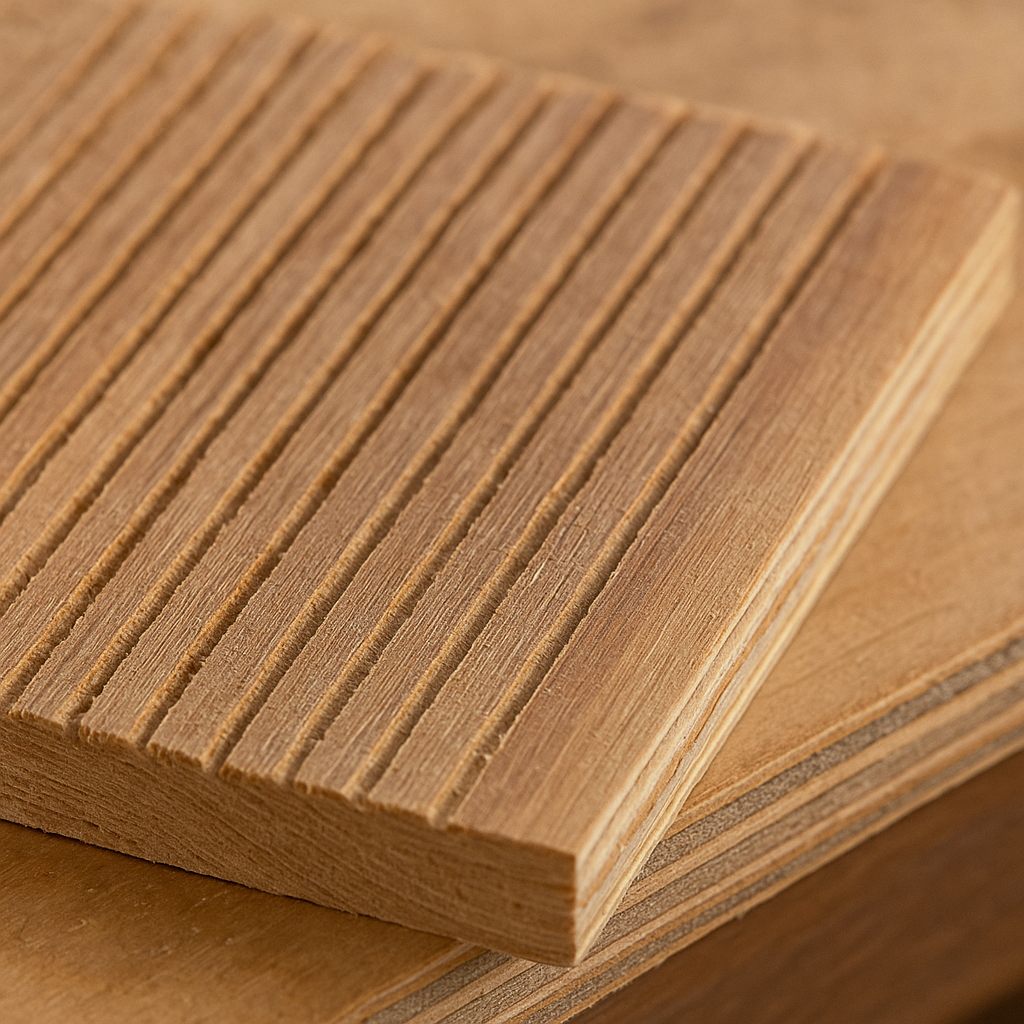
First build, I forgot this and wondered why nobody moved in. Score shallow grooves every ~½” across the inside of the back and partition. I set my circular saw barely proud and dragged lines; a rasp works too. Rough = grip. Smooth = no thanks, says Bat.
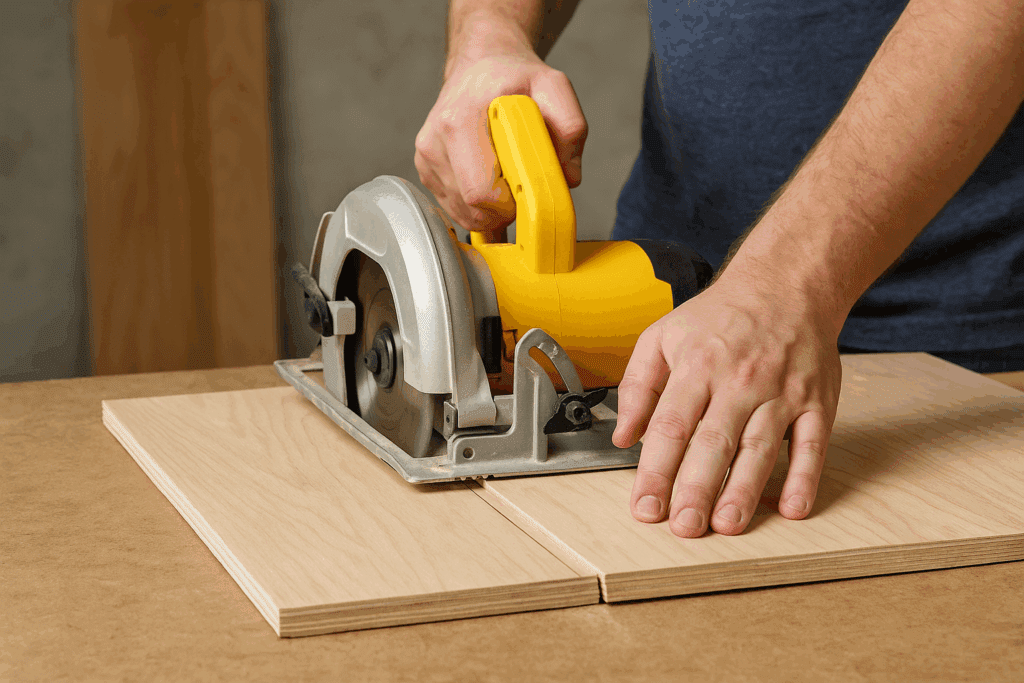
Step 3 — Assemble the box (it starts to look real)
Screw the sides to the back. Then set the partition about ¾” from the back to create two chambers—cozier and better temp control. If you have a clamp, great; if not, use a scrap as a spacer while you screw it in.
Step 4 — Create a landing pad (small detail, big difference)
Extend the grooved back panel 3–6″ below the entrance or screw on a small grooved strip. It’s the “front porch” the bats use to climb in. I skipped this once—occupancy was slower.
Step 5 — Vent & seal (comfort + longevity)
Run a bead of exterior caulk along all interior seams. Outside, I cut a skinny vent slot (~½” tall) across the front about 6–8″ up from the bottom. That breathes in summer but won’t draft in spring.
Step 6 — Paint or stain (don’t cook your tenants)
Use only water-based exterior paint/stain.
Cooler regions: darker shades to hold heat.
Hot regions: opt for lighter shades to avoid turning into an oven. I learned the hard way—my first dark house in a heat wave stayed empty until fall.
Step 7 — Add the roof (tilt is everything)
Attach the 26″ × 4″ roof with a slight pitch so rain sheds. A tiny overhang helps keep the entrance dry. If you’ve got roofing felt or flashing, tack a strip on top—five extra minutes, years of benefit.
Step 8 — Final check (little stuff I now always do)
Run your hand inside: no splinters or screws poking through.
Shake test: nothing rattles.
Re-trace grooves if paint filled them.
Step 9 — Mounting (placement made the biggest difference)
Install 12–20 ft high, south or southeast facing, with 6–8 hours of sun. On a building or pole (not a tree—shade and predators). Keep it 20–30 ft from branches and at least 10–12 ft of clear drop below the entrance. My best spot ended up on a pole by the garden, not the garage—more sun, quicker move-in.
Step 10 — Patience (the part no one likes)
Bats don’t always show up in a week. Mine took a few. Don’t fuss with the house once it’s up. No lights, no peeking inside. One evening you’ll look up and see the “bat parade” slipping out at dusk—and that’s your payoff.
Common slip-ups I made once (and never again):
Mounting in shade “to be safe” (they want warmth).
Q: Will bats move into my attic instead? A: If you provide a proper house, they’re less likely to invade your home.
Q: How long until bats use it? A: Anywhere from weeks to two years.
Q: Are they safe for kids and pets? A: Yes, as long as the house is mounted high and bats aren’t handled.
Conclusion: Building a Backyard Haven with a Bat House
Adding a bat house to your yard is one of the smartest, most eco-friendly upgrades you can make. Not only do you get natural pest control, but you also help support declining bat populations. Whether you build one yourself from plywood or purchase a ready-made cedar model, you’ll be creating a healthier, more balanced outdoor environment.
DIY Plywood Desk: How to Build One at Home by Admin October 8, 2025 DIY I built my first plywood desk because I was tired of working hunched over the kitchen counter. It wasn’t some grand plan — I just…


")

")

