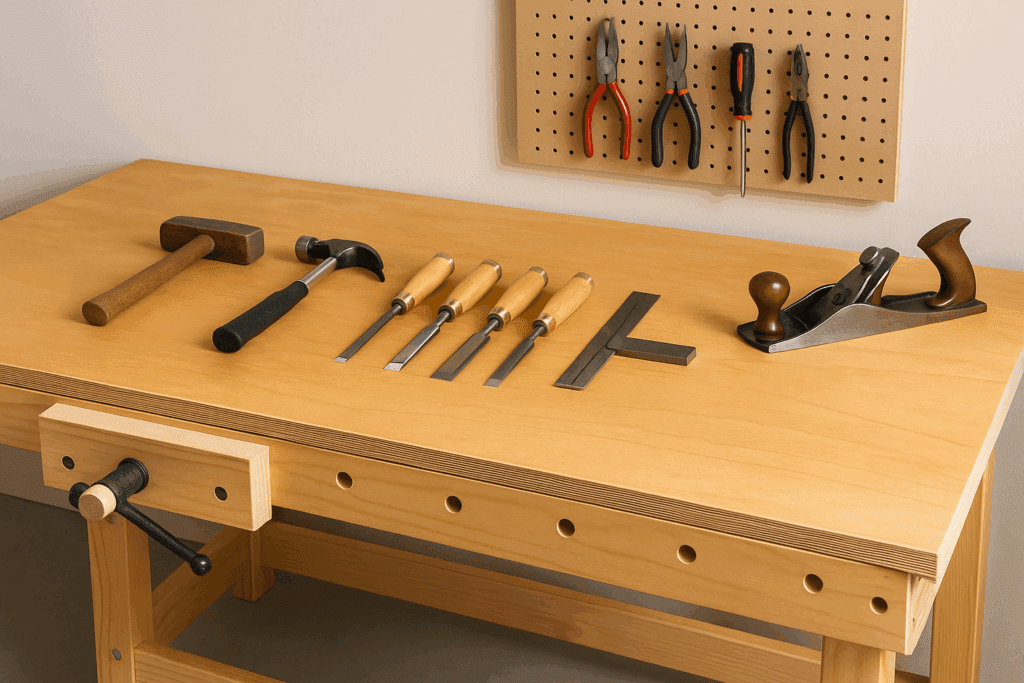
A workbench top is more than just a flat surface—it’s the backbone of every project. Whether you’re using plywood, hardwood, or steel, the top sets the tone for your entire shop.
Walk into any workshop and you’ll notice the same thing first—the bench. The top of that bench isn’t just a flat board; it’s where all the mess, mistakes, and magic happen. Mine’s covered in scratches from hand planes, little burn marks from when I set a hot drill down too fast, and stains that I honestly couldn’t identify if I tried. Every mark is a reminder of something I built—or almost ruined.
That’s why the surface matters so much. A weak bench top won’t last. It’ll bow if you put weight on it, splinter if you miss with a hammer, or soak up glue until it looks like a pancake left out in the rain. A strong one feels different. Solid. When you clamp wood to it, it doesn’t budge. When you give it a beating with a mallet, it shrugs it off like nothing happened.
So, how do you figure out which top is right for you? Depends on what you’re doing. If you’re tinkering on the weekends, you don’t need a slab of hard maple that costs more than your table saw. But if you’re planning to spend years at that bench, chiseling dovetails or wrestling with hardwood slabs, the top deserves just as much thought as your tools.
Why the Workbench Top Matters
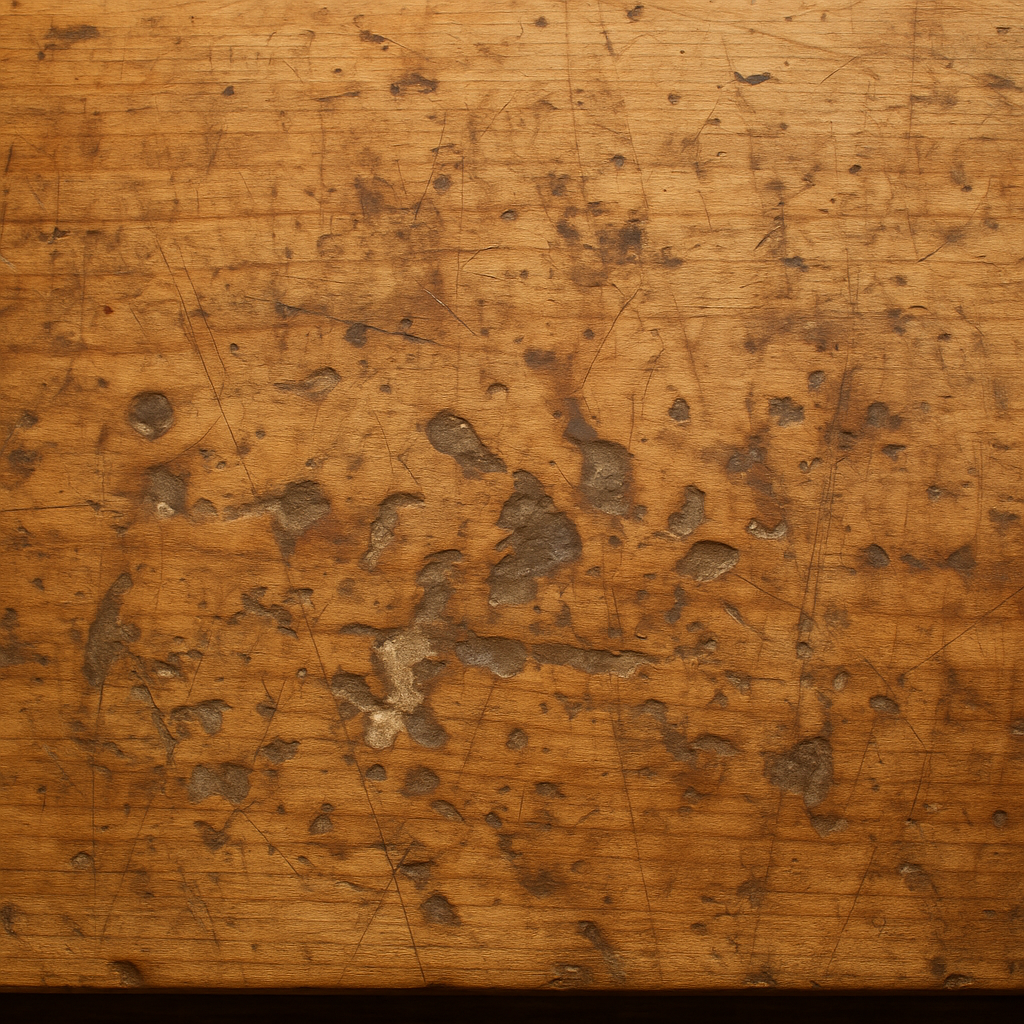
The frame of a bench gives it backbone, but the top is where you live. That’s the spot where your tools clatter down, where glue drips turn into hardened bumps, and where the wood you’re working on gets scarred before it’s ever finished. My bench tells its own story just by looking at it. There are circular saw marks near the edge from a rushed cut, dents from missing the head of a nail, and dark stains that I’ll never be able to sand out.
That surface takes every mistake and every success. Pick the wrong material and you’ll pay for it. A flimsy top will sag if you put an engine block on it, chip the first time you strike too hard with a mallet, or wobble just enough to throw off a precise cut. You’ll end up fighting the bench instead of working with it.
But the right top? That’s when things click. When you slam something down, it feels solid. When you clamp a board, it stays put. You stop noticing the bench and start noticing your progress. A good top almost fades into the background because it’s doing exactly what it should—holding steady, year after year, while you wear grooves, scratches, and stories into it.
A workbench isn’t really about the frame—it’s about the top. That’s where the scars, glue stains, and dents pile up. I’ve gone through a handful of them over the years, and each one taught me something the hard way.
Plywood is where most people start. Why? Because it’s cheap, it’s everywhere, and you can stack it to make it thicker. My first bench was literally two sheets of birch ply glued together, and for what it was, it worked. The problem is that plywood bruises easily.
Drop a hammer, and you’ll see it forever. I ended up screwing a thin sheet of hardboard over mine so I could swap it out when it got too chewed up. Cheap trick, but it worked.
Then I tried MDF. Flat as a pancake, smooth as can be. Perfect for layout work or cutting jigs. But if you so much as spill water near it, it swells up like a loaf of bread in the oven. I ruined a top just by setting a wet coffee mug on it. Once it bubbles, you can’t sand it back flat. Lesson learned: MDF belongs in a bone-dry shop, nowhere else.
Hardwood benches are a whole different beast. Maple or beech, especially—they feel solid under your tools. I remember helping a buddy drag a beech bench into his basement.
Nearly broke our backs, but once it was there, it was gorgeous. These tops aren’t cheap, and you have to baby them a little—plane them flat now and then, and oil them so they don’t dry out. But a hardwood bench? That’s the one you’ll probably pass on to your kids.
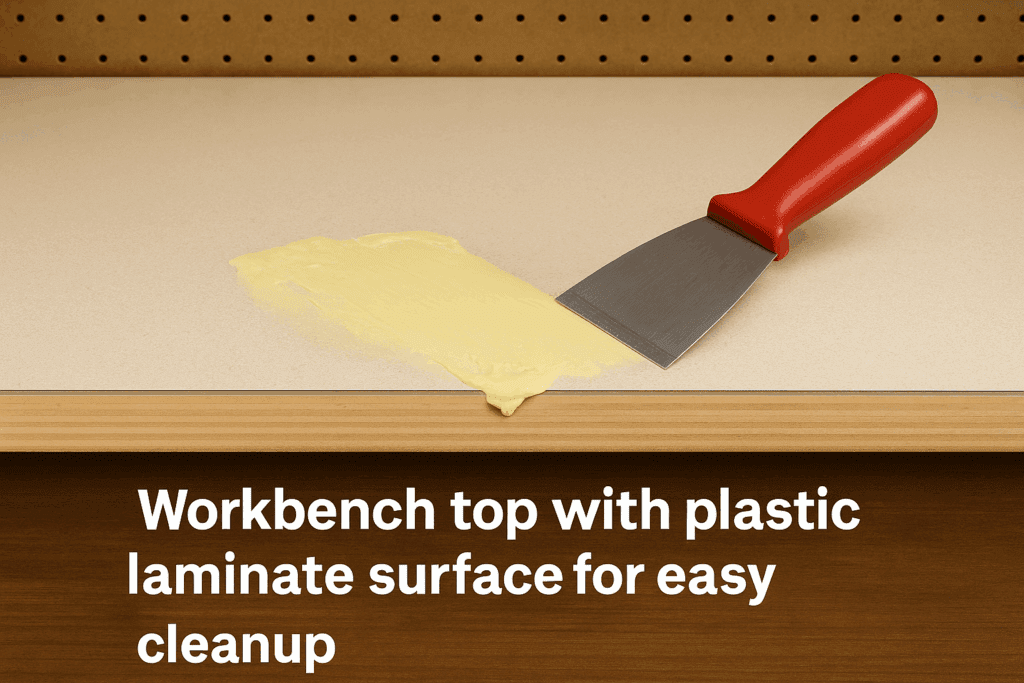
Laminate tops come in handy, too. Usually, it’s plywood or MDF with a plastic skin. They clean up fast—glue pops right off. If you’re in the middle of assembly work, that’s a blessing. Downside: the edges chip if you’re rough, and it doesn’t love heavy pounding. Still, for finishing or glue-ups, it’s hard to beat.
And then there’s steel.
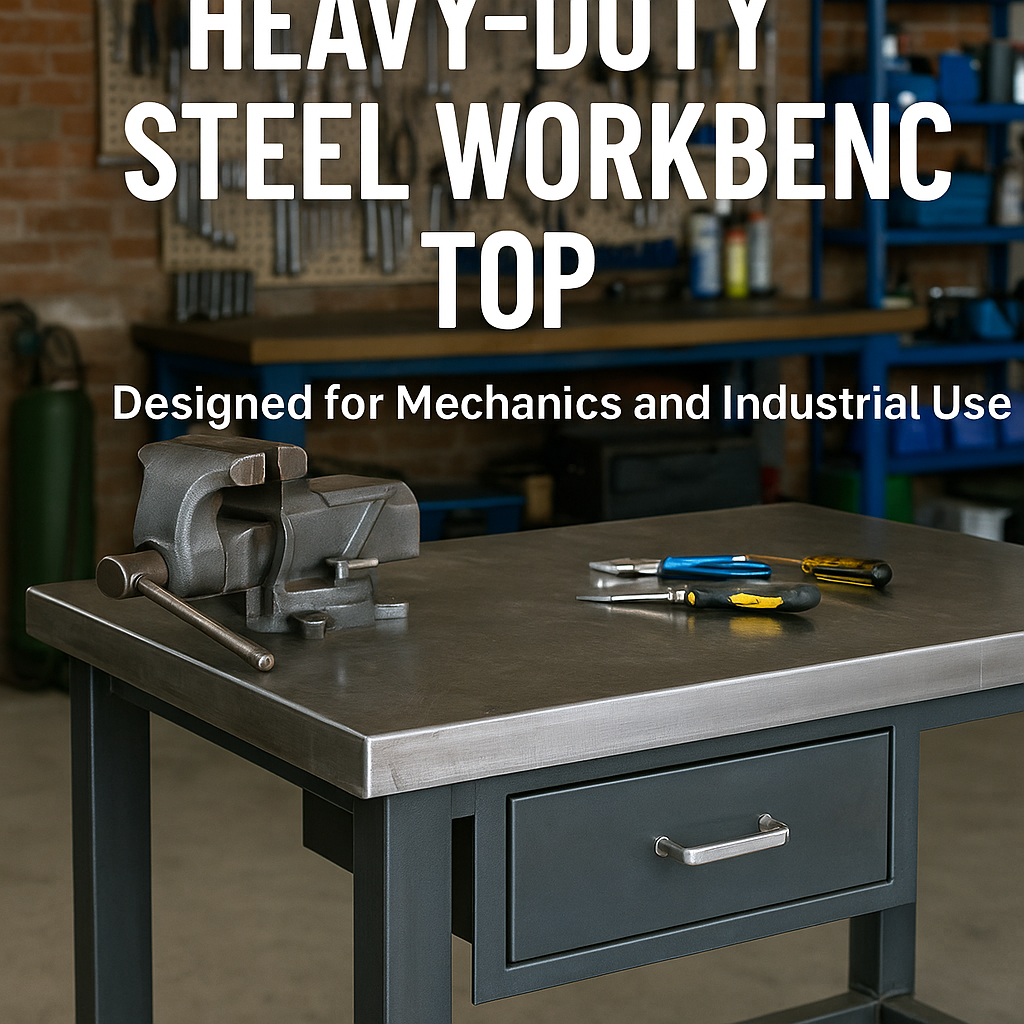
I only worked on one steel-topped bench, and that thing was basically bomb-proof. You could weld on it, pound on it, spill oil—it didn’t care. The flip side? It was loud, expensive, and the first time I slipped with a chisel, the edge was toast. Great for mechanics, not so much for woodworking.
What I finally figured out is this: you don’t have to pick one material forever. My current bench is a mix—plywood underneath, a replaceable hardboard skin on top, and a steel plate tucked in one corner. Ugly? Yeah. Functional? Absolutely. At the end of the day, that’s what a bench is for—taking the hits so you can get the work done.
Buying a bench is easy, but honestly, half the fun is making one. You can slap something together in an afternoon that’ll outlast the store-bought kind, and you get to size it however you want. Over the years, I’ve tried a few different tops—some cheap, some more serious—and here’s what’s stuck with me.
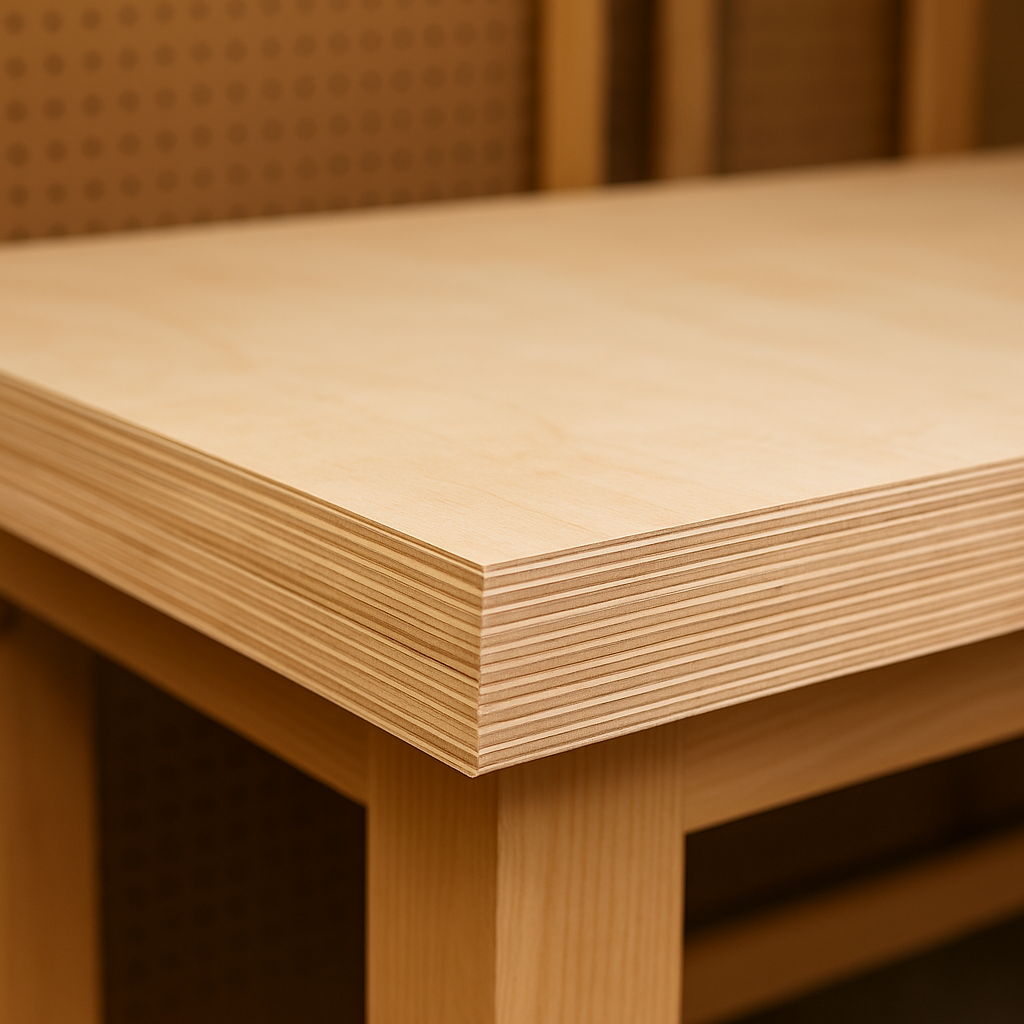
Plywood with a Hardboard Skin
Cheap, simple, effective. I’ve built this more times than I can count. Two sheets of 3/4-inch plywood glued and screwed together give you the meat, and then I toss a 1/4-inch hardboard sheet on top. That hardboard is the magic—it gets ugly fast, but you just swap it out and move on. Mine usually ends up with coffee rings, saw blade tracks, glue blobs, and even a burn mark or two. Doesn’t matter. Rip it off, drop a new one down, done.
The MDF Sandwich
One time, I thought I was clever and made a bench out of nothing but MDF. Dead flat, smooth as glass, and heavy enough that it didn’t budge when I leaned on it. For layout work, it was fantastic. Until I left a cold drink sitting on the edge. A week later, it looked like a sponge. Once MDF swells, forget it—you’re not fixing it. Now I seal the edges with polyurethane if I use it, but still… MDF is like that one friend you can trust indoors but not outside in the rain.
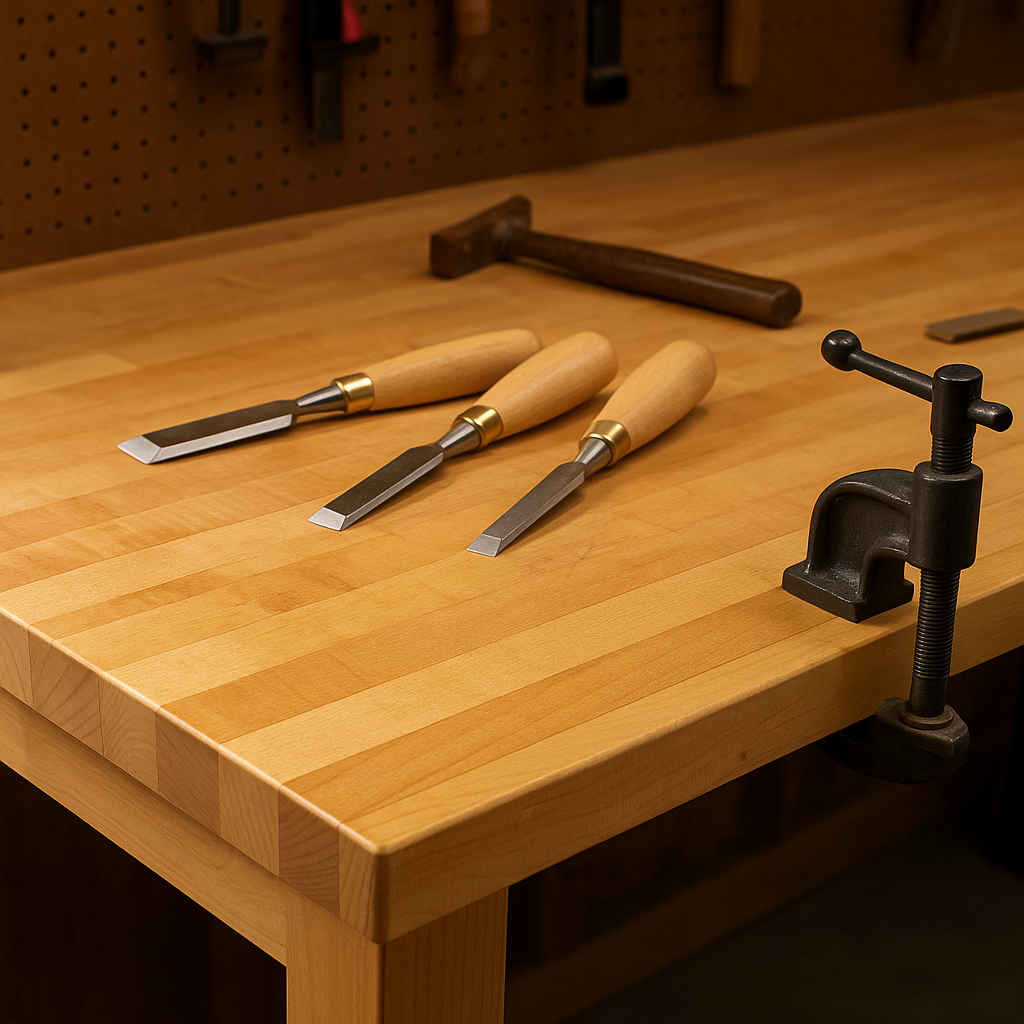
Solid Maple Butcher Block
This is the “forever bench.” Heavy, expensive, a bit of a pain to build, but man, it feels good to work on. I glued up strips of maple once, planed it flat, sanded it smooth, and oiled it until it glowed. It’s the kind of surface that actually makes you want to keep the shop clean. But it’s not moving anywhere once you set it down—I had to call in favors just to drag mine into the basement. Still, every dent it shrugs off reminds me why people swear by hardwood.
Finishing and Protecting Your Workbench Top
A raw wood surface will wear quickly. Adding a protective finish extends its life.
Polyurethane: Durable, glossy, easy to wipe clean.
A plain workbench top is fine, but the right add-ons make it ten times more useful. I didn’t bother with upgrades on my first bench—just a slab of plywood and a prayer—but once I started adding a few extras, I wondered why I hadn’t done it sooner.
Clamping Systems
Clamps are the one thing you never have enough of. At first, I was juggling C-clamps like a circus act, always short one hand. Then I added a set of T-tracks, and it felt like cheating. Drop a stop block in, slide a hold-down, and suddenly you’ve got a jig without even trying. Dog holes work the same way—simple to drill, and they open up a lot of options.
📌 What I recommend: the Kreg Universal Clamp Trak Kit. Easy to add to an existing bench, and once you have it, you’ll wonder how you ever managed without.
Replaceable Inserts
Here’s a lesson learned the hard way: no matter how nice your top is, it’s going to get trashed. Saw kerfs, glue drips, scorch marks—you name it. Instead of tearing the whole bench apart, I started screwing down thin MDF panels as “sacrificial” tops. When they get ugly, I just swap them out. Takes ten minutes, costs a couple of bucks, and I don’t feel bad about making a mess.
Edge Banding
Plywood and MDF edges get beat up faster than anything else. I’ve ruined more corners than I’d like to admit just by bumping them with clamps or dragging boards across. Adding a strip of hardwood along the edges makes a world of difference—it stiffens the perimeter and gives you something solid to clamp against. Even the cheap iron-on veneer stuff helps if you don’t want to mess with ripping solid wood.
👉 Quick tip: don’t stress about getting everything perfect right away. Start with one upgrade—dog holes, a sacrificial top, whatever makes sense for how you work—and add the rest later. Benches should evolve as you build on them.
Keep it dry: Moisture is the enemy of MDF and plywood.
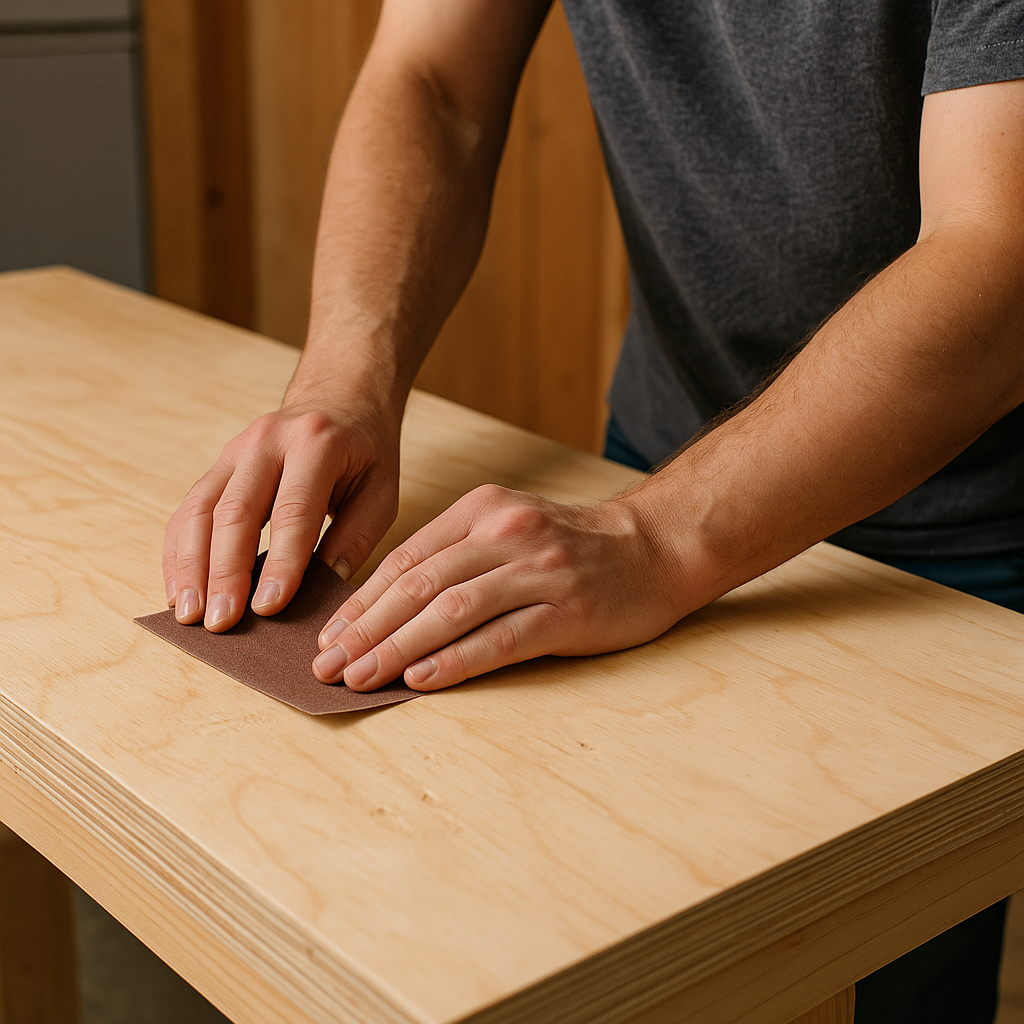
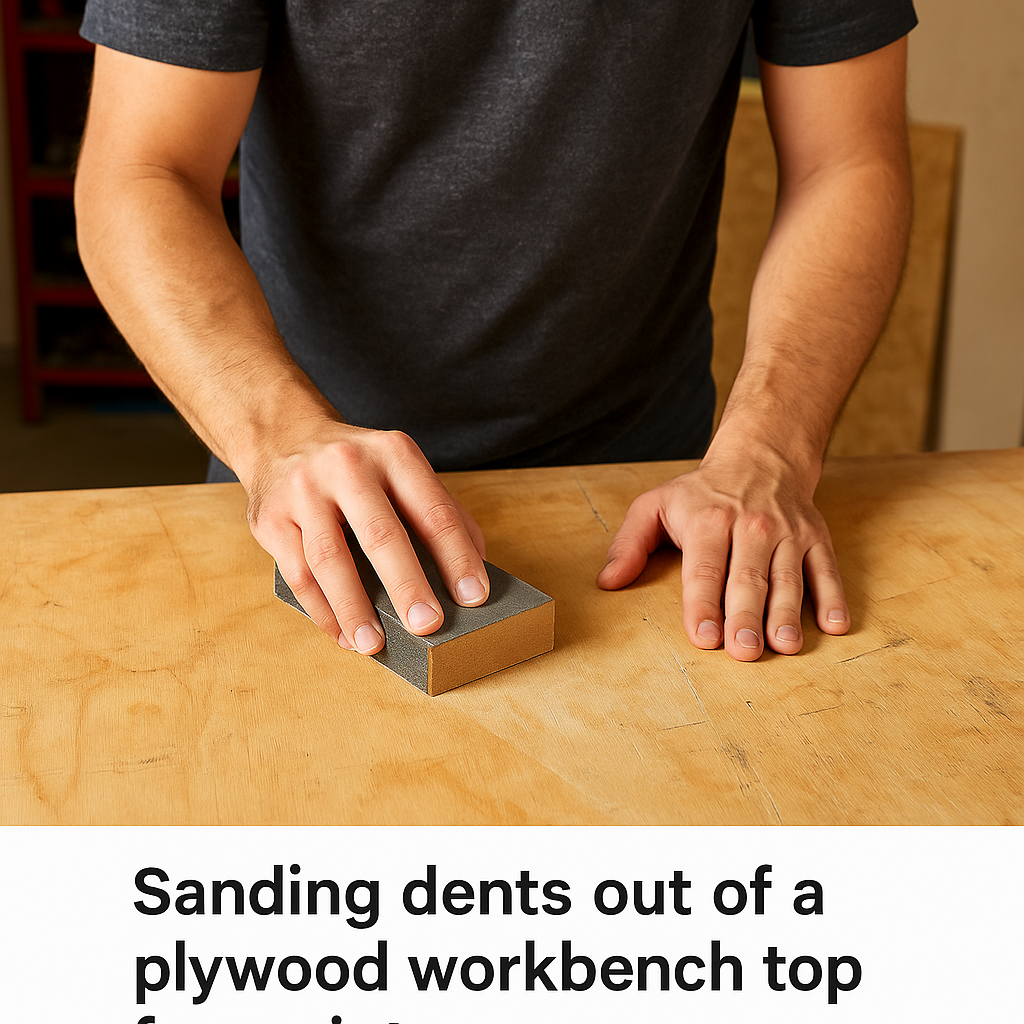
Sand out dents: Small gouges can be sanded or filled with epoxy.
Renew the finish: Reapply polyurethane or oil yearly.
Replace overlays: Hardboard or MDF sacrificial tops can be swapped easily.
Choosing the Right Workbench Top for Your Needs
User Type
Recommended Top
Why It Works
Hobby Crafter
MDF or plywood
Affordable, smooth, easy to replace
Woodworker
Solid hardwood
Strong, handles chiseling and pounding
Mechanic
Steel
Resists oil, grease, and hammering
Finisher / Assembler
Laminate
Clean, flat, glue won’t stick
Final Thoughts
A bench top isn’t just some flat thing to pile tools on—it’s where the real work happens. I’ve built on everything from a single sheet of plywood screwed to sawhorses to a chunk of maple that weighed more than me. Each one had its quirks.
Plywood is fine when you’re getting started—it dents, sure, but it gets the job done. Hardwood feels amazing, but it costs a small fortune. Steel? Great if you’re dropping car parts, not so great if you slip with a chisel.
How to Choose the Right King Bed Frame by Admin September 29, 2025 DIY When I upgraded to a king bed frame a few years ago, I thought it would be simple—find something sturdy, put a mattress on top,…